Delicious & Healthy No-Bake Protein Cookie Dough Balls: Your Ultimate Guide
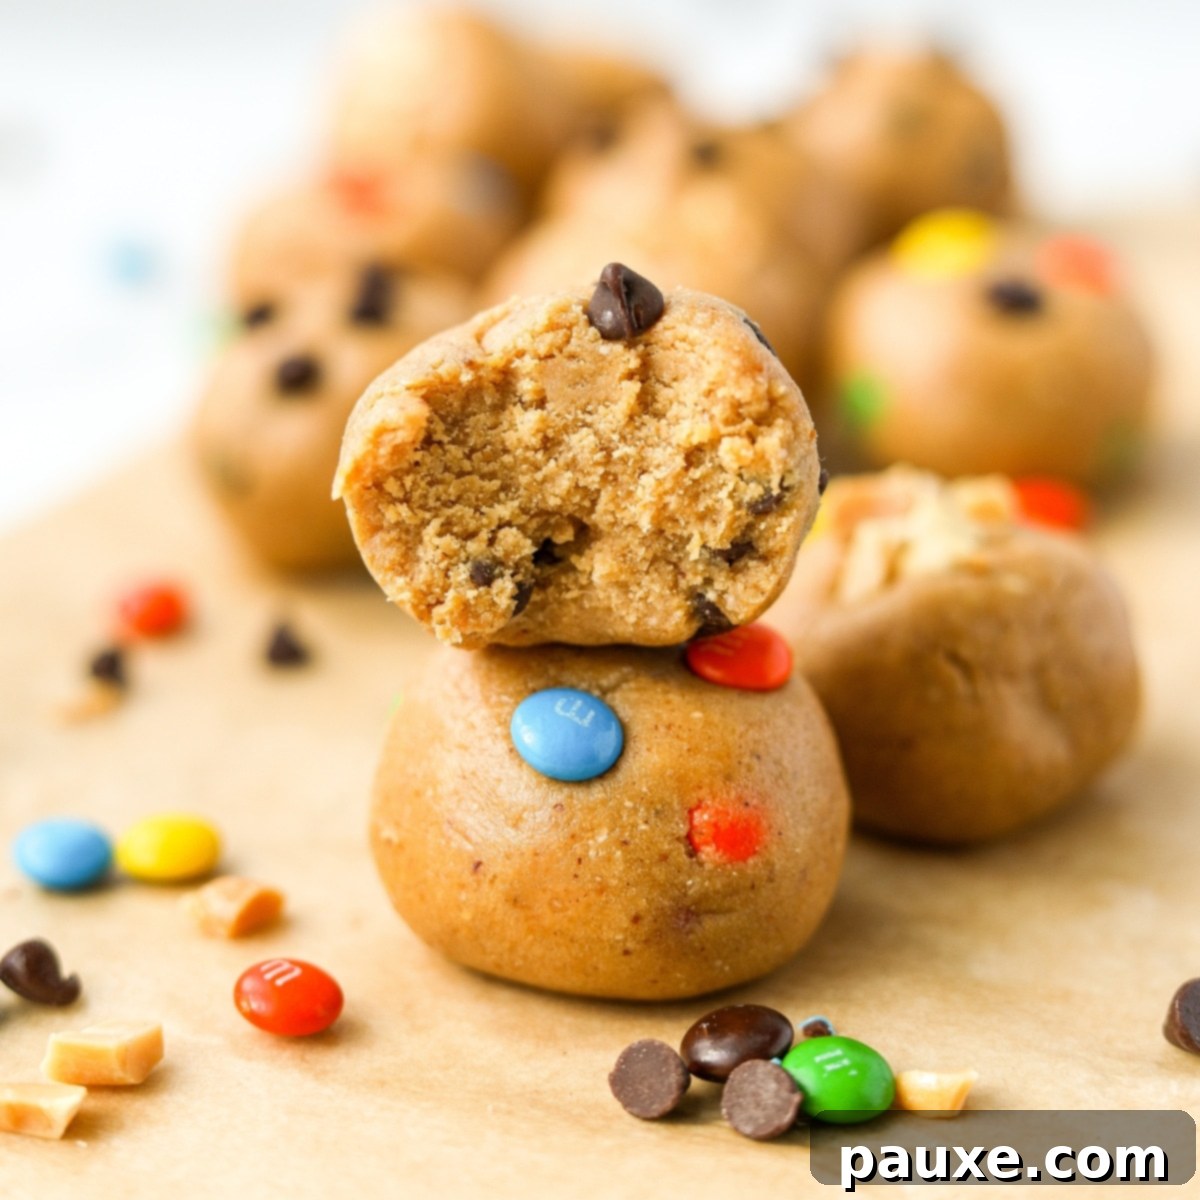
Craving something sweet, satisfying, and packed with goodness? Look no further than these incredibly easy-to-make Protein Cookie Dough Balls! This recipe takes simple, wholesome ingredients like creamy nut butter, powerful protein powder, hearty oats, and natural maple syrup, transforming them into irresistible, guilt-free treats. Perfect for a quick energy boost, a post-workout snack, or a delightful healthy dessert, these no-bake cookie dough bites are not only delicious but also incredibly versatile and freezer-friendly. Get ready to elevate your snack game with a recipe that’s as nutritious as it is tasty!
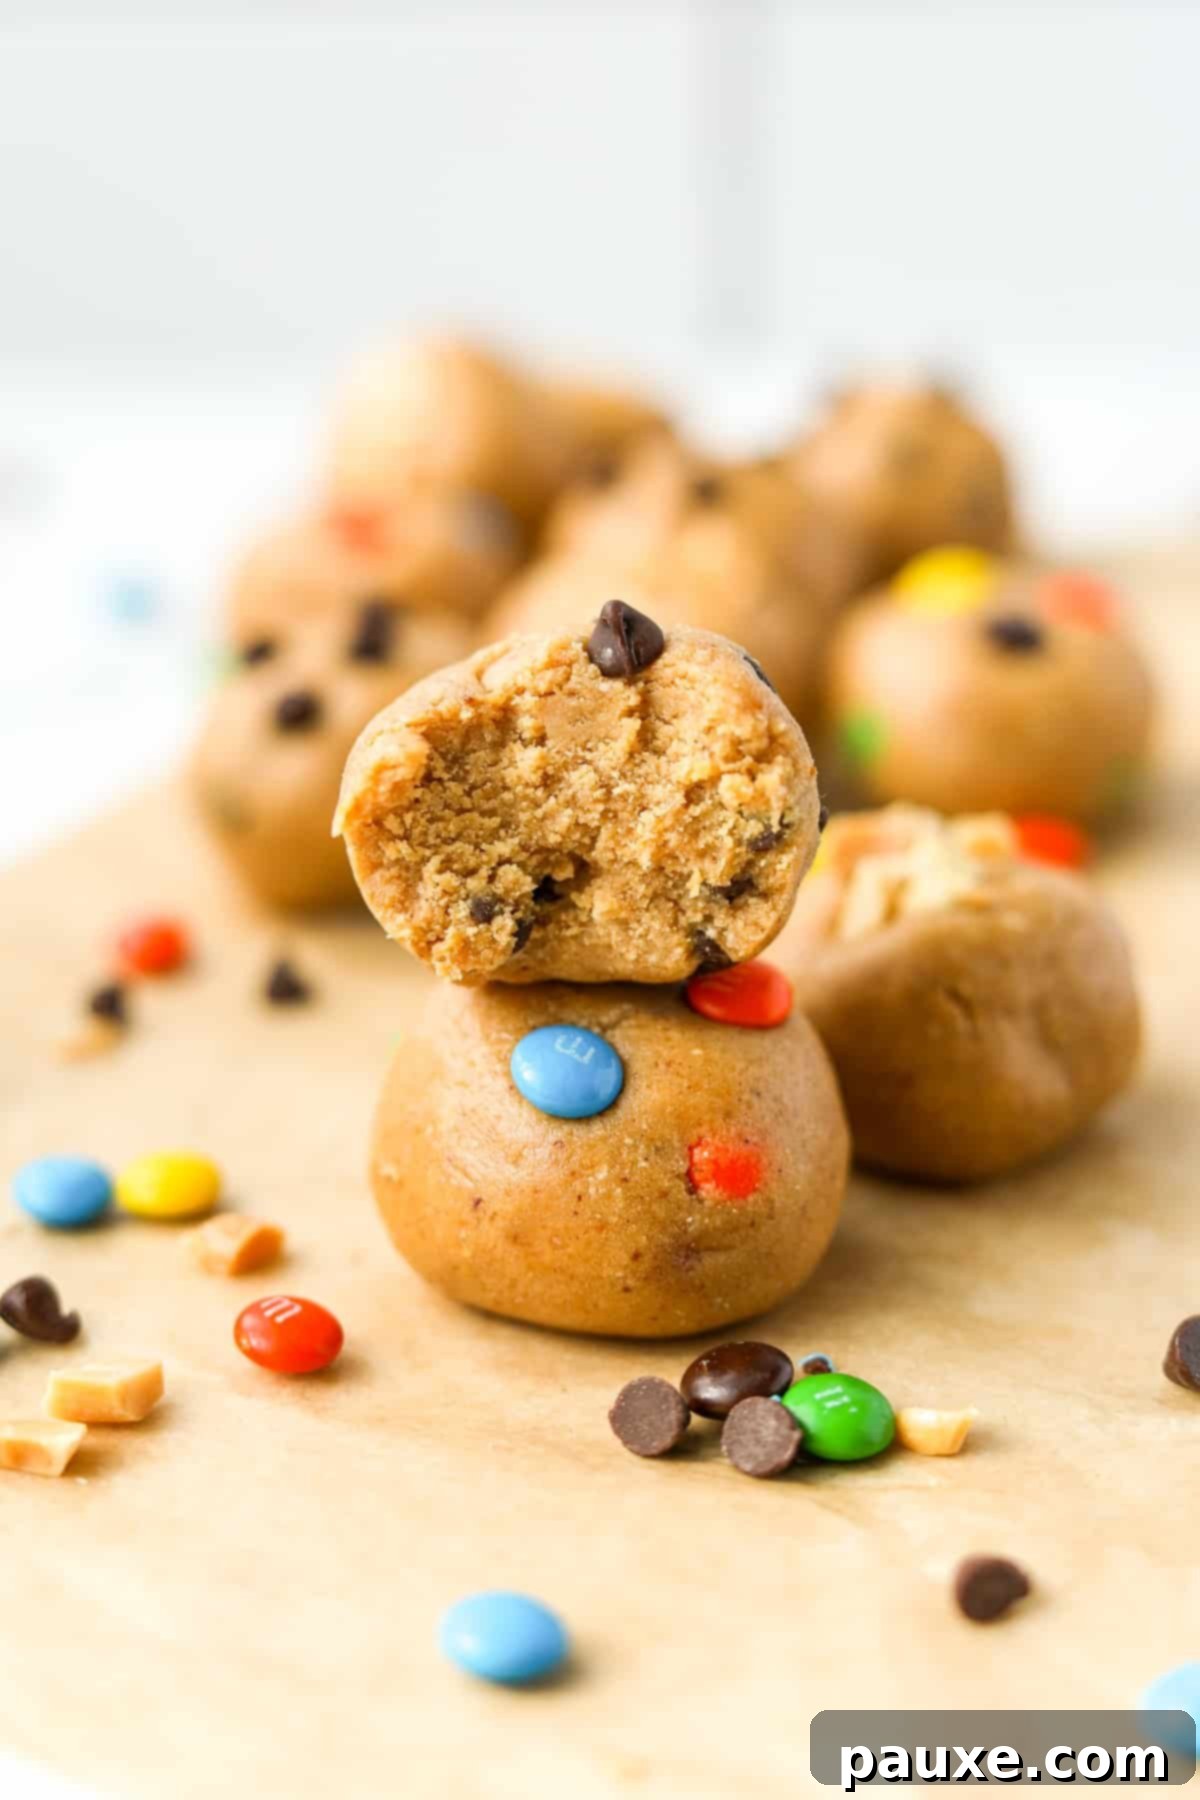
After perfecting my beloved Monster Cookie Protein Bars, I couldn’t resist adapting the core concept into a bite-sized, even more convenient form. That’s how these delightful high-protein cookie dough balls came to be. They capture all the flavor and nutritional benefits in a compact package, making them an ideal choice for anyone seeking a wholesome snack that doesn’t compromise on taste.
These protein-packed treats are a meal prep dream, ensuring you always have a healthy option at hand when hunger strikes. They’re also a fantastic way to satisfy your sweet tooth without the sugar crash or regret. One of the best parts? Their incredible customizability! You can easily tailor the flavor profile to your preference with various extracts or a plethora of mix-ins like classic chocolate chips, colorful M&M’s, crunchy chopped nuts, or even dried fruit.
Why You’ll Absolutely Love These Protein Cookie Dough Balls
These protein cookie dough balls aren’t just a fleeting trend; they’re a sustainable, delicious solution for smart snacking. Here’s why they’re destined to become a staple in your kitchen:
- A Powerhouse of Healthy Nutrition: Each delectable bite is engineered to provide around 6 grams of muscle-building protein, keeping you fuller for longer and helping to curb unhealthy cravings. Crafted with whole food ingredients like fiber-rich oats, healthy-fat-packed peanut butter, and naturally sweet maple syrup, these treats offer sustained energy without artificial additives. They’re a far superior alternative to many processed snacks on the market, supporting your overall wellness goals.
- Effortlessly Easy & No-Bake: Say goodbye to hot ovens and complex baking steps! This recipe is entirely no-bake, meaning all you need is a bowl, a spatula, and a little mixing power. The process involves simply combining the ingredients, rolling them into perfect spheres, and chilling until firm. It’s perfect for busy schedules, novice cooks, or anyone who prefers minimum fuss and maximum flavor. No special equipment is required beyond basic kitchen tools.
- Your Meal Prep Champion: Streamline your healthy eating routine by making a generous batch of these protein balls at the beginning of the week. Their incredible stability means you’ll have convenient, pre-portioned snacks ready for school, work, or whenever you need a quick pick-me-up. They’re also exceptionally freezer-friendly, allowing you to stock up and grab one whenever a craving hits, knowing it will thaw beautifully by snack time.
- The Joy of Edible Cookie Dough, Safely Indulged: For many, the irresistible allure of raw cookie dough is hard to resist, but traditional recipes often come with health concerns due to raw eggs and flour. Our protein cookie dough balls completely bypass these risks, offering a safe-to-eat, raw cookie dough experience. Since there are no eggs and the oats are typically consumed raw (or can be gently toasted if desired for extra safety, though not usually necessary for oat flour), you can enjoy that nostalgic cookie dough texture and flavor with complete peace of mind.
Source: Eating Raw Cookie Dough – WebMD
Essential Ingredients for Your Protein Cookie Dough Balls
Creating these delightful protein cookie dough balls requires a handful of simple, wholesome ingredients. The quality of each component contributes significantly to the final taste and texture, so choose wisely!
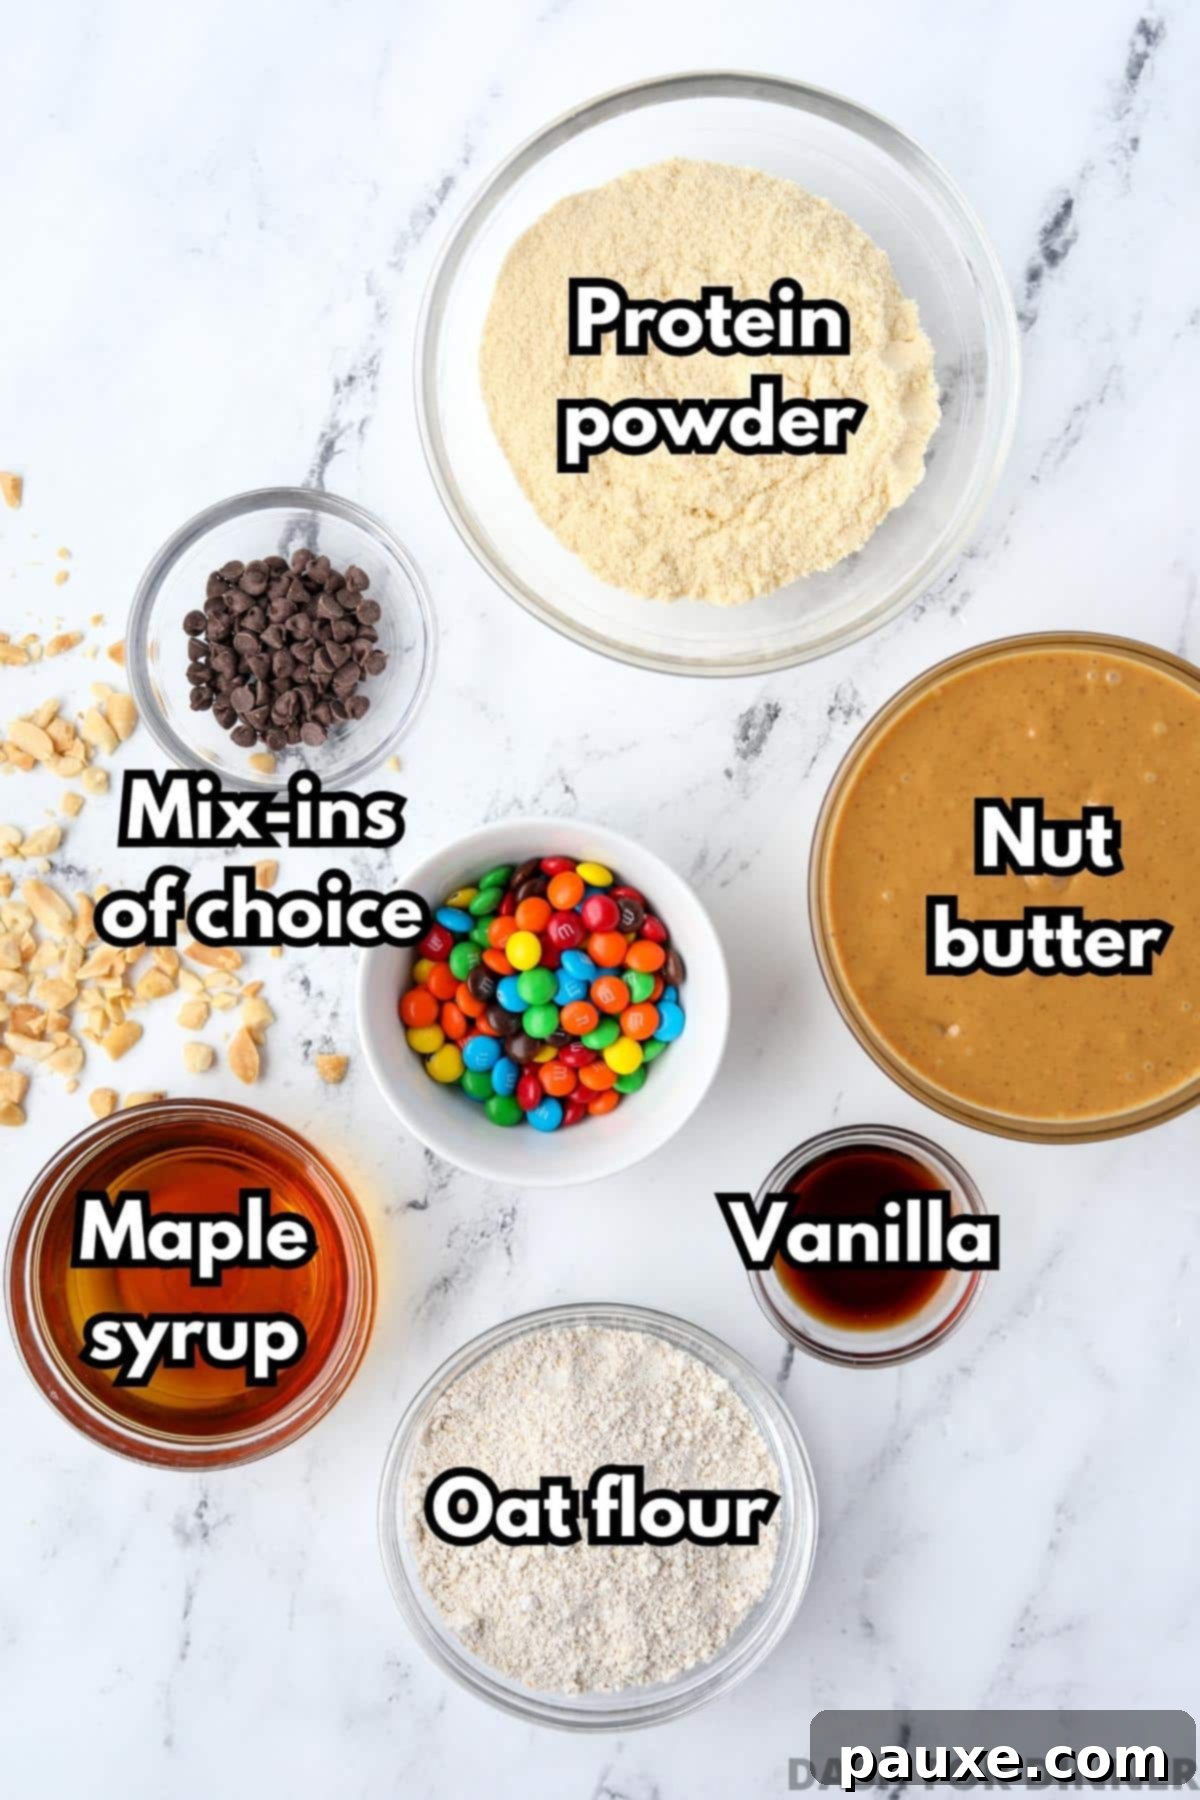
- Natural Nut Butter: This is the creamy backbone of our protein balls. I highly recommend using a natural variety, where the oil tends to separate at the top. This thinner, more fluid consistency is crucial for achieving the perfect dough texture that holds together without being too dry or crumbly. While peanut butter is a super versatile and popular choice, feel free to experiment with other natural options like almond butter, cashew butter, or even sunflower seed butter for a nut-free alternative. Ensure it’s stirred well before measuring.
- High-Quality Protein Powder: The type and flavor of your protein powder will significantly influence the taste of your cookie dough balls. I typically opt for a good quality vanilla whey protein powder that I genuinely enjoy the taste of on its own. If you have dietary restrictions or preferences, plant-based protein powders (like pea or rice protein) can also work, but be aware that they might alter the texture slightly, sometimes requiring minor adjustments to other liquid ingredients. You’ll need approximately 60 grams, which can vary in volume (roughly ½ cup + 2 tablespoons for many brands), so weighing it is the most accurate method.
- Oat Flour: Oat flour provides structure, fiber, and a wonderfully chewy texture to the protein balls. You can easily purchase it pre-made from the store, or, for a more economical and convenient option, create your own in minutes. Simply add rolled oats (or quick oats) to a high-speed blender or food processor and pulse until a fine, flour-like consistency is achieved. If you require the recipe to be gluten-free, ensure you use certified gluten-free oats or oat flour.
- Pure Maple Syrup: This natural sweetener not only adds delicious flavor but also contributes to the pliable texture of the dough. It’s absolutely essential to use pure maple syrup, not imitation pancake syrup, as the latter contains artificial ingredients and lacks the rich, authentic taste and desired consistency. If pure maple syrup is unavailable, or if you prefer a different liquid sweetener, agave nectar or honey can be used as alternatives, though they may subtly change the flavor profile. For a low-carb version, liquid sweeteners like sugar-free maple syrup or stevia drops can be substituted with careful adjustment.
- Vanilla Extract: Vanilla extract is a foundational flavor enhancer that complements the other ingredients beautifully, giving a classic cookie dough essence. However, don’t limit yourself to just vanilla! This is a fantastic opportunity to get creative. Consider adding butter extract for a richer, more bakery-like flavor, caramel extract for a decadent twist, or almond extract for a subtle, sophisticated note. A dash of cinnamon or a pinch of salt can also elevate the overall taste.
- Your Favorite Mix-ins: This is where the magic of customization truly comes alive! The choice of mix-ins allows you to create virtually any cookie dough flavor imaginable. For traditional chocolate chip cookie dough, mini chocolate chips are ideal. To make monster cookie dough, a combination of mini M&M’s and a few chocolate chips works wonders. Other fantastic options include chopped nuts (peanuts, walnuts, pecans), shredded coconut, dried cranberries, sprinkles for a birthday cake theme, or even white chocolate chips. Be creative and let your taste buds guide you!
Recommended Equipment for Easy Preparation
While this is a no-bake recipe that doesn’t require specialized tools, a few items can make the process even smoother and more enjoyable:
- Cookie Scoop: A medium-sized cookie scoop (about 1.5 to 2 tablespoons) is incredibly useful for portioning the dough. It ensures that each protein ball is uniform in size, which is not only aesthetically pleasing but also helps with consistent chilling and accurate nutritional estimates. This tool is also great for making other treats like energy bites or edible protein cookie dough. If you don’t have one, a heaping tablespoon will work just fine, though you’ll need to eyeball the portions.
- Baking Sheet (or large plate): You’ll need a flat, sturdy surface to chill your freshly rolled protein balls. A standard baking sheet, ideally lined with parchment paper or a silicone mat, is perfect for this. The parchment paper prevents sticking and makes for easy cleanup. If a baking sheet isn’t available, any large, flat plate or tray that fits comfortably in your freezer will do the trick. The goal is simply to provide a stable base for the balls to firm up without losing their shape.
- Large Mixing Bowl & Spatula: A spacious mixing bowl is essential for combining all the ingredients without spills. A sturdy silicone spatula or a wooden spoon works perfectly for mixing the dense dough until it’s thoroughly combined. For an even easier mixing process, a stand mixer with a paddle attachment or a hand mixer can be used, especially if you’re making a double batch.

Unleash Your Creativity: Exciting Flavor Options
The beauty of these protein cookie dough balls lies in their adaptability. Once you master the basic recipe, the possibilities for flavor variations are endless! Here are some popular ideas to inspire your culinary creativity:
- Classic Chocolate Chip Cookie: For a timeless favorite, incorporate mini chocolate chips into the dough. You can use either peanut butter or cashew butter as your base for slightly different flavor profiles; peanut butter offers a more robust taste, while cashew butter provides a milder, sweeter backdrop that allows the chocolate to shine. Dark, milk, or white chocolate chips all work wonderfully.
- Rich Peanut Butter Cookie: If you’re a true peanut butter enthusiast, this variation is for you. Use peanut butter as your base and amplify the nutty flavor by mixing in chopped roasted peanuts. You could also swirl in a bit of extra peanut butter or add a touch of peanut butter powder for an even more intense flavor.
- Fun Monster Cookie: Recreate the beloved monster cookie experience. This version typically features a delightful combination of mini M&M’s and a small amount of mini chocolate chips. The vibrant colors and candy coating make these especially appealing and perfect for a playful treat. Feel free to add a handful of chopped peanuts or a few rolled oats for extra texture.
- Celebratory Birthday Cake: To capture the essence of a birthday cake, opt for a milder nut butter like cashew butter or almond butter as your base. The real star here is the sprinkles – use colorful rainbow sprinkles for that classic festive look! Enhance the flavor further by adding butter extract and a touch of almond extract to taste, mimicking the rich, sweet notes of a traditional cake batter.
- Decadent Toffee Chip: For a sophisticated and crunchy treat, use almond butter as your base. Almond butter’s subtle flavor allows the rich, buttery notes of toffee to come through. Mix in a generous amount of toffee bits (or Heath bar bits for a chocolatey toffee experience). The contrasting textures of the smooth dough and crunchy toffee are incredibly satisfying.
- Hearty Peanut Butter Oatmeal: This variation offers a chewier texture and an even more satisfying bite. Instead of processing all the oats into flour, leave about 1-2 tablespoons of old-fashioned rolled oats whole. Incorporate these into the dough along with chopped peanuts or even Reese’s Pieces for a burst of peanut butter and chocolate flavor. The whole oats add a delightful chewiness that complements the smooth cookie dough beautifully.
- Tropical Coconut Lime: Use cashew butter, add shredded coconut (toasted for extra flavor), and a few drops of lime extract or fresh lime zest.
- Spicy Cinnamon Roll: Add cinnamon and a touch of brown sugar (or a brown sugar substitute for low-carb) to the dough. You can even drizzle a thin “icing” made from a little protein powder and milk on top.
Step-by-Step Instructions: Crafting Your Protein Cookie Dough Balls
Making these protein cookie dough balls is an incredibly straightforward process. Follow these simple steps to ensure perfect results every time:
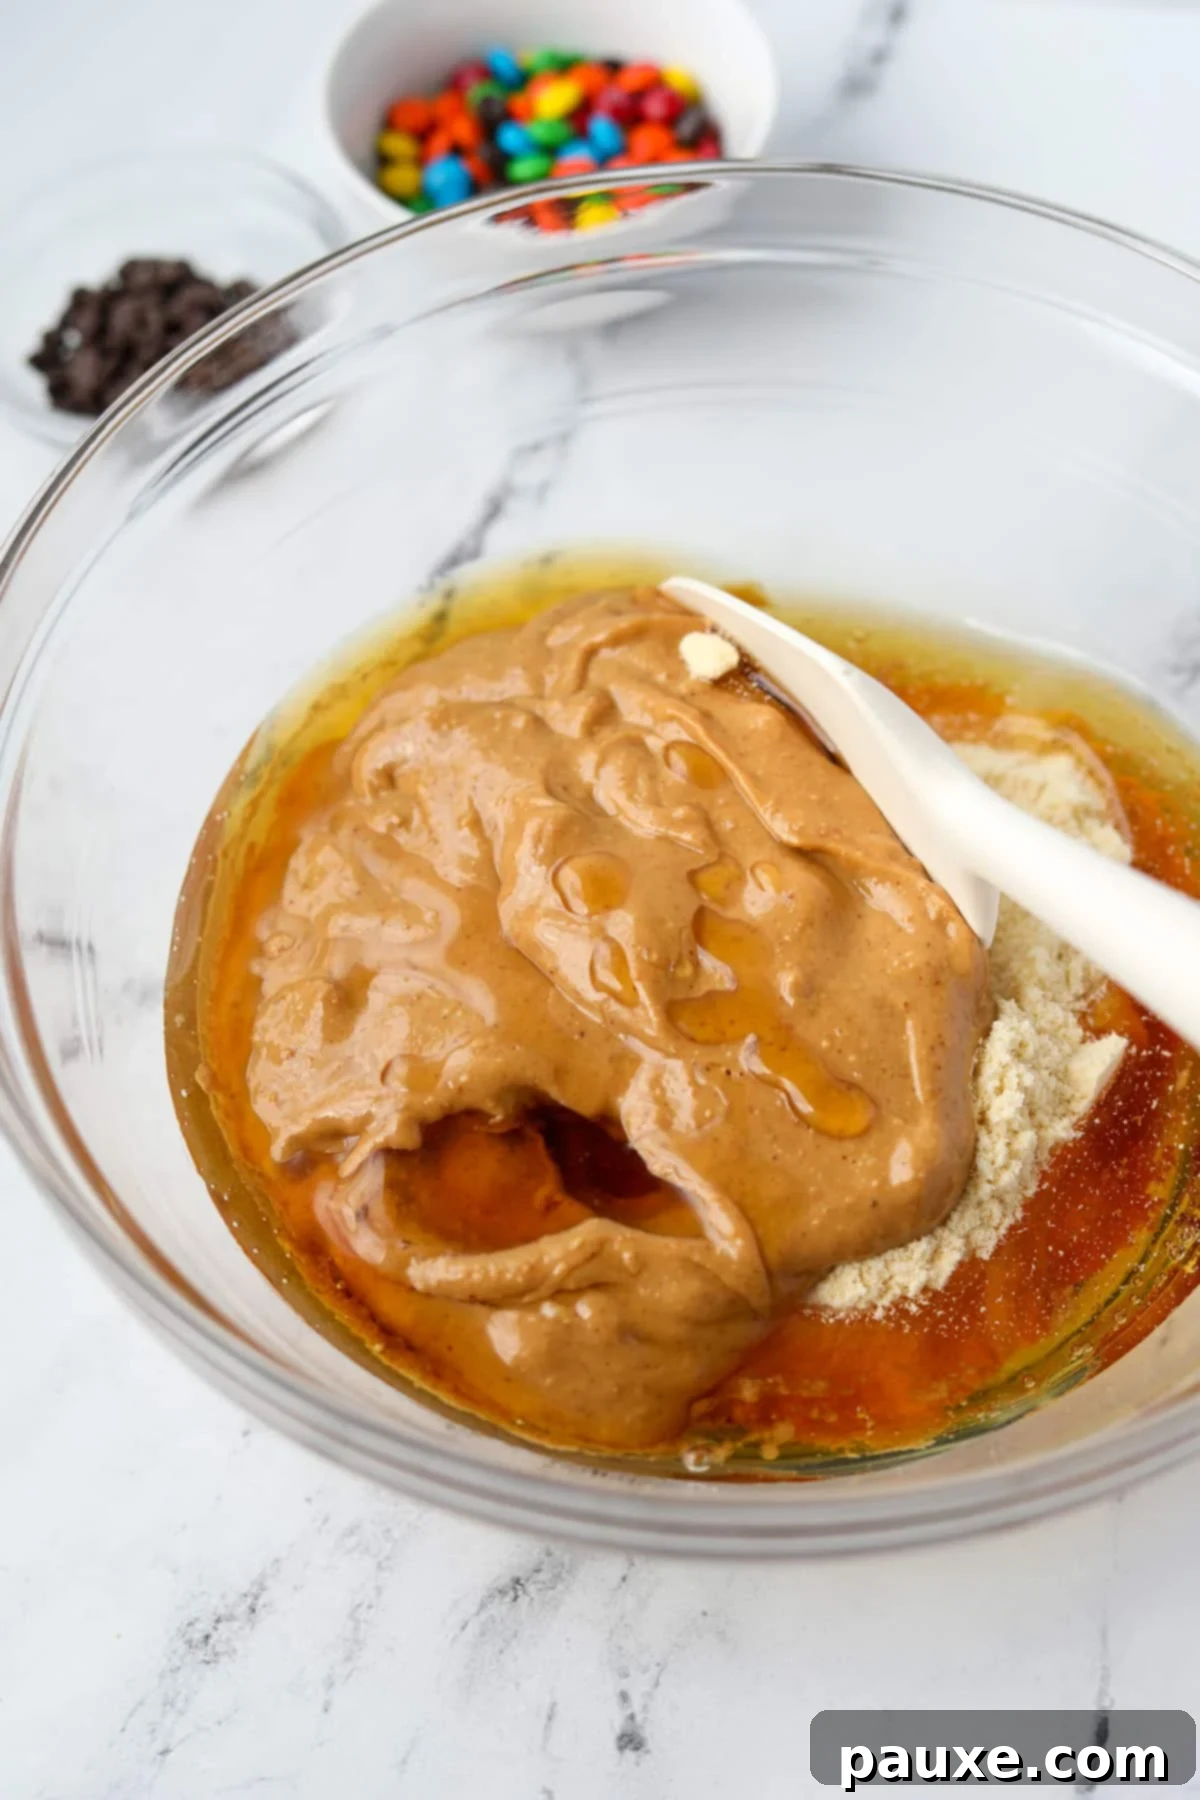
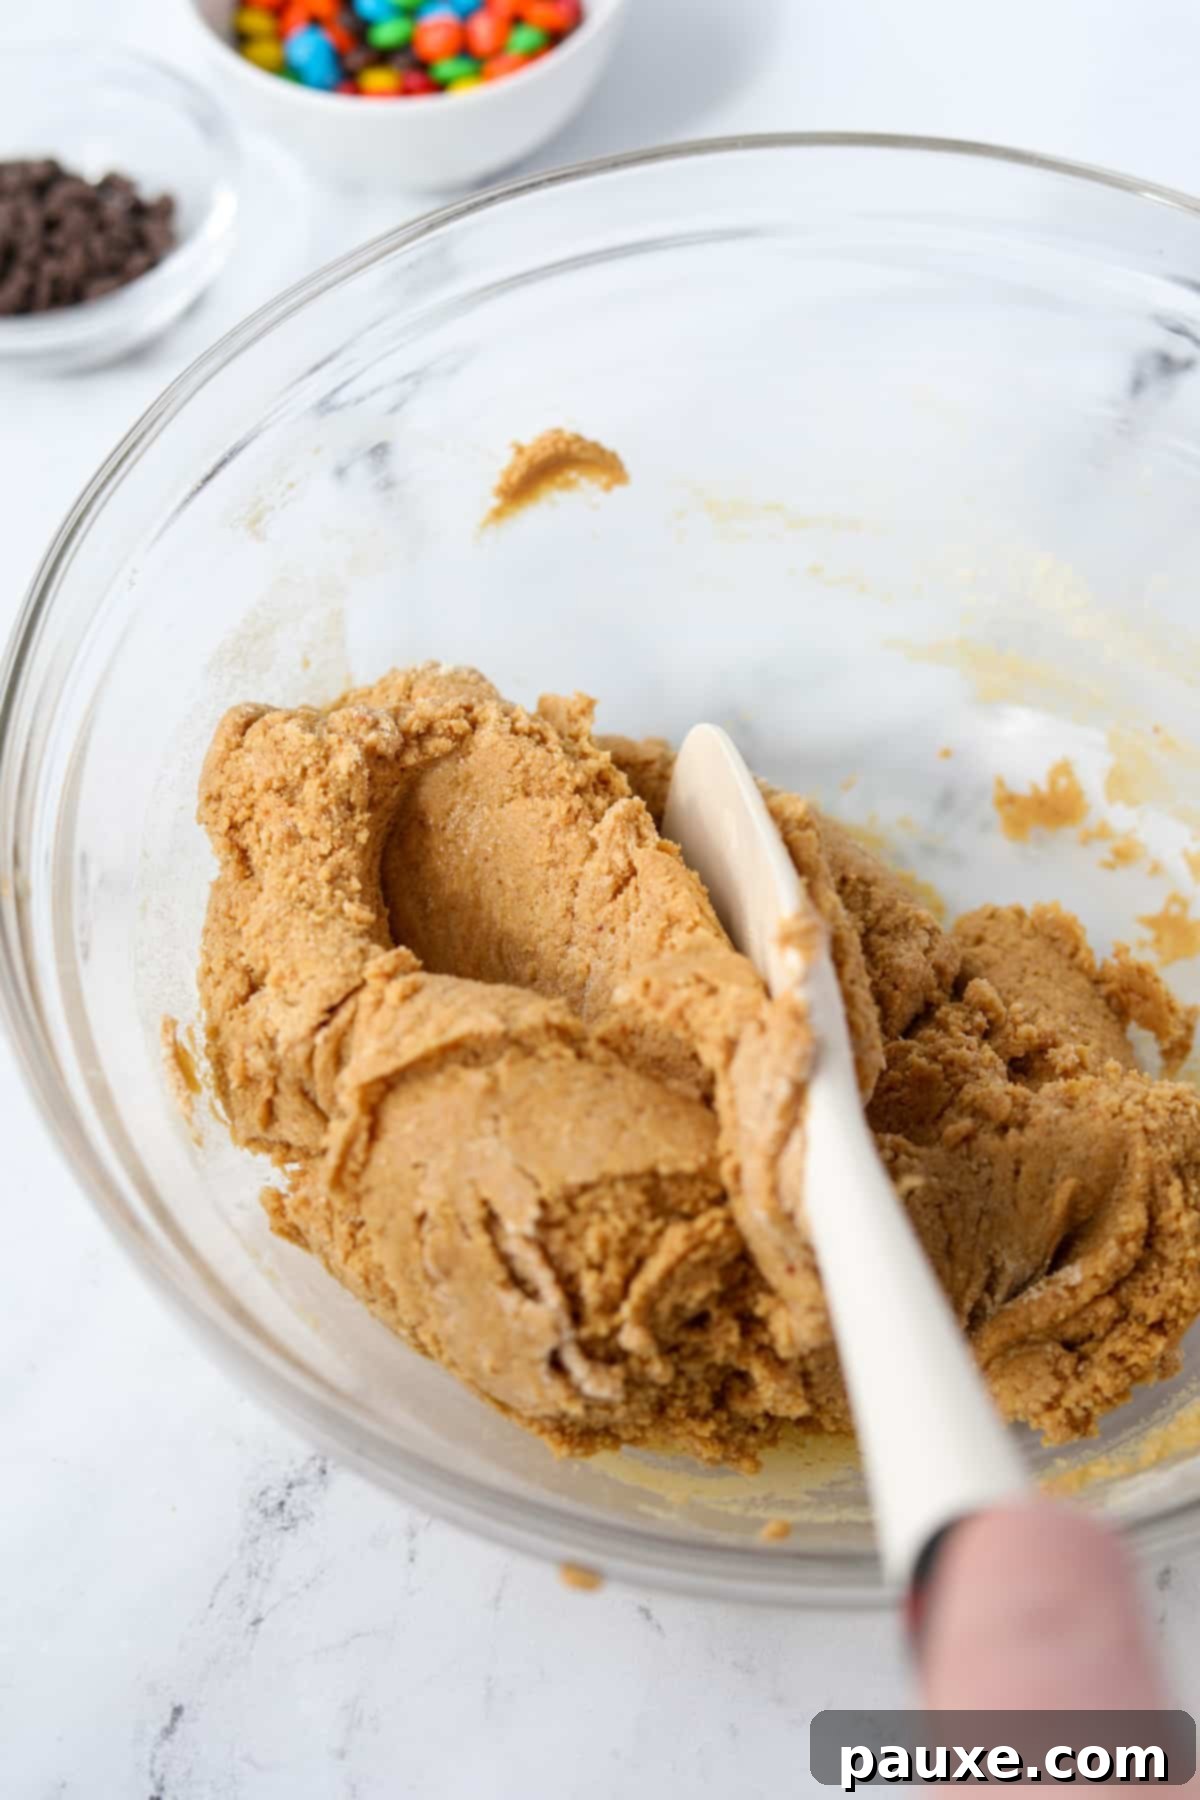
Step One: Combine Wet & Dry Ingredients
Begin by adding all your base ingredients to a large mixing bowl: the oat flour, protein powder, pure maple syrup, natural peanut butter (or your chosen nut butter), and vanilla extract. Ensure your nut butter is well-stirred if it has separated.
Step Two: Mix Until Well Combined
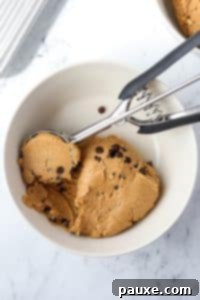
Using a sturdy silicone spatula, a wooden spoon, or the paddle attachment of a stand mixer, mix all the ingredients thoroughly. Continue mixing until a cohesive dough forms and no dry streaks of flour or protein powder remain. The dough should be thick, pliable, and slightly sticky, yet manageable enough to roll. If it’s too dry, add a tiny bit more maple syrup or a splash of milk; if too wet, a touch more oat flour or protein powder.
Adding Your Mix-ins & Portioning the Dough
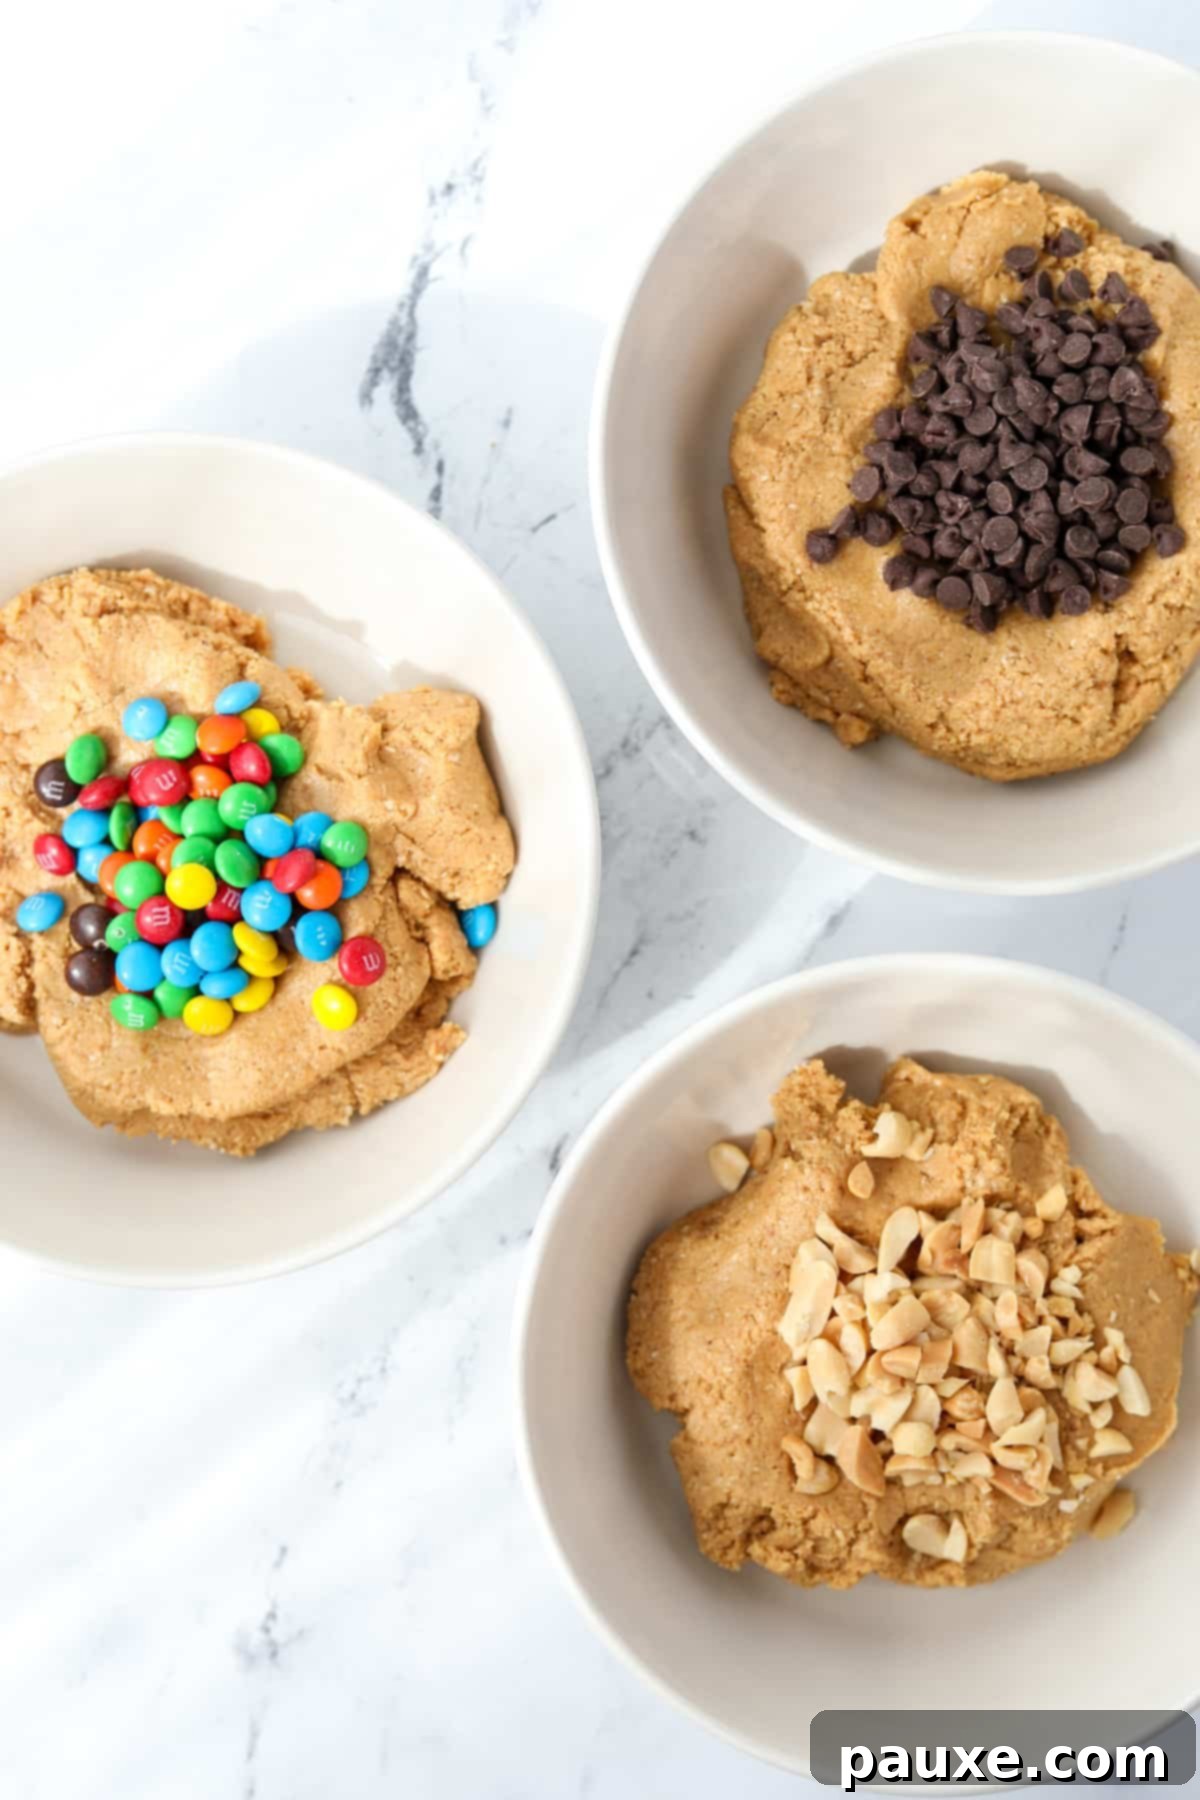
Step Three: Fold in Your Mix-ins
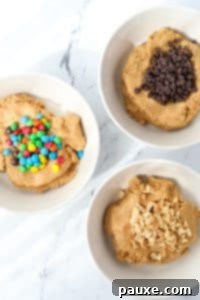
Now for the fun part! Add your desired mix-ins (chocolate chips, M&M’s, nuts, etc.) into the prepared dough. Gently fold them in using your spatula until they are evenly distributed throughout the mixture. Avoid overmixing once the mix-ins are added to prevent crushing delicate ingredients. If you’re planning to make multiple flavors, this is the ideal stage to separate your base dough into 2-3 smaller bowls before adding different mix-ins to each.
Expert Tip: For even distribution and to avoid over-handling, gently press the mix-ins into the surface of the dough after it’s mostly mixed, then give it a final fold.
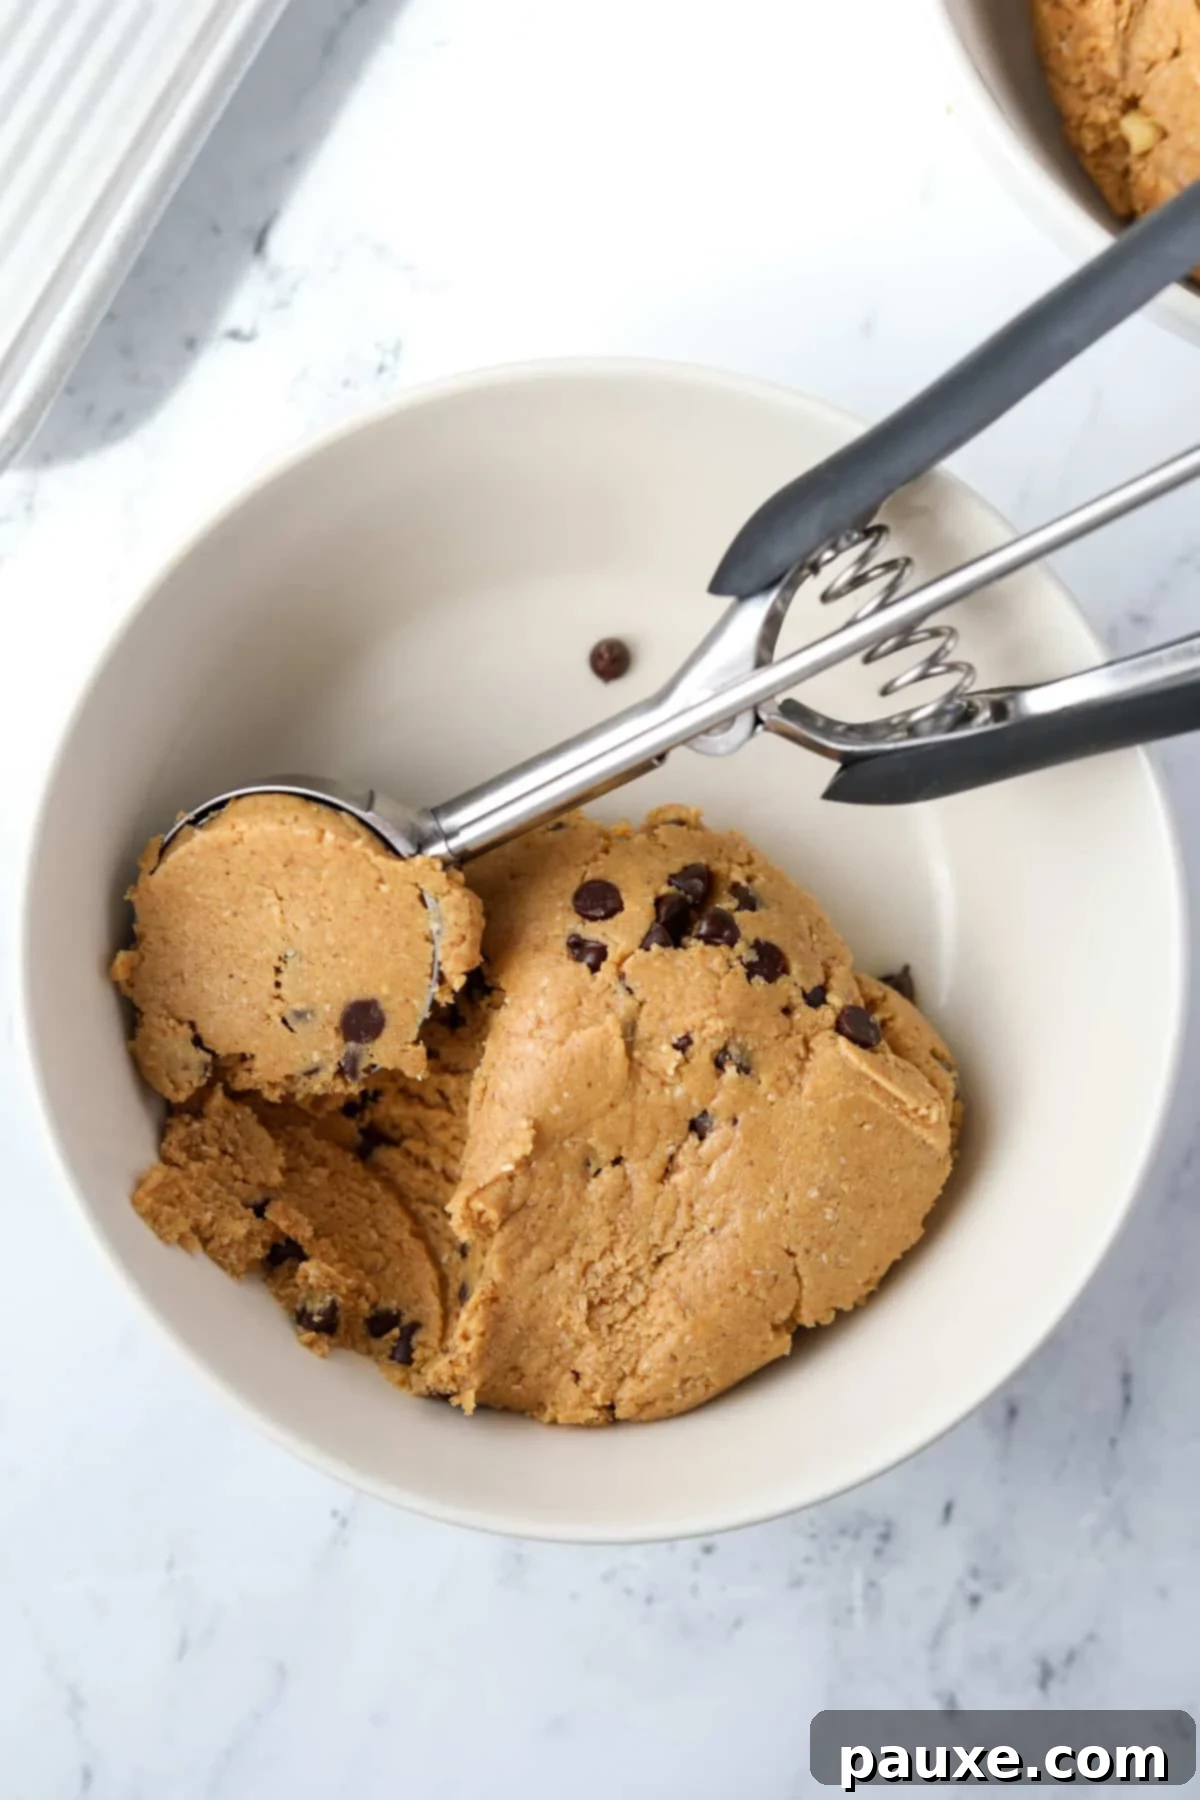
Step Four: Portion the Dough
Using a medium cookie scoop (roughly 1.5 tablespoons) or a heaping tablespoon, portion out the dough into individual mounds. Aim for consistent sizes, which helps ensure uniform chilling and a professional appearance. Place these portions onto a baking sheet lined with parchment paper, leaving a small space between each one.
Perfecting the Roll & The Chill Factor
Step Five: Roll into Smooth Balls
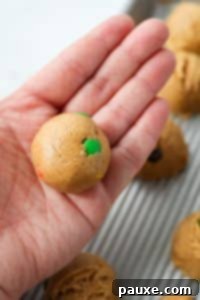
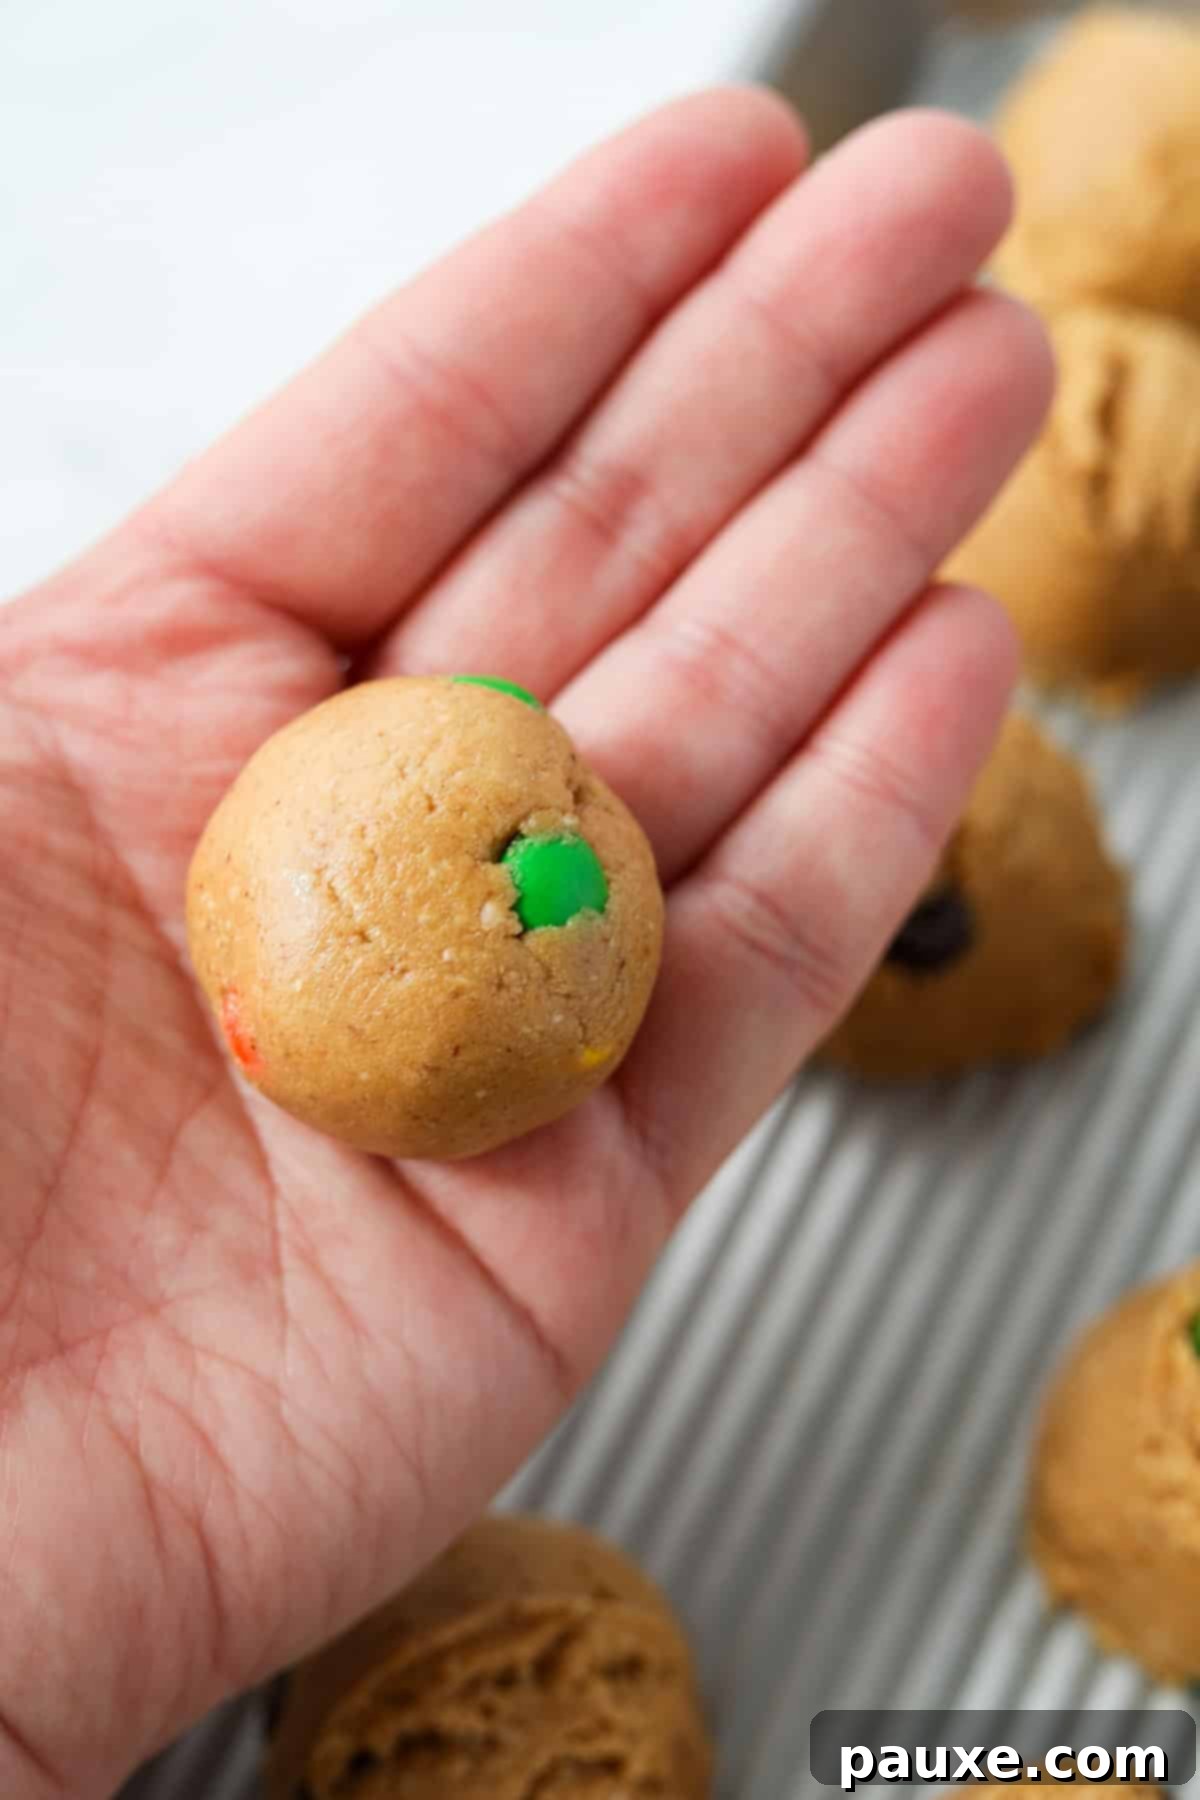
Gently roll each portion of cookie dough between the palms of your hands to form a smooth, round ball. This step creates a more appealing aesthetic and helps the balls hold their shape better during chilling. If the dough feels too sticky, you can lightly dampen your hands with water or oil, or dust them with a tiny amount of oat flour.
Step Six: Optional Topping & Chilling
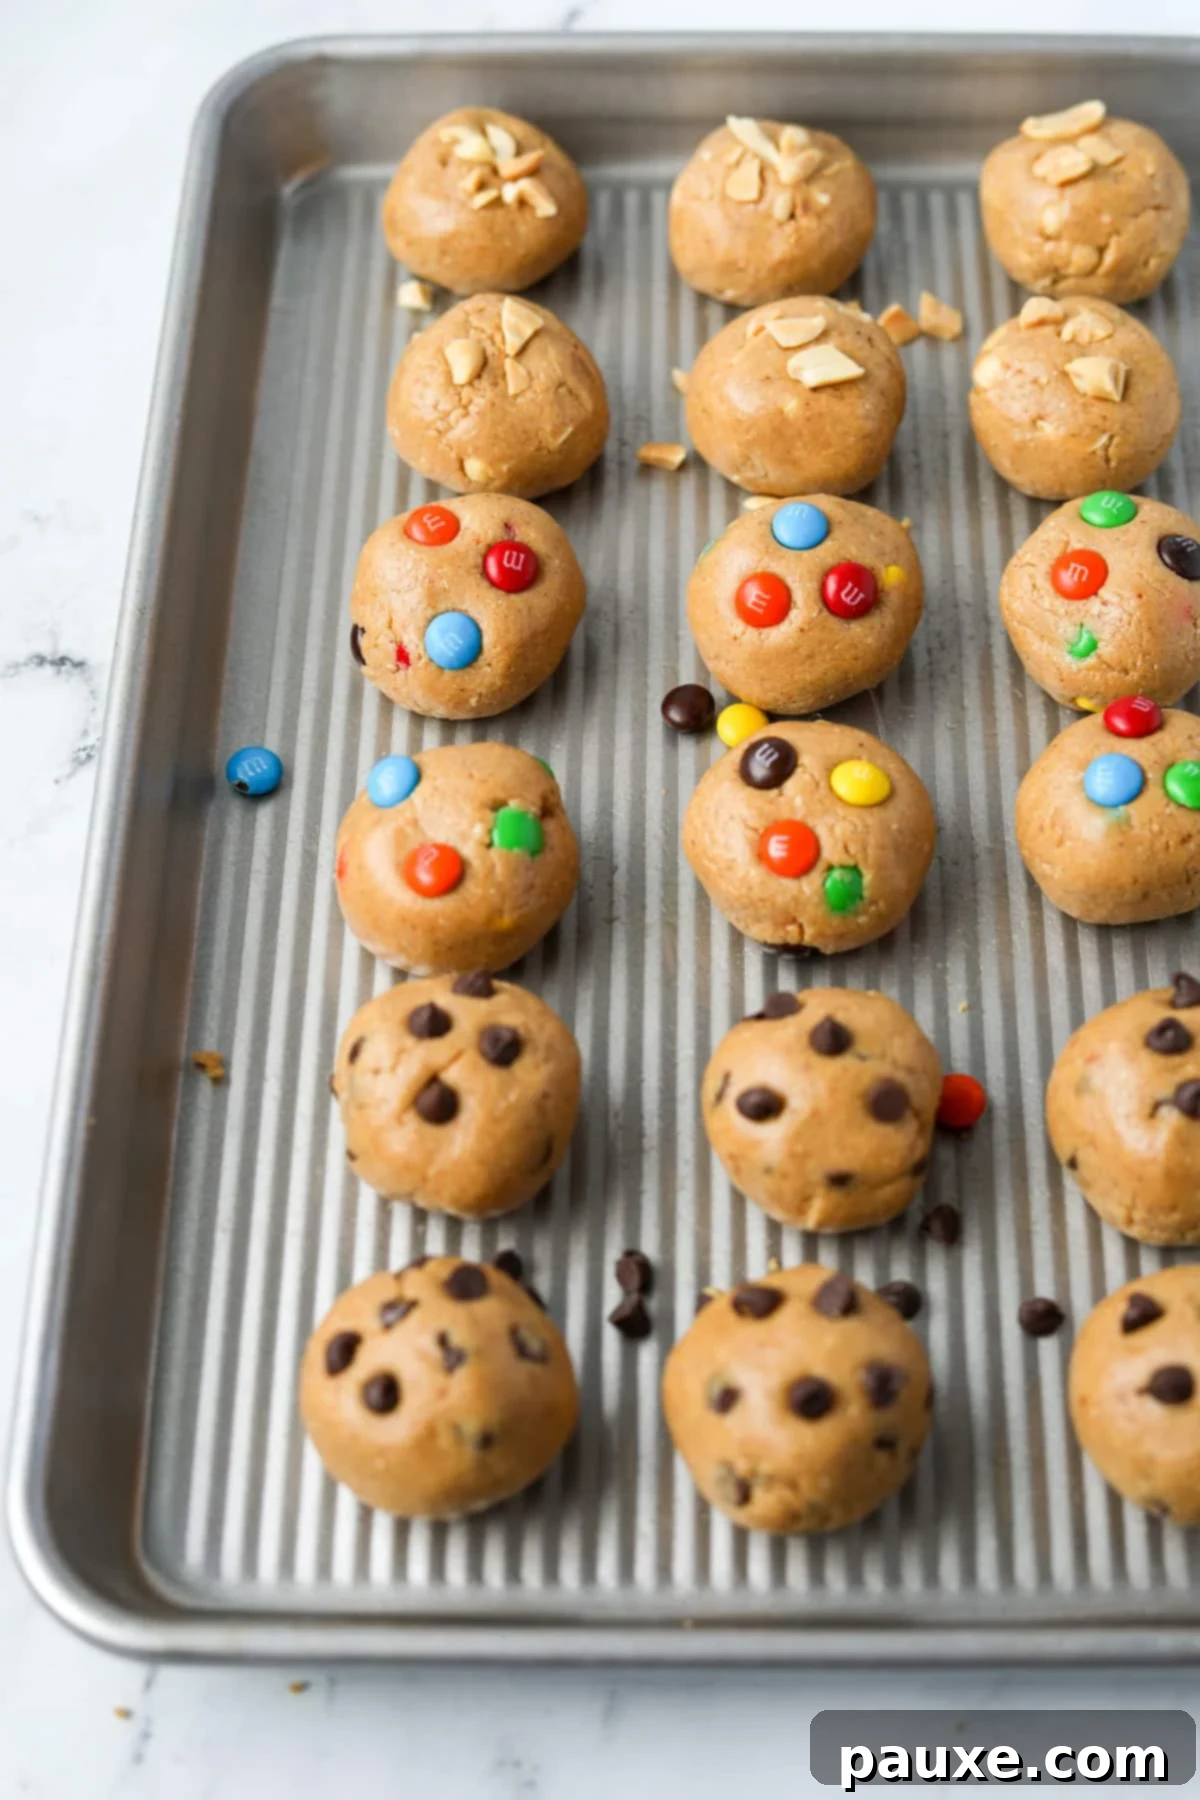
Once rolled, you can press additional chocolate chips, M&M’s, or other toppings onto the outside of each ball for an extra visual flourish and textural crunch. This is entirely optional but adds a nice touch. Finally, arrange the finished balls back onto the parchment-lined baking sheet. Place the baking sheet in the freezer and chill for at least 1 hour, or until the balls are completely firm. Chilling is crucial for setting their shape and improving their texture.
Storing and Freezing Your Protein Cookie Dough Balls
One of the best features of these protein cookie dough balls is how well they store, making them perfect for advanced meal preparation and ensuring you always have a healthy snack option available.
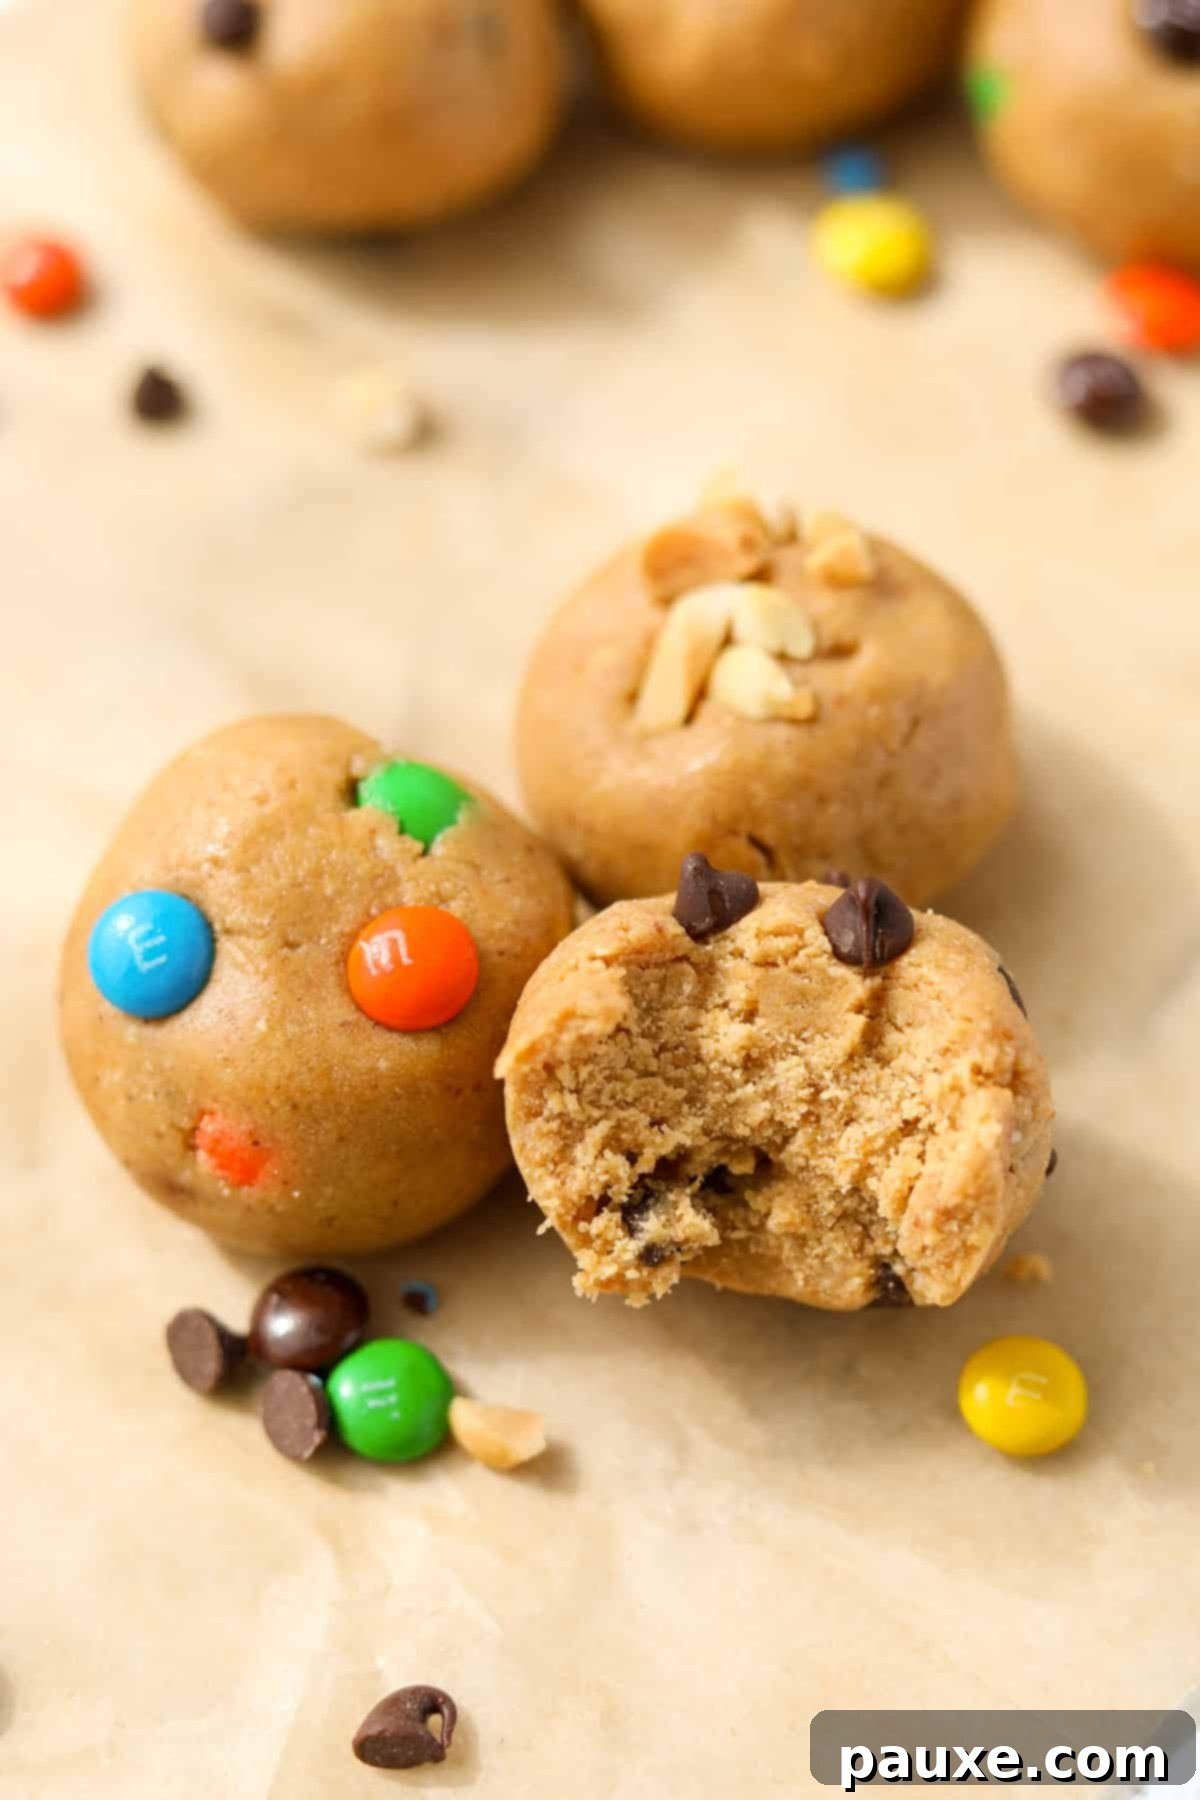
- Refrigerator Storage: Once your protein cookie dough balls have thoroughly chilled and are firm, transfer them from the baking sheet into an airtight container or a resealable freezer bag. Stored in the refrigerator, they will remain fresh and delicious for up to 1 week. Keep them away from strong-smelling foods to prevent flavor absorption.
- Freezer Storage: For longer-term storage, the freezer is your best friend. After the initial chilling period, place the firm balls into a freezer-safe airtight container or a heavy-duty freezer bag. They will maintain their quality and flavor in the freezer for up to 2 months. For best results when freezing, consider flash-freezing them on the baking sheet for an hour or two until rock solid before transferring them to a bag or container. This prevents them from sticking together.
Top Tip for On-the-Go: If you plan to take a few protein balls for a quick snack at work, school, or while running errands, simply toss them into your lunch bag or insulated tote directly from the freezer. They will gradually thaw by the afternoon, reaching a perfect, edible consistency just in time for your snack break!
Tips for Achieving Protein Cookie Dough Ball Perfection
To ensure your protein cookie dough balls turn out flawlessly every time, keep these expert tips in mind:
- Accurate Protein Powder Measurement: Protein powders can vary significantly in density and how they pack down in a measuring cup. The most reliable way to achieve consistent results is to use a digital kitchen scale to weigh out 60 grams of protein powder. For my preferred brand of vanilla whey protein, this typically equates to about ½ cup plus 2 tablespoons, but this can differ. Accurate measurement prevents the dough from being too dry or too wet, which can happen with volume measurements.
- Optimal Mixing Technique for Smoothness: For the smoothest, most uniform dough consistency, start by thoroughly mixing all the dry ingredients (oat flour, protein powder) together in the bowl. Then, add the wet ingredients (nut butter, maple syrup, vanilla extract) and mix until everything is perfectly combined and cohesive. This method helps prevent lumps and ensures all ingredients are evenly distributed.
- Experiment Beyond Balls: While these are called “balls,” the versatility of this base recipe extends far beyond just spheres! Feel free to press the dough into a lined baking pan to create delicious Protein Cookie Dough Bars. You can also enjoy the mixture simply as a scoopable, Edible Protein Cookie Dough straight from the bowl or chilled in a container. In fact, this recipe was adapted directly from my popular Monster Cookie Protein Bars, proving its fantastic adaptability!
- Adjusting Consistency: If your dough appears too dry and crumbly, add liquid (a teaspoon of maple syrup, milk, or a tiny bit more nut butter) one small increment at a time until it reaches a pliable consistency. If it’s too wet and sticky, incorporate a small amount of extra oat flour or protein powder until it’s easy to handle. Remember, different brands of protein powder and nut butter can affect the dough’s moisture level.
- Chill Time is Crucial: Don’t skip or shorten the chilling time. This step allows the ingredients to fully bind, firms up the texture, and prevents the balls from being too soft or crumbling apart when handled. A well-chilled ball has a much better bite and holds its shape perfectly.
Smart Substitutions for Dietary Needs
This recipe is incredibly accommodating and can be easily adapted to fit various dietary preferences and restrictions without sacrificing flavor or texture:
- Vegan-Friendly Adaptation: To make these protein cookie dough balls completely vegan, the primary change involves the protein powder. Simply substitute your preferred whey protein powder with a good quality vegan protein powder, such as pea protein, brown rice protein, or a mixed plant-based blend. Ensure your nut butter and maple syrup are already vegan (which they typically are). You might find that plant-based proteins absorb liquid differently, so be prepared to slightly adjust the amount of maple syrup or add a splash of plant milk if the dough feels too dry.
- Low-Carb Modifications: For those following a low-carb diet, a few key substitutions will make this recipe suitable. Replace the oat flour with a low-carb flour alternative like almond flour or coconut flour. A combination of the two often works well for texture. For the sweetener, swap out the maple syrup for a liquid low-carb sweetener such as sugar-free maple syrup, erythritol-based liquid sweetener, or liquid stevia. Remember to adjust the amount to your desired sweetness level as these can be much more concentrated. Finally, ensure all your chosen mix-ins are sugar-free (e.g., sugar-free chocolate chips, chopped nuts).
- Gluten-Free Assurance: As written, this recipe is naturally gluten-free due to the use of oats. However, if you or someone you’re serving has Celiac disease or a severe gluten sensitivity, it is absolutely crucial to use certified gluten-free oats or oat flour. Standard oats can often be cross-contaminated with gluten-containing grains during processing, so choosing certified options guarantees safety.
Recipe Frequently Asked Questions (FAQs)
Absolutely, making your own oat flour is incredibly easy if you don’t have any on hand! Simply add rolled oats (either quick oats or old-fashioned oats work) to a high-speed blender or food processor. Pulse the oats on high speed for about 30-60 seconds, or until they resemble a fine, powdery flour. Make sure there are no large oat pieces remaining for the best texture in your cookie dough balls.
It is generally not recommended to store homemade protein balls at room temperature. The primary reason is their high moisture content from ingredients like nut butter and maple syrup, combined with protein powder, which can create an environment prone to spoilage and bacterial growth. For the best safety, freshness, and texture, always store these protein cookie dough balls in an airtight container in the refrigerator or freezer.
The consistency of the dough can vary slightly depending on your specific brand of nut butter (some are runnier than others) and protein powder (some absorb more liquid). If your dough is too sticky, add an additional tablespoon of oat flour or protein powder, mixing until it reaches a manageable, non-tacky consistency. If it’s too dry and crumbly, add half a teaspoon of maple syrup or a tiny splash of milk (dairy or non-dairy), mixing well until the dough comes together and is pliable.
Yes, you can substitute honey for maple syrup in this recipe. Both are natural liquid sweeteners and generally work well as a 1:1 replacement. However, be aware that honey has a distinct flavor that might alter the overall taste of your protein balls. Maple syrup tends to have a milder, more neutral sweetness, allowing other flavors (like vanilla or your mix-ins) to shine more prominently. Adjust other flavorings like vanilla extract if needed.
If you’ve enjoyed crafting and tasting these delightful Protein Cookie Dough Balls, I would be absolutely thrilled to hear from you! Please consider leaving a 5-star review in the recipe card below or sharing your feedback in the comments section. Your reviews and comments truly help other home cooks discover and enjoy this recipe. Don’t forget to tag me on Instagram @dashfordinner with your beautiful creations – I love seeing your personalized protein balls!

Protein Cookie Dough Balls
This easy recipe for Protein Cookie Dough Balls is made with simple ingredients like nut butter, protein powder, oats, and maple syrup.
Print Recipe |
Pin Recipe |
Rate This Recipe
Equipment
- Cookie scoop
- Sheet Pan
- Large mixing bowl
- Silicone spatula or wooden spoon
Ingredients
- 1 cup creamy natural peanut butter or nut butter of choice (*must be natural, the kind with oil separating out)
- 5 tablespoons pure maple syrup
- 1 teaspoon vanilla extract
- ½ cup oat flour (**see notes for making your own)
- 60 grams vanilla whey protein powder (approximately ½ cup + 2 tablespoons, depending on brand)
- ⅓ cup mix-ins of your choice (mini chocolate chips, M&M’s, chopped nuts, sprinkles, etc.)
Instructions
- Add the peanut butter, maple syrup, vanilla extract, oat flour, and protein powder to a large bowl.

- Mix everything together with a silicone spatula (or in the bowl of a stand mixer) until well combined and a cohesive dough forms.

- Add the desired mix-ins into the dough, and fold them in until completely combined. If making a variety of flavors, divide your dough into 2 or 3 portions and add 2-3 tablespoons of different mix-ins per section.

- Use a cookie scoop (or heaping tablespoon) to portion the dough into individual balls.

- Roll the portioned dough between your palms to form a smooth, round shape.

- Place each rolled ball on a baking sheet lined with parchment paper, and press additional chocolate chips, M&M’s, peanuts, etc., into the dough if desired for an attractive finish.

- Freeze for at least 1 hour, or until completely firm.
- Once chilled, transfer the cookie dough protein balls into an airtight container. Store in the refrigerator for up to 1 week, or in the freezer for up to 2 months.
Did you try this recipe?
Tag me at @dashfordinner and share your photos!
Notes
Adapted from Monster Cookie Protein Bars
*Nut butter: It’s really important to use natural peanut butter (the kind that separates with an oily layer on top). This thinner, oily texture is essential for the protein balls to hold together properly. Do not substitute commercial peanut butter brands like Jif or Skippy, as their thicker, more solid consistency will not yield the same results.
**Oat flour: If you don’t have oat flour, you can easily make your own. Simply process old-fashioned (or quick) rolled oats in a blender or food processor until they resemble a fine powder. For gluten-free needs, ensure you use certified gluten-free oats.
Customizing: Feel free to get creative with your favorite extracts and mix-ins to craft unique cookie dough flavors, such as birthday cake (with sprinkles and butter/almond extract), toffee (with toffee bits), monster cookie (with M&M’s and chocolate chips), or other combinations you love.
Gluten-free: This recipe is naturally gluten-free as written. However, if you are strictly gluten-free or have Celiac disease, always opt for certified gluten-free oat flour (or certified gluten-free oats to make your own flour) to avoid cross-contamination.
Nutrition (per ball)
Calories: 134kcal | Carbohydrates: 11g | Protein: 6g | Fat: 8g | Saturated Fat: 2g | Polyunsaturated Fat: 2g | Monounsaturated Fat: 3g | Cholesterol: 6mg | Sodium: 41mg | Potassium: 104mg | Fiber: 1g | Sugar: 5g | Vitamin A: 8IU | Calcium: 28mg | Iron: 1mg
Please note that some of my blog posts here at Dash for Dinner may contain affiliate links. If you make a purchase through these links, I will get a small commission at no additional cost to you. Please see my Disclaimer for more information.
