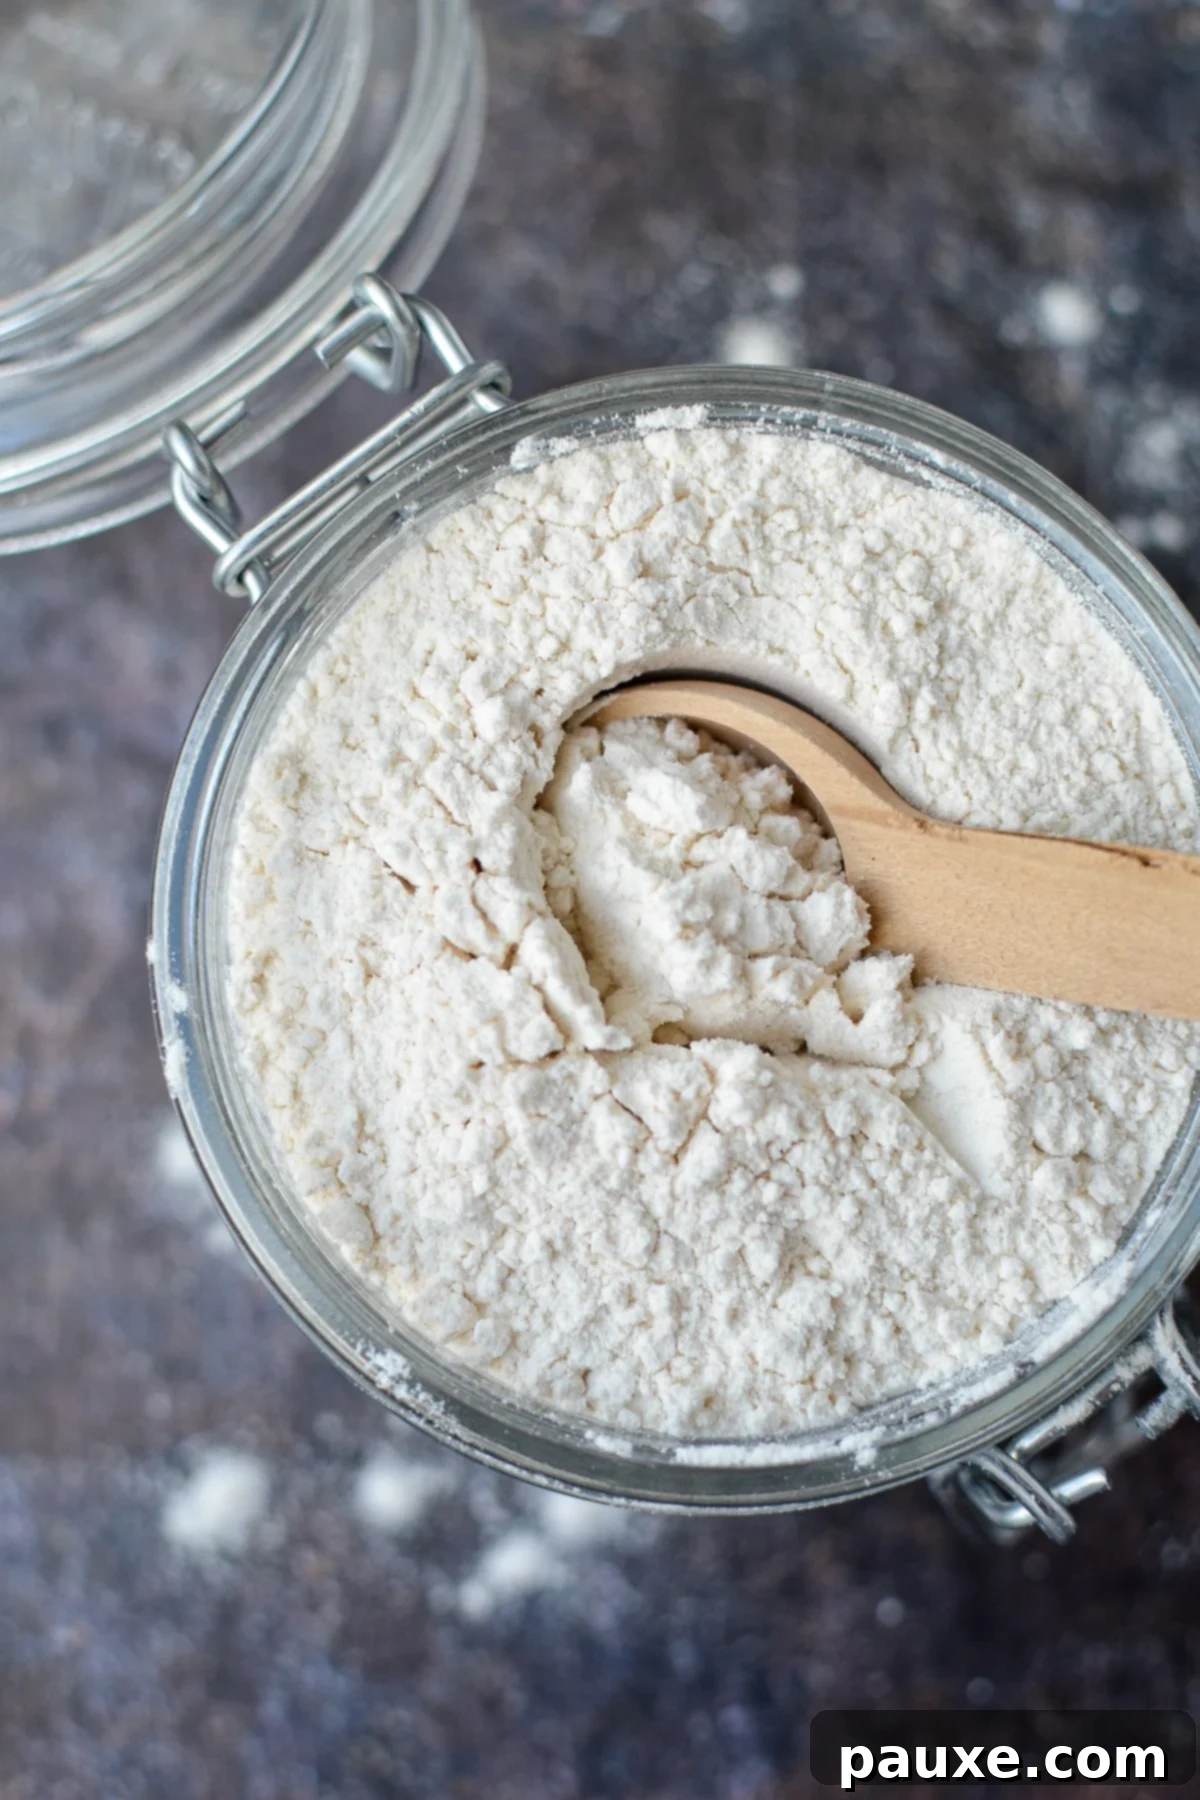
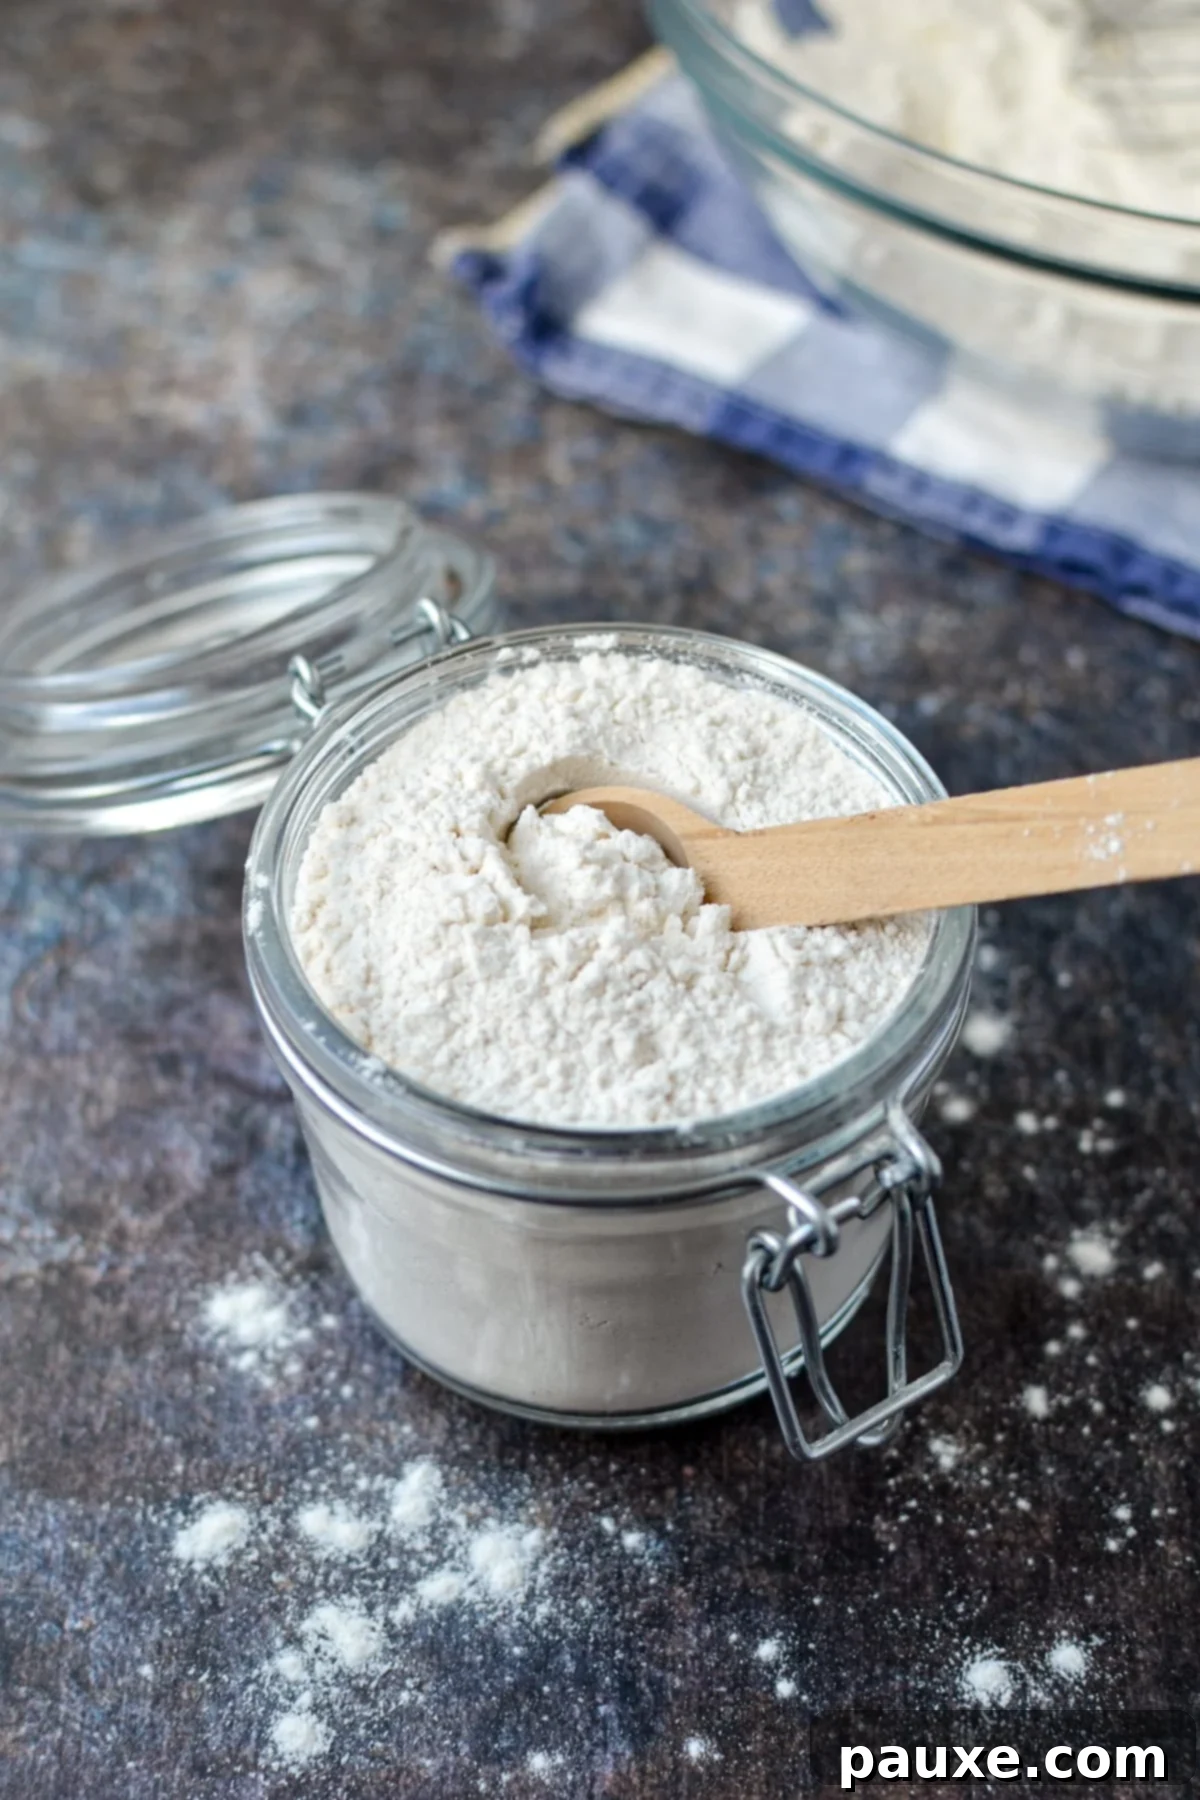
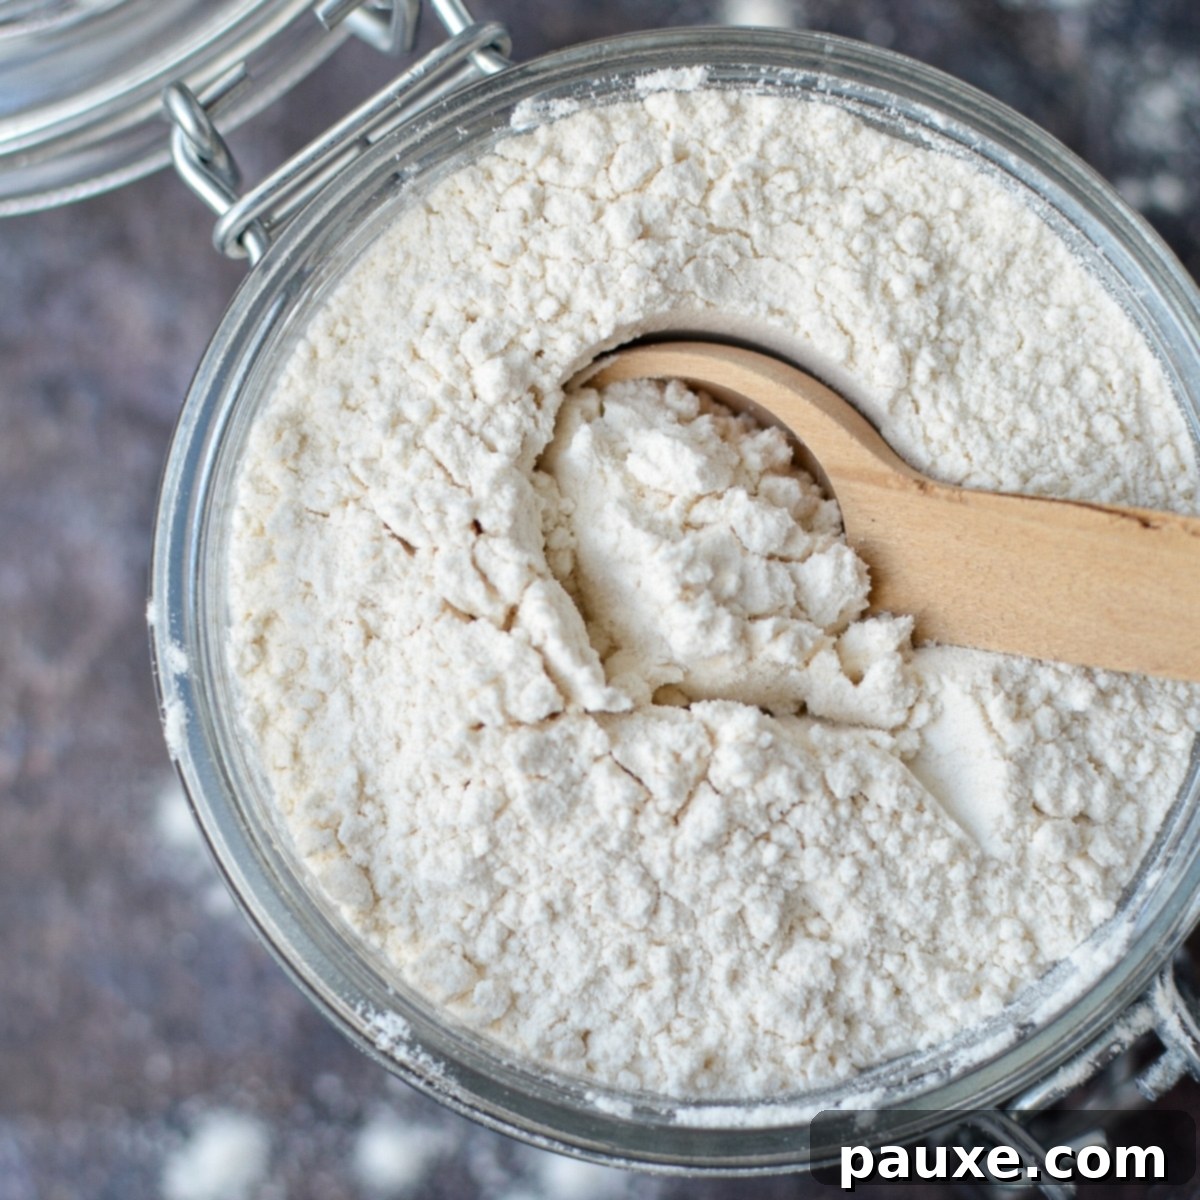
Unlock the secret to effortless baking with this incredibly simple recipe for homemade self-rising flour. Crafted from just three basic pantry staples, this essential ingredient can be ready in under 5 minutes, transforming your kitchen into a haven of baking possibilities. Whether you’re aiming for a batch of fluffy Southern biscuits, a decadent cake, or some warm, quick dinner rolls, having a supply of self-rising flour on hand is an absolute game-changer. Say goodbye to last-minute grocery runs and hello to spontaneous baking adventures with this reliable, easy-to-make substitute.

Living in a charming, albeit remote, rural area presents its unique set of challenges, especially when it comes to grocery shopping. While I’m blessed with picturesque landscapes and an abundance of local farm-fresh produce, there are often specific baking ingredients that simply aren’t available at my small local store. This is particularly true for specialized items like self-rising flour.
When a recipe calls for self-rising flour – perhaps a classic like the Cuppa Cake from Steel Magnolias – I often find myself in a predicament. Do I plan a special trip to a larger town, or do I embrace the joy of self-sufficiency and make my own? Increasingly, the latter has become my go-to solution. This homemade self-rising flour recipe is not only incredibly easy, requiring minimal effort and time, but it also uses ingredients I almost always have in my pantry: all-purpose flour, baking powder, and a touch of salt. The best part? It performs just as beautifully as its store-bought counterpart, yielding consistently light and airy baked goods.
Of course, should I ever find myself venturing through the South, you can bet I’ll be stocking up on a few bags of White Lily Flours. Brenda Gantt’s enthusiastic recommendations have certainly made an impression!
Understanding Self-Rising Flour: What It Is and Why It Matters
Self-rising flour, often referred to as self-raising flour in Canada and the UK, is a specially formulated flour blend designed to simplify baking. At its core, it’s a lower-protein content flour (typically soft wheat flour) that has been pre-mixed with a leavening agent – usually baking powder – and a pinch of salt. This clever combination means that when you use self-rising flour, you don’t need to add separate leaveners or salt to your recipe, streamlining the baking process and ensuring consistent results.
Its pre-mixed nature makes it incredibly popular in Southern American cuisine, where it’s a staple for a variety of beloved baked goods. From flaky biscuits and tender cakes to chewy brownies and soft dinner rolls, self-rising flour provides that perfect lift and delicate crumb that defines many traditional recipes. The lower protein content of the flour itself contributes to a softer texture, ideal for tender baked goods rather than chewy breads. Essentially, it’s an all-in-one solution for bakers looking for convenience without compromising on quality.
Why Opt for Homemade Self-Rising Flour? The Benefits of DIY Baking
There are numerous compelling reasons why making your own self-rising flour can be a smart and satisfying choice for any home baker:
- Accessibility: Depending on your geographic location, store-bought self-rising flour might be hard to find or simply unavailable. For those in rural areas or regions where it’s not a common pantry item, crafting your own ensures you never have to miss out on a favorite recipe. It’s the ultimate pantry backup!
- Pantry Staples: This recipe utilizes common kitchen ingredients you likely already have: plain all-purpose flour, baking powder, and salt. No need for a special trip or expensive specialty ingredients. It’s a testament to how simple yet effective homemade solutions can be.
- Convenience & Time-Saving: Instead of rushing to the grocery store for one specific item, you can whip up a batch of self-rising flour in less than five minutes. This saves you time, gas, and the hassle of navigating crowded aisles, especially when inspiration strikes for a spontaneous baking project.
- Freshness and Quality Control: When you make your own, you control the freshness of the ingredients. Baking powder, in particular, can lose its potency over time. Using fresh ingredients ensures maximum leavening power for your baked goods.
- Customization: While the standard recipe is fantastic, making your own allows for slight adjustments. For instance, if you prefer a specific type of all-purpose flour (bleached vs. unbleached) or a particular brand of baking powder, you have the freedom to choose.
- Cost-Effective: Buying individual ingredients and combining them at home is generally more economical than purchasing pre-packaged self-rising flour. Over time, these small savings add up, making homemade a budget-friendly option for avid bakers.
- Perfect for Southern Baking: If you frequently bake Southern classics like biscuits, cornbread, or specific cakes (like the Cuppa Cake mentioned earlier), having a reliable supply of homemade self-rising flour is invaluable. It’s an authentic substitute that delivers genuine results.
Essential Ingredients for Your Homemade Flour Blend
Creating your own self-rising flour is remarkably straightforward, requiring just three foundational ingredients. The magic happens when these components are combined in the right proportions, transforming ordinary flour into a powerful leavening agent.

- All-Purpose Flour: This is the base of your self-rising flour substitute. You can use virtually any type of all-purpose flour you have in your pantry – regular, unbleached, or even cake flour or pastry flour will work beautifully. The key is its moderate protein content, which provides a tender crumb ideal for self-rising flour applications. It’s important to avoid bread flour for this recipe, as its high gluten content will result in baked goods that are too tough and chewy, rather than light and tender.
- Baking Powder: The leavening powerhouse! Baking powder is a chemical leavener that reacts with moisture and heat to produce carbon dioxide gas, which creates air pockets in your dough or batter, causing your baked goods to “rise.” Most commercial baking powders are double-acting, meaning they have two reactions: one when wet ingredients are added, and a second more powerful reaction when exposed to heat in the oven. This ensures a consistent and reliable rise for your recipes.
- Salt: A crucial, yet often underestimated, ingredient. Salt not only enhances the flavor of your baked goods but also plays a role in controlling the yeast (if any, though not in this specific recipe) and gluten development. For every 2 cups of all-purpose flour, you’ll need approximately 1 teaspoon of salt. I highly recommend using a fine-grain salt, such as table salt or fine sea salt, as it blends seamlessly and evenly with the other dry ingredients. Coarser salts like Kosher salt tend to have larger crystals that may not distribute as uniformly throughout the flour mixture, leading to inconsistent seasoning in your final product.
Recommended Equipment:
- Flour Sifter or Fine Mesh Strainer: While not strictly mandatory, I strongly recommend running your combined flour, baking powder, and salt through a flour sifter or a fine mesh strainer. This crucial step helps to thoroughly combine the ingredients, removing any lumps and ensuring an even distribution of the leavening agent and salt throughout the flour. The result is a more uniform, airy, and reliable self-rising flour. If you don’t have a sifter or strainer, a simple whisk can still do a decent job of mixing, just make sure to whisk vigorously for a minute or two to ensure everything is well incorporated.
- Large Bowl: Essential for combining your ingredients without making a mess, especially if sifting.
- Airtight Container: For storing your freshly made self-rising flour and preserving its potency.
Simple Steps to Craft Your Own Self-Rising Flour
Making self-rising flour at home is an incredibly quick and easy process. Follow these straightforward steps to prepare your own batch in minutes, ensuring you’re always ready for your next baking endeavor.

Step One: Combine the Ingredients. Begin by adding your all-purpose flour, baking powder, and salt to a large mixing bowl. Using a whisk, thoroughly combine all three ingredients. Continue whisking until you’re confident that the baking powder and salt are evenly distributed throughout the flour. You could technically use the flour at this stage, but for the most consistent and professional-like results, proceed to step two.

Step Two: Sift for Perfection (Optional but Recommended). Place a large fine-mesh strainer or a flour sifter over another clean, large bowl. Carefully pour your flour mixture into the strainer or sifter. Gently stir the mixture with your whisk or tap the sifter/strainer to encourage the flour to pass through. This crucial step removes any tiny lumps and ensures that the leavening agent and salt are perfectly incorporated into the flour, resulting in a super-fine, uniform blend that will give your baked goods an excellent, even rise. This also aerates the flour, which is beneficial for many recipes.
Step Three: Ready to Use or Store. Once sifted (or thoroughly whisked), your homemade self-rising flour is ready! You can either use it immediately in your favorite recipes that call for self-rising flour, or transfer it to an airtight container for future use. Label the container with the date so you can keep track of its freshness.

Storage Tips for Optimal Freshness and Leavening Power
Proper storage is key to maintaining the effectiveness of your homemade self-rising flour, particularly its leavening power. Follow these guidelines to ensure your flour remains fresh and ready to perform its magic in your baking projects:
- Airtight Container is Essential: Always store your self-rising flour in an airtight container. This protects it from moisture, air, and pantry pests, all of which can degrade the quality of both the flour and the baking powder. Glass jars with tight-fitting lids, plastic food storage containers, or even heavy-duty resealable bags work well.
- Cool, Dry, and Dark Place: The ideal storage environment is a cool, dry, and dark pantry or cupboard. Heat and humidity are the enemies of baking powder, causing it to lose its potency prematurely. Exposure to light can also contribute to degradation. Avoid storing it near appliances that generate heat, like the stove or dishwasher.
- Shelf Life: Your homemade self-rising flour will generally store well for up to 3 months. This timeframe is largely dictated by the freshness of your baking powder. Over time, baking powder’s active compounds can break down, reducing its ability to provide lift.
- Consider the Freezer for Extended Storage: For even longer preservation, you can store self-rising flour in the freezer. Place it in a freezer-safe airtight container or bag. When ready to use, allow it to come to room temperature before measuring and adding to your recipe. This can extend its shelf life to 6 months or even longer, keeping the baking powder more potent.
- Testing Baking Powder Freshness: If you’re unsure about the freshness of your baking powder (and thus your self-rising flour), you can perform a quick test. In a small bowl, combine about ½ teaspoon of baking powder with ¼ cup of warm water. If it fizzes vigorously, it’s still good. If there’s little to no fizz, it’s time to replace your baking powder. This simple test can save your baked goods from falling flat.
Versatile Uses for Your Homemade Self-Rising Flour
If you’re new to the world of self-rising flour, you might be surprised by its versatility in the kitchen. This special blend is a beloved ingredient, particularly prominent in Southern American cooking and in the UK (where it’s known as self-raising flour), thanks to its ability to impart a wonderful lightness and tender texture to baked goods. Here are just a few of the many delicious ways you can put your homemade self-rising flour to good use:
- Fluffy Biscuits: Perhaps its most iconic use! Self-rising flour is the secret to exceptionally light and flaky Southern biscuits.
- Southern Comfort Foods: Beyond biscuits, it’s a staple for many traditional Southern recipes, including certain cornbreads and savory quick breads.
- Quick Breads: Excellent for muffins, scones, and other quick breads that rely on chemical leaveners for their rise and tender crumb.
- Cakes: From simple sheet cakes to more elaborate layer cakes, self-rising flour provides a delicate texture that is highly sought after in many cake recipes.
- Dinner Rolls: Achieve soft, pillowy dinner rolls with minimal effort, perfect for accompanying any meal.
- Pancakes and Waffles: For light and airy breakfast favorites, self-rising flour ensures a beautiful lift without the need for additional leavening agents.
- Muffins: Create perfectly domed and tender muffins with ease.
- Brownies: Some brownie recipes benefit from the subtle lift and softer texture that self-rising flour provides, making them less dense and more cake-like.
- Beer Bread: A wonderfully easy and rustic bread that often calls for self-rising flour to react with the carbonation in beer, creating a quick rise.
- Any Recipe Calling for It: The golden rule is to always use self-rising flour when a recipe specifically lists it. Its unique composition is integral to the recipe’s intended outcome.
It’s crucial to remember that self-rising flour cannot be directly substituted for regular all-purpose flour in just any recipe. Because self-raising flour contains both baking powder and salt already incorporated, it has a built-in leavening system. Substituting it in a recipe designed for all-purpose flour (which would then have separate leavening and salt added) could lead to over-leavening, an overly salty taste, or an imbalance in the recipe’s chemistry. Conversely, using all-purpose flour when self-rising flour is specified would result in baked goods that fail to rise properly and lack flavor.

The Perfect Ratio for Your Self-Rising Flour Substitute
Whether you need a small amount for a single recipe or wish to prepare a larger batch for regular use, understanding the core ratio is key. This simple formula allows you to easily scale your homemade self-rising flour to any desired quantity, ensuring you always have exactly what you need on hand.
- 1 cup of all-purpose flour
- 1 ½ teaspoons of baking powder
- ½ teaspoon salt
Simply combine these ingredients, ideally pass them through a flour sifter or fine mesh strainer for optimal consistency, and then store your freshly made self-rising flour in an airtight container in a cool, dry place for up to three months. This fundamental ratio is your versatile tool for all your self-rising flour needs.
Frequently Asked Questions About Self-Rising Flour
The primary difference is the added ingredients. Self-rising flour is essentially all-purpose flour that has been pre-mixed with a leavening agent (baking powder) and salt. This means it already contains the necessary components to help baked goods rise and achieve proper flavor, whereas all-purpose flour is plain and requires these ingredients to be added separately by the baker.
If you use plain all-purpose flour in a recipe designed for self-rising flour without adding extra leavening agents and salt, your baked goods will not rise as intended. They will likely be dense, flat, and lack the desired texture and flavor. To rectify this, you can easily make your own self-rising flour by adding 1 ½ teaspoons of baking powder and ½ teaspoon of salt for every 1 cup of all-purpose flour.
Yes, “self-rising flour” and “self-raising flour” refer to the exact same product. The terminology depends on regional usage. In the United States, it is commonly known as self-rising flour, while in the United Kingdom, Canada, and Australia, it is typically referred to as self-raising flour. Both terms describe flour that has a leavening agent and salt already incorporated.
Yes, you can absolutely use cake flour or pastry flour to make self-rising flour. In fact, these flours have a lower protein content than standard all-purpose flour, which can result in even more tender and delicate baked goods, particularly ideal for cakes and biscuits. Just ensure they are plain (not already self-rising) before adding your baking powder and salt.
To check if your baking powder is still active, mix about half a teaspoon with a quarter cup of warm water. If it immediately fizzes and bubbles vigorously, it’s still good to use. If there’s only a weak fizz or no reaction, it has lost its potency and should be replaced. This test is crucial as old baking powder will prevent your baked goods from rising.

Homemade Self-Rising Flour
This incredibly easy recipe for homemade self-rising flour is made with just 3 simple ingredients and can be prepared in less than 5 minutes! A perfect substitute when you’re out of store-bought or prefer a fresh, DIY option.
Course: Homemade foods
Cuisine: American, Southern
Prep Time: 5 minutes
Servings: 2 cups
Calories: 458 kcal per cup
Author: Dorothy Bigelow
Pin Recipe
Equipment
- Mesh strainer or sifter (optional, but recommended for best results)
- Large mixing bowl
- Whisk
- Airtight storage container
Ingredients
- 2 cups all-purpose flour
- 1 tablespoon baking powder (ensure it’s fresh for optimal rise)
- 1 teaspoon fine salt (such as table salt or fine sea salt)
Instructions
- Add the all-purpose flour, baking powder, and salt to a large mixing bowl.
- Whisk all ingredients together thoroughly until well combined. This initial mixing is crucial for even distribution.
- For the absolute best results and a perfectly uniform flour blend, optionally sift the mixture through a fine-mesh strainer or flour sifter into another clean bowl. This removes any lumps and aerates the flour.
- Your homemade self-rising flour is now ready to be used as a substitute in any recipe that calls for it.
- Store any unused flour in an airtight container in a cool, dry, and dark place for up to 3 months to maintain its freshness and leavening power.
Did you try this recipe? Tag me at @dashfordinner and share your photos!
Notes
Smaller or larger batches: This versatile recipe can easily be halved, doubled, or tripled to suit your specific baking needs. Simply maintain the stated ingredient ratios for consistent results.
Nutrition
Serving: 1 cup | Calories: 458 kcal | Carbohydrates: 97g | Protein: 13g | Fat: 1g | Saturated Fat: 0.2g | Polyunsaturated Fat: 1g | Monounsaturated Fat: 0.1g | Sodium: 1801mg | Potassium: 135mg | Fiber: 3g | Sugar: 0.3g | Calcium: 372mg | Iron: 6mg
Please note that some of my blog posts here at Dash for Dinner may contain affiliate links. If you make a purchase through these links, I will get a small commission at no additional cost to you. Please see my Disclaimer for more information.
