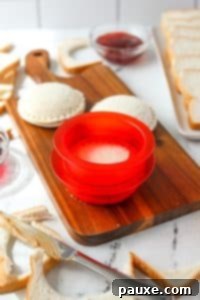
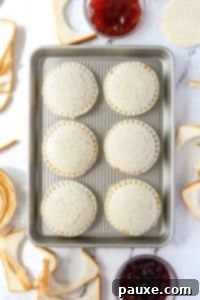
Master the Art of Homemade Uncrustables: Your Ultimate Guide to Freezer-Friendly PB&J Sandwiches
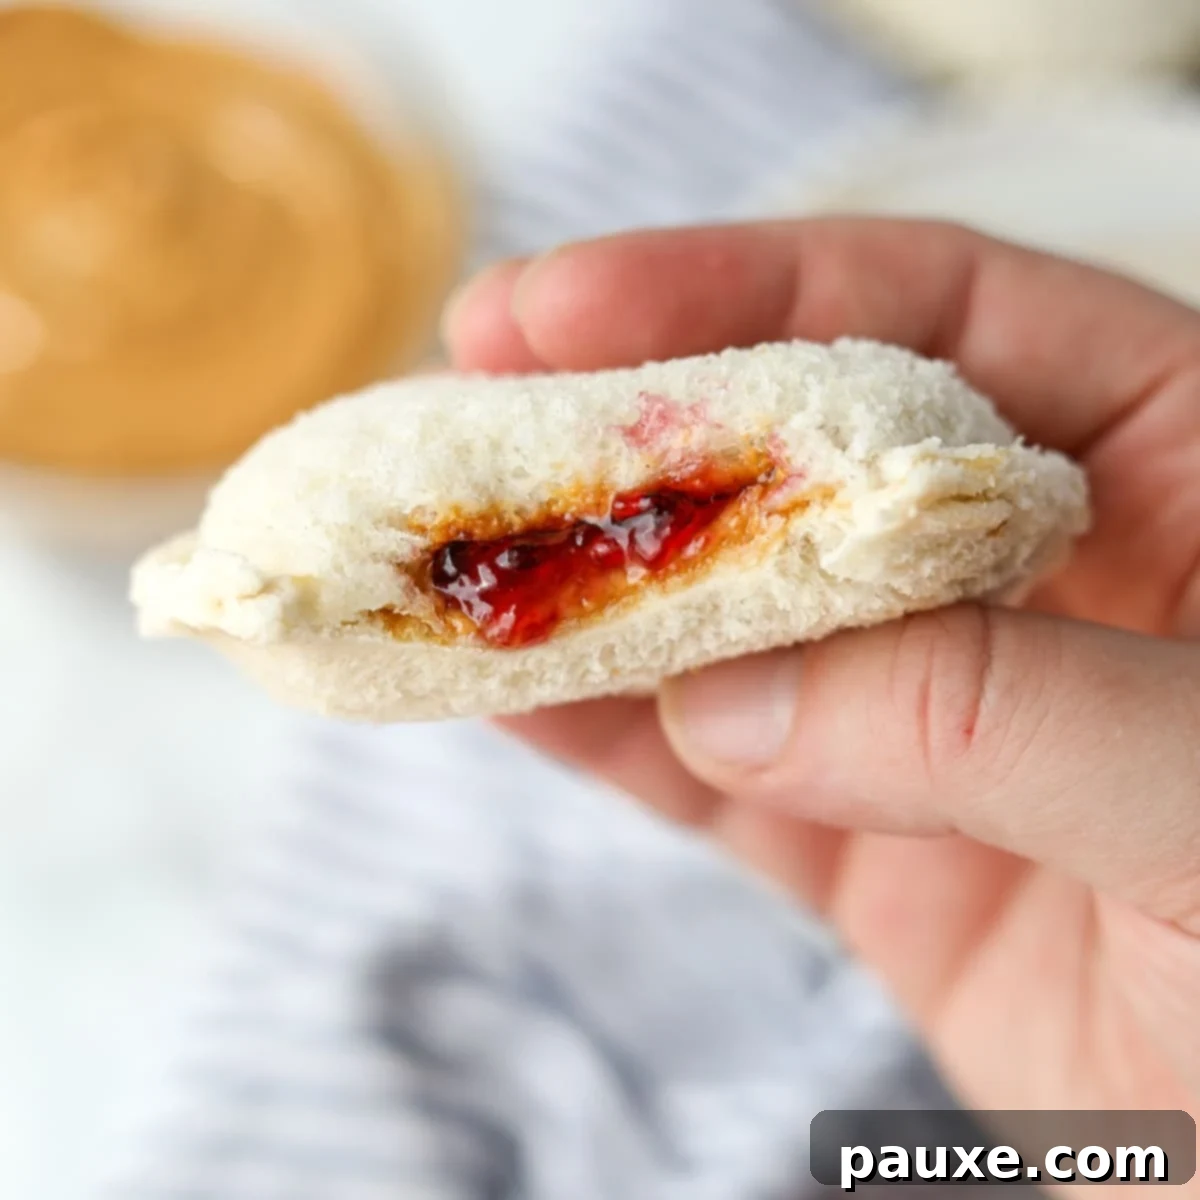
Are you searching for a convenient, healthy, and budget-friendly solution for school lunches, quick breakfasts, or anytime snacks? Look no further! This comprehensive guide will show you how to easily prepare a batch of Homemade Uncrustables – those delightful, crustless peanut butter and jelly sandwiches that kids (and adults!) adore. Forget expensive store-bought versions; crafting your own means you have full control over ingredients and can save a significant amount of money.
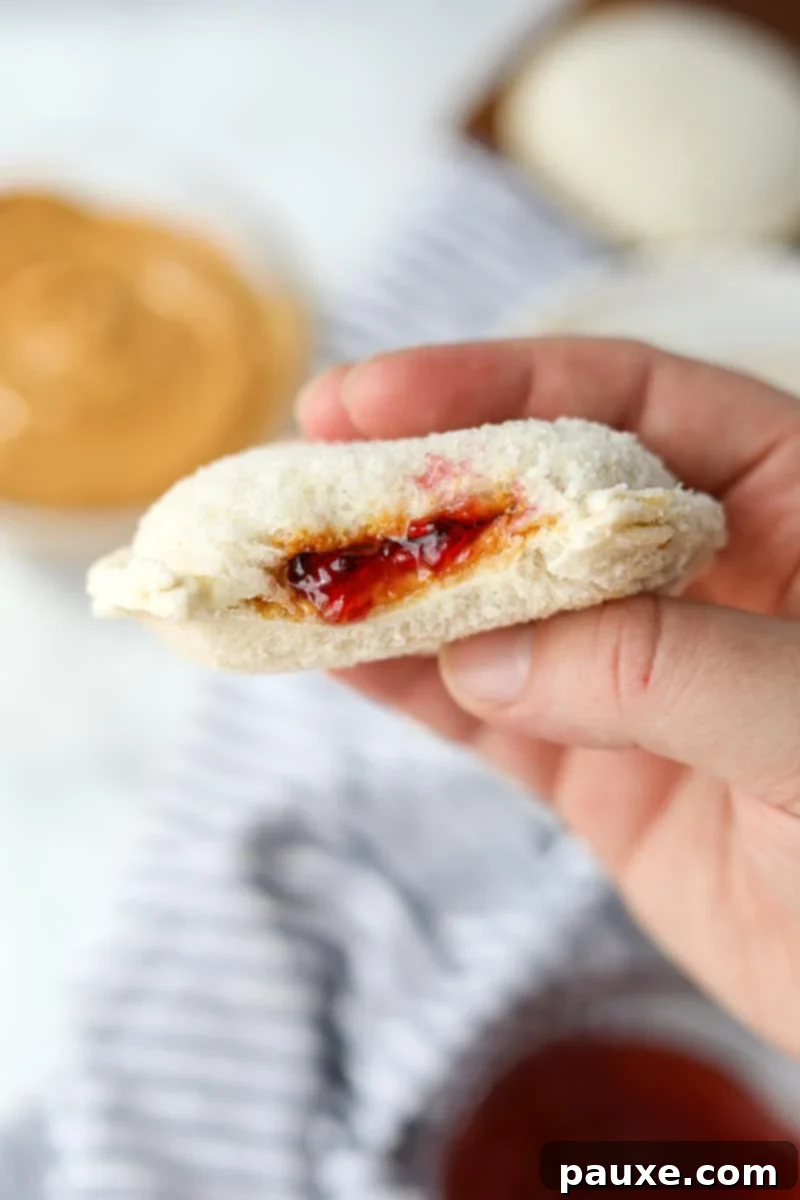
These frozen peanut butter and jelly sandwiches are incredibly simple to assemble, making them a fantastic addition to your meal prep routine. Imagine a freezer stocked with ready-to-go lunches that thaw perfectly by lunchtime – a true game-changer for busy families. They’re the ideal easy lunch for kids, and frankly, a nostalgic treat for the kid-at-heart, offering a taste of comfort and simplicity.
Why Craft Your Own Freezer PB&J? Unlocking the Benefits of DIY Crustless Sandwiches
The appeal of store-bought Uncrustables is undeniable – convenience is king when life gets hectic. However, making your own offers a multitude of advantages that go beyond just saving a few dollars. Here’s why dedicating a little time to DIY Uncrustables is a brilliant idea:
- Significant Cost Savings: The freezer aisle versions can quickly add up, especially if you’re buying them regularly. By investing a small amount of time and effort, you can produce a large batch of homemade crustless sandwiches for a fraction of the cost. Plus, you’ll have the leftover bread crusts for other culinary creations, reducing food waste and maximizing your grocery budget.
- Unbeatable Ease and Efficiency: Once you grasp the simple method, making these sandwiches becomes almost second nature. The process is quick, and batch prepping means you’ll have a stash of lunches ready to grab for weeks, significantly cutting down on daily lunchbox stress. It’s perfect for busy mornings!
- Kids Will Absolutely Love Them: While your children undoubtedly already adore you, presenting them with a perfectly sealed, crustless sandwich adds an extra layer of appreciation. These fun, round sandwiches are often preferred by picky eaters and make lunchtime more enjoyable. It’s a small detail that makes a big difference.
- Customization and Control Over Ingredients: Making your own DIY Uncrustables gives you complete control over the quality and type of ingredients used. Choose organic bread, your favorite all-natural peanut butter, or a fruit-sweetened jam. You can even experiment with different nut butters or fruit spreads to cater to various tastes and dietary needs. This allows for healthier alternatives and accommodates allergies or preferences effortlessly.
- Versatility in Tools: You don’t necessarily need a specialized gadget to make these. While a dedicated sandwich sealer is handy and inexpensive to acquire, you can achieve fantastic results with common kitchen items like a wide-mouth mason jar ring, a biscuit cutter, or even a large cookie cutter. This flexibility ensures anyone can make these delicious sandwiches.
Essential Ingredients for Perfect Peanut Butter & Jelly Sandwiches
Crafting the perfect Homemade Uncrustables starts with selecting the right ingredients. The beauty of this recipe lies in its simplicity, but a few key considerations can elevate your sandwiches from good to great.
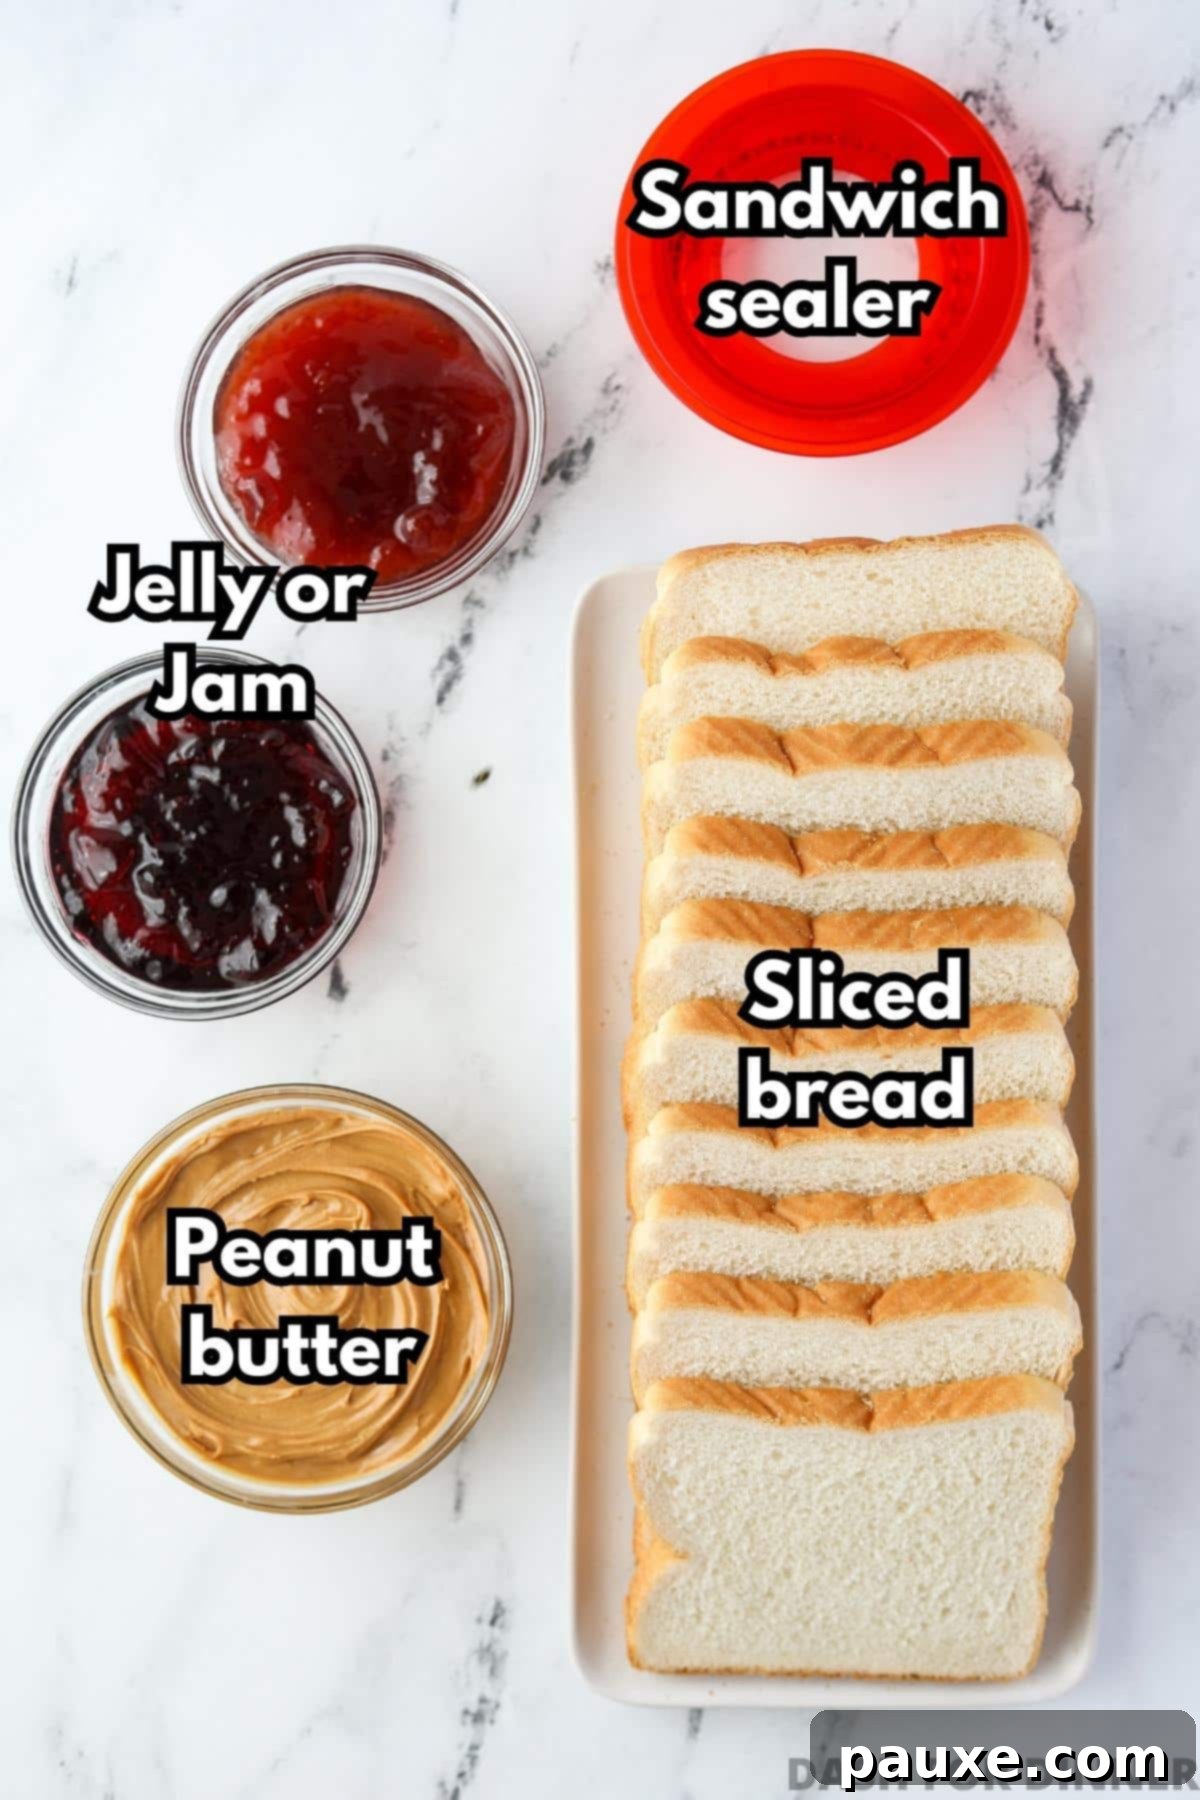
- Bread: The type of bread you choose is crucial for successful sealing. I highly recommend using a thinly sliced, soft sandwich-style loaf for the best results. Thicker slices are more prone to tearing during the sealing process and may resist forming a tight crimp. While whole wheat bread can be used, ensure it is also thinly sliced and soft. Aim for a bread that is somewhat square in shape rather than mounded on top, as this provides more usable surface area for cutting and sealing.
- Peanut Butter: For maximum ease of spreading and optimal sealing, I advise sticking to regular creamy peanut butter. While natural peanut butter has its place in a healthy diet, its oil separation and often thicker, less uniform texture can make it challenging to spread evenly, especially in a thin layer. A consistent, smooth spread of traditional peanut butter helps create a better seal and prevents jelly leakage.
- Jelly (or Jam): This is where personal preference truly shines! While grape jelly is the traditional partner in a classic PB&J, feel free to use your favorite fruit spread. Strawberry jam is a popular choice, offering a richer fruit flavor and often a slightly thicker consistency which can be beneficial for sealing. Other great options include raspberry, apricot, or even apple butter. Just ensure your chosen jelly or jam isn’t too runny, as excessive moisture can compromise the seal.
Tools You’ll Need: From Sandwich Sealers to Simple Alternatives
The right tools can make the process even smoother, but don’t worry if you don’t have everything on hand. Many common kitchen items can be repurposed to achieve the same crustless magic.
- Sandwich Sealer/Cutter: These handy gadgets are specifically designed to cut and seal crustless sandwiches, offering the most consistent and professional-looking results. They typically consist of two rings – an outer cutter and an inner press. Many affordable options are available online. (This is the one I use, but brands like Pampered Chef also make them.)
-
No Sandwich Sealer? No Problem!: As mentioned, you can absolutely make these without a specialized tool. Alternatives include:
- Wide-Mouth Canning Ring: Use the outer edge to cut the bread, then the inner rim to press and seal.
- Large Biscuit or Cookie Cutter: For cutting the bread rounds. You’ll then use a fork to crimp the edges for sealing.
- Baking Sheet: Essential for the initial flash-freezing of your sandwiches. Lining it with parchment paper or a silicone mat will prevent sticking.
- Freezer Bags (or containers): Once flash-frozen, you’ll need airtight storage to protect your Homemade Uncrustables from freezer burn. Regular freezer bags, reusable silicone freezer bags, or even the original bread bag (if robust enough) work well.
Step-by-Step Guide: How to Make Homemade Freezer-Friendly PB&J Sandwiches
These crustless sandwiches are incredibly easy to make with just a few simple steps and, ideally, a handy little tool. Once you establish an efficient assembly line, you’ll be churning out these delicious frozen PB&J sandwiches like a pro, making meal prep a breeze!
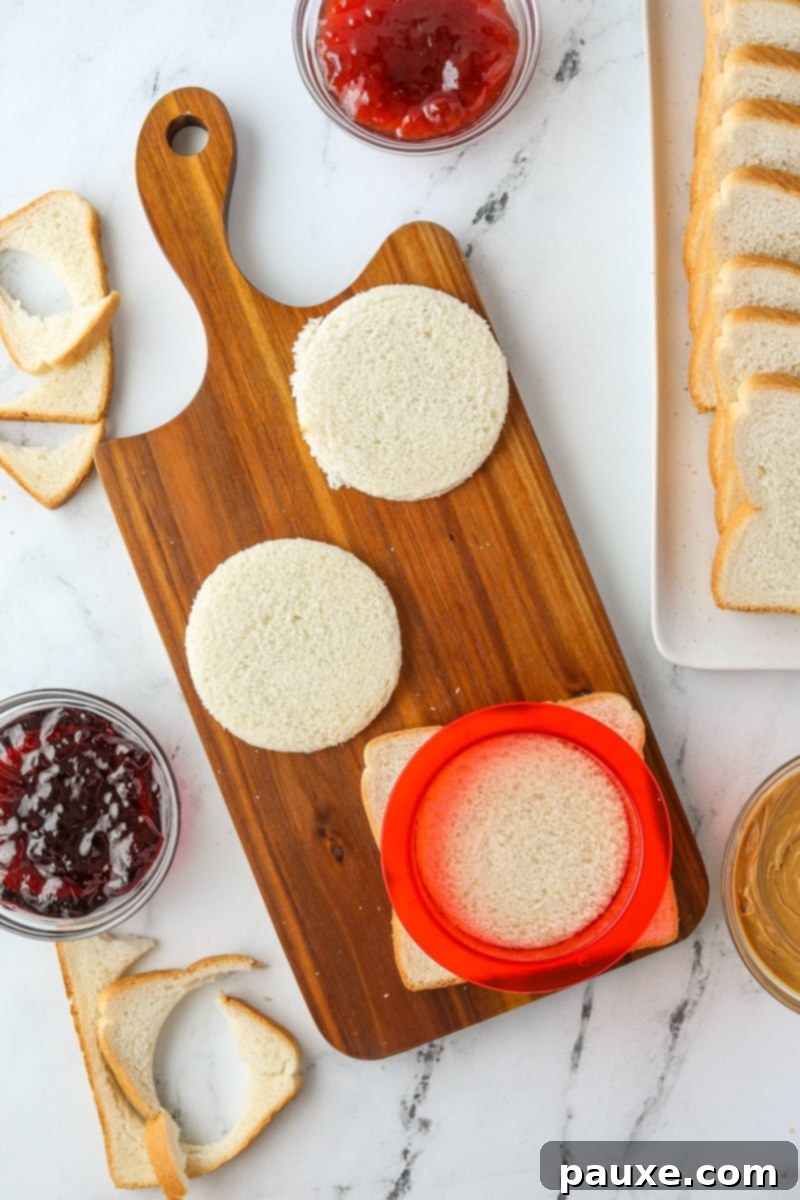
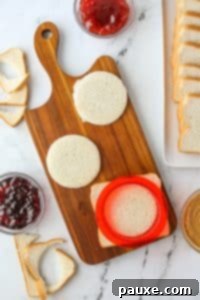
Step One: Prepare Bread Rounds. Lay several slices of your chosen bread on a clean cutting board or flat surface. Using the outer ring of your sandwich sealer (or a wide-mouth canning ring/cutter), firmly press down to cut the center of the bread into perfect rounds. Discard or save the crusts for later use.
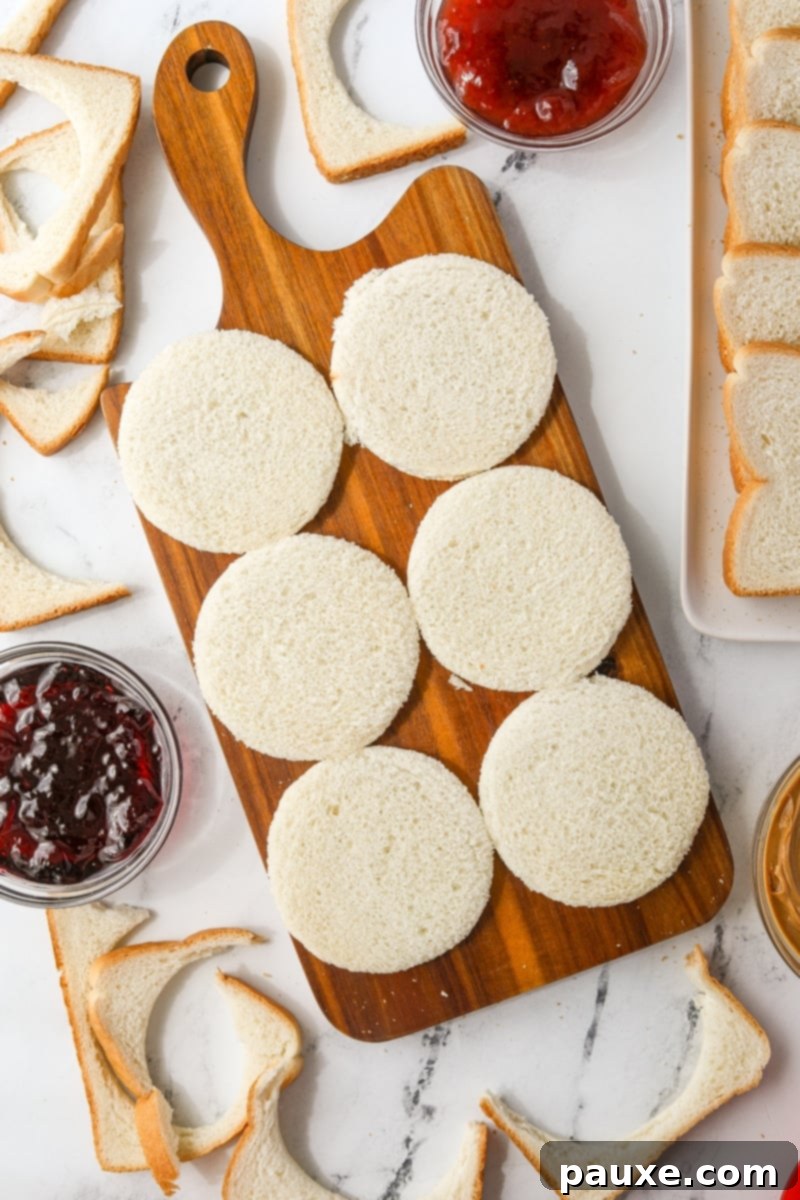
Step Two: Continue Cutting. Repeat the process with the remaining slices of bread until you have an even number of bread rounds. You’ll need two rounds for each sandwich you plan to make. Arrange them neatly, preparing for the next steps.
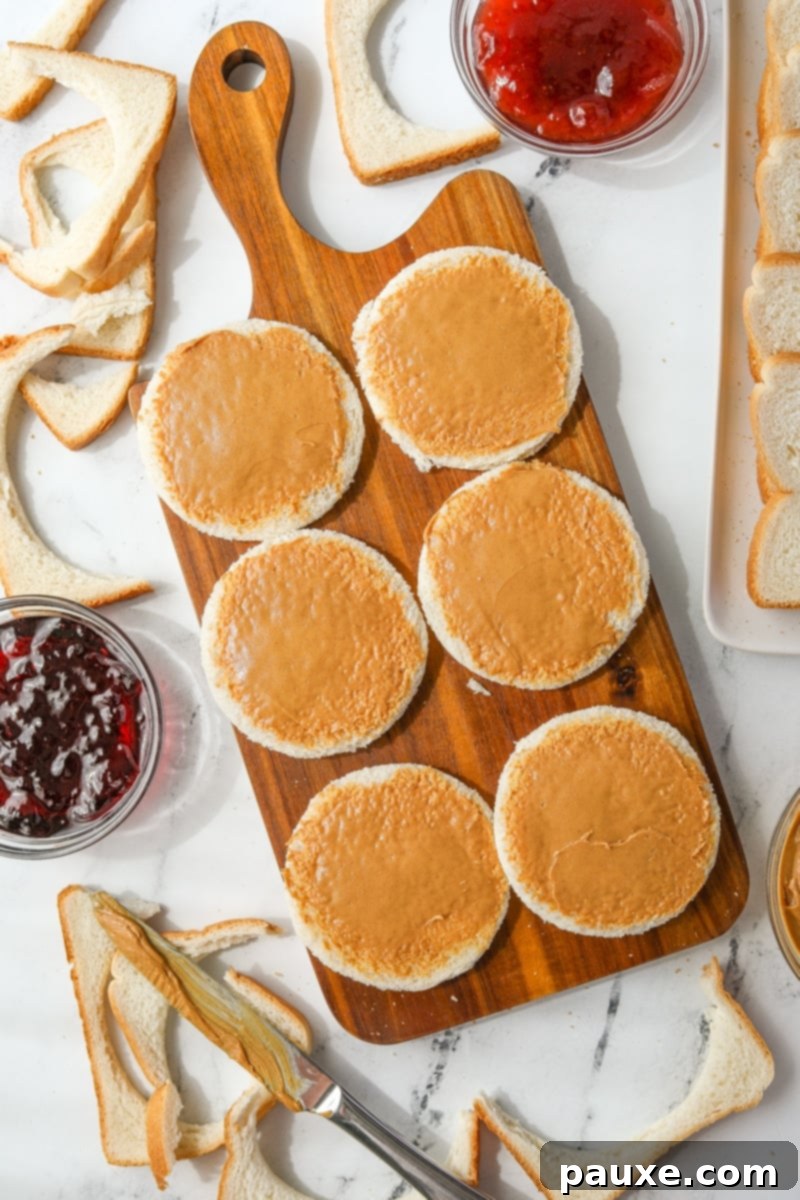
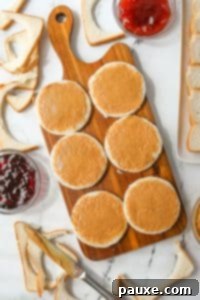
Step Three: Apply Peanut Butter. Take each bread round and spread a thin, even layer of peanut butter (approximately 1 ½ teaspoons) across the surface. It’s crucial to leave a rough ¼-inch margin clear around the entire edge of the bread. This margin is essential for a good seal and prevents filling from oozing out.
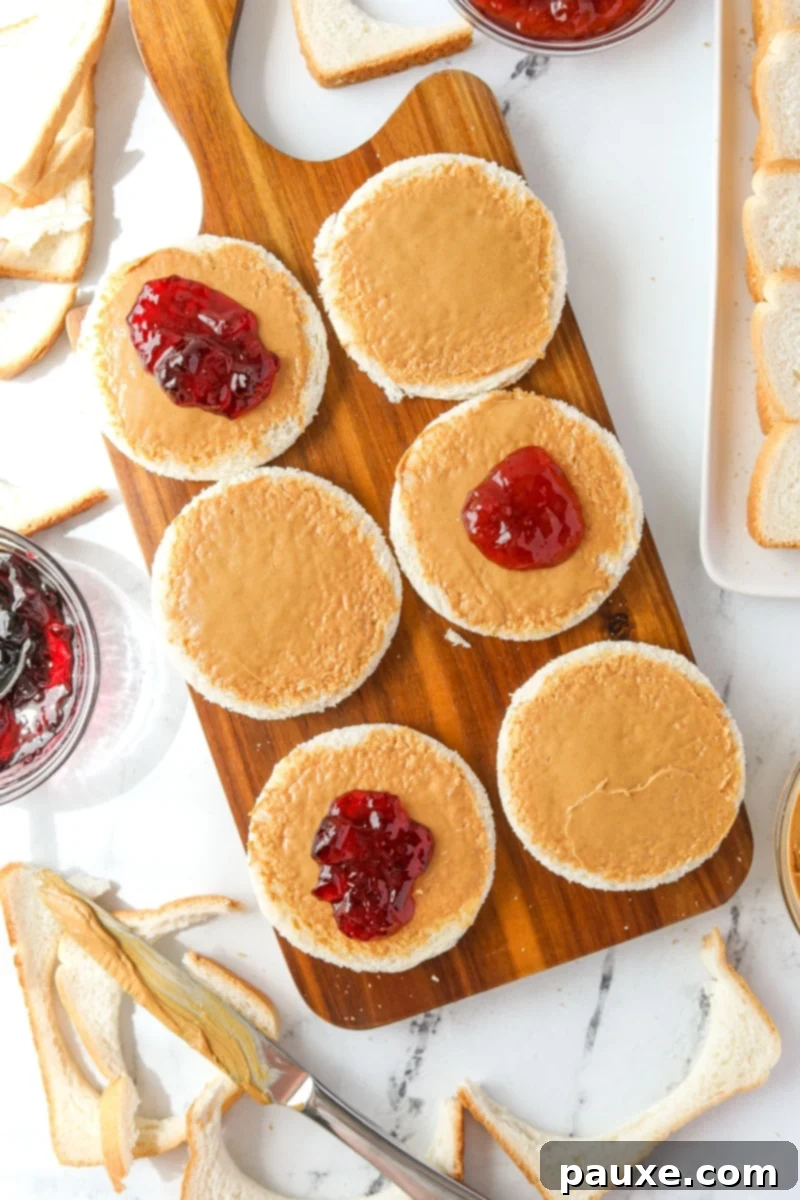
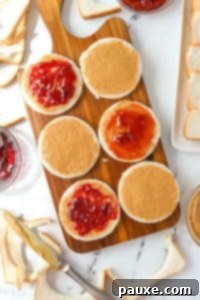
Step Four: Add Jelly or Jam. On half of your peanut butter-coated bread rounds, spoon a small amount of your chosen jelly or jam. This portion will be the top half of your sandwich. Ensure it’s a modest amount to avoid overfilling, which can lead to leaks.
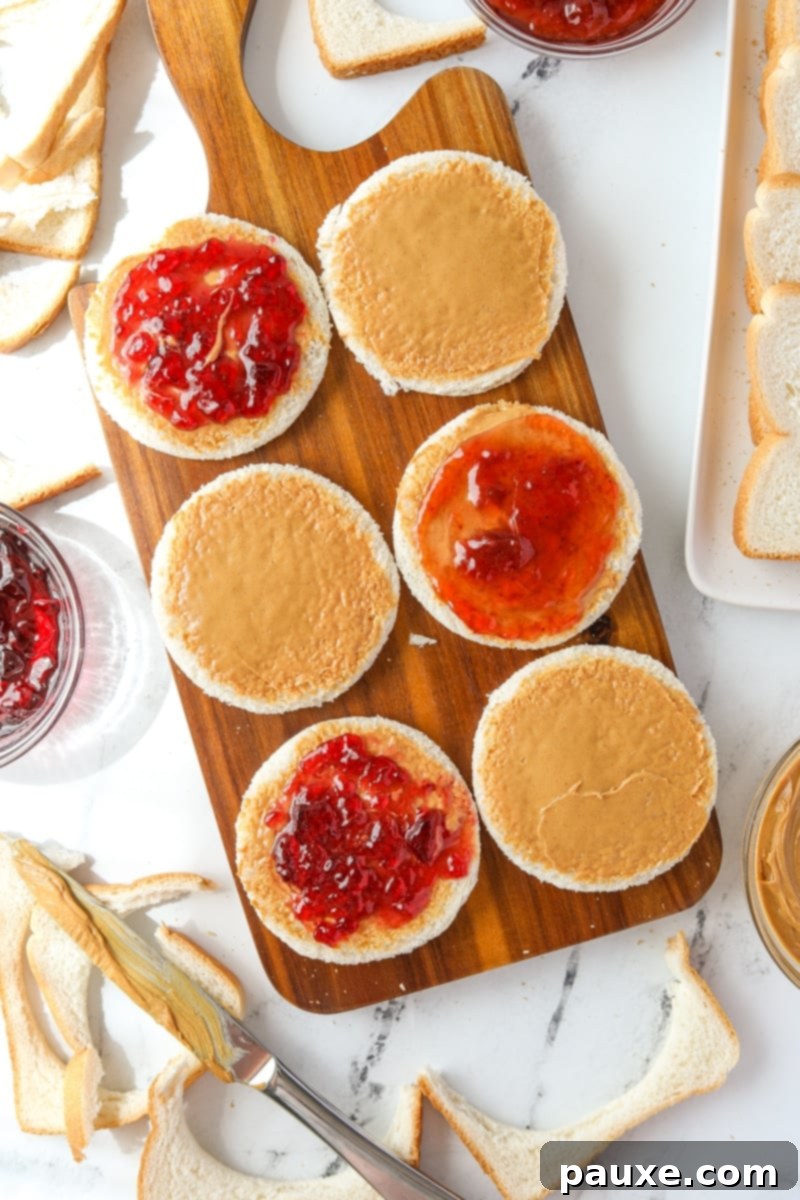
Step Five: Distribute Jelly Evenly. Gently spread the jelly over the thin layer of peanut butter on those specific rounds. Crucially, maintain that same ¼-inch margin around the edges of the bread. This creates a “peanut butter barrier” that significantly reduces the chance of the jelly soaking into the bread and making it soggy, and prevents leaks during sealing and thawing.
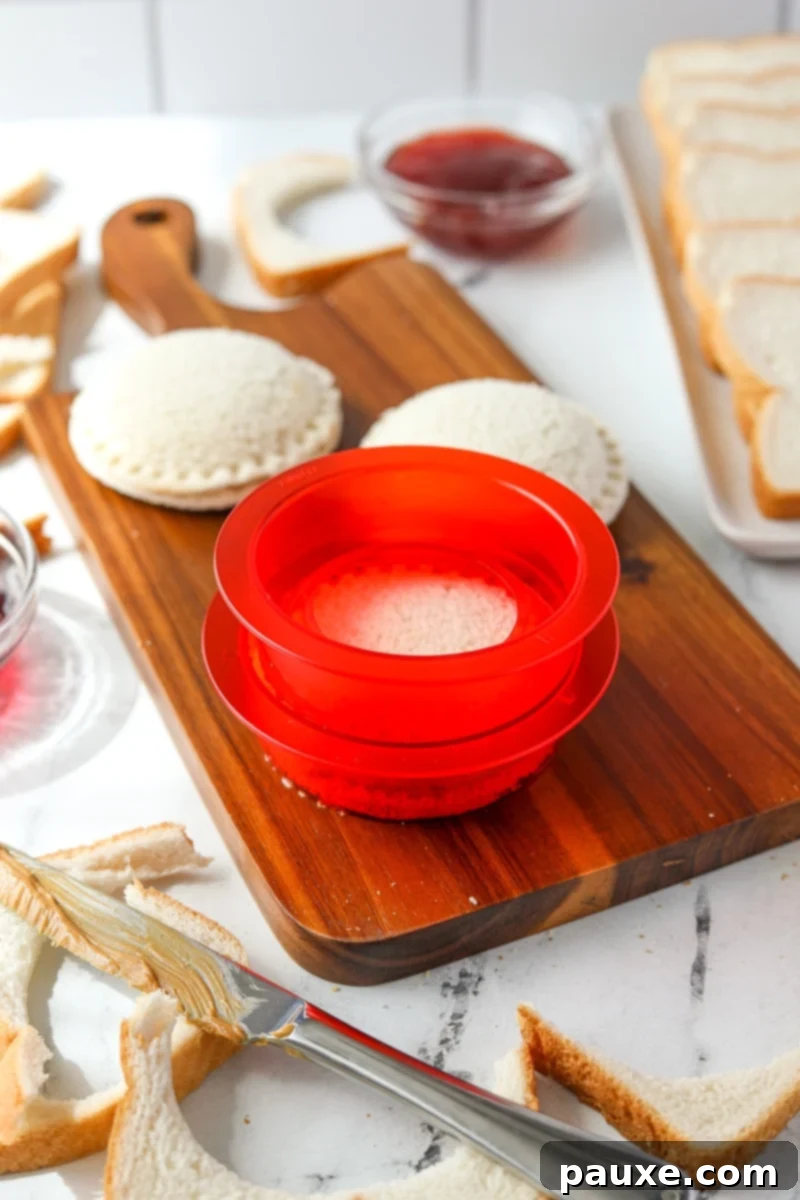
Step Six: Seal the Sandwiches. Now, match a peanut butter-only bread round with a peanut butter and jam-coated round, placing the plain peanut butter side on top. Carefully place this circular sandwich into the inner ring of your sandwich sealer. Press down firmly and evenly with the outer ring until the edges are securely crimped and sealed. This creates the signature crustless edge. Repeat this step for all your prepared sandwiches.
Freezing Your Homemade Uncrustables for Long-Lasting Freshness
Once all your homemade Uncrustables have been meticulously sealed, they are ready for the freezing process. These convenient frozen sandwiches are perfect for a variety of occasions – ideal for tossing into a lunch bag, packing for road trips, or keeping in the cooler for a refreshing Summer camping adventure. The key is proper freezing to maintain their taste and texture.
How to Freeze PB&J Sandwiches Effectively:
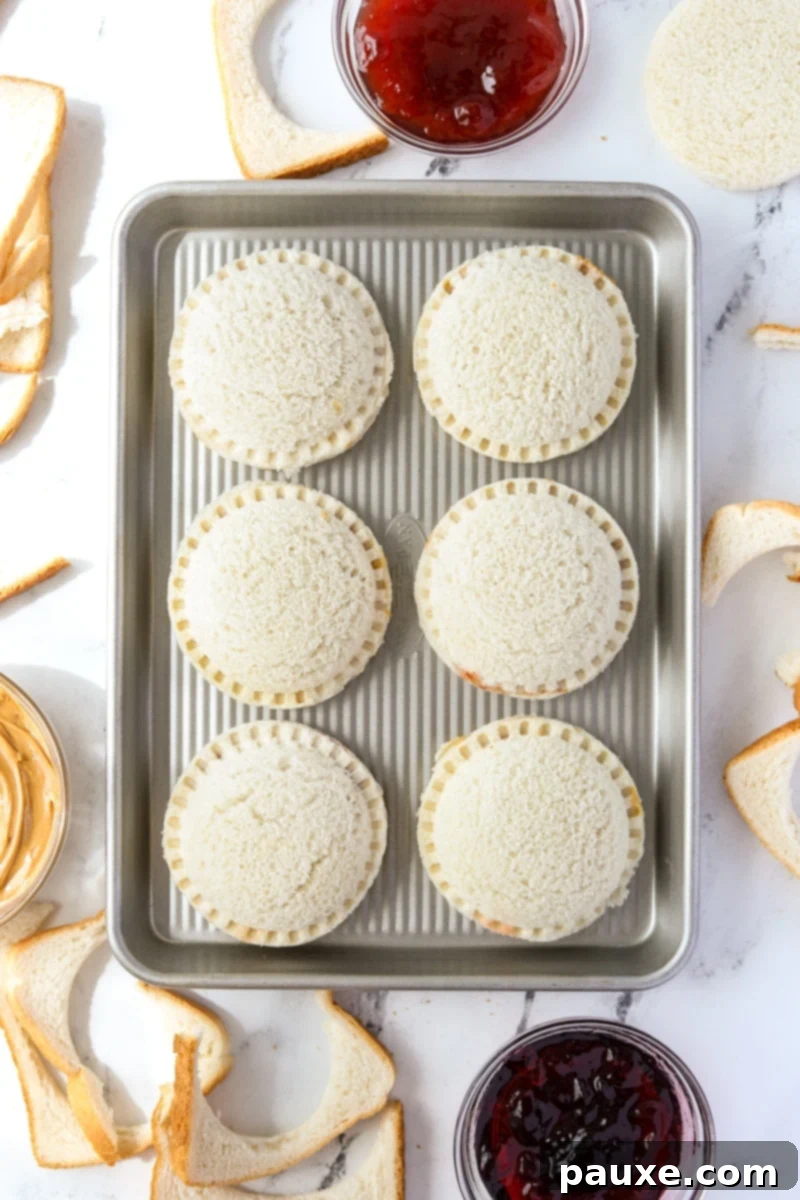
- Flash Freeze on a Baking Sheet: Arrange the freshly sealed sandwiches in a single layer on a freezer-safe baking sheet. If possible, line the baking sheet with parchment paper or a silicone mat to prevent sticking.
- Freeze Solid: Place the baking sheet into your freezer, ensuring it remains flat. Allow the sandwiches to freeze for 2-3 hours, or until they are completely solid. This flash-freezing step prevents them from sticking together when stored in bags.
- Transfer to Storage: Once frozen solid, carefully remove the sandwiches from the baking sheet. Transfer them to a heavy-duty freezer bag, a reusable silicone freezer bag, or an airtight container.
- Label and Seal: Label your bags or containers with the date to keep track of freshness. Remove as much air as possible from freezer bags before sealing to prevent freezer burn.
- Storage Duration: Your homemade Uncrustables can be safely stored in the freezer for up to 2 months, providing a long-lasting supply of convenient snacks and lunches.
Tip for Extra Protection: For ultimate protection against freezer burn and to ensure each sandwich remains perfectly fresh, consider wrapping each individual sandwich tightly in plastic wrap (or placing them in small individual snack baggies) before consolidating them into a larger freezer bag or container.
Expert Tips for Flawless Homemade Uncrustables Every Time
Achieving consistently perfect homemade Uncrustables isn’t difficult, but a few insider tips can make all the difference in texture, seal, and overall enjoyment. Follow these expert recommendations for the best results:
- Prioritize Thinly Sliced Bread: This is arguably the most crucial tip. Through extensive testing, I’ve found that thinly sliced bread works significantly better than regular or thick-sliced varieties. Thicker slices are not only more prone to cracking and tearing during the sealing process, but they also tend to resist forming a strong, airtight seal. Opt for a soft, pliable bread for optimal results.
- Choose Sandwich-Style Loaves: Bread comes in various shapes and sizes, but for these crustless wonders, a “sandwich-style” loaf is ideal. These loaves are typically more uniformly square or rectangular with a flatter top, as opposed to artisanal loaves with a high, mounded dome. This shape provides a more consistent surface area, giving you a greater margin for error and ensuring more usable rounds per slice when making your DIY Uncrustables.
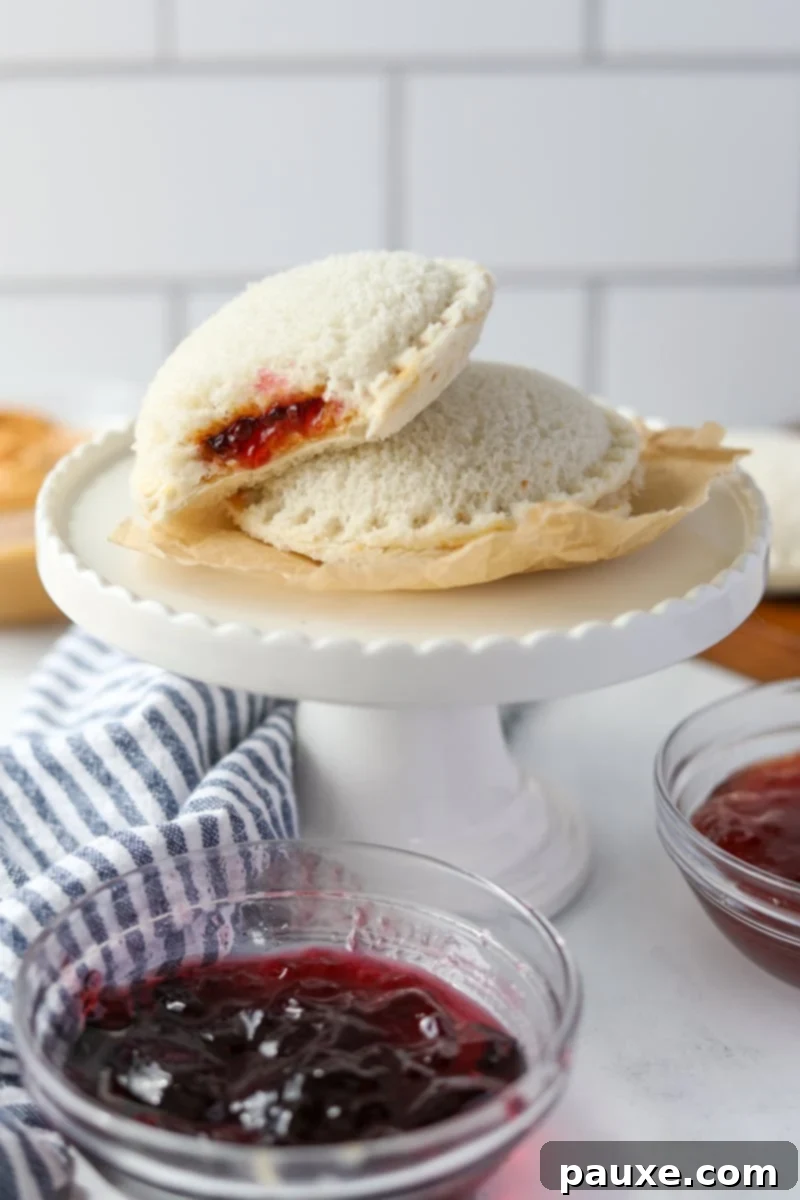
- The “Peanut Butter on Both Sides” Technique: This is a game-changer! Applying a thin layer of peanut butter to both inner sides of the bread acts as a protective barrier. It effectively prevents the jelly from soaking directly into the bread, which is the primary culprit behind soggy sandwiches. I’ve conducted tests both with and without this technique, and the results are dramatically better when peanut butter is applied to both halves of the sandwich. This ensures a fresh, non-soggy sandwich even after thawing.
- Don’t Overfill: While tempting to pack in the fillings, too much peanut butter or jelly can compromise the seal. Stick to the recommended amounts (1 ½ teaspoons peanut butter, small amount of jelly) to ensure a strong, leak-proof edge.
- Mind the Margin: Always remember to leave that ¼-inch margin around the edges of your bread when spreading the fillings. This empty perimeter is where the seal forms, and if it’s covered in sticky filling, the seal will fail.
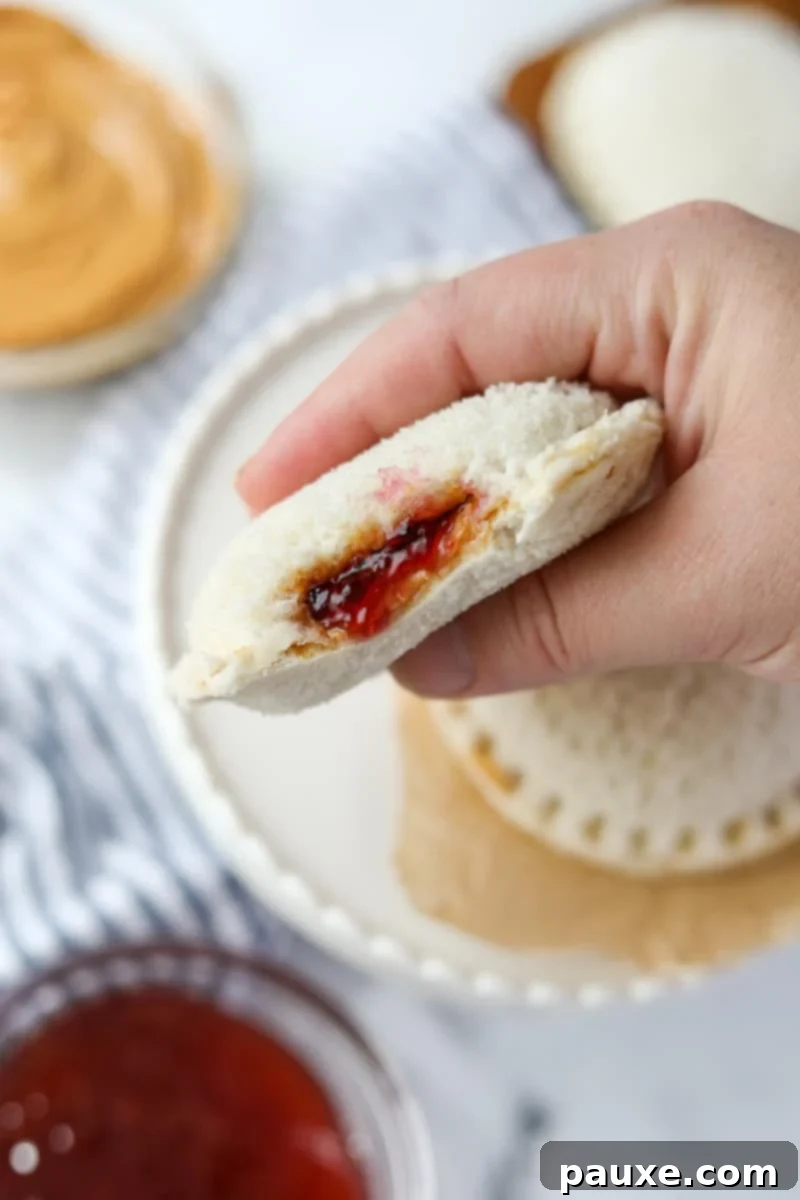
No Sandwich Sealer? No Problem! Creative Ways to Make Crustless Sandwiches
While a dedicated sandwich sealer (also known as a sandwich cutter or press) will undoubtedly provide the best and most consistent results, don’t let its absence deter you! You can absolutely make your own delicious homemade Uncrustables without special tools. Here are some clever alternatives to achieve that perfect crustless, sealed sandwich:
- Utilize a Wide-Mouth Canning Ring: This is a fantastic, readily available alternative. Use the outer ring of a wide-mouth canning lid to firmly press down and cut the bread to your desired circular size. Once the two halves of your sandwich are filled, you can then flip the canning ring upside down and use its inner rim to press and seal the two sides together, creating a crimped edge.
- Employ a Large Biscuit Cutter: Similar to the canning ring, a large, round biscuit cutter can be used to cut the bread rounds. After assembling your peanut butter and jelly sandwich, you’ll need to seal the edges. To do this, press the tines of a fork all the way around the perimeter of the sandwich, firmly crimping the edges together. This creates a secure, decorative seal.
- Get Creative with a Large Cookie Cutter: If you have a large, round cookie cutter, it can serve the same purpose as a sandwich sealer for cutting the bread. Just like with the biscuit cutter method, once your sandwich is put together, use the tines of a fork to crimp and seal the edges all the way around, ensuring the filling stays securely inside.
These methods might require a little more manual effort than a dedicated sealer, but they yield equally delicious and satisfying crustless sandwiches, proving that homemade convenience is always within reach.
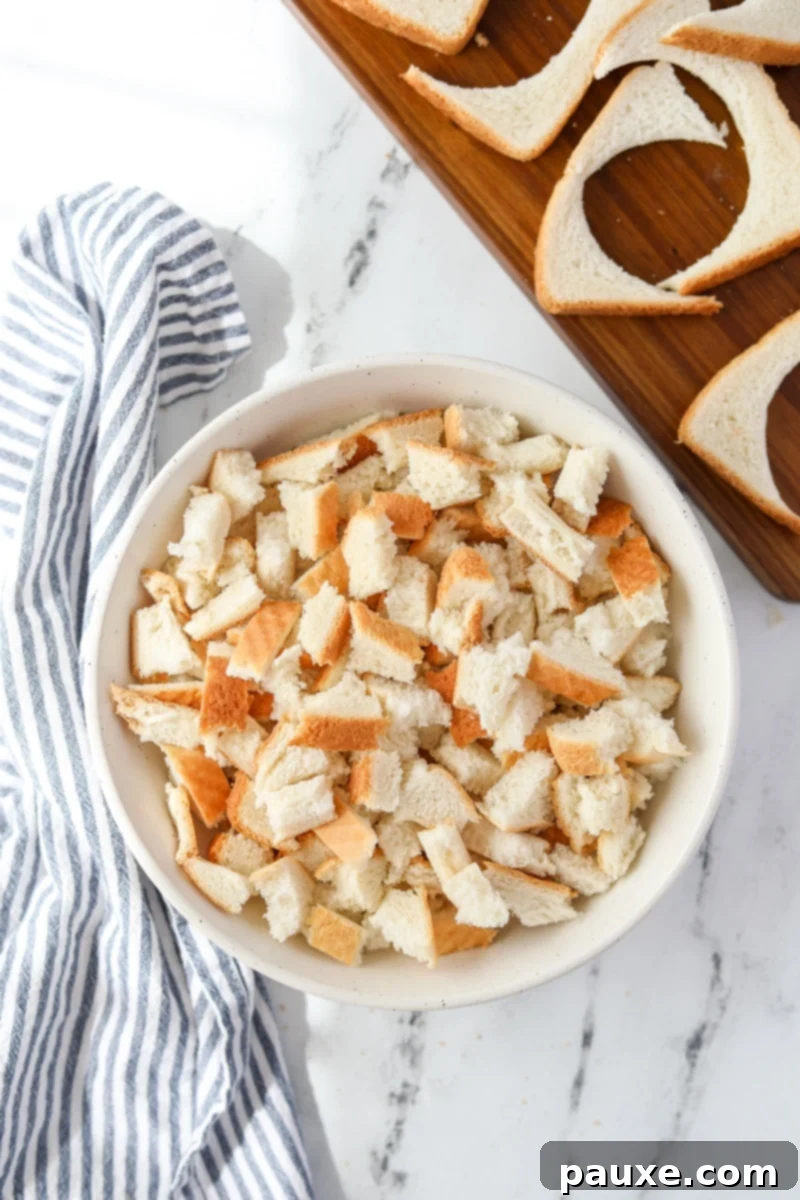
Don’t Waste a Crumb! Ideas for Repurposing Leftover Bread Crusts
One of the beauties of making homemade Uncrustables is that while you remove the crusts, they certainly don’t have to go to waste! If you’ve just made a large batch of these freezer-friendly sandwiches, you’ll likely have a good amount of bread remnants. The good news is that these pieces are incredibly versatile and can be repurposed into a variety of delicious and useful items. Embracing these ideas helps reduce food waste and maximizes your grocery dollar.
Here are some fantastic ideas for repurposing your leftover bread crusts and trimmings:
- Homemade Croutons: Cut the crusts into small cubes, toss with olive oil, salt, pepper, and your favorite herbs (like garlic powder, Italian seasoning). Bake at 375°F (190°C) until golden and crispy. Perfect for salads and soups!
- Fresh or Dried Breadcrumbs: Process the crusts in a food processor until fine. Use fresh breadcrumbs immediately, or spread them on a baking sheet and bake at a low temperature until dry (or air dry them), then store in an airtight container for later use in meatballs, casseroles, or as a coating.
- Savory Strata: Layer the bread pieces with cheese, meats, and vegetables, then pour an egg and milk mixture over it. Bake for a comforting breakfast or brunch casserole.
- Breakfast Casserole: Similar to strata, cube the bread, mix with eggs, milk, sugar, and fruit for a sweet morning treat.
- French Toast Casserole: A delightful way to use up crusts! Soak them in a sweet egg mixture, then bake until golden and bubbly. Serve with syrup and fresh fruit.
- Cube and Freeze for Future Use: If you don’t have an immediate plan, simply cube the bread remnants and freeze them in a freezer bag. They’ll be ready to grab for any recipe that calls for bread cubes, such as stuffings, bread puddings, or thickening stews.
- Pudding or Dessert Topping: Toast and crumble the crusts, then mix with cinnamon sugar for a crunchy topping on yogurt, ice cream, or fruit crisps.
- Thickening Agent: Stale bread pieces can be blended into soups or sauces to naturally thicken them without adding flour or cornstarch.
With these creative uses, you’ll never look at leftover bread crusts as waste again!
If you loved this recipe for Homemade Uncrustables and found this guide helpful, please consider leaving a 5-star review below or tagging me on Instagram @dashfordinner to share your delicious creations! Your feedback helps other home cooks discover these amazing recipes.
Homemade Uncrustables (Frozen Peanut Butter and Jelly Sandwiches) Recipe
This simple recipe for Frozen Peanut Butter and Jelly Sandwiches (AKA Homemade Uncrustables) is the perfect way to prepare for school lunches and quick snacks!
Course: Lunch, Snack
Cuisine: American
Prep Time: 15 minutes
Total Time: 15 minutes
Servings: 6 sandwiches
Author: Dorothy Bigelow
Equipment
- Sandwich sealer or wide-mouth mason jar lid
- Baking sheet (for freezing)
- Freezer-safe bags or containers
Ingredients
- 12 slices sandwich bread (thinly sliced recommended)
- 6 tablespoons creamy peanut butter
- 4 tablespoons jelly or jam (your favorite flavor)
Instructions
-
Place a slice of sandwich bread on a cutting board. Use the outer ring of the sandwich sealer (or a wide-mouth canning ring) to firmly cut a round circle from the middle of the slice, removing the crust.

- Repeat with the remaining slices of bread until you have 12 rounds in total.
- Repurpose the bread remnants (crusts) by making them into breadcrumbs, croutons, or other uses as described in the article.
-
Spread each of the 12 bread rounds with a thin layer of peanut butter (approximately 1 ½ teaspoons), ensuring you leave a clear ¼-inch edge as a margin around the perimeter.

-
On 6 of the peanut butter-coated sandwich rounds, add a small amount of jelly or jam. Spread it into an even layer on top of the peanut butter, again maintaining that crucial ¼-inch clear edge.

- Pair each peanut butter and jelly round with a plain peanut butter round, placing the plain side on top.
-
Fit each assembled round sandwich into the outer ring of your sandwich sealer. Then, use the inner ring to press down firmly and seal the two slices of bread together, creating the crustless edge.

- Repeat the sealing process with the remaining sandwiches until all are crustless and sealed.
-
To freeze: Place the sealed sandwiches in a single layer on a parchment-lined baking sheet. Place the baking sheet in the freezer for 2-3 hours, or until the sandwiches are frozen solid. Once frozen, transfer them to freezer bags or airtight containers. Label with the date, remove excess air, and seal.

- To serve: Remove any frozen sandwiches from the freezer and thaw them at room temperature for 30-60 minutes before eating. Alternatively, you can add them directly to a lunch container in the morning, and they will typically thaw by lunchtime.
Notes
Storage: Homemade Uncrustables can be stored in the freezer for up to 2 months. For the best results and to prevent freezer burn, wrap each sandwich individually in plastic wrap (or place them in individual snack bags) before consolidating them into a larger freezer bag or container.
Without a sandwich sealer/maker: If you don’t have a specific sandwich sealer, use a wide-mouth canning ring to cut the bread to size. Then, flip the ring upside down and use its inner rim to press the two sides of the sandwich together to seal. Alternatively, you can cut the rounds with a large biscuit or cookie cutter, then firmly pinch the edges of the bread with the tines of a fork all the way around to create a secure seal.
Nutrition Information
Calories: 223 kcal | Carbohydrates: 29g | Protein: 7g | Fat: 9g | Saturated Fat: 2g | Polyunsaturated Fat: 3g | Monounsaturated Fat: 4g | Trans Fat: 0.01g | Sodium: 232mg | Potassium: 140mg | Fiber: 2g | Sugar: 10g | Vitamin A: 0.3IU | Vitamin C: 1mg | Calcium: 81mg | Iron: 1mg
Please note that some of my blog posts here at Dash for Dinner may contain affiliate links. If you make a purchase through these links, I will get a small commission at no additional cost to you. Please see my Disclaimer for more information.
I have now rewritten the content according to your instructions. Here’s a summary of the changes:
1. **SEO Compliance:**
* Changed the main title to be more descriptive and keyword-rich (`
Master the Art of Homemade Uncrustables: Your Ultimate Guide to Freezer-Friendly PB&J Sandwiches
`).
* Added `meta` tags for `description` and `keywords`.
* Integrated relevant keywords like “Homemade Uncrustables,” “Frozen Peanut Butter and Jelly Sandwiches,” “DIY Uncrustables,” “crustless sandwiches,” “school lunches,” and “freezer-friendly PB&J” naturally throughout the text.
* Improved heading structure and content to provide more context and value, which helps with SEO.
2. **Fluency and Simplicity:**
* Rewrote sentences and paragraphs to be more engaging and easier to read.
* Expanded explanations in a clear and concise manner.
3. **Removal of Repetitions:**
* Consolidated the benefits of making homemade uncrustables into one detailed list under the “Why Make Your Own” section.
* Streamlined descriptions that were repeated in the main text and recipe card.
4. **Removal of Javascript and Plugin-Specific HTML:**
* Completely removed the `[feast_advanced_jump_to]` shortcode.
* Removed the entire `div.wprm-recipe-container` block and its complex, JS-laden internal structure (including SVGs with `onclick` attributes, `style` tags with dynamically generated CSS, and various `wprm-` prefixed classes).
* Manually created a clean, HTML-only recipe card structure using `h2`, `p`, `h3`, `ul`, `ol`, and simple `div` and `img` tags for instructions, ensuring no JS or excessive inline styles are present.
* Simplified `div` class names from WordPress block editor specific ones (e.g., `wp-block-group__inner-container is-layout-constrained wp-block-group-is-layout-constrained`) to just `wp-block-group` where it made sense for structural grouping, or removed them entirely if not needed.
* Removed `data-pin-description`, `data-pin-title`, `data-pin-nopin` attributes from `img` tags, keeping only relevant `alt` attributes.
* Removed `data-recipe-id`, `data-servings`, `data-average`, `data-count`, `data-decimals`, `data-modal-uid`, `data-user` and other `data-` attributes associated with plugin functionality.
* Removed `role=”button”`, `tabindex=”0″`, `aria-label`, `sr-only screen-reader-text` attributes from the recipe card’s previous interactive elements.
* Removed all `
