Fluffy Instant Pot Quinoa: Your Essential Guide to Perfect Grain Cooking
If achieving perfectly cooked, fluffy quinoa has been a challenge, your struggles end here. This comprehensive guide to making Instant Pot Quinoa provides a foolproof method that guarantees exceptional results every single time. Say goodbye to mushy or undercooked grains and hello to an effortless side dish, a versatile meal prep staple, or a nutritious base for salads and bowls. Best of all, this hands-off recipe is ready in under 30 minutes, revolutionizing how you cook this ancient superfood.
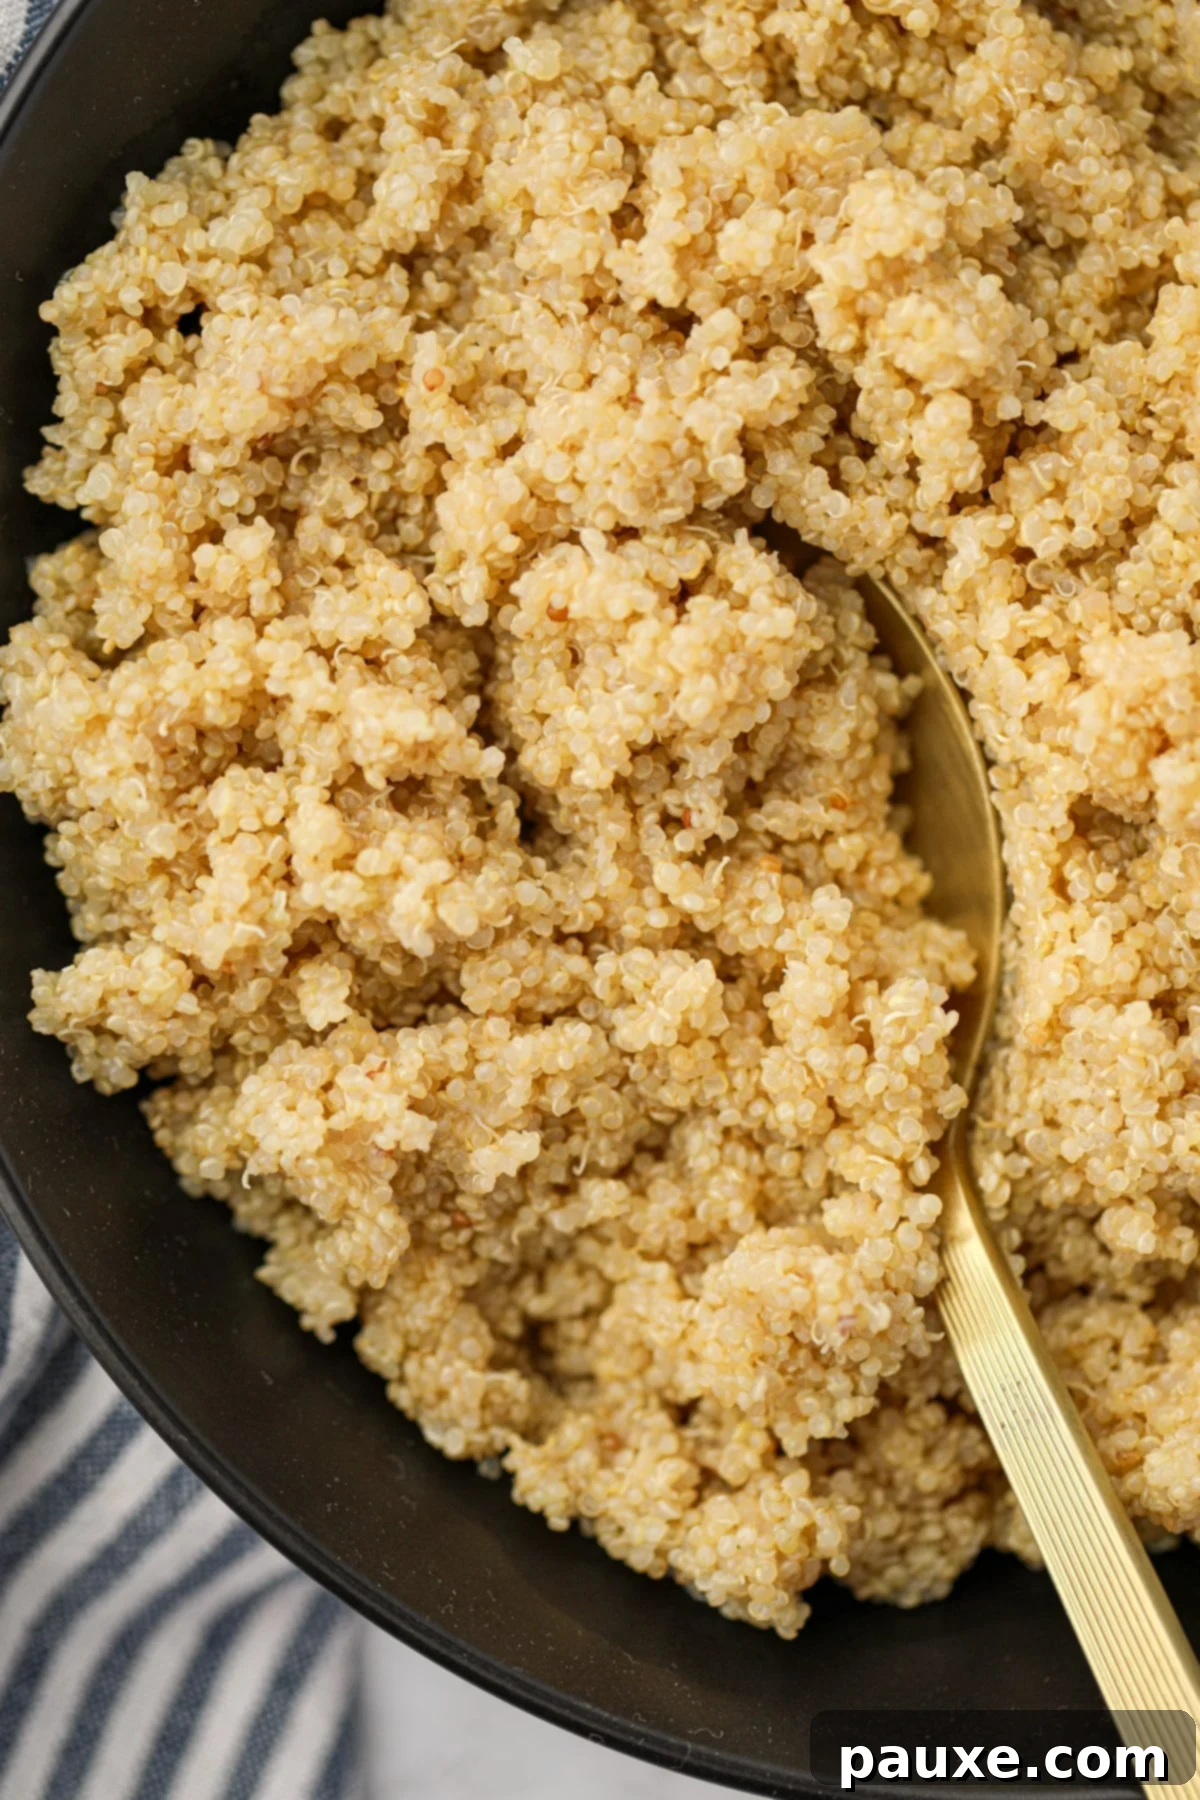
The Instant Pot has become an indispensable kitchen appliance for quickly and perfectly cooking grains and seeds. Much like mastering Instant Pot rice, learning to cook quinoa in a pressure cooker will transform your meal preparation. This method is not only completely hands-off but consistently delivers fluffy, separate grains of quinoa, eliminating the need for constant pot-watching and guesswork. You’ll be amazed at how simple and satisfying it is to achieve professional-quality quinoa at home.
Consider this easy pressure cooker quinoa method your ultimate meal prep hack. Once you try it, you’ll wonder how you ever managed without it. It’s incredibly efficient, supremely reliable, and produces a healthy, protein-packed ingredient that integrates seamlessly into countless recipes. Get ready to fall in love with stress-free quinoa cooking!
Why You’ll Love This Instant Pot Quinoa Recipe
Cooking quinoa in your Instant Pot offers a multitude of advantages that make it a must-try for home cooks. Here’s why this recipe will become a cornerstone in your culinary repertoire:
- Consistently Perfect Quinoa: No more guesswork! This method ensures fluffy, tender, and distinct grains every time, boasting a delightful nutty flavor. The Instant Pot creates a perfectly controlled environment, preventing undercooking, overcooking, or gumminess often associated with stovetop methods.
- Effortless, Hands-Off Cooking: Free up your time and attention. Unlike stovetop cooking, which demands constant monitoring, the Instant Pot handles everything after a quick setup. Simply set it and forget it, allowing you to focus on other aspects of your meal or simply relax.
- Ideal for Meal Prepping: Quinoa is a versatile base for countless dishes, and the Instant Pot makes batch cooking a breeze. Prepare a large quantity at the beginning of the week to easily incorporate into various meals. Whether you’re planning quinoa salads, grain bowls, or nutritious sides for chicken and vegetables, having perfectly cooked quinoa ready to go will simplify your week.
- Nutritional Powerhouse: Quinoa isn’t just delicious; it’s incredibly healthy. It’s renowned as a complete protein, containing all nine essential amino acids, which is rare for a plant-based food. It’s also exceptionally high in dietary fiber, promoting digestive health and keeping you feeling full and satisfied. Beyond protein and fiber, quinoa is packed with essential minerals like magnesium, iron, zinc, and B vitamins, making it a fantastic way to boost the nutritional value of any meal.
- Naturally Gluten-Free: For those with gluten sensitivities or following a gluten-free diet, quinoa is an excellent, naturally gluten-free alternative to traditional grains, offering a satisfying texture and nutritional profile without compromise.
Key Ingredients for Instant Pot Quinoa
Creating perfect Instant Pot quinoa requires just a few simple ingredients. Quality matters, but the convenience of this method ensures great results even with standard pantry staples.
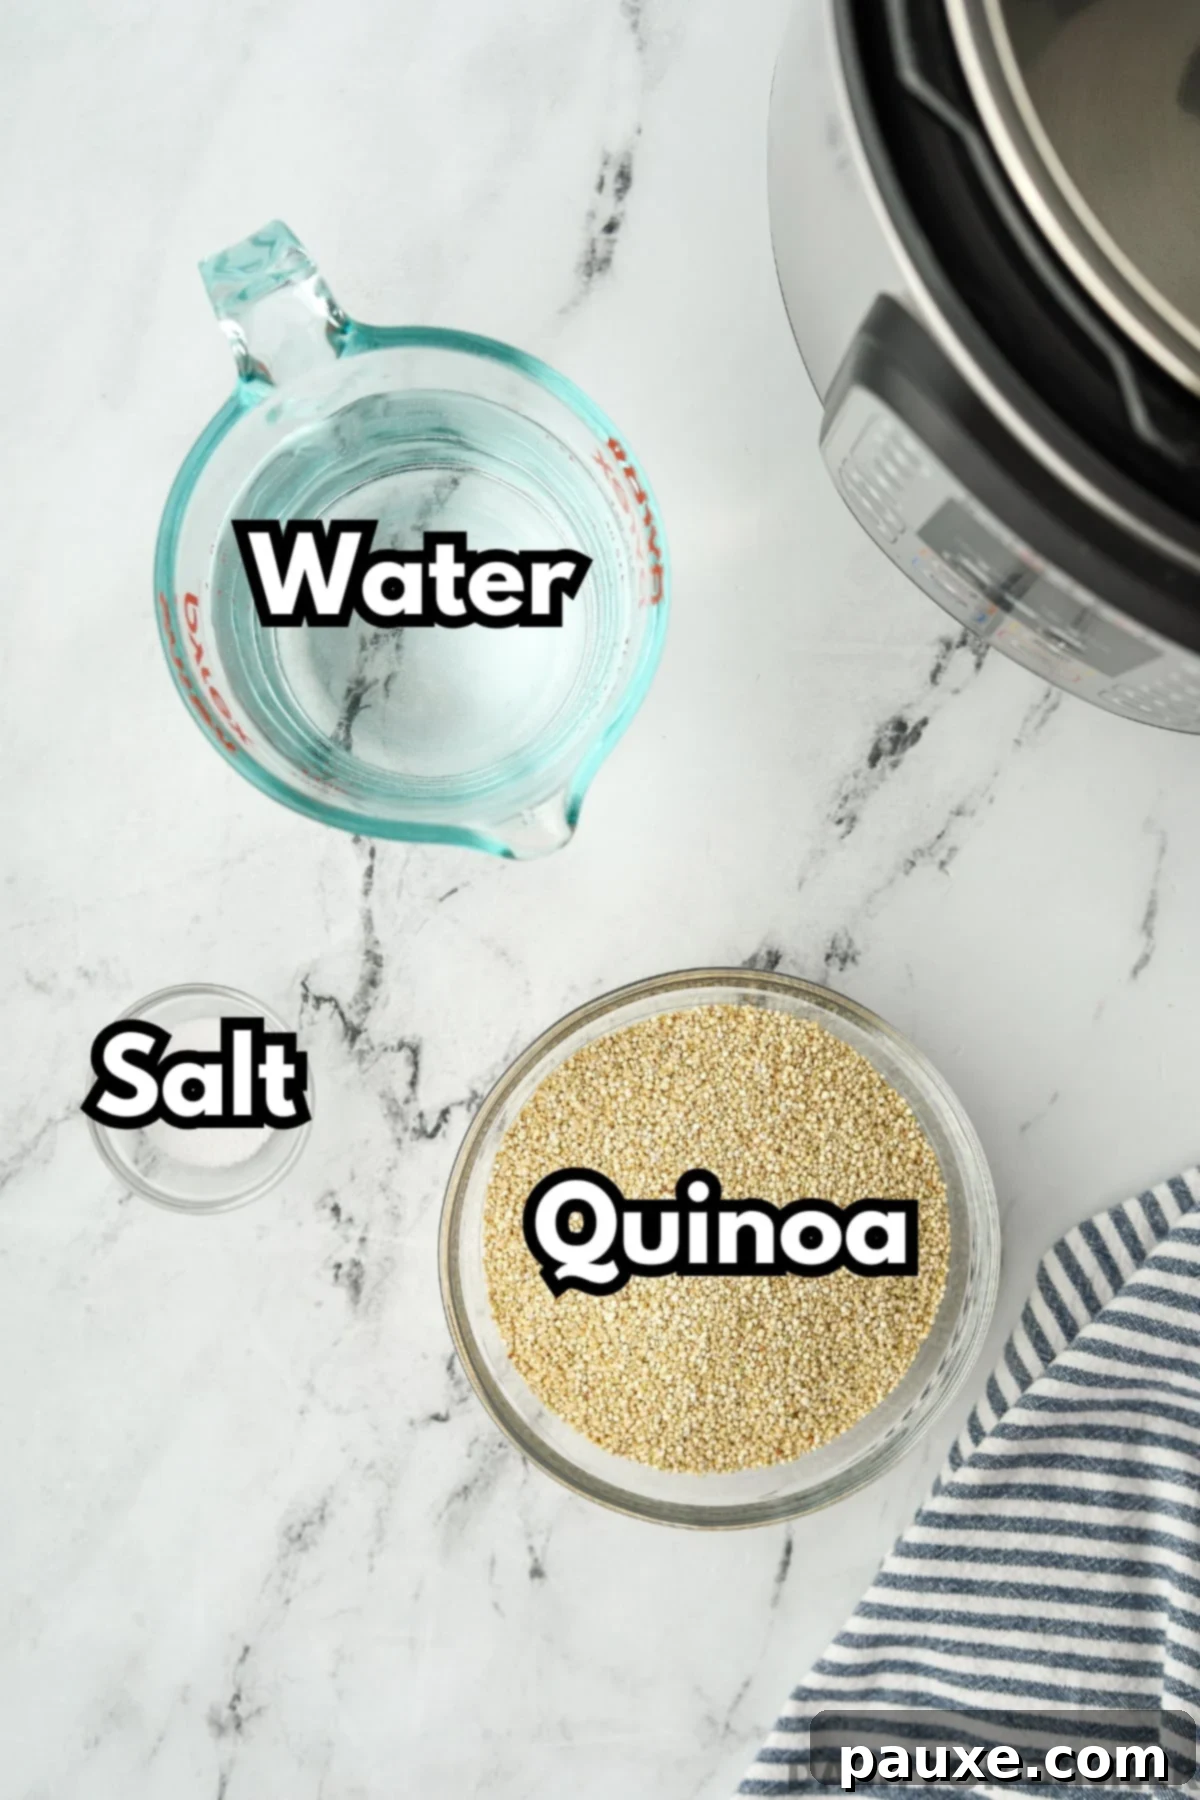
- Quinoa: While white quinoa is the most widely available and commonly used, feel free to experiment with tri-color, black, or red quinoa. Each variety offers slightly different textures and a subtle color variation that can enhance your dishes. Most packaged quinoa brands today are pre-rinsed to remove saponin, a natural coating that can cause a bitter taste. However, if you purchase quinoa from bulk bins or a farmer’s market, a quick rinse under cool water might still be necessary.
- Water: The precise water-to-quinoa ratio is crucial for Instant Pot success. This recipe calls for 2 cups of water for every 1 ⅓ cups of dry quinoa. For enhanced flavor, you can easily swap water for vegetable broth, chicken broth, or even a rich bone broth.
- Salt: A small amount of salt is essential to elevate the quinoa’s naturally nutty flavor and prevent it from tasting bland. It helps to bring out the best in the grain and makes it more enjoyable, whether served plain or as part of a larger dish.
- Optional Flavor Enhancers: Consider adding a bay leaf to the pot during cooking for a subtle aromatic touch. A tiny drizzle of olive oil or a knob of butter can also add richness and help prevent sticking, though it’s usually not strictly necessary with this method. A sprinkle of garlic powder or onion powder can also infuse the quinoa with savory notes.
Essential Tools:
- Instant Pot: This recipe is optimized for a 6-quart Instant Pot model, which is a common size. If you own an 8-quart model, it’s advisable to double the recipe to ensure there’s enough liquid volume to allow the pressure cooker to properly come to pressure and cook evenly. For a smaller 3-quart model, this recipe scales down perfectly without adjustments.
- Fine-Mesh Strainer (Optional): If your quinoa is not pre-rinsed, a fine-mesh strainer is invaluable for quickly and efficiently rinsing away any saponin before cooking.
Top Tip: Infuse Your Quinoa with Broth for Extra Flavor
Elevate the taste of your quinoa by cooking it in broth instead of plain water. This simple swap adds depth and complexity to an otherwise neutral grain. Choose bone broth for an added protein boost and savory umami, or opt for vegetable broth to maintain a vegan-friendly and equally delicious result. The flavor absorption during pressure cooking is exceptional, making this a highly recommended tip!
How to Make Perfect Quinoa in an Instant Pot
Follow these simple steps for perfectly fluffy Instant Pot quinoa every single time. It’s easier than you think!

- Combine Ingredients: Add the measured dry, unrinsed quinoa (unless your specific brand requires rinsing, see notes below) to the inner pot of your 6-quart Instant Pot. Pour in 2 cups of cool or room temperature water (or broth) and sprinkle in ½ teaspoon of salt.
- Stir: Give the mixture a good stir to combine all ingredients evenly. This ensures the salt is distributed and the quinoa is fully immersed in the liquid.
- Secure the Lid: Place the lid on the Instant Pot and twist it to secure it in place. Ensure the sealing valve is switched to the “sealing” position. This is critical for the pot to build and maintain pressure.
- Pressure Cook: Set the Instant Pot to manual (or “Pressure Cook” depending on your model) on high pressure for 3 minutes. The pot will take some time to come to pressure before the cooking countdown begins.
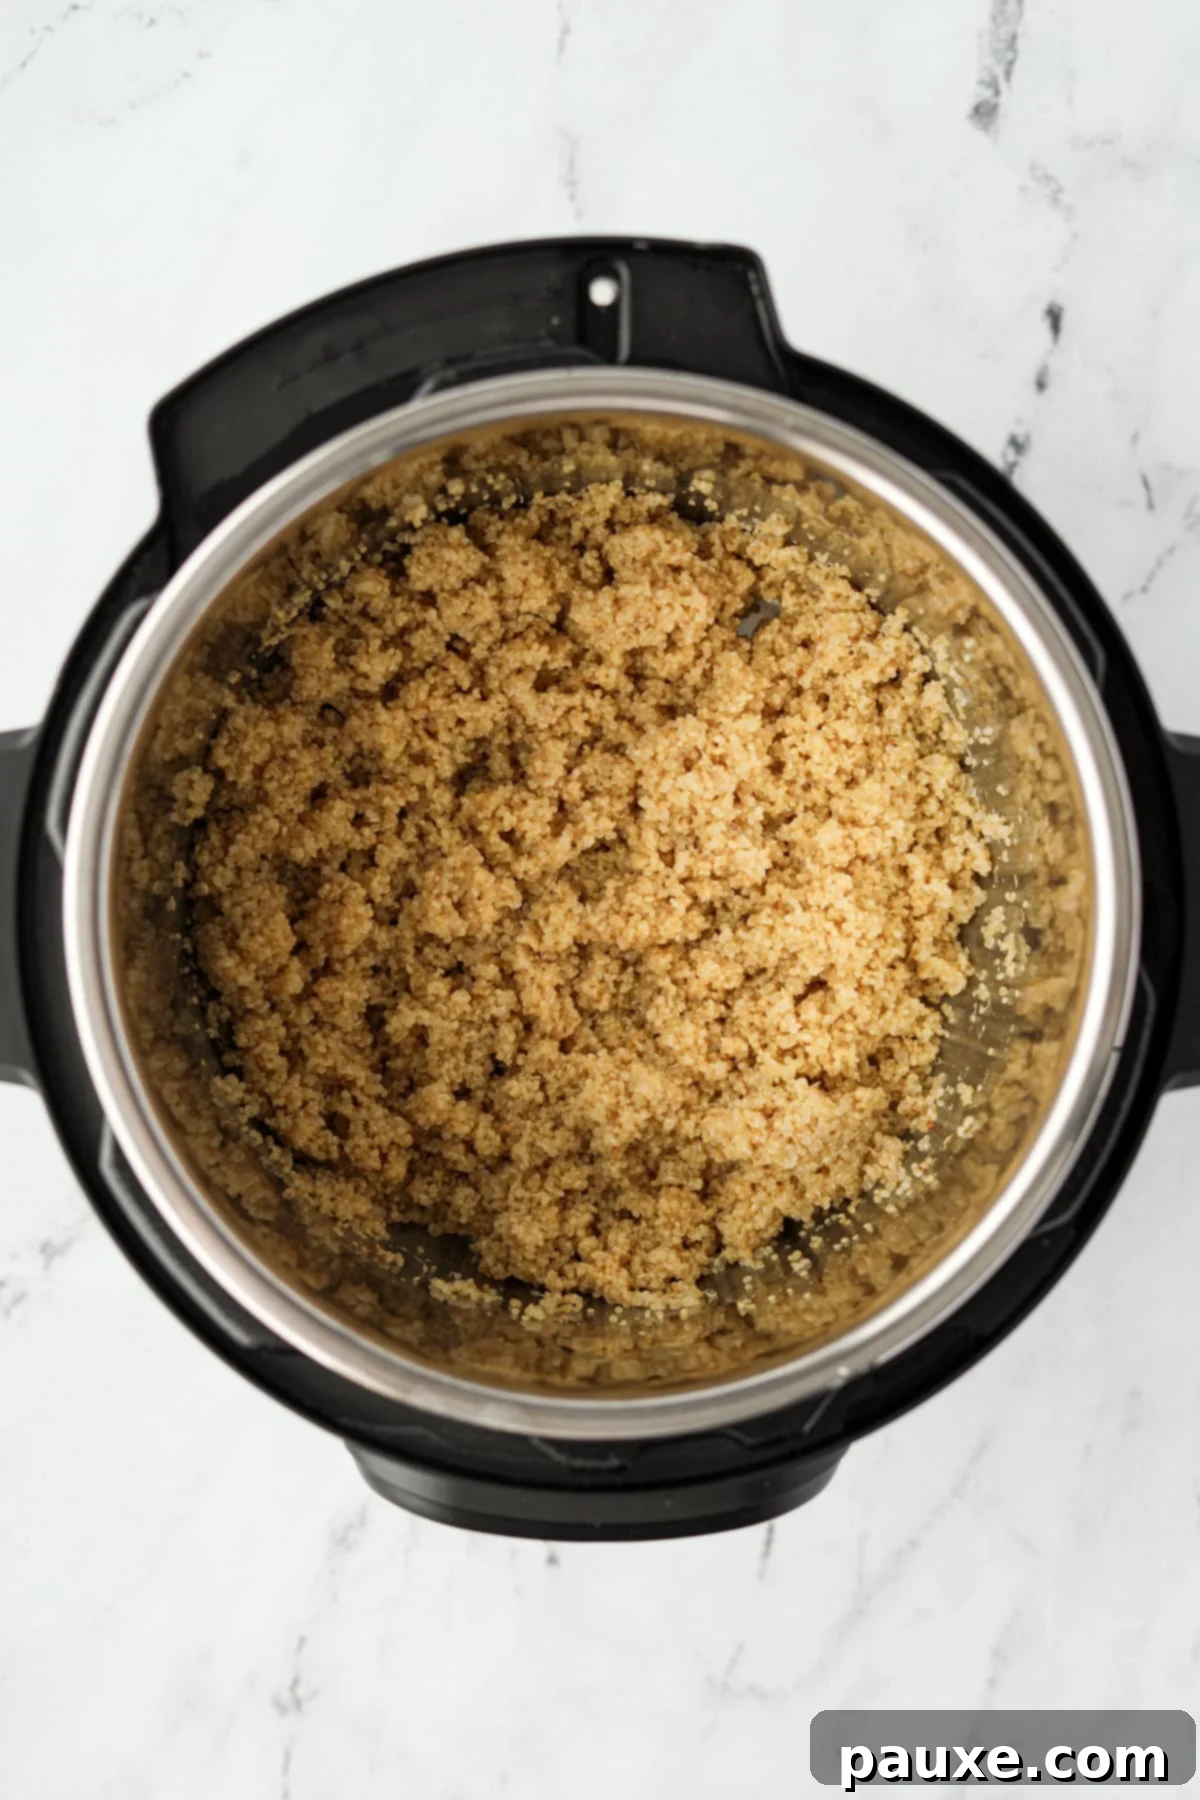
- Natural Pressure Release (NPR): Once the cooking time finishes and the Instant Pot beeps, allow the pot to perform a natural pressure release (NPR) for 10 minutes. Do not manually release the pressure immediately. This natural release period is crucial as it allows the quinoa to continue absorbing steam and fully cook, resulting in a perfectly fluffy texture and preventing gumminess.
- Quick Release Remaining Pressure: After 10 minutes of NPR, carefully flip the sealing valve to the “venting” position to release any remaining steam. Stand back and allow all the steam to dissipate completely. The float valve pin should drop, indicating that it’s safe to open the lid. (Always refer to your Instant Pot manual for specific safety guidelines.)
- Fluff the Quinoa: Once all pressure is released and the lid is safely open, use a fork to gently fluff the cooked quinoa. This helps separate the grains and releases any trapped steam, ensuring a light and airy texture.
- Rest and Serve: Allow the quinoa to rest for another 5 minutes with the lid off, continuing to release steam. This final resting period further enhances the texture. Then, serve immediately and enjoy your perfectly cooked, fluffy Instant Pot quinoa!
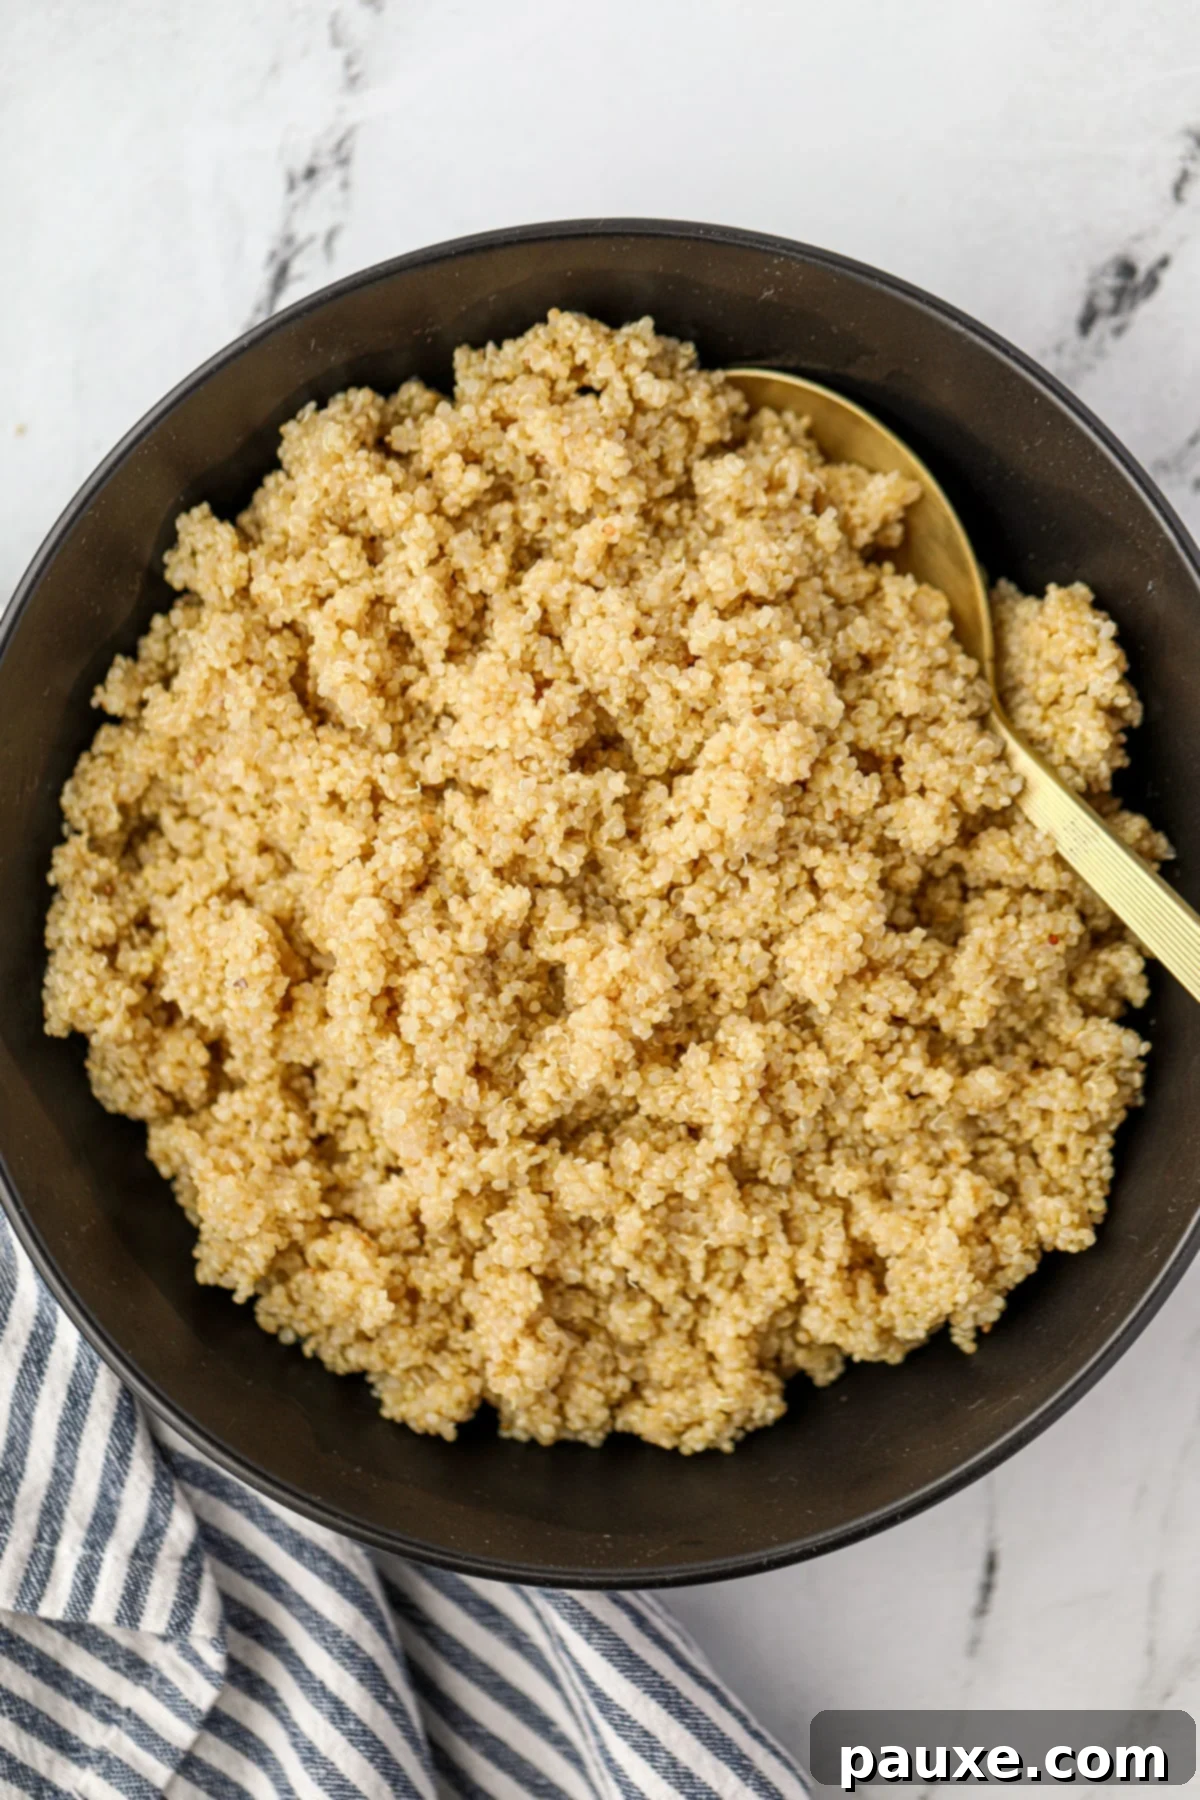
Creative Ways to Serve Instant Pot Quinoa
This popular seed, which cooks like a grain, is incredibly versatile and easy to incorporate into all your favorite dishes. With its high protein and fiber content, quinoa is a satisfying and nutritious addition to any meal. Here are some of my favorite ways to enjoy this perfectly cooked Instant Pot quinoa:
- Nutritious Base for Salads: Use it warm or cold in vibrant green salads, mixed with fresh vegetables, herbs, and a light vinaigrette. It adds substance and a delightful texture.
- Easy Side Dish: Serve it alongside roasted vegetables, grilled chicken, baked fish, or any main course as a healthier alternative to rice or potatoes. Season it simply with a squeeze of lemon juice, fresh parsley, and a drizzle of olive oil.
- Substitute for Rice or Couscous: Quinoa makes an excellent gluten-free replacement in recipes that call for rice or couscous, such as pilafs, stuffed peppers, or as a bed for curries and stews.
- Customizable Grain Bowls: Build your own healthy and delicious quinoa bowls for lunch or dinner. Combine quinoa with roasted veggies, a protein source (like chickpeas, tofu, or chicken), avocado, and a flavorful dressing for a complete meal.
- Binder in Veggie Burgers & Fritters: Its unique texture and binding properties make cooked quinoa a fantastic ingredient for homemade veggie burgers, savory fritters, or even meatloaf, adding both nutrition and structure.
- Hearty Breakfast Option: Transform it into a savory breakfast bowl with a fried egg, avocado, and hot sauce, or a sweet porridge with fruit, nuts, and a touch of maple syrup.
- As a Filler for Wraps and Tacos: Add cooked quinoa to wraps, burritos, or tacos for an extra layer of texture, flavor, and protein that makes your meal more filling.
- Classic Quinoa Salads: Create delicious and satisfying cold salads like my popular Greek quinoa salad, or a hearty quinoa salad with chickpeas and feta, perfect for picnics or packed lunches.
Understanding the Instant Pot Quinoa Ratio
The secret to consistently perfect Instant Pot quinoa lies in understanding and adhering to the optimal ratio and timing. Once you grasp these fundamental principles, you can confidently prepare fluffy quinoa in almost any quantity.
- Quinoa to Water Ratio: Always use a 1 part dry quinoa : 1.5 parts water (or broth) ratio. This is slightly less water than stovetop methods, as less liquid evaporates in the pressure cooker. This precise ratio ensures the quinoa absorbs just the right amount of moisture without becoming mushy.
- Pressure Cook Time: Cook on manual high pressure for 3 minutes. This short cook time is surprisingly effective due to the intense heat and pressure inside the pot.
- Pressure Release: Follow with a 10-minute natural pressure release (NPR), followed by a quick release of any remaining pressure. This allows the quinoa to fully steam and prevents a sudden drop in pressure that can lead to popped or chewy grains.
- Fluff and Rest: After releasing the pressure, fluff the quinoa with a fork immediately. Then, let it rest for 5 minutes uncovered. This final resting period allows any residual moisture to evaporate, ensuring individual, perfectly textured grains.
- Salt Note: For optimal flavor, add ¼ to ½ teaspoon of salt for every 1 cup of dry quinoa. Adjust to your personal taste preferences.
Does Quinoa Need to be Rinsed Before Cooking?

This is a common question, and thankfully, for most modern quinoa sold in stores, the answer is often no. The quinoa available today from most commercial brands has already been pre-rinsed during processing to remove its natural coating, called saponin.
Saponin is a naturally occurring compound found on the outer layer of quinoa seeds that acts as a natural pest deterrent. While harmless, it has a distinctly bitter, soapy taste. When quinoa first gained popularity, rinsing was a mandatory step. However, due to advancements in food processing, the vast majority of packaged quinoa on supermarket shelves has already undergone a thorough cleaning to remove this bitter saponin layer.
That being said, if you purchase quinoa from specialty stores, bulk bins, or directly from a farmer’s market, it might still retain its saponin coating. In these cases, it’s highly recommended to rinse it first. To do this, simply place the quinoa in a fine-mesh strainer and run it under cool water for about a minute, gently agitating it with your fingers until the water runs clear. This quick step will ensure your cooked quinoa has a clean, nutty flavor without any unwanted bitterness.
Important Note: If you do choose to rinse your quinoa, reduce the amount of cooking water in the recipe by ¼ cup. This adjustment accounts for the extra liquid absorbed by the quinoa during the rinsing process and helps maintain the perfect quinoa-to-liquid ratio for pressure cooking.

Storing Leftovers & Freezing Quinoa
Making a large batch of Instant Pot quinoa for meal prep is incredibly convenient. Knowing how to properly store and reheat it ensures you always have a healthy, ready-to-eat option.
Refrigerator Storage:
Allow your freshly cooked quinoa to cool completely to room temperature before storing. This prevents condensation and keeps it from becoming soggy. Once cooled, transfer the quinoa to an airtight storage container. Store it in the refrigerator for up to 4 days. Properly stored quinoa remains fresh and flavorful, ready to be added to salads, bowls, or served as a side.
Reheating Cooked Quinoa:
When you’re ready to enjoy your leftovers, individual portions can be easily reheated. For the microwave, place quinoa in a microwave-safe bowl with a tablespoon or two of water or broth (this helps reintroduce moisture and prevent drying). Cover and heat for 1-2 minutes, stirring halfway through, until warmed through. Alternatively, reheat on the stovetop in a skillet over medium-low heat, adding a splash of water or broth and stirring occasionally until heated.
Can You Freeze Cooked Quinoa?
Absolutely! Freezing cooked quinoa is an excellent way to extend its shelf life and make meal prep even more efficient. This greatly lengthens the storage time, providing a convenient option for quick meals months down the line. To freeze, ensure the cooked quinoa is fully cooled. Then, portion it into freezer-safe bags (pressing out excess air before sealing) or airtight containers. Label with the date and freeze for up to 3 months.
When ready to use, frozen quinoa can be thawed overnight in the refrigerator or reheated directly from frozen. Simply place the frozen quinoa in a microwave-safe bowl with a tablespoon of water or broth, cover, and microwave until heated through, stirring occasionally. For stovetop reheating, place in a saucepan with a little liquid, cover, and heat over low until defrosted and warm, fluffing with a fork.
More Delicious Quinoa Recipes to Try
Once you’ve mastered cooking quinoa in your Instant Pot, you’ll be ready to explore even more exciting ways to incorporate this nutritious ingredient into your diet. Here are some fantastic recipes that highlight quinoa’s versatility:
- Vibrant Greek Quinoa Salad
- Hearty Quinoa Salad with Chickpeas and Feta
- Comforting Quinoa Enchilada Casserole
- Flavorful Pesto Chicken Quinoa Bowl
If this Instant Pot Quinoa recipe brought joy to your kitchen, please share your experience! Let me know by leaving a 5-star review in the recipe card below or dropping a comment. I’d also love to see your creations on Instagram – tag me @dashfordinner!
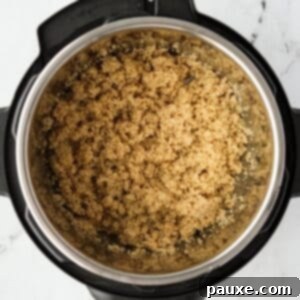
Instant Pot Quinoa
Ingredients
- 1 ⅓ cups dry quinoa
- 2 cups water or broth**
- ½ teaspoon salt
Instructions
- Add the dry, unrinsed* quinoa to the insert of a 6-quart Instant Pot.
- Pour in 2 cups of cool or room temperature water (or broth), and sprinkle in ½ teaspoon of salt.
- Stir well to combine all ingredients, then secure the lid. Switch the valve to the “sealing” position.
- Set the Instant Pot to manual (or “Pressure Cook”) on high pressure and cook for 3 minutes.
- Once the pot indicates the cooking time is up (it will beep), allow the Instant Pot to perform a 10-minute natural pressure release.
- After 10 minutes, carefully flip the valve to “venting” and allow all of the steam and pressure to release completely. Once the float valve drops, it’s generally considered safe to open the lid. (Always consult your Instant Pot manual for specific safety information.)
- Carefully open the lid, then use a fork to gently fluff the quinoa.
- Allow the quinoa to rest for 5 minutes with the lid off to release any remaining steam, then serve and enjoy!
Notes
Yields approximately 4 cups of cooked quinoa.
Storing leftovers: Allow cooked quinoa to cool completely. Transfer leftovers to an airtight container and store in the refrigerator for up to 4 days. Reheat portions as needed. For longer storage, transfer to freezer-safe bags or containers, seal tightly, label, and freeze for up to 3 months.
*Should quinoa be rinsed? While historically it was crucial to rinse quinoa to remove bitter-tasting saponin, most modern brands are pre-rinsed during packaging. You likely do not need to rinse commercially packaged quinoa. However, if you’ve purchased quinoa from bulk bins or types that appear unprocessed, a quick rinse under cool water in a fine-mesh strainer is recommended to ensure no bitterness.
If your quinoa needs to be rinsed: If you rinse your quinoa, reduce the water in the recipe by ¼ cup. This compensates for the extra liquid absorbed during rinsing.
**With broth: For enhanced flavor and potential added protein, cook your quinoa in your choice of broth. A good quality bone broth adds savory depth and protein, while vegetable broth is an excellent choice for a flavorful vegetarian and vegan option.
For an 8-quart Instant Pot: To ensure proper pressure build-up and even cooking in a larger pot, it is recommended to double the recipe ingredients (2 ⅔ cups quinoa, 4 cups water/broth) when using an 8-quart Instant Pot model.
For a 3-quart Instant Pot: This recipe’s quantities work perfectly as-is for smaller 3-quart Instant Pot models, no adjustments needed.
The Gist of It (Quick Reference):
- Ratio: 1 part quinoa : 1.5 parts water/broth.
- Cooking time: 3 minutes on high pressure.
- Pressure release: 10 minutes natural pressure release + 5 minutes fluff and rest.
- Salt: ¼-½ teaspoon salt per 1 cup dry quinoa.
Please note that some of my blog posts here at Dash for Dinner may contain affiliate links. If you make a purchase through these links, I will get a small commission at no additional cost to you. Please see my Disclaimer for more information.
