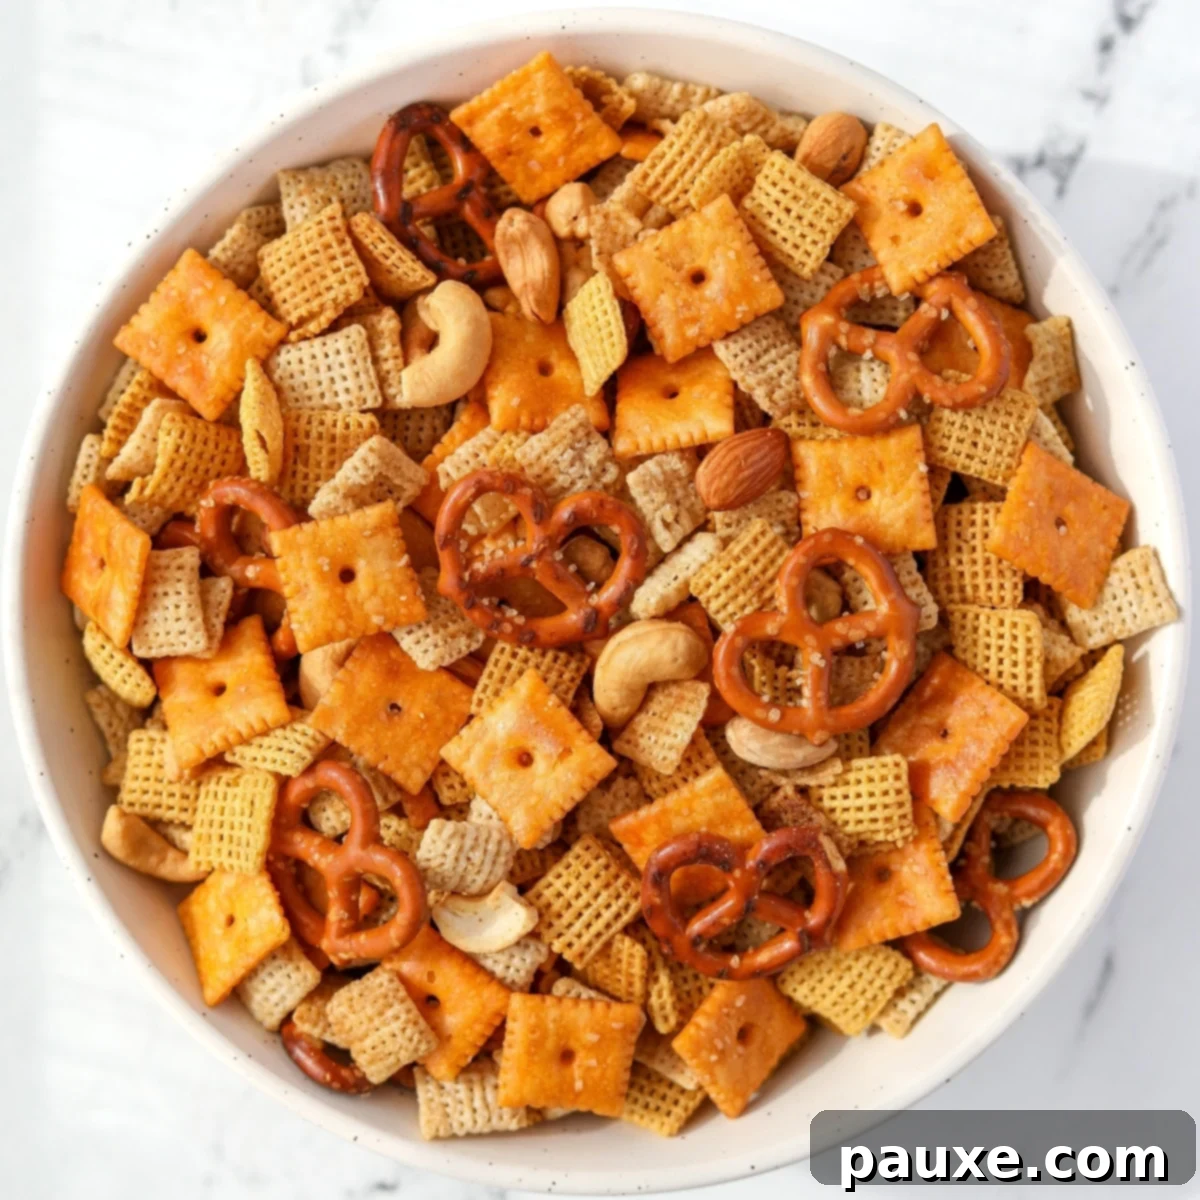
Welcome to the ultimate guide for crafting the most delicious, homemade Chex Mix recipe! Forget the store-bought versions; this recipe elevates the classic salty snack to new heights of flavor and crunch. Perfect for any occasion, whether you’re planning a holiday gathering, a casual potluck, or simply craving a savory treat, this baked Chex Mix is designed to impress. We’ve taken the nostalgic flavors you remember and enhanced them with an extra buttery coating and a toasty bake, creating a snack mix that’s truly irresistible. Get ready to fill your home with the inviting aroma of this beloved party staple and delight friends and family with a snack that’s packed with customized deliciousness.
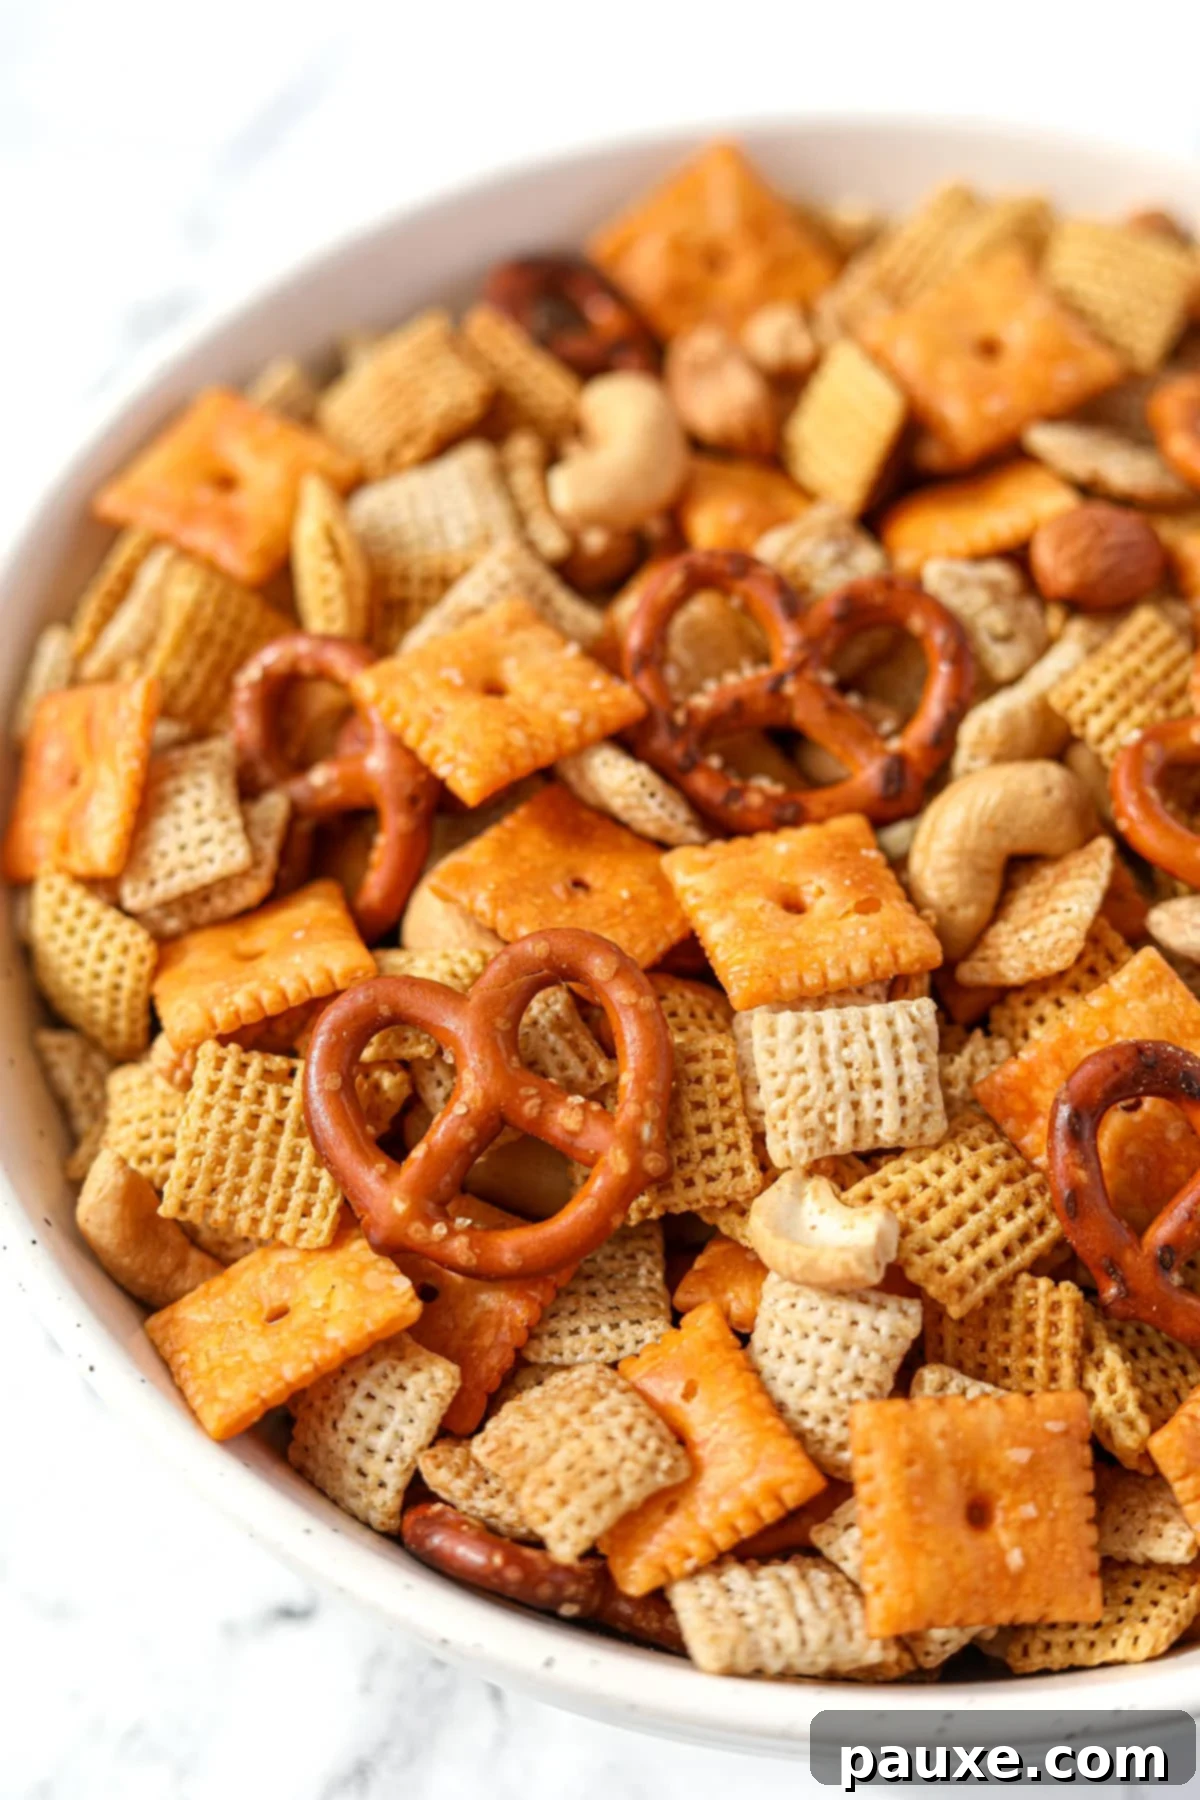
This Homemade Chex Mix recipe is an absolute game-changer for potlucks, parties, and thoughtful gifting. It’s incredibly versatile, relying on simple, accessible ingredients that can be easily customized to suit any taste preference. From savory spices to sweet delights, the possibilities for mix-ins are endless, ensuring a unique flavor profile every time you make it.
As someone who treasures family recipes, this Chex Mix holds a special place in my collection. It’s a comfort food that brings back fond memories, and it’s always a crowd-pleaser. I’ve refined the traditional recipe to achieve an irresistibly buttery coating and added an essential baking step (though optional, it’s highly recommended!) to develop a rich, toasty, and nutty depth of flavor. This extra effort transforms a good snack into a truly exceptional one, making it the ultimate party companion.
Why You’ll Love This Homemade Chex Mix Recipe:
- An Unforgettable Crowd Favorite: There’s a good reason this savory snack mix remains a perennial hit at parties, holiday gatherings, and potlucks – its flavor profile is universally loved! Simply prepare a generous batch, set it out in a large bowl, and watch it disappear as guests eagerly grab handfuls. Its addictive combination of salty, savory, and crunchy textures ensures everyone comes back for more.
- Superior to Store-Bought Options: While pre-packaged Chex Mix is readily available, our baked homemade version offers an unparalleled experience. It boasts a fresher, more robust flavor, a significantly butterier taste, and a satisfying crispness that store-bought varieties simply can’t match. The ability to control the quality of ingredients and seasonings makes all the difference.
- Flexible Cooking Methods for Every Lifestyle: This recipe offers remarkable versatility in preparation. You can enjoy your mix as is, unbaked, for a quick and simple treat. For enhanced flavor and texture, follow our baking instructions to achieve a perfectly golden, crunchy snack. Alternatively, for a more hands-off approach, you can opt for the slow cooker method, or even a super quick air fryer version. The choice is entirely yours, depending on your time and preference.
- Effortless Preparation with Common Ingredients: Crafting this classic Chex Mix recipe requires just a few popular pantry staples and snack foods. The base relies on your favorite Chex cereals, crunchy pretzels, and an assortment of delicious mix-ins. These are then generously coated with melted butter and a blend of simple yet potent seasonings, making the entire process straightforward and enjoyable for any home cook.
Essential Ingredients for Your Perfect Chex Mix
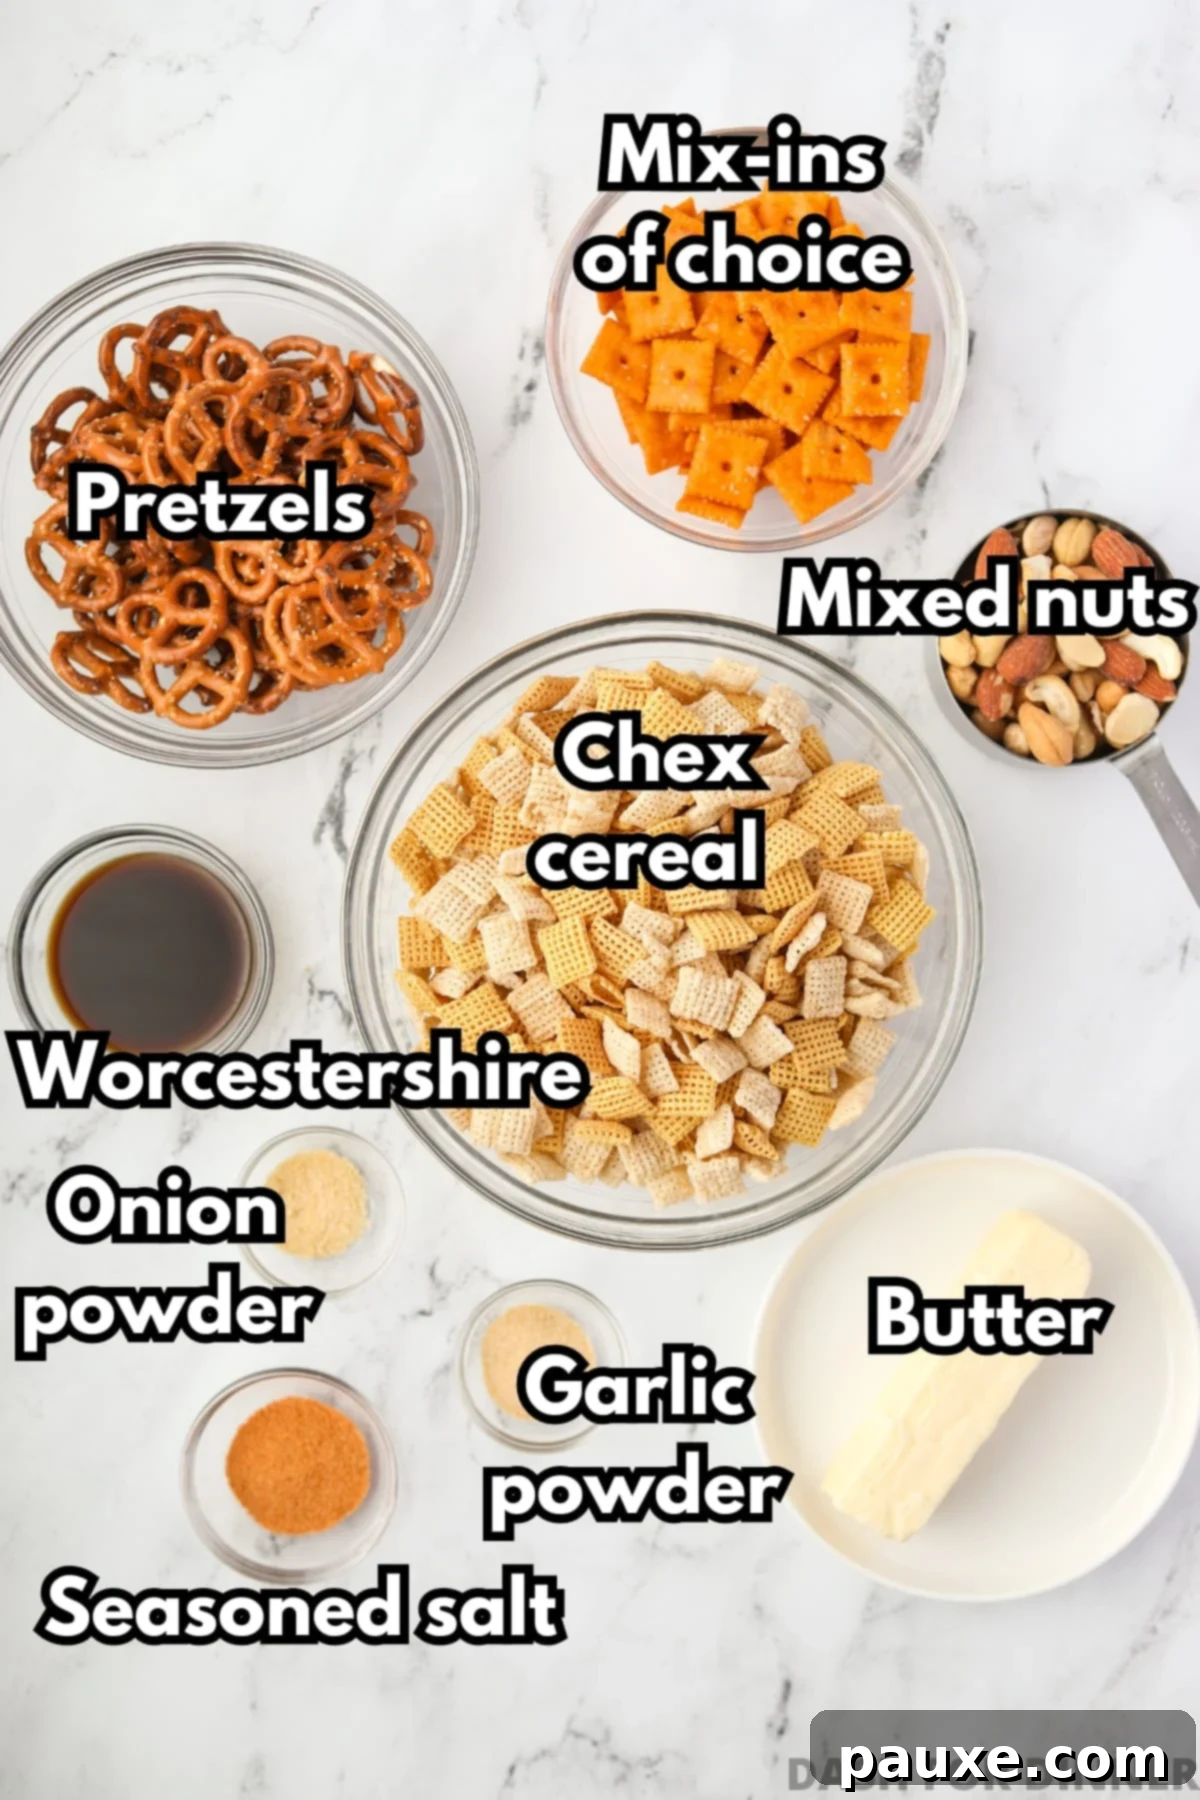
- Chex Cereal: For the most diverse and interesting texture, I highly recommend using a combination of at least two different types of Chex cereal. My personal favorites are Rice Chex and Corn Chex, which offer a delightful contrast in crispness. Wheat Chex is also a fantastic option, adding a slightly heartier crunch. Feel free to mix and match to discover your preferred blend.
- Pretzels: A cornerstone of any great Chex Mix recipe, pretzels contribute that essential salty crunch. You can use any shape you love – mini twists are a classic choice, but pretzel sticks or small pieces also work wonderfully and integrate seamlessly into the mix.
- Versatile Mix-ins: This is where you can truly unleash your creativity! Traditionally, bagel chips or rye chips are common additions, offering a robust crunch and savory depth. However, don’t limit yourself. I often use Cheez-It crackers for a cheesy kick, or Goldfish crackers for a milder, kid-friendly option. Other great ideas include Cheerios for a lighter texture, or even sweet elements like M&M’s or candy corn (add these after baking and cooling if they are meltable!).
- Nuts: Nuts add a rich, buttery flavor and a satisfying chewiness to your snack mix. A deluxe mixed nuts blend, like those found at Costco, provides a variety of textures and tastes. Pecans, cashews, peanuts, or walnuts are all excellent choices, either individually or combined.
- Butter: This is crucial for creating that signature rich, savory coating. You can use either salted or unsalted butter, depending on your preference for saltiness. Remember, you’ll also be adding seasoned salt, so consider balancing the flavors.
- Worcestershire Sauce: Absolutely a non-negotiable ingredient! Worcestershire sauce provides a unique umami depth and tangy complexity that is characteristic of classic Chex Mix. Do not skip this; it’s the secret weapon for authentic flavor.
- Seasonings: The perfect blend of spices is key. You will need seasoned salt for a savory foundation, along with garlic powder and onion powder to add aromatic layers that tie all the flavors together beautifully.
Essential Equipment for Homemade Chex Mix
- Baking Sheets: To ensure even baking and crispness, you’ll need at least two rimmed baking sheets. Alternatively, a very large roasting pan, roughly the size of your oven rack, can also work. If you only have one baking sheet, you can either halve the recipe or bake the mix in batches to avoid overcrowding, which can lead to steaming instead of crisping.
- Large Mixing Bowl: A spacious bowl is essential for tossing all the dry ingredients and ensuring they are thoroughly coated with the butter mixture without spilling.
- Saucepan or Microwave-Safe Bowl: For melting the butter and combining it with the seasonings.
- Spatula or Large Spoon: For stirring and tossing the mix during preparation and baking.
Instructions: Classic Oven Baked Chex Mix Method
Creating the perfect homemade Chex Mix in the oven is a straightforward process that yields a wonderfully crisp and flavorful snack. Follow these steps for an irresistible batch:
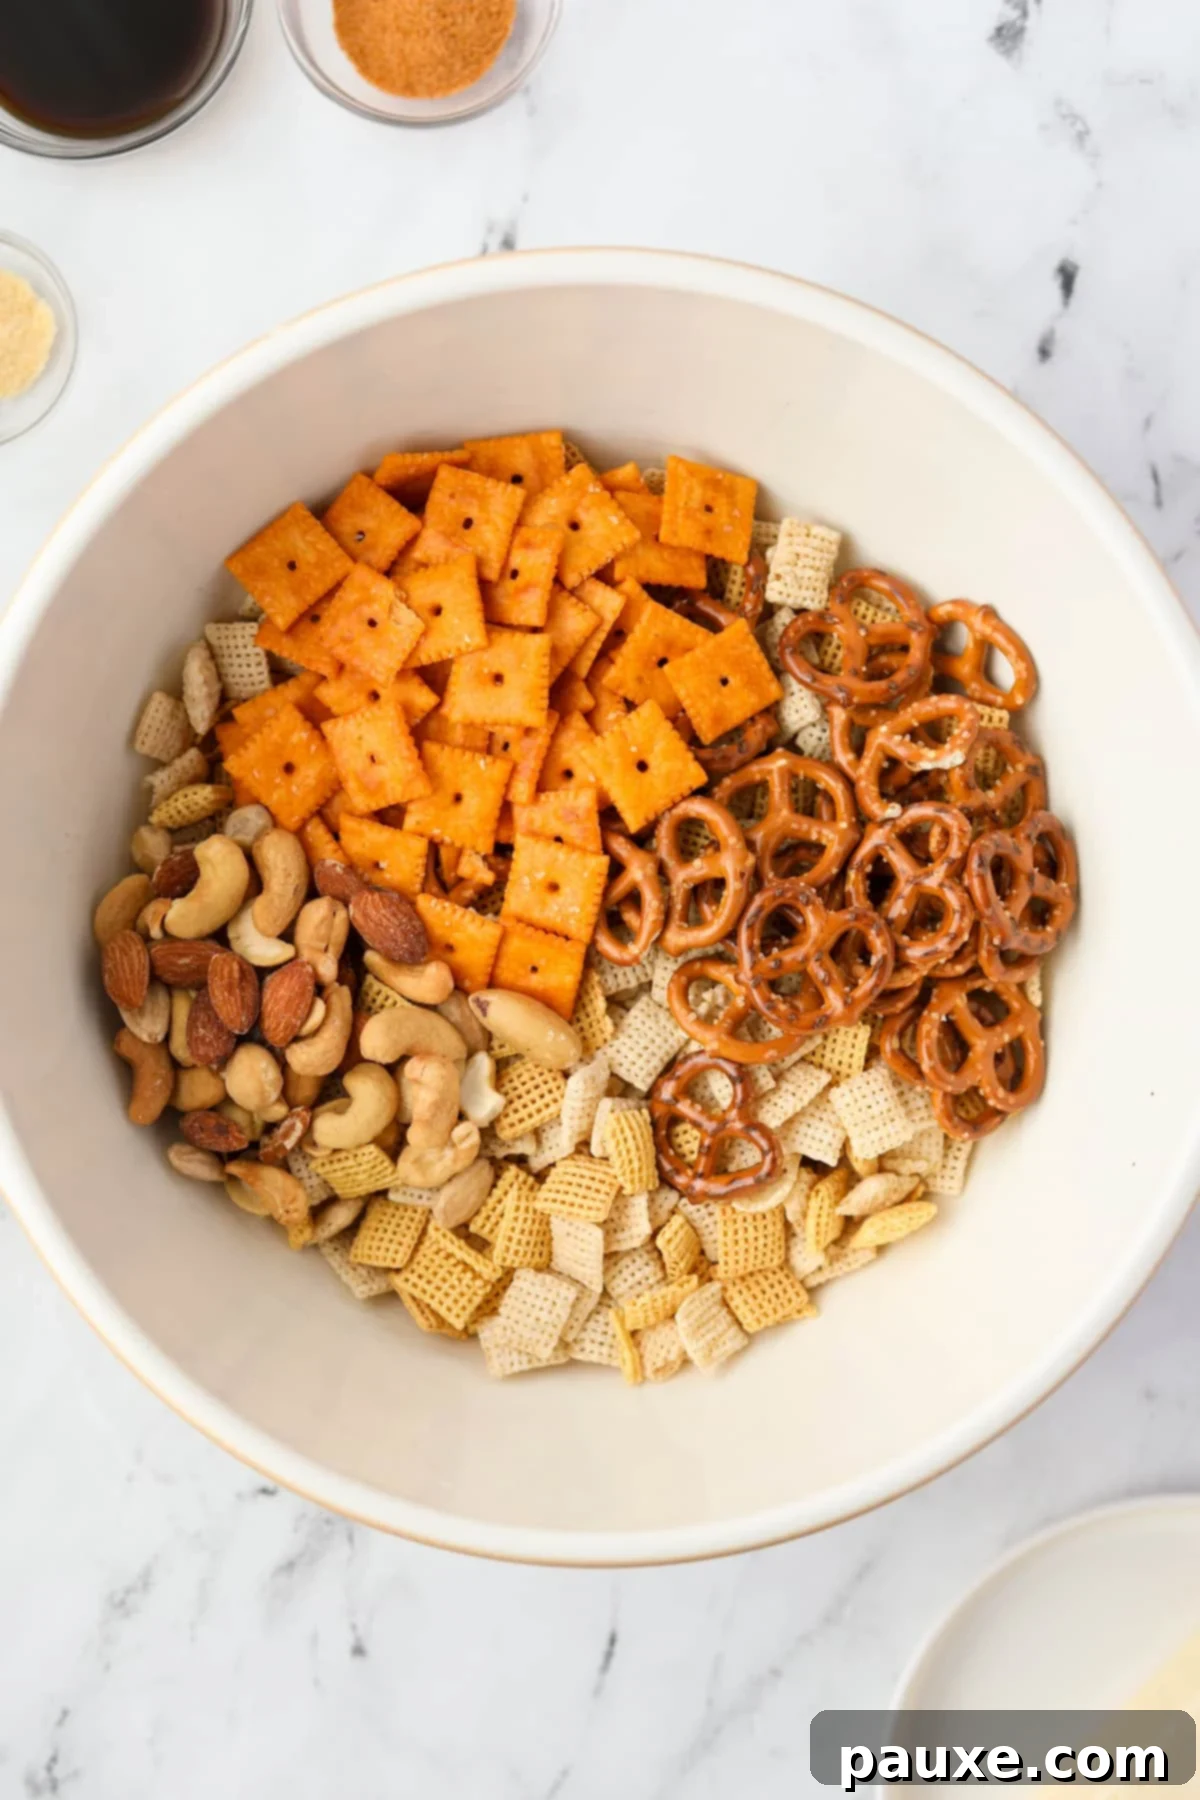
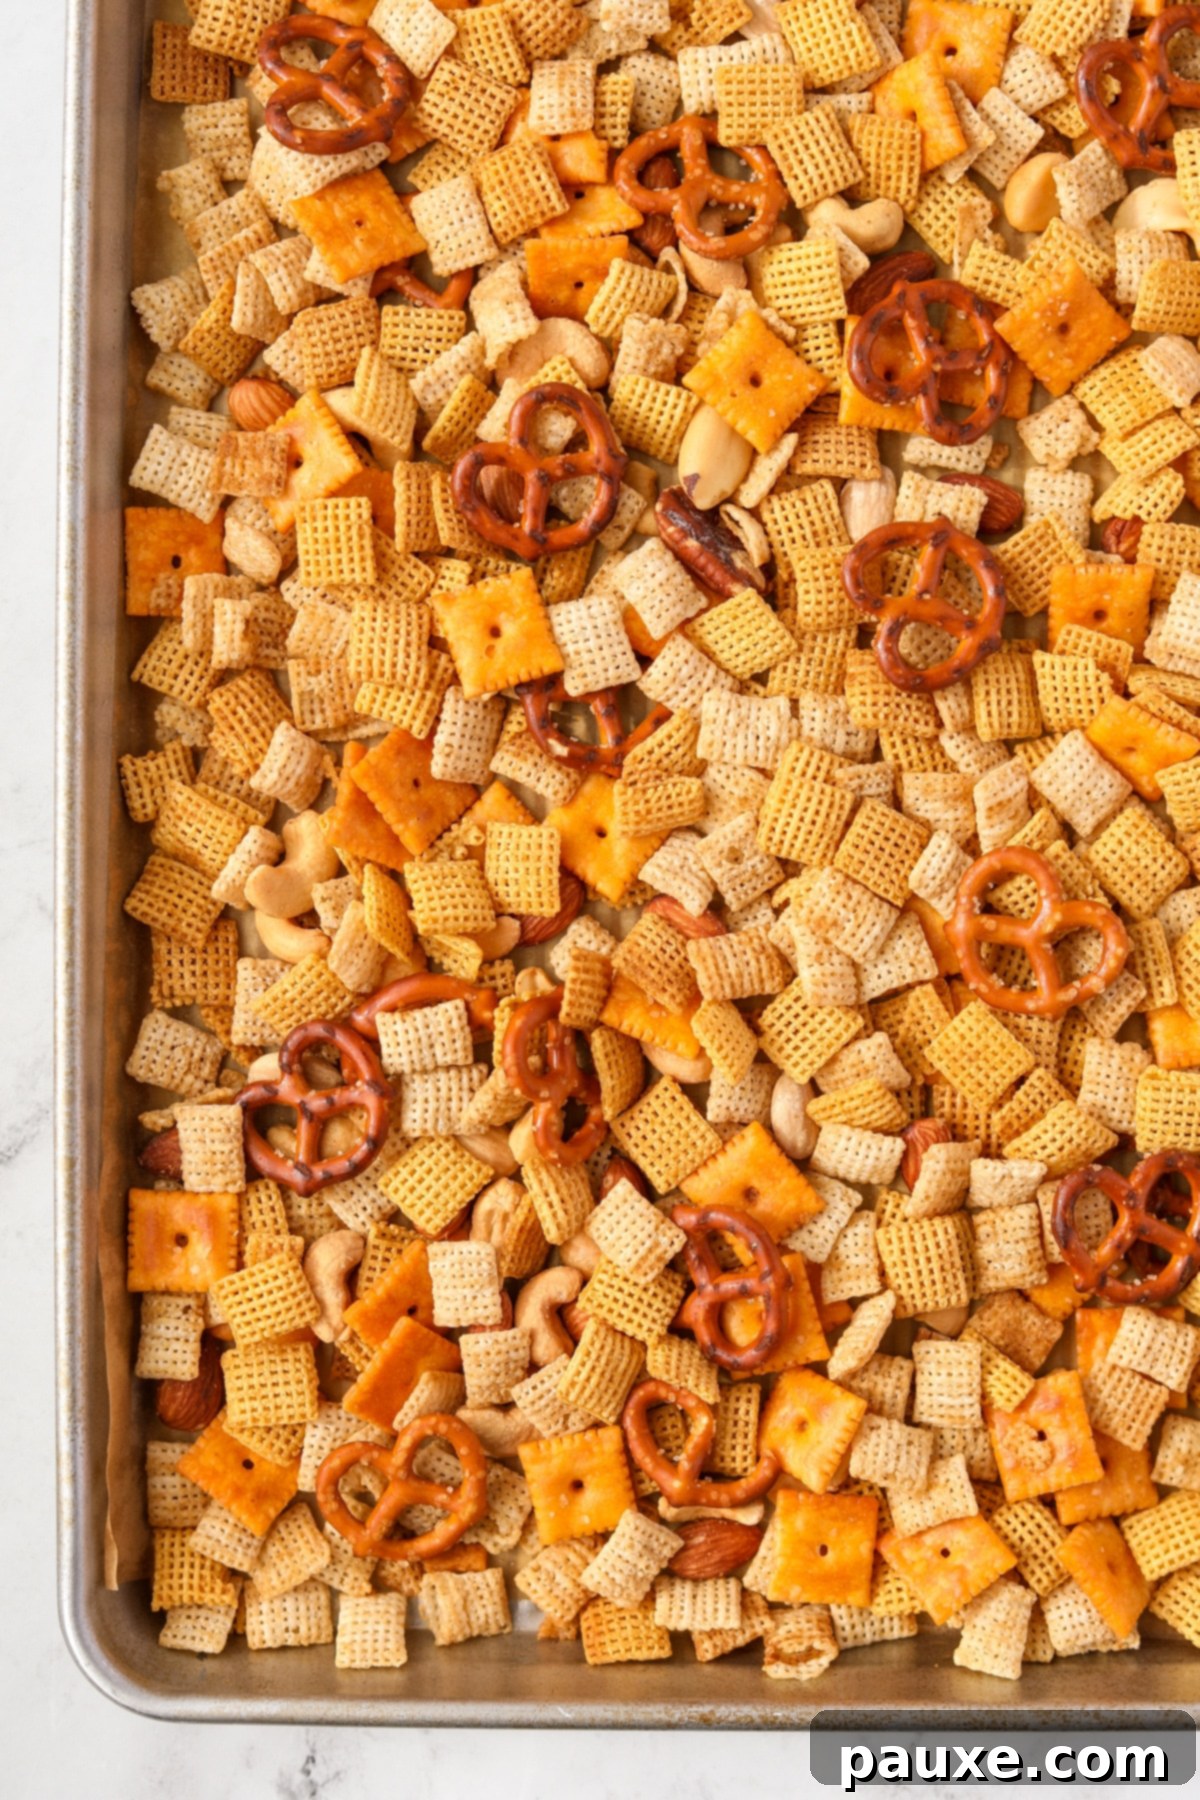
Step One: Prepare Your Dry Mix. In a very large mixing bowl, combine your chosen Chex cereals, mixed nuts, pretzels, and any non-meltable mix-ins (like cheese crackers or bagel chips). Give them a good stir to ensure they are evenly distributed. This ensures every bite will offer a balanced variety of textures and flavors.
Note: If you plan to add sweet or meltable mix-ins such as chocolate candies or M&M’s, hold off on adding these until after the Chex Mix has been baked and fully cooled to prevent melting or discoloration.
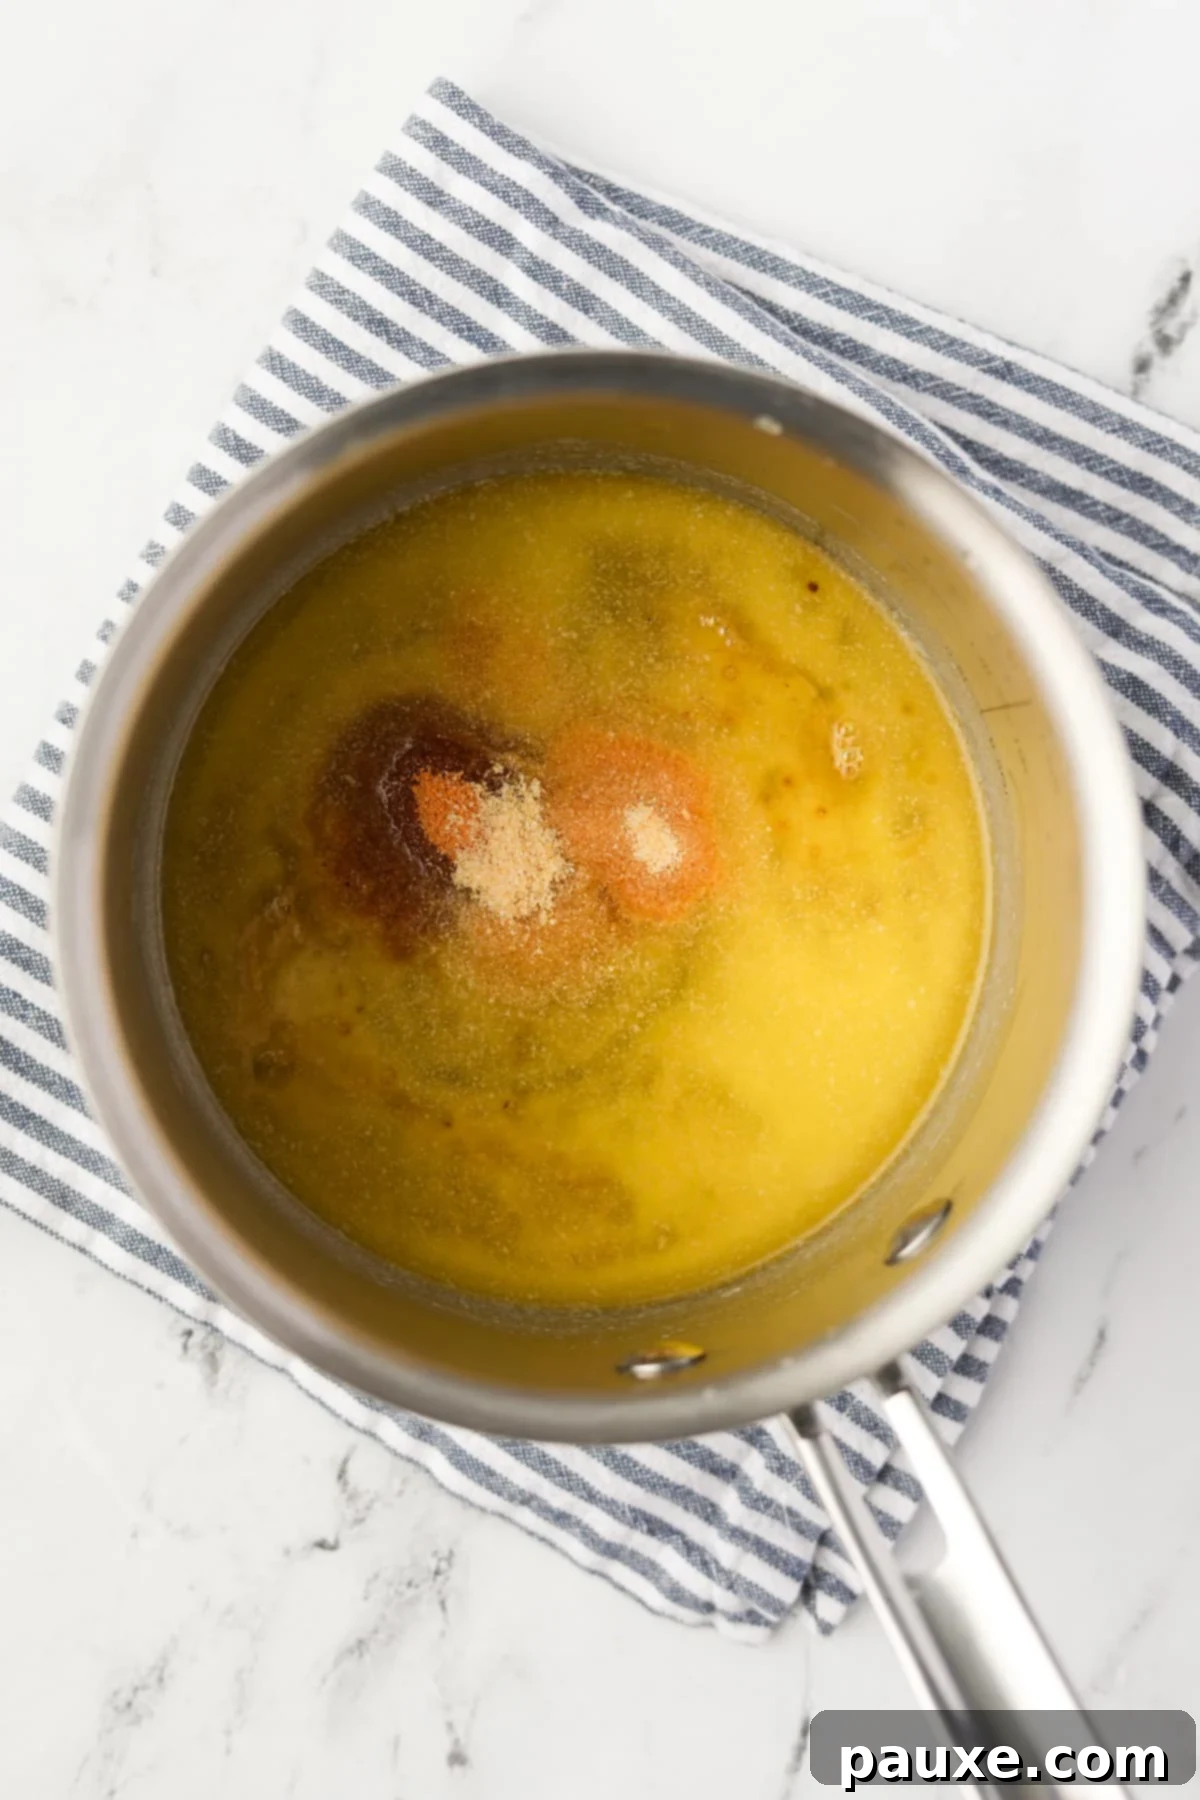
Step Two: Craft the Signature Seasoning Butter. Begin by melting the butter in a medium saucepan over low-medium heat on the stovetop. Alternatively, you can use a microwave-safe bowl and heat the butter in 30-second intervals until it’s fully melted. Once the butter is liquid, add the Worcestershire sauce, seasoned salt, garlic powder, and onion powder. Whisk everything together thoroughly until the seasonings are fully incorporated into the butter. This creates the flavorful coating that defines classic Chex Mix.
Mixing Everything Together for Optimal Flavor
Achieving a perfectly coated snack mix is essential for even flavor distribution. Follow these steps to ensure every piece is seasoned to perfection:
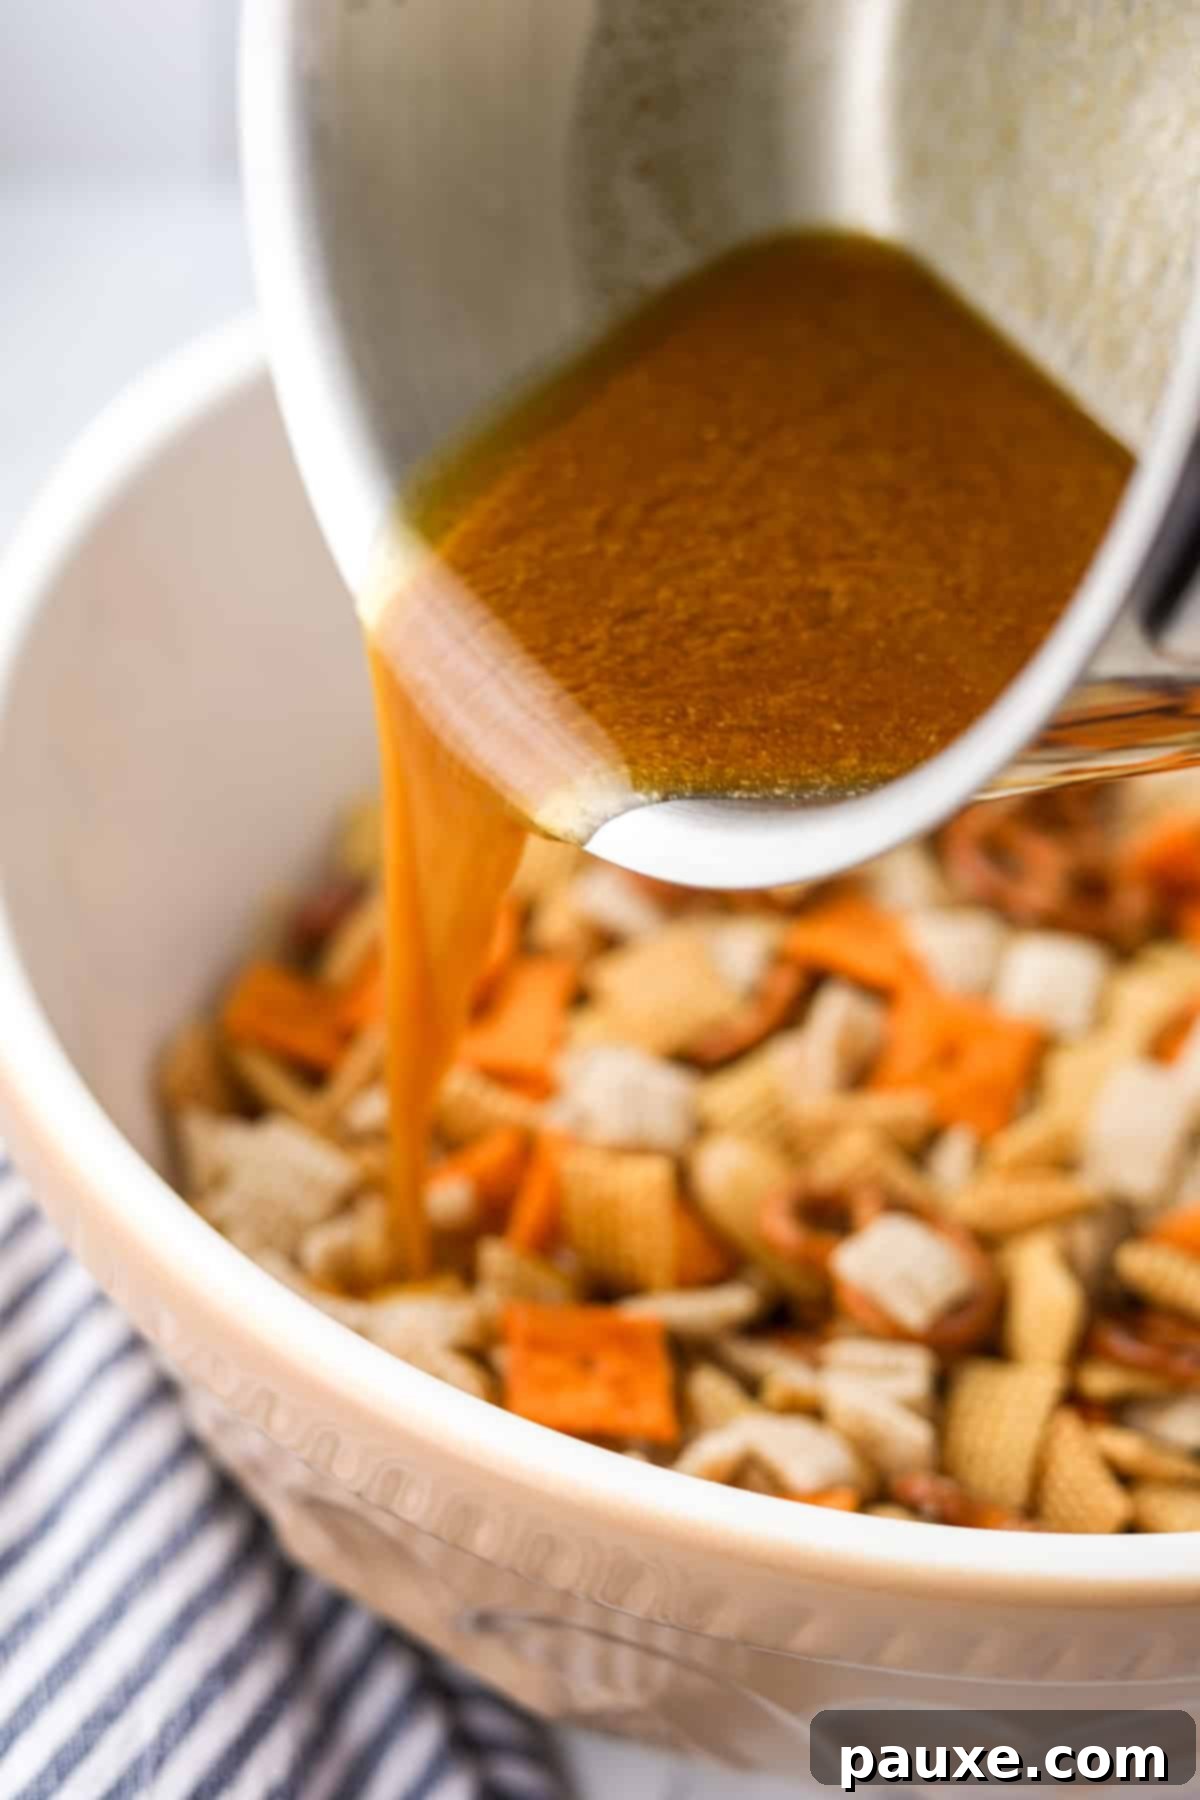
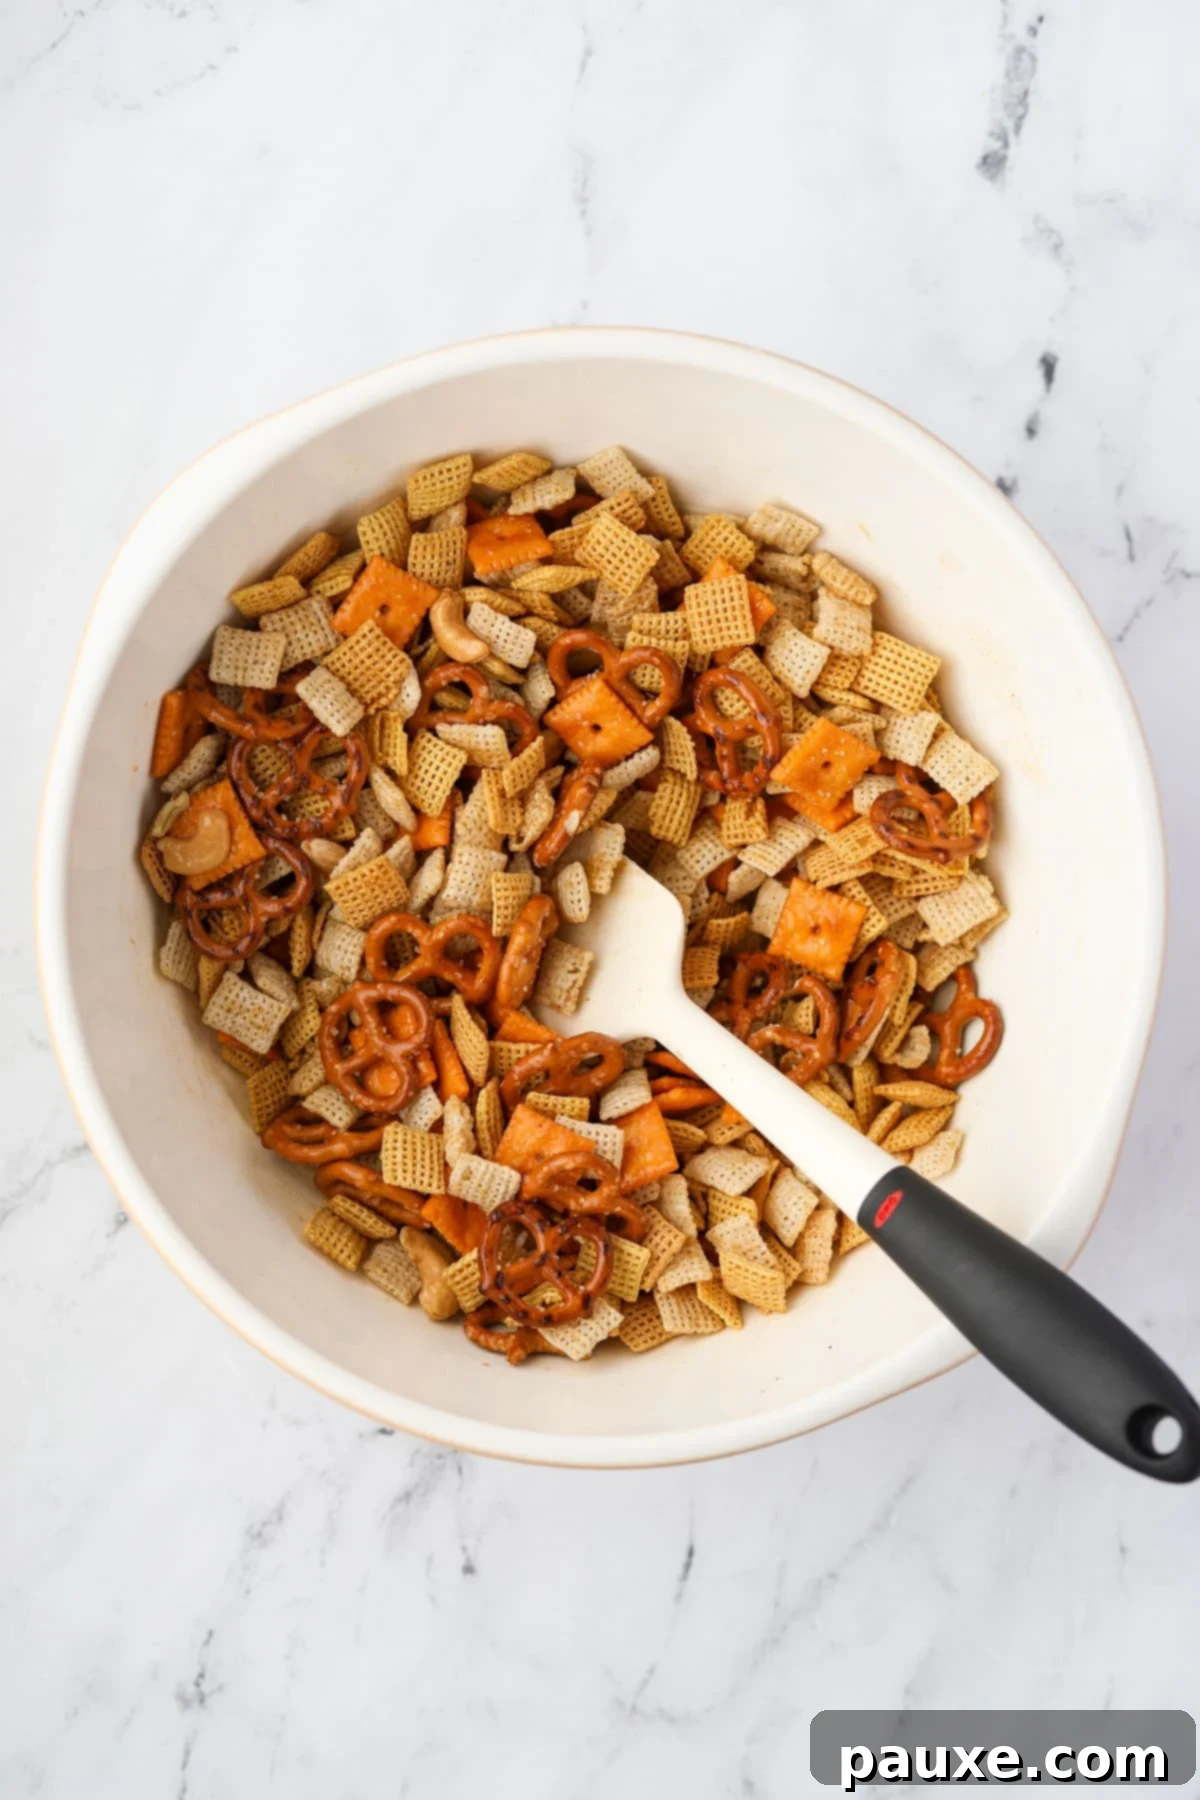
Step Three: Begin Coating the Mixture. Carefully pour about half of the prepared melted butter and seasoning mixture over the dry cereal, nut, and mix-in blend in your large bowl. This initial pour helps to partially coat the ingredients, making the subsequent mixing easier and more effective.
Step Four: Ensure Even Distribution. Using a sturdy spatula or large spoon, gently but thoroughly stir everything together. Continue mixing until the butter mixture visibly coats the dry ingredients. Once the first half is mostly absorbed, add the remaining butter mixture and continue stirring until every single piece of cereal, pretzel, and nut is evenly coated. Take your time with this step to avoid clumping and ensure maximum flavor in every bite.
Note: If you prefer a “no-bake” version, you can stop at this point. Allow the coated mix to cool completely to room temperature, then store it in an airtight container for up to 1 week. For a more intense, nutty flavor and a crisper texture with extended shelf life, proceed with baking the snack mix in the oven or preparing it in a slow cooker.
Perfecting Your Chex Mix: Baking and Cooling for Optimal Crunch
The baking process is key to developing the signature crispy texture and deeper, more complex flavors of homemade Chex Mix. Follow these steps carefully for the best results:
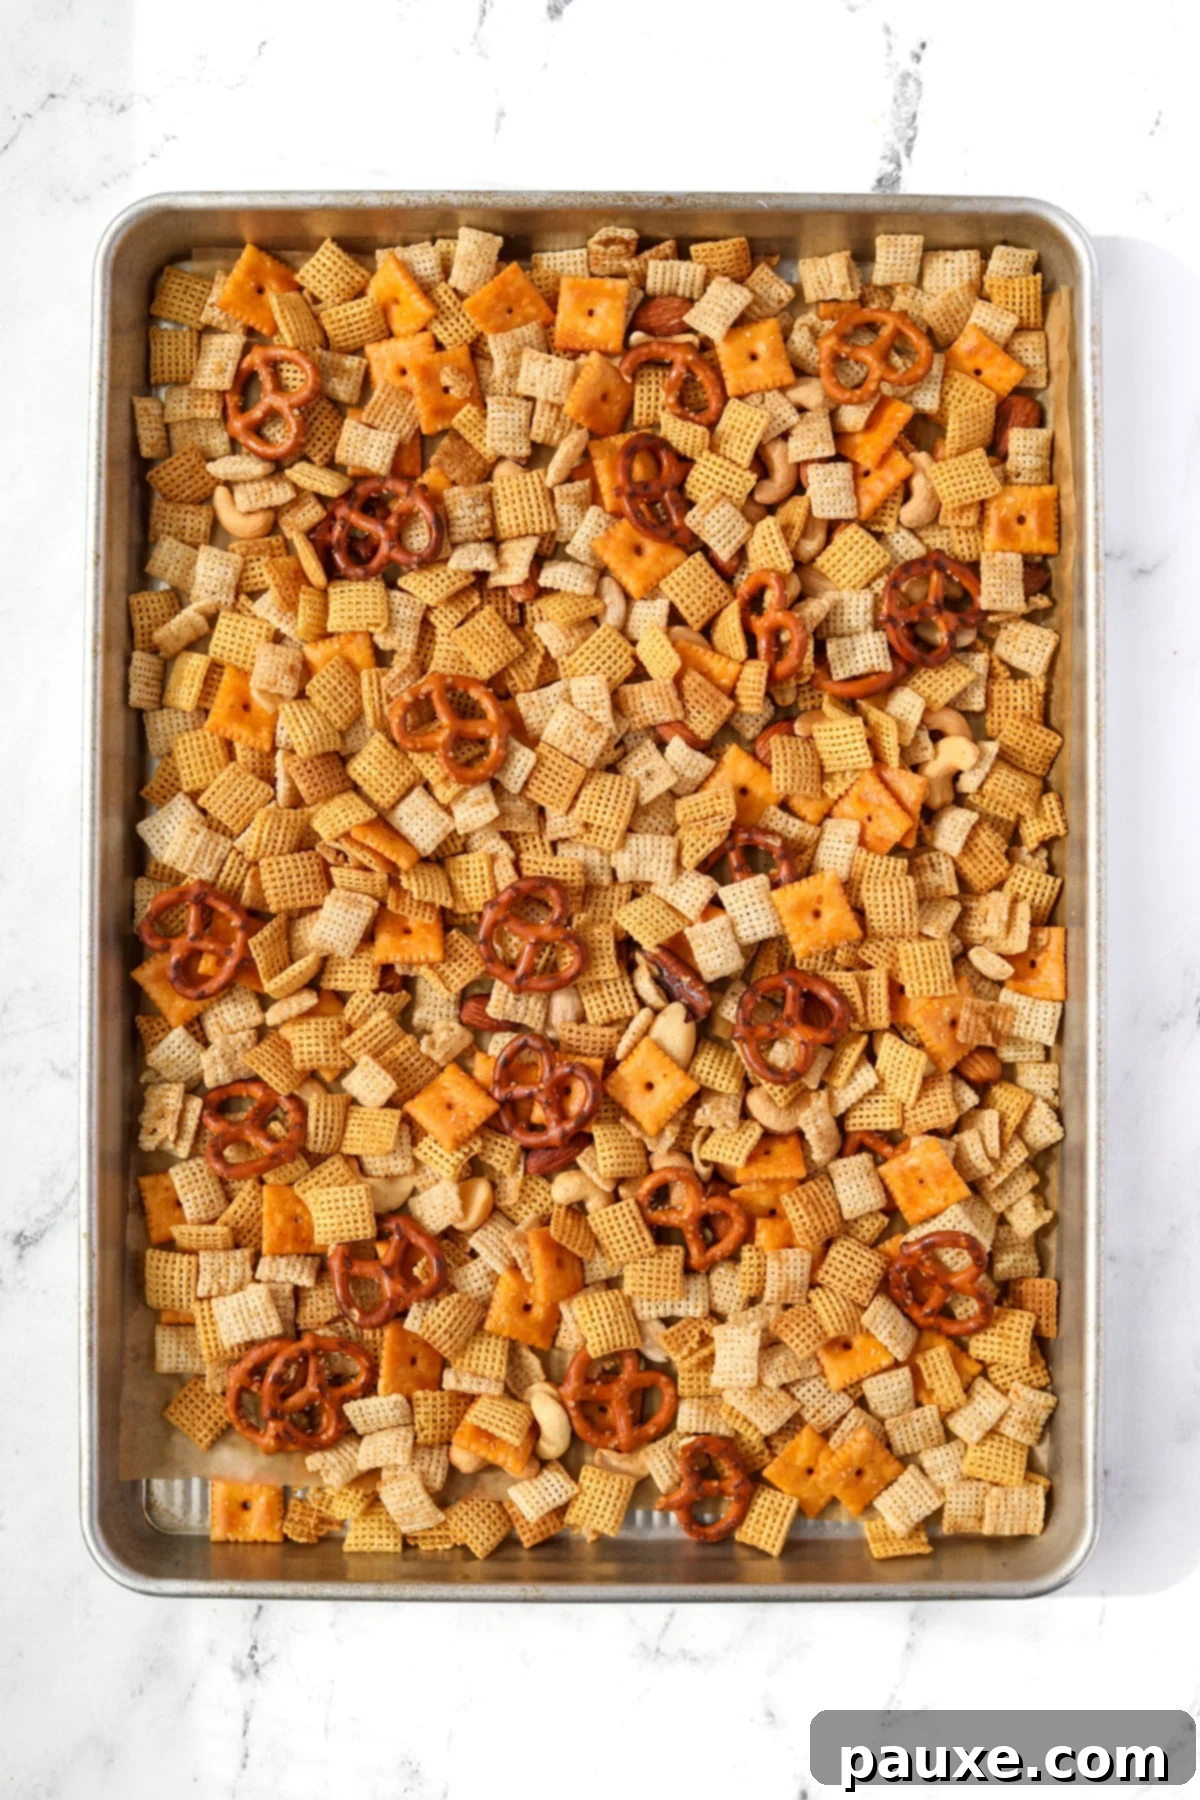
Step Five: Baking for Golden Perfection. Preheat your oven to 275ºF (135ºC). Once preheated, spread the thoroughly coated Chex Mix evenly across two rimmed baking sheets. Ensure that the mixture is in a single layer to allow for consistent heating and browning. Bake for approximately 25-35 minutes, or until the mix appears lightly golden brown and feels crisp to the touch.
Tip: To ensure even browning and prevent any parts from burning, make sure to stir the mixture every 10-15 minutes during the baking process. This distributes the heat and helps achieve that perfect crunch across all ingredients.
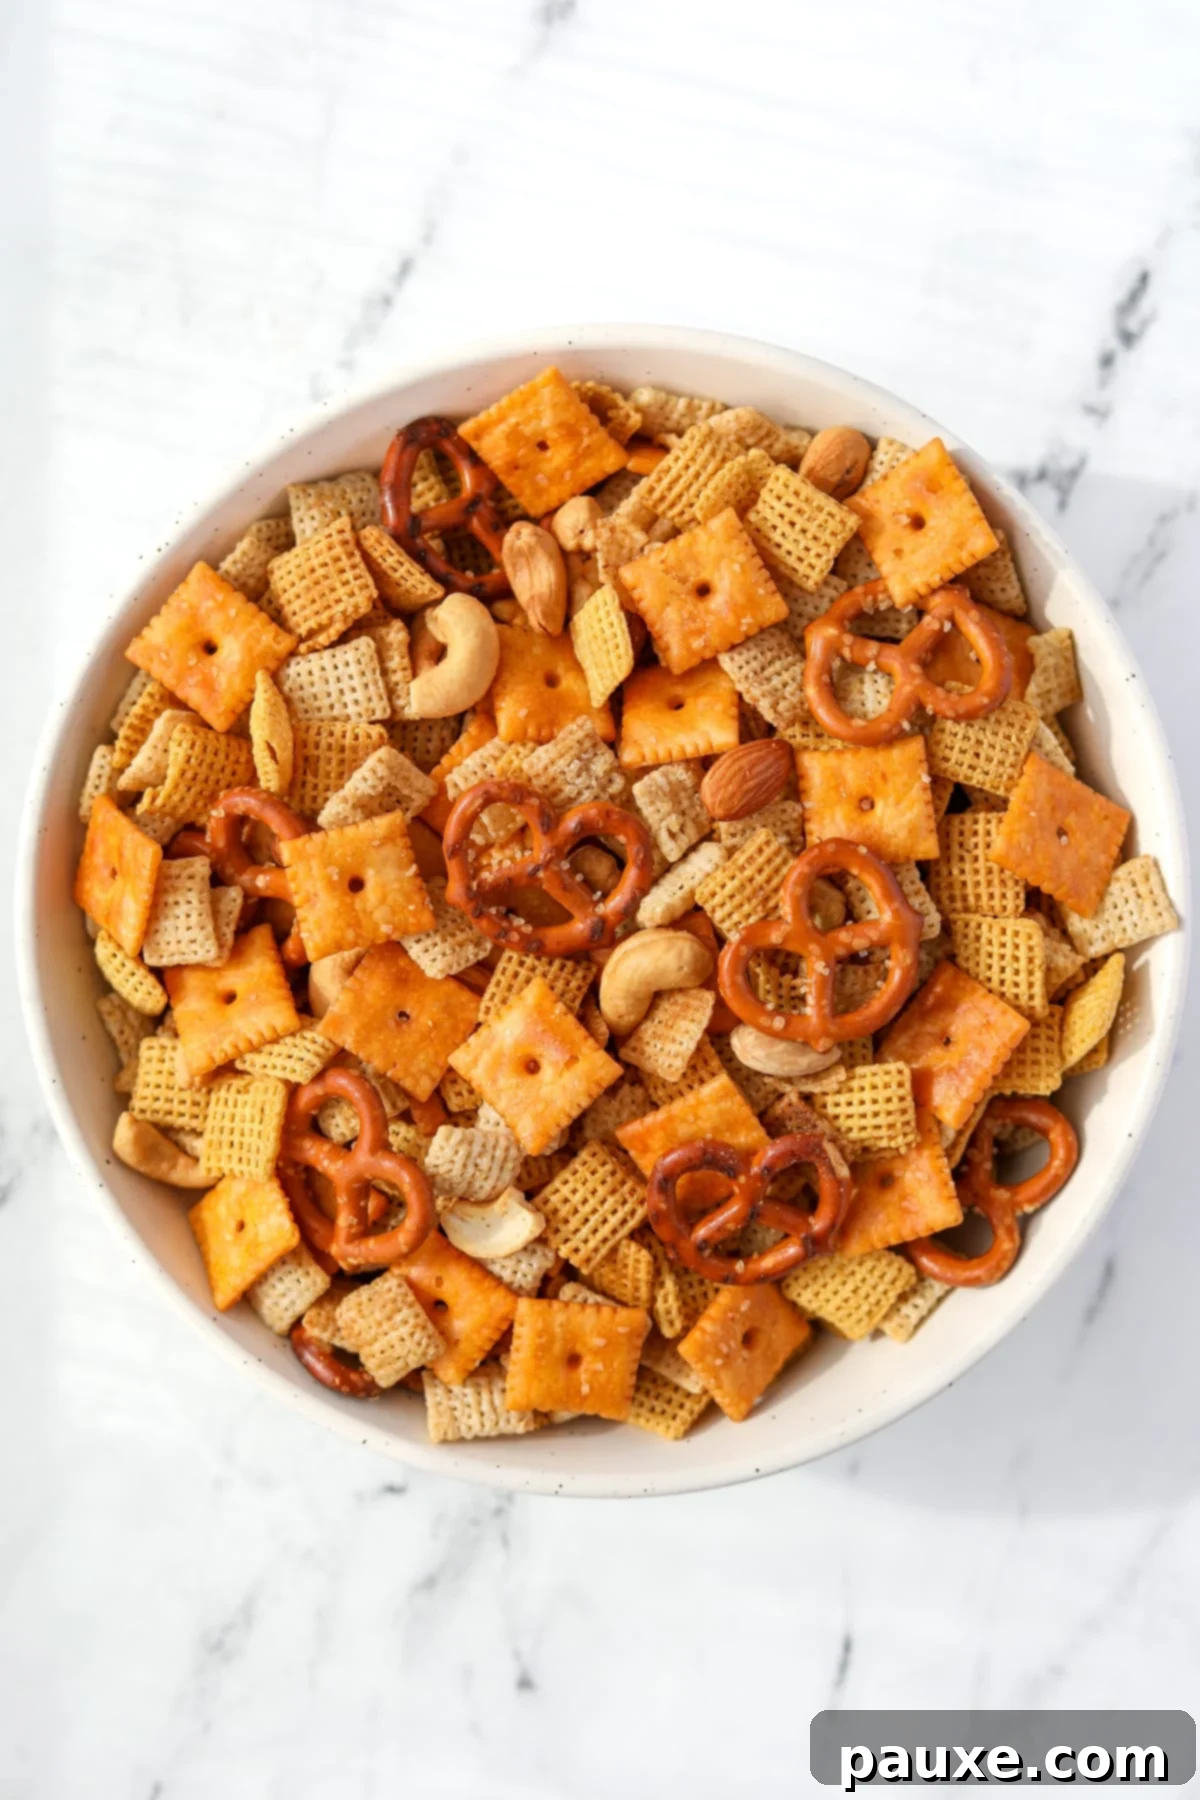
Step Six: Cooling for Ultimate Crispness. Once your homemade Chex Mix is beautifully golden and crisp, remove the baking sheets from the oven. Allow the entire mixture to cool completely to room temperature directly on the baking sheets. As it cools, the snack mix will continue to crisp up, developing its final irresistible texture. After it’s fully cooled, you can transfer it to a large serving bowl or an airtight container for storage.
Effortless Slow Cooker Chex Mix Method
Yes, you absolutely can make a delicious batch of Chex Mix in your Crock Pot, offering a fantastic hands-off alternative to oven baking! This method is perfect for large batches or when you want to free up oven space during the holidays. Here’s how to achieve a perfectly seasoned and crunchy snack with minimal fuss:
- Combine Dry Ingredients: Add your assortment of Chex cereals, mixed nuts, pretzels, and any non-meltable mix-ins (such as cheese crackers or bagel chips) directly into the insert of a large slow cooker. Stir these ingredients thoroughly to ensure they are well combined.
- Prepare the Seasoning Butter: In a separate bowl or saucepan, melt the butter. Once melted, stir in the Worcestershire sauce, seasoned salt, garlic powder, and onion powder until all ingredients are fully incorporated.
- Coat the Mix: Pour the entire butter and seasoning mixture evenly over the dry cereal mixture in the slow cooker. Use a large spoon or spatula to stir meticulously, making sure every piece of the snack mix is generously coated with the flavorful sauce.
- Slow Cook to Perfection: Cover your slow cooker and set it to the “low” heat setting. Cook the Chex Mix for a total of 3 hours. To prevent any burning or uneven cooking, remember to stir the mixture gently but thoroughly every 60 minutes. This helps distribute the heat and seasonings, ensuring a consistent texture.
- Cool Down: Once the cooking time is complete, turn off the slow cooker and remove the crock insert from its base. Take off the lid and allow the Chex Mix to cool completely to room temperature. This crucial cooling step helps the mix crisp up beautifully.
- Serve and Store: After cooling, transfer the slow cooker Chex Mix to a serving bowl or an airtight container for future enjoyment. This method yields a perfectly seasoned, slightly softer, yet still incredibly satisfying snack.
Quick & Crispy Air Fryer Chex Mix Method
For those times when you need a batch of Chex Mix quickly, or prefer a super crispy texture without heating up your whole kitchen, the air fryer is your best friend! Making Air Fryer Chex Mix is incredibly fast and produces a remarkably crunchy result. Here’s how to do it:
- Prepare the Dry Mix: In a large mixing bowl, combine your chosen Chex cereals, nuts, pretzels, and any non-meltable mix-ins. Stir them well to create an even blend. Remember to omit any sweet or meltable items for now.
- Whisk the Flavoring: In a separate small bowl, melt the butter. Then, add the Worcestershire sauce, seasoned salt, garlic powder, and onion powder to the melted butter. Whisk vigorously until all seasonings are thoroughly combined and evenly distributed.
- Coat Thoroughly: Pour the seasoned butter mixture over the dry ingredients in the large bowl. Use a spatula or large spoon to stir meticulously, ensuring that every piece of the snack mix is completely and evenly coated with the savory butter.
- Air Fry for Crunch: Transfer the coated Chex Mix into your air fryer basket. You may need to work in batches depending on the size of your air fryer; avoid overcrowding to allow for proper air circulation. Cook at 300ºF (149ºC) for 6-8 minutes. During this time, make sure to shake the basket 1-2 times to toss the mix, promoting even crisping and preventing any burning.
- Check for Doneness: The Chex Mix is ready when you see lots of lightly browned pieces and it feels wonderfully crisp. Keep a close eye on it, as air fryers can vary in intensity.
- Cool and Enjoy: Once cooked, remove the air fryer basket and spread the Chex Mix out on a clean surface or a baking sheet. Allow it to cool completely to room temperature. As it cools, it will become even crisper. Afterwards, you can serve it immediately or store it in an airtight container for later enjoyment.

Storing Your Delicious Homemade Chex Mix
Proper storage is essential to keep your homemade Chex Mix fresh, crispy, and flavorful for as long as possible. Here’s everything you need to know:
Optimal Storage Conditions
Leftover Chex Mix should be stored in an airtight container at room temperature. A high-quality container, such as a large Tupperware or a sturdy glass jar with a tight-fitting lid, will protect it from moisture and air, which are the main culprits behind staleness. When stored correctly, your homemade snack mix will maintain its delicious flavor and crunch for 1-2 weeks.
Top Tip for Freshness: This is a crucial step! Always ensure that your snack mix is completely cooled to room temperature before transferring it into any container. Placing warm Chex Mix directly into a sealed container will trap steam and create condensation inside. This moisture will quickly lead to a soggy texture and significantly accelerate spoilage, making your delicious mix stale much faster. Patience during the cooling process pays off for maximum crispness!
Creative Gifting Ideas
Homemade Chex Mix makes for a thoughtful and much-appreciated gift, especially during the holidays or for special occasions. Here are some charming ways to present your culinary creation:
- Mason Jars: For a rustic and elegant presentation, portion individual servings of your Chex Mix into pint or quart-sized mason jars. Seal them tightly to maintain freshness.
- Decorative Ribbons and Labels: Enhance the appeal by tying a festive ribbon or bow around the jar or cellophane bag. Add a custom label with a handwritten message or ingredient list to make it extra special.
- Cellophane Bags: Clear cellophane bags tied with a twist tie or ribbon are another excellent option, allowing the recipient to see the delicious contents within. They are perfect for party favors or larger gift baskets.
- Cookie Tins: For a more substantial gift, layer the Chex Mix in festive holiday cookie tins, separating layers with parchment paper if desired.
No matter how you present it, a batch of homemade Chex Mix is sure to bring a smile to anyone’s face.
Unleash Your Creativity: Exciting Mix-in Ideas for Chex Mix
One of the greatest joys of making homemade Chex Mix is the freedom to customize it with your favorite additions. Beyond the core cereals and pretzels, mix-ins allow you to tailor the flavor and texture to your exact preferences. Here are a plethora of ideas to inspire your next batch:
Savory & Crunchy Additions:
- Bagel Chips (or Rye Chips): These classic additions provide a substantial crunch and a rich, savory flavor that pairs perfectly with the butter and Worcestershire sauce.
- Cheese Crackers: Options like Cheez-Its or Goldfish crackers add a cheesy, salty burst of flavor and a lighter crunch.
- Cheerios: For a slightly softer, milder addition, plain Cheerios work wonderfully, absorbing the seasonings beautifully.
- Pita Chips: These offer a robust, earthy flavor and a satisfyingly thick crunch.
- Garlic Rounds or Crisps: Infuse an extra layer of garlicky goodness.
- Rice Crackers: For a lighter, often gluten-free option with a subtle crispness.
- Dried Onion Rings: Adds an intense savory flavor and a unique texture.
- Cheese Sticks (broken into pieces): For a more pronounced cheesy flavor, particularly delicious when baked.
Nutty & Protein-Rich Mix-ins:
- Extra Nuts: Beyond the initial mixed nuts, consider adding more of your favorite single nut, like cashews, almonds, pecans, or even pistachios for a gourmet touch.
- Roasted Pepitas or Sunflower Seeds: For a different kind of nutty flavor and a satisfying bite.
Sweet & Unexpected Twists (Add after baking/cooling if meltable):
- Candies: Think M&M’s (plain, peanut, or seasonal colors), Reese’s Pieces, or even mini chocolate chips for a delightful sweet-and-salty contrast.
- Dried Fruit: Small amounts of dried cranberries, raisins, or chopped apricots can add a chewy, tart sweetness.
- Mini Marshmallows: For a surprisingly delightful, soft addition (add after cooling).
- White Chocolate Chips: Drizzle melted white chocolate over the cooled mix for an extra layer of sweetness and visual appeal.
Don’t be afraid to experiment! The best mix-ins are those that you enjoy most. Just remember to consider whether they can withstand baking or should be added after cooling.

Smart Substitutions for Your Chex Mix Recipe
Life happens, and sometimes you might not have every ingredient on hand, or you might have dietary restrictions. No worries! This homemade Chex Mix recipe is quite forgiving and adaptable. Here are some excellent substitutions to ensure you can still enjoy a fantastic batch:
- Worcestershire Sauce Alternatives: If you find yourself without this key ingredient, several pantry staples can mimic its umami and tangy notes.
- Soy Sauce or Tamari: These offer a savory, salty depth that works well. Use in equal measure. For gluten-free needs, ensure you choose tamari or a certified gluten-free soy sauce.
- Coconut Aminos: A great soy-free, gluten-free alternative that provides a similar savory profile with a hint of sweetness.
- Malt Vinegar: If you’re looking for tang and depth, a dash of malt vinegar can work, though it will alter the flavor profile slightly.
- Ketchup: In a pinch, a small amount of ketchup can contribute both sweetness and acidity, but use sparingly as it has a distinct flavor.
- Chex Cereal Substitutes: If Chex cereals aren’t available or you’re looking for a change, other cereals can fill in nicely.
- Crispix: This cereal offers a similar crisp, light texture and is an excellent direct substitute.
- Life Cereal: Provides a slightly different, heartier texture but still absorbs the seasoning well.
- Shreddies: For those in Canada or the UK, Shreddies make a fantastic, robust base for a savory snack mix.
- Gluten-Free Chex Mix: It’s incredibly easy to make this recipe completely gluten-free without sacrificing flavor.
- Use certified gluten-free varieties of Chex cereal, such as Rice Chex and Corn Chex. Wheat Chex contains gluten.
- Opt for gluten-free pretzels. Brands like Snyder’s gluten-free mini twists are widely available and hold up well.
- Choose gluten-free mix-ins, such as plain nuts, gluten-free cheese crackers, or additional gluten-free cereals.
- Dairy-Free Chex Mix: For those avoiding dairy, a simple swap is all you need.
- Replace traditional butter with your favorite plant-based butter spread. Ensure it’s a good quality, unsalted variety for the best flavor control. Many brands are designed to melt and perform just like dairy butter in recipes.
With these flexible options, you can tailor your homemade Chex Mix to perfectly suit your dietary needs or whatever ingredients you have on hand, ensuring a delicious outcome every time.
Exciting Variations for Every Occasion
Homemade Chex Mix is not just a classic snack; it’s a canvas for culinary creativity, adaptable to any season, holiday, or theme. Here are some fantastic variations to inspire your next batch:
- Sweet and Salty Delight: For those who love a balanced flavor profile, this variation is a must-try.
- Cereal Choice: Start with a sweeter type of Chex cereal, like Cinnamon Chex or Honey Nut Chex, to build a sugary base.
- Brown Sugar Boost: Add about ¼ cup of light or dark brown sugar to your melted butter mixture along with the other seasonings. The sugar will caramelize slightly during baking, creating a delicious glaze.
- Sweet Mix-ins: After baking and cooling, fold in chocolate chips, mini marshmallows, or even a handful of dried cranberries for extra sweetness and chewiness.
- Autumnal Harvest Mix (Fall Theme): Embrace the cozy flavors and colors of autumn.
- Seasonal Candies: Incorporate fall-colored M&M’s, Reese’s Pieces, candy corn, or mellow crème pumpkins after the mix has cooled.
- Spiced Nuts: Consider using cinnamon-roasted nuts or pecans for an extra layer of fall spice.
- Dried Apples or Pears: Small, diced dried fruit can add a chewy, fruity element.
- Spooktacular Halloween Mix: Perfect for a Halloween party, this variation adds a fun, festive touch.
- Halloween Candies: Similar to the fall mix, use Halloween-themed M&M’s, candy corn, or even miniature chocolate bars (chopped) after cooling.
- Pretzel Ghosts/Skeletons: Dip pretzel rods or twists in white chocolate and add mini chocolate chips for eyes/mouths after cooling.
- Candy Eyes: Sprinkle edible candy eyes into the cooled mix for a spooky effect.
- Festive Christmas Chex Mix: A delightful and giftable treat for the holiday season.
- Holiday Candies: Red and green M&M’s, Hershey’s Kisses (chopped), or crushed candy canes (add after cooling) bring festive colors and flavors.
- White Chocolate Drizzle: Drizzle melted white chocolate over the cooled mix and sprinkle with red and green sprinkles for a beautiful, wintry look.
- Cinnamon or Nutmeg: Add a pinch of cinnamon or nutmeg to the butter mixture for a warm, holiday spice.
- Spring/Easter Delight: Lighten up your snack mix for springtime celebrations.
- Spring Colors: Use pastel-colored M&M’s, Spring Hershey’s Kisses, or various spring-themed sprinkles after the mix has cooled.
- Fruity Elements: Incorporate dried blueberries or lemon zest (added to the butter) for a brighter flavor.
- Game Day Champion Snack: This savory snack is inherently perfect for any viewing party, from the Super Bowl to a casual Saturday game.
- As-Is Perfection: The classic savory recipe works wonderfully without any modifications.
- Heartier Additions: Consider adding more robust nuts like smoked almonds or extra-large pretzels.
- Serving Suggestion: Serve alongside other game-day favorites like my Crock Pot Buffalo Chicken Dip or spicy queso for the ultimate spread.
Each variation allows you to personalize your homemade Chex Mix, ensuring it’s always fresh, exciting, and perfectly suited to the moment.

Frequently Asked Questions About Homemade Chex Mix
While Chex offers a variety of gluten-free cereals (such as Rice Chex and Corn Chex), both commercially produced Chex Mix and many homemade Chex Mix recipes typically contain gluten due to ingredients like Wheat Chex, wheat-based pretzels, or other mix-ins. However, it is very simple to create a delicious gluten-free version by specifically selecting gluten-free Chex varieties, using certified gluten-free pretzels, and ensuring all your chosen mix-ins are also gluten-free. Always check ingredient labels carefully if preparing for someone with celiac disease or gluten sensitivity.
Initially, purchasing all the individual ingredients for homemade Chex Mix might seem like a larger upfront cost compared to buying a single bag from the store. However, when you calculate the cost per serving, making your own homemade Chex Mix is almost always significantly more economical. You can easily produce a much larger quantity than a standard store-bought bag, which is perfect for parties, gifting, or having on hand for extended snacking. The bulk purchasing of ingredients dramatically lowers your price per serving, making it a budget-friendly option in the long run.
The signature irresistible flavor of classic homemade Chex Mix comes from a simple yet powerful blend of ingredients. The seasoning is primarily composed of melted butter, which provides a rich, savory base, combined with Worcestershire sauce for its unique umami depth and tangy kick. This liquid mixture is then enhanced with a trio of dry spices: seasoned salt for an all-around savory flavor, garlic powder for aromatic pungency, and onion powder for a subtle sweetness and depth. Together, these ingredients create the iconic, addictive taste that everyone loves.
While Worcestershire sauce is a key ingredient that provides that distinctive umami depth, you can certainly make Chex Mix without it if you’re out or prefer an alternative. Common substitutions include soy sauce (or tamari for a gluten-free option), which offers a similar savory profile, or even a dash of balsamic vinegar mixed with a tiny pinch of sugar for a sweet and tangy balance. The flavor profile will shift slightly, but you’ll still end up with a delicious snack mix. Refer to our “Substitutions” section for more detailed alternatives.
When stored correctly in an airtight container at room temperature, homemade Chex Mix will typically stay fresh and crispy for 1 to 2 weeks. The key to maximizing its shelf life and maintaining its delightful crunch is to ensure it is completely cooled before storing. Any residual warmth can create condensation, leading to sogginess and faster spoilage. For best results, keep it away from direct sunlight and humidity.
If you loved this recipe for homemade Chex Mix, let me know by leaving a 5-star review in the recipe card or comment below! You can also tag me on Instagram @dashfordinner.
Chex Mix: The Ultimate Homemade Snack
This homemade Chex Mix recipe is the perfect salty, savory snack mix. Based on the original recipe we all grew up with, this baked version is extra flavorful, wonderfully crispy, and perfect for gifting during the holidays or bringing to your next potluck. It’s a customizable treat that’s always a crowd-pleaser.
Course: Snacks
Cuisine: American
Prep Time: 10 minutes
Cook Time: 35 minutes
Total Time: 45 minutes
Servings: 14 cups
Calories: 461 kcal
Author: Dorothy Bigelow
Equipment
- Two rimmed baking sheets
- Large mixing bowl
- Saucepan or microwave-safe bowl
- Spatula or large spoon
Ingredients
- 9 cups Chex cereal (a mix of your choice; I recommend rice and corn)
- 1 cup mixed nuts
- 2 cups pretzels (mini twists or sticks work well)
- 2 cups mix-ins of your choice (e.g., cheese crackers, bagel chips, Goldfish, Cheerios, M&M’s)
- ½ cup butter (salted or unsalted)
- 2 tablespoons Worcestershire sauce
- 2 teaspoons seasoned salt
- ¾ teaspoon garlic powder
- ½ teaspoon onion powder
Unit System: US Customary
Instructions
- Preheat Oven & Prepare Pans: Preheat your oven to 275ºF (135ºC). Line two large, rimmed baking sheets with parchment paper for easy cleanup and to prevent sticking.
- Combine Dry Ingredients: In a very large mixing bowl, add your selection of Chex cereals, mixed nuts, pretzels, and any non-meltable mix-ins (such as cheese crackers or bagel chips). Stir well to ensure an even distribution of ingredients. (Note: If your mix-ins are chocolate-based or meltable, hold off on adding them until after baking and cooling.)

- Melt Butter: In a separate microwave-safe bowl, place the stick of butter. Heat in 30-second intervals in the microwave until it is completely melted. Alternatively, melt the butter over low-medium heat in a saucepan on your stovetop.

- Prepare Seasoning Mixture: To the melted butter, add the Worcestershire sauce, seasoned salt, garlic powder, and onion powder. Stir vigorously until all the seasonings are thoroughly combined and dissolved into the butter. This creates the flavorful coating for your Chex Mix.

- Coat the Snack Mix: Pour about half of the melted butter and seasoning mixture over the dry cereal and mix-ins in the large bowl. Toss everything thoroughly with a spatula to start coating the ingredients. Then, add the remaining half of the butter mixture and continue to toss and stir until every piece of the snack mix is evenly and generously coated. This ensures maximum flavor in every bite.

- Spread on Baking Sheets: Divide the prepared Chex Mix evenly between the two lined baking sheets. Spread the mixture into a single layer to ensure even baking and crisping. (Again, do not include any meltable mix-ins like chocolate or M&M’s at this stage.)

- Bake to Crispness: Bake in the preheated oven for 25-35 minutes. To promote even browning and prevent burning, make sure to stir the mixture every 10-15 minutes during the baking process, until the Chex Mix is lightly golden brown and feels crisp.
- Cool Completely: Once baked, remove the baking sheets from the oven. Allow the Chex Mix to cool completely to room temperature directly on the baking sheets. This cooling step is crucial as it allows the mix to crisp up further and develop its final crunchy texture.
- Add Optional Mix-ins & Serve: After the snack mix has cooled entirely, you can now add any meltable or sweet mix-ins that were previously held back, such as M&M’s or chocolate chips. Stir them in gently. Your homemade Chex Mix is now ready to serve!
- Store for Freshness: Transfer any leftover Chex Mix into a bowl with a tight-fitting lid or an airtight container to maintain its freshness and crunch.
Notes
- Storage: Homemade Chex Mix should be stored in an airtight container at room temperature for 1-2 weeks. Ensure it’s completely cooled before storing to prevent sogginess.
- Slow Cooker Method: For a hands-off approach, cook the mix on “low” for 3 hours, stirring every 60 minutes to ensure even cooking and to prevent burning.
- No-Bake Method: If you prefer not to bake, simply coat the snack mix with the seasoned butter mixture, allow it to cool, and then store for up to 1 week at room temperature. The texture will be less crisp but still delicious.
- Gifting: This Chex Mix makes an excellent edible gift. Portion the desired amount into cellophane bags or mason jars, and finish with a pretty ribbon or bow and a custom gift tag for a personal touch.
Nutrition Information
Calories: 461kcal | Carbohydrates: 68g | Protein: 10g | Fat: 19g | Saturated Fat: 6g | Polyunsaturated Fat: 2g | Monounsaturated Fat: 5g | Trans Fat: 0.3g | Cholesterol: 29mg | Sodium: 1068mg | Potassium: 258mg | Fiber: 7g | Sugar: 5g | Vitamin A: 630IU | Vitamin C: 6mg | Calcium: 145mg | Iron: 13mg
Please note that some of my blog posts here at Dash for Dinner may contain affiliate links. If you make a purchase through these links, I will get a small commission at no additional cost to you. Please see my Disclaimer for more information.
