Fruity Pebbles Treats: The Ultimate No-Bake Dessert for Every Occasion
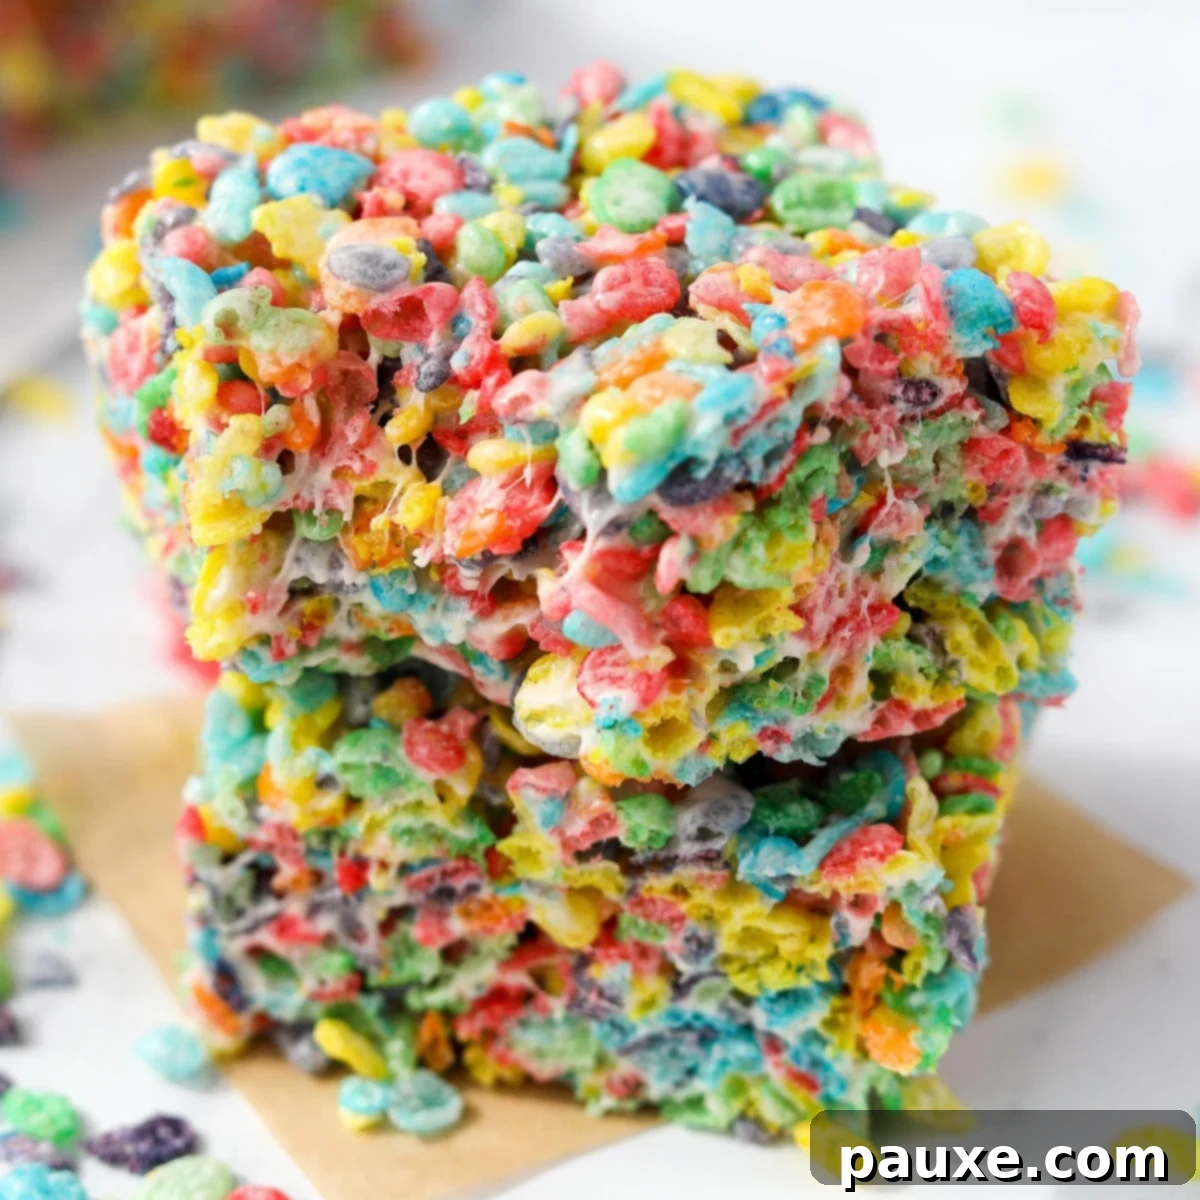
Step into a world of vibrant color and nostalgic flavor with these incredibly easy Fruity Pebbles Treats. A playful and irresistible twist on the classic Rice Krispie treats, this recipe transforms your favorite fruity cereal into a delightfully chewy, gooey, and utterly delicious dessert. Perfect for satisfying sweet cravings, packing in lunchboxes, or as a last-minute party hit, these no-bake wonders are guaranteed to bring smiles to faces of all ages.
Known for their vibrant hues and unmistakable fruity aroma, Fruity Pebbles cereal has been a breakfast staple for generations. Now, imagine that same joyful experience, elevated into a marshmallow-bound confection that’s both fun to make and even more fun to eat. Forget complicated baking processes; this simple recipe requires just a handful of ingredients and minimal effort, making it ideal for busy families or anyone looking for a quick and impressive dessert.
Looking for a different flavor adventure? Don’t forget to try my recipe for Cocoa Pebbles Treats for a chocolatey variation!
Why You’ll Fall in Love with This Easy Recipe
If you’re searching for an extraordinary dessert that combines simplicity with spectacular taste, look no further. This Fruity Pebbles Treats recipe is designed to be effortlessly delicious and widely loved. Here are just a few compelling reasons why this will become your new go-to treat:
- Effortlessly Quick & Simple: With a busy schedule, finding time for elaborate baking can be a challenge. This recipe is a dream come true for dessert lovers on the go! You need just 4 basic ingredients and absolutely no oven time. From start to finish, you can have a batch of these vibrant treats ready to cool in under 15 minutes, making it perfect for spontaneous cravings or last-minute gatherings.
- A Burst of Color & Fun: Fruity Pebbles cereal is synonymous with bright, cheerful colors. When transformed into these treats, they create a dazzling spectacle that captures attention. Their playful appearance makes them an instant hit at birthday parties, school bake sales, potlucks, and any kid-friendly event. They’re not just a dessert; they’re a celebration in every bite!
- A Sweet Taste of Nostalgia: For many, Fruity Pebbles cereal evokes cherished childhood memories of Saturday morning cartoons and carefree days. Making these treats is more than just cooking; it’s an opportunity to revisit those fond moments and share that comforting sense of nostalgia with friends and family. It’s a dessert that connects generations through a shared love of fruity, crunchy goodness.
- Naturally Gluten-Free & Allergen-Friendly: In an age where dietary preferences and restrictions are common, finding inclusive dessert options can be tricky. Happily, original Fruity Pebbles cereal is certified gluten-free, making these treats a wonderful choice for those with gluten sensitivities or celiac disease. Always double-check ingredient labels to ensure all components meet specific dietary needs, but generally, these treats offer a safe and delicious option for many partygoers.
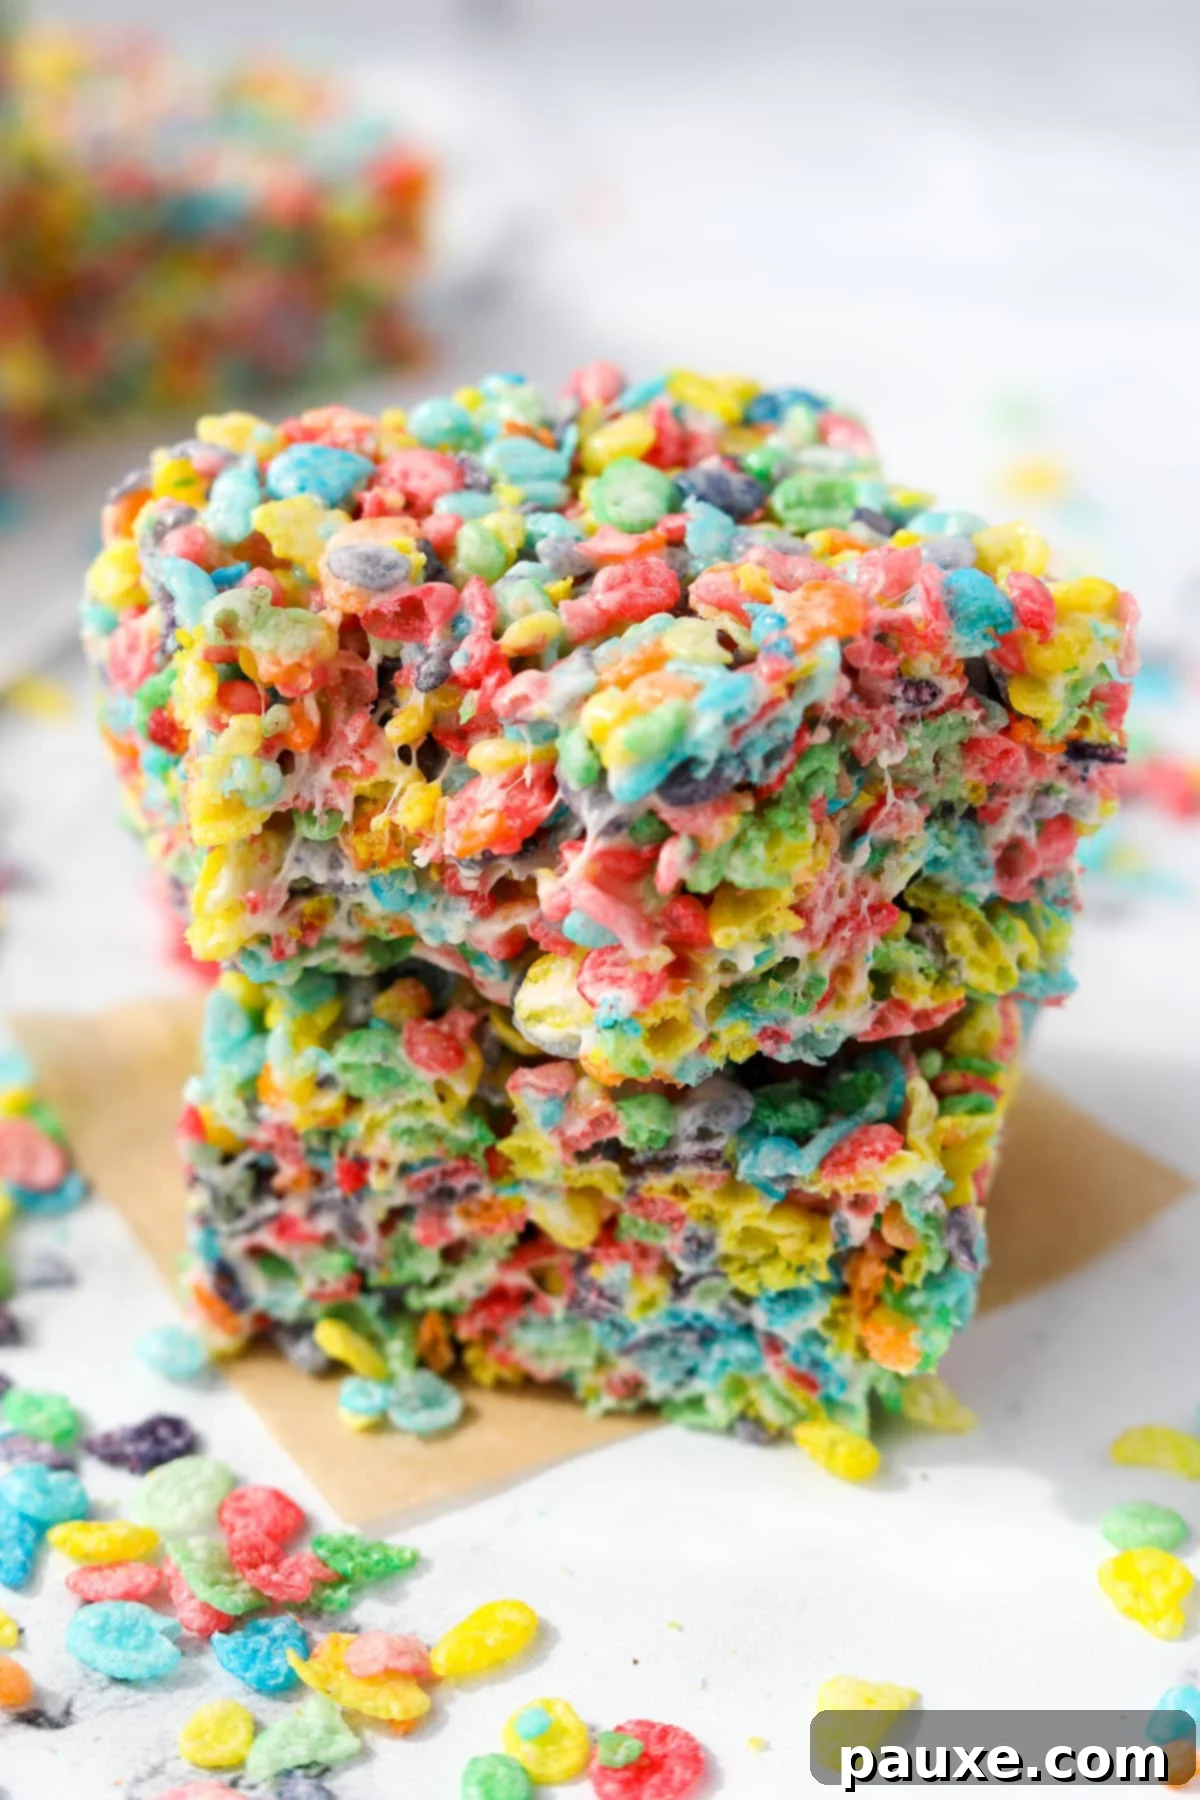
This recipe consistently delivers an extra marshmallow-y texture and rich butter flavor that will leave everyone craving more. It’s been a family favorite since the very first test batch, and for good reason!
The Sweet Essentials: Ingredients You’ll Need
Creating these delightful Fruity Pebbles Treats requires only a few pantry staples. The magic truly lies in the simplicity and quality of these four core ingredients.
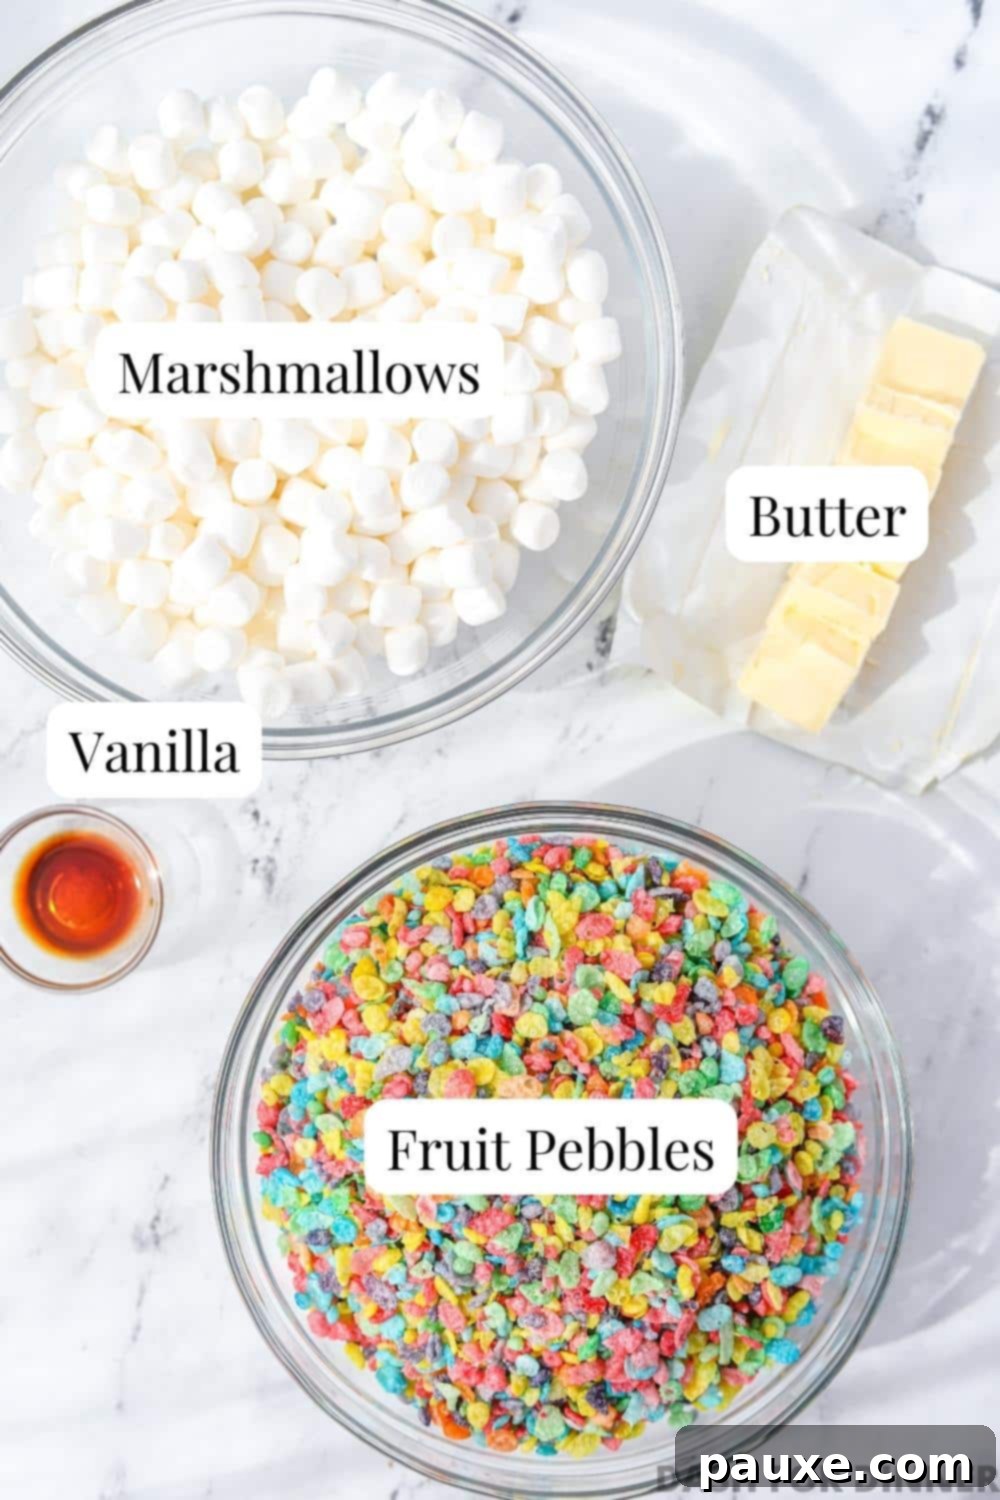
- Fruity Pebbles Cereal: The star of the show! You’ll need about 5 ½ cups of Fruity Pebbles, which typically accounts for most of a regular-sized box. This ensures a perfect cereal-to-marshmallow ratio, delivering that ideal balance of crunch and chewiness. Don’t skimp on this vibrant cereal – its unique flavor is what makes these treats so special.
- Marshmallows: For the ultimate gooey texture, mini marshmallows are highly recommended. Their smaller size allows them to melt more quickly and evenly, ensuring a silky-smooth marshmallow binder. You’ll need 10 ounces (approximately 6 cups). If regular-sized marshmallows are all you have, they will work too; just be sure to cut them into smaller pieces to aid in melting and stir more frequently. Fresh marshmallows make a noticeable difference in gooiness, so check the date!
- Butter: High-quality butter is crucial for both flavor and texture. I prefer using salted butter to introduce a subtle sweet-and-salty contrast that truly enhances the overall taste. However, unsalted butter works perfectly well, especially if you prefer to control the salt content or are using a specific type of butter. Butter provides richness and helps prevent the treats from becoming too hard.
- Vanilla Extract: This might seem like a small detail, but vanilla extract is the secret ingredient that elevates these cereal treats from good to absolutely incredible. A dash of pure vanilla adds depth and warmth, complementing the fruity flavors of the cereal and making the marshmallow base taste even more irresistible. Don’t skip it!
Essential Equipment for Success
While this recipe is incredibly simple, having the right tools on hand will make the process even smoother and cleanup a breeze.
- Baking Pan: For a standard batch of 9-16 treats, an 8×8-inch (20x20cm) baking pan is ideal. If you’re looking to double the recipe for a larger crowd, a 9×13-inch (23x33cm) pan is the way to go. A sturdy metal pan ensures even cooling.
- Parchment Paper: This is a non-negotiable item for any sticky treat recipe! Lining your baking pan with parchment paper prevents sticking, makes it incredibly easy to lift the entire slab of treats out, and simplifies cleanup dramatically. Once you start using parchment paper for these, you’ll never go back!
- Large Microwave-Safe Bowl or Large Saucepan: Depending on your preferred method (microwave or stovetop), you’ll need a spacious vessel to melt your butter and marshmallows and combine everything without a mess.
- Silicone Spatula: A good silicone spatula is invaluable for gently folding the cereal into the sticky marshmallow mixture and pressing it evenly into the pan without crushing the cereal.
How to Make Fruity Pebbles Treats: A Step-by-Step Guide
Whether you prefer the convenience of a microwave or the control of a stovetop, this recipe offers flexible instructions. The photos below illustrate the quick microwave method, but detailed stovetop steps are also provided.
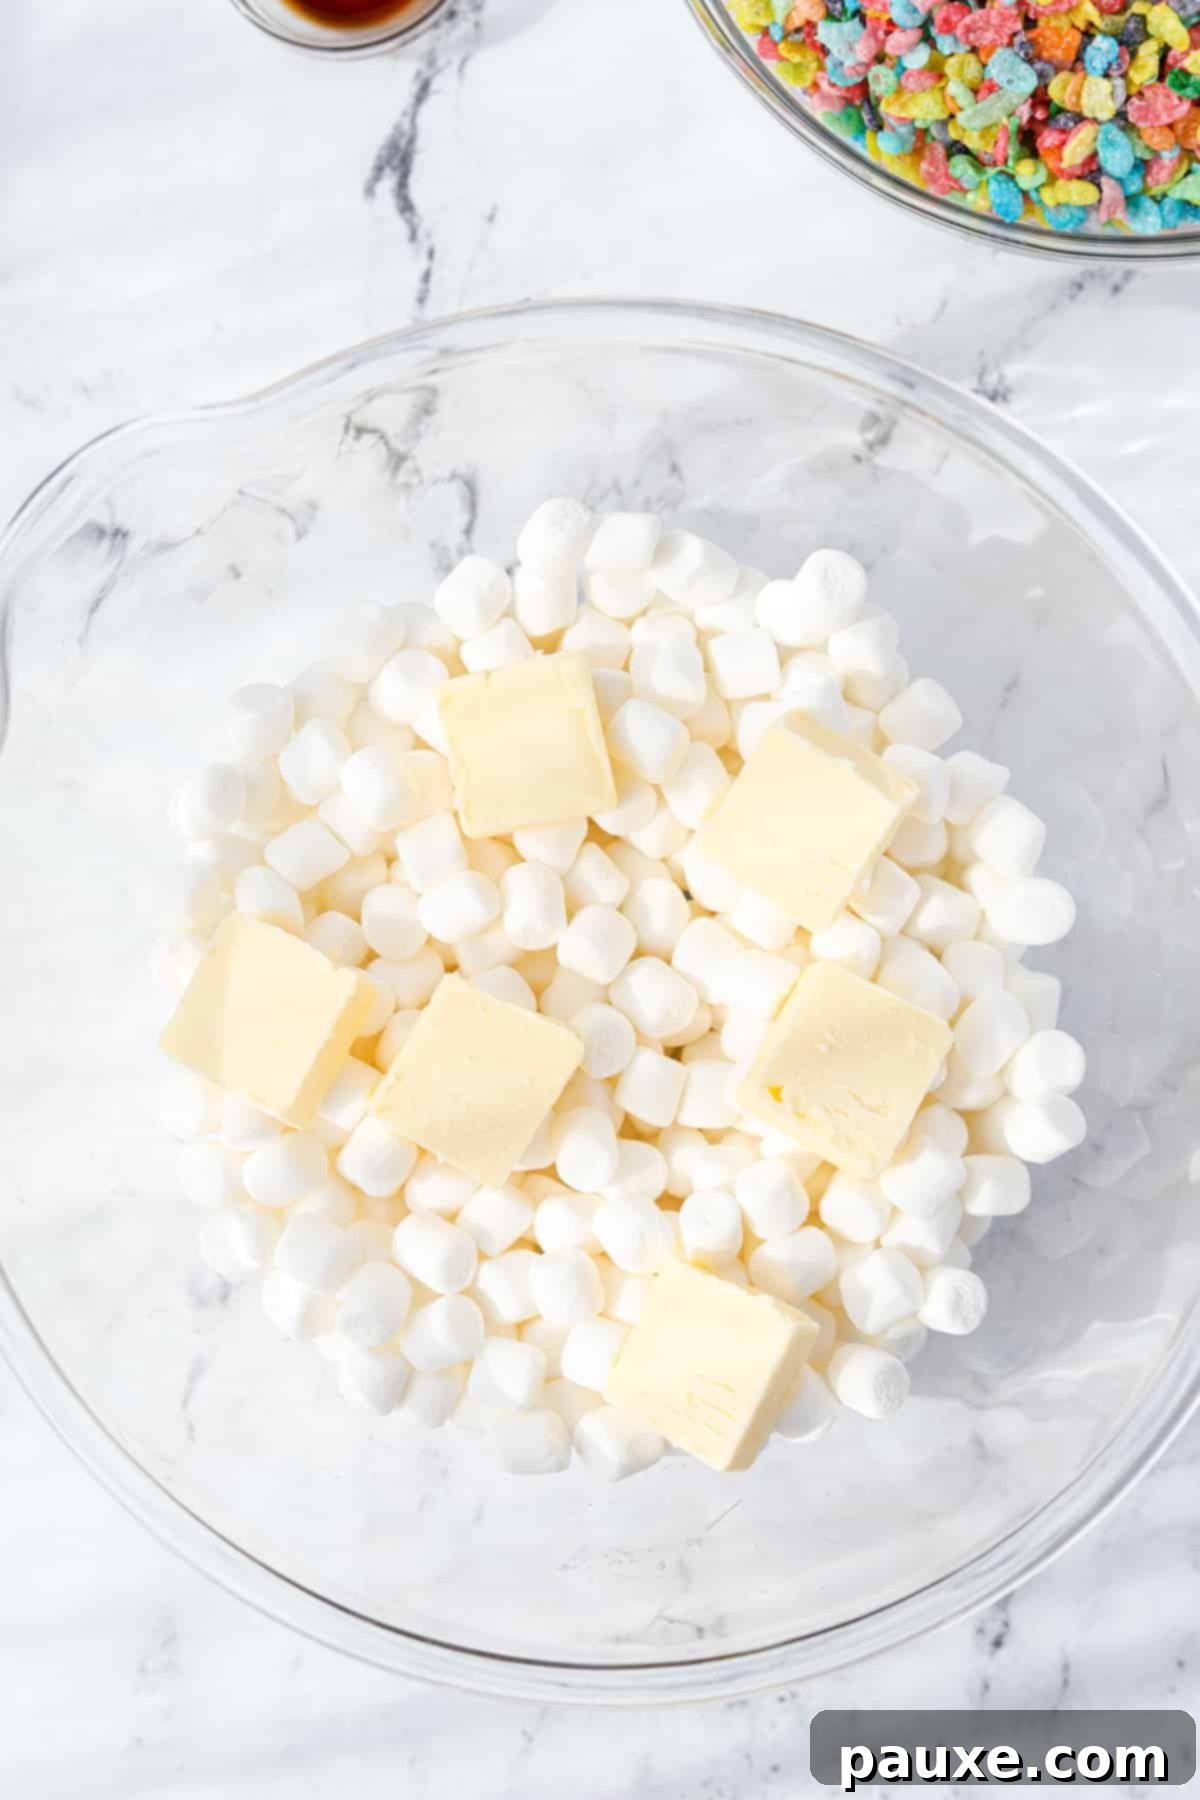
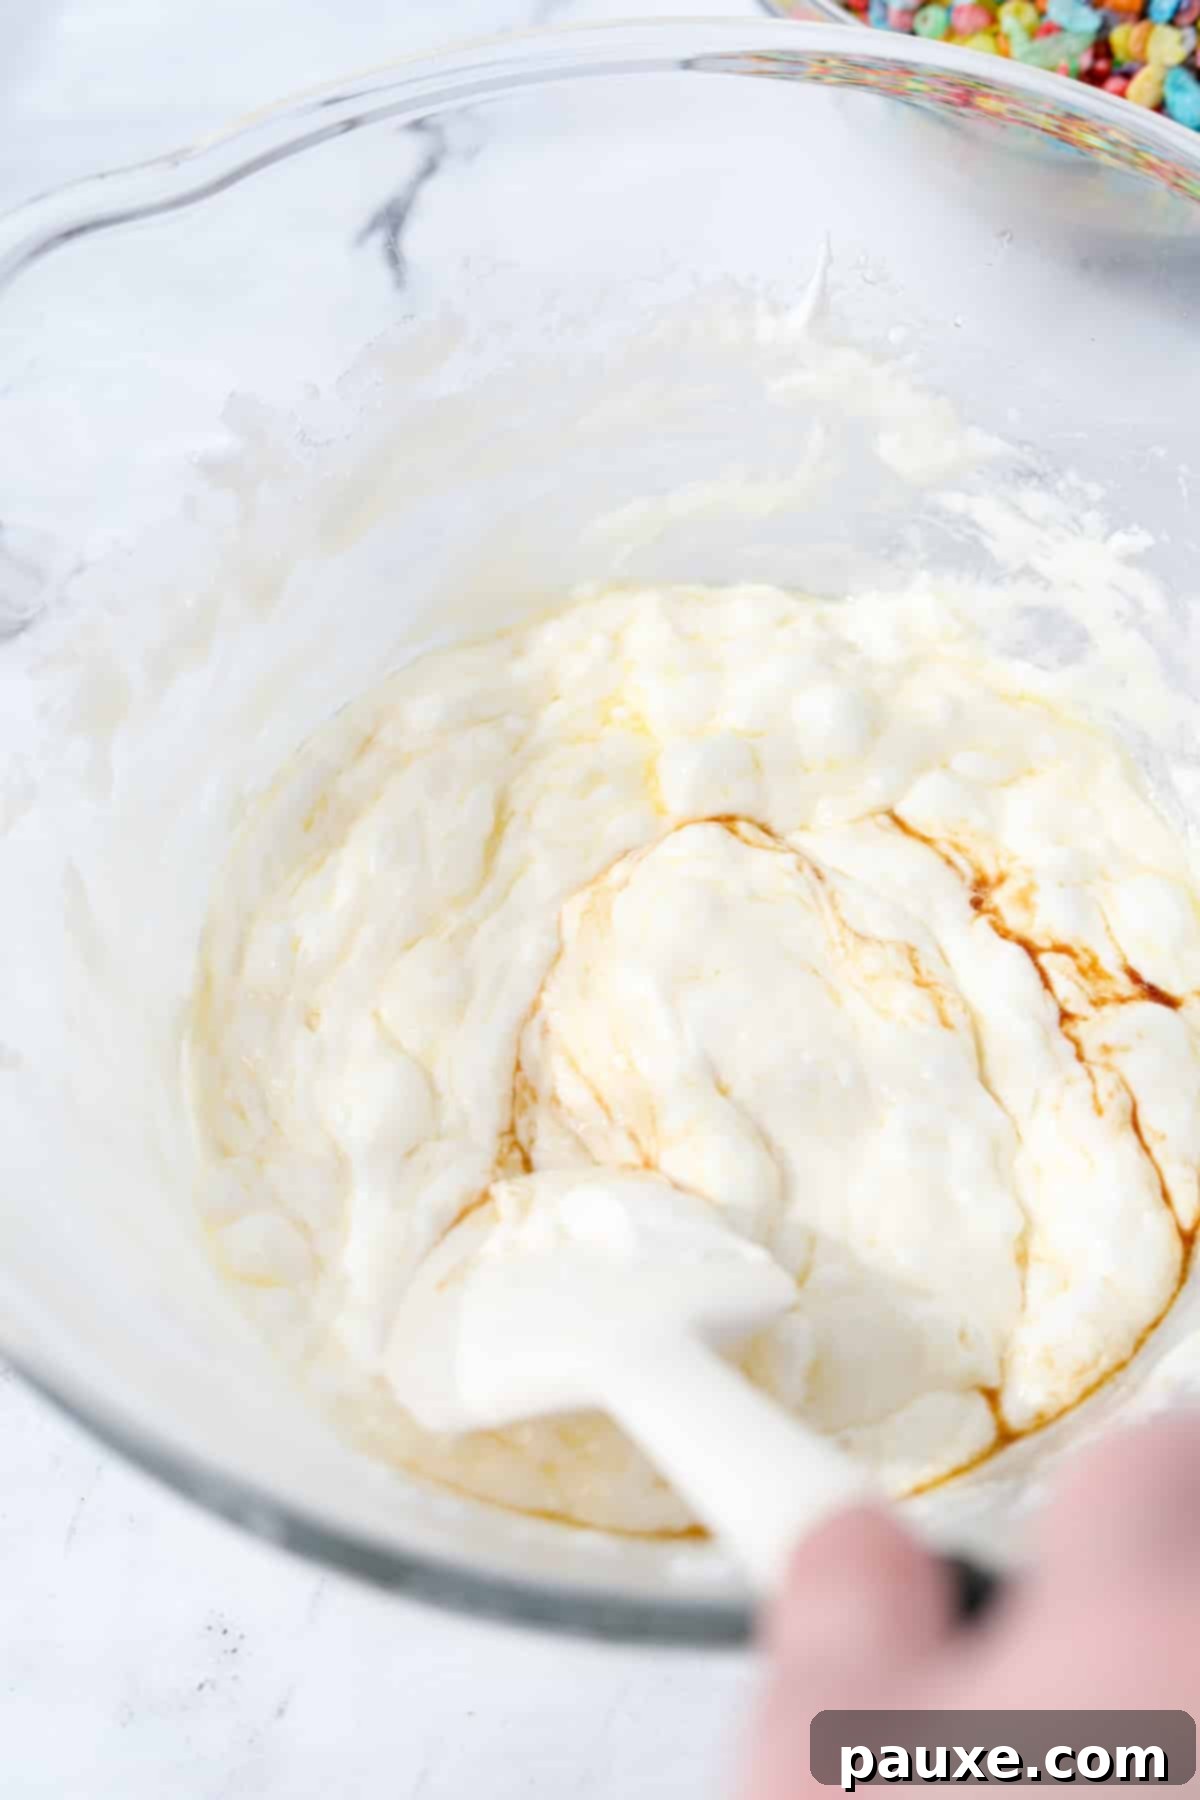
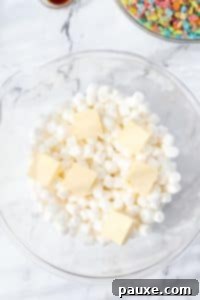
Step One: Prepare Your Base. Begin by melting the butter and marshmallows together. If using the microwave, combine them in a large, microwave-safe bowl and heat in 30-second intervals, stirring thoroughly after each to ensure even melting and prevent burning. For the stovetop method, melt the butter in a large saucepan over medium heat, then add the marshmallows and stir until completely melted and smooth.
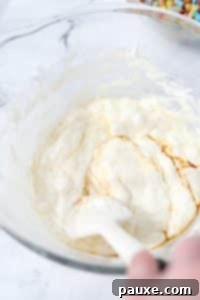
Step Two: Infuse with Vanilla. Once the butter and marshmallows are fully melted and combined into a smooth, glossy mixture, remove from heat (if using stovetop). Stir in the vanilla extract until it is thoroughly incorporated. This step is crucial for adding a depth of flavor that complements the fruity cereal.
Adding the Fruity Pebbles Cereal
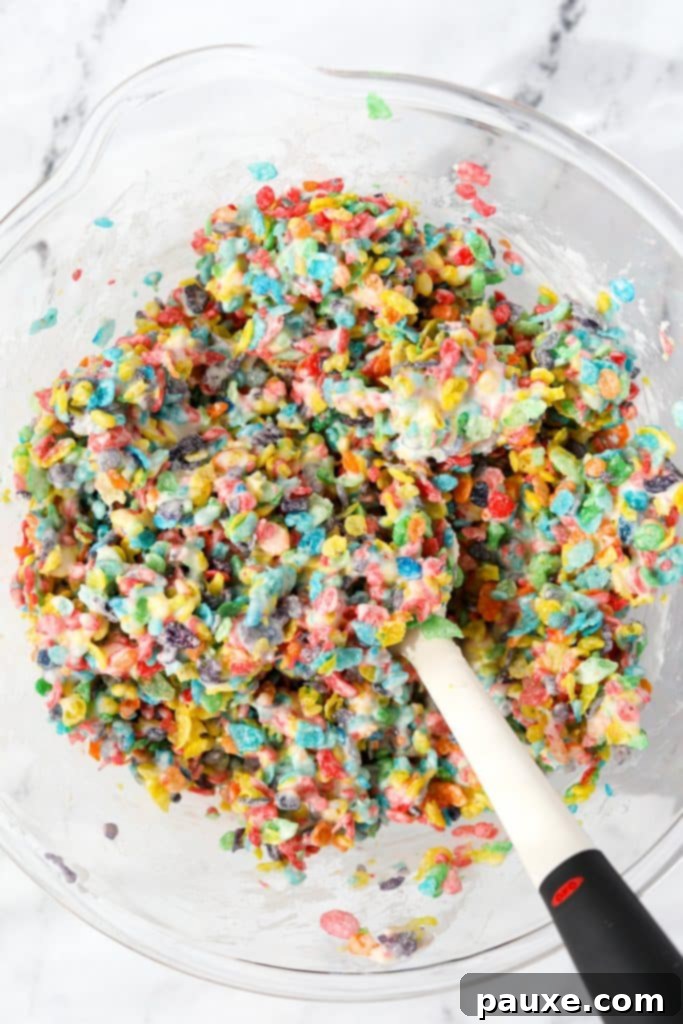
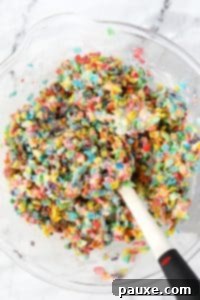
Step Three: Combine Cereal and Marshmallow. Carefully add the 5 ½ cups of Fruity Pebbles cereal to the warm marshmallow mixture. Using a silicone spatula, gently fold the cereal into the sticky base until every colorful flake is evenly coated. Work quickly but gently to avoid crushing the cereal, which can lead to a dense treat.
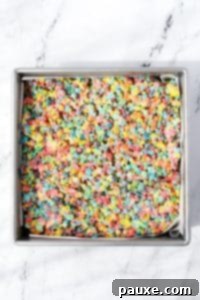
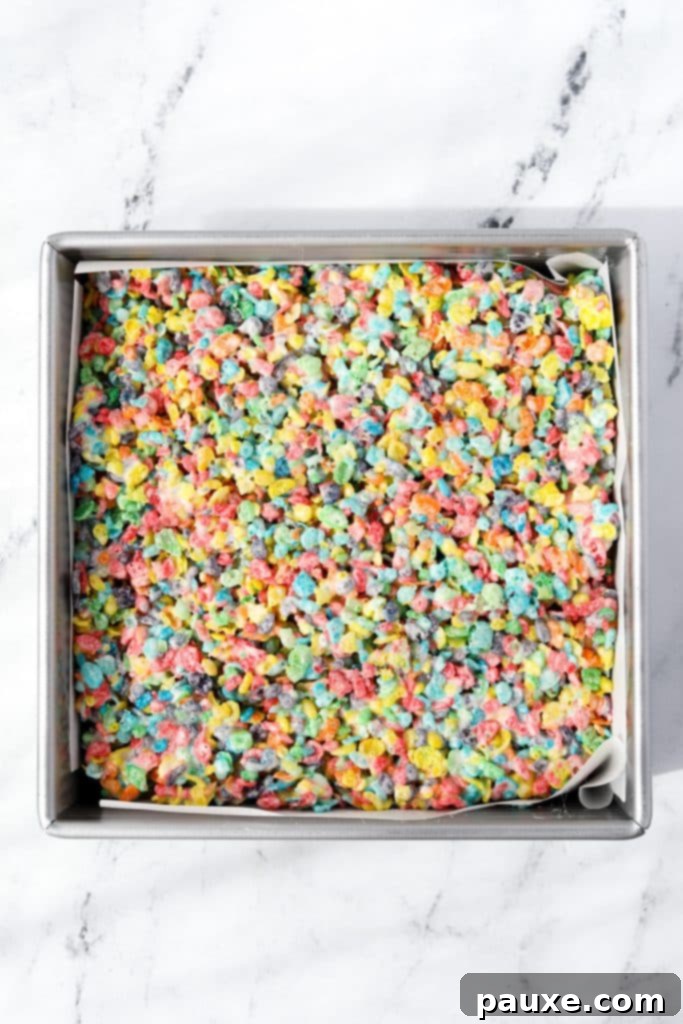
Step Four: Press into Pan. Transfer the entire cereal mixture to your prepared 8×8-inch (20x20cm) baking pan, which should be lined with overlapping pieces of parchment paper for easy removal. Using a very light and gentle hand, press the mixture evenly into the pan. The goal is to create a smooth, consistent layer without compacting the treats too much, which can make them hard rather than gooey.
Note: Resist the urge to press the cereal mixture down too firmly. A light touch ensures your treats remain wonderfully gooey and soft, rather than dense and hard. Simply spread it evenly to fill all the edges of the pan.
Cooling and Slicing for Perfection
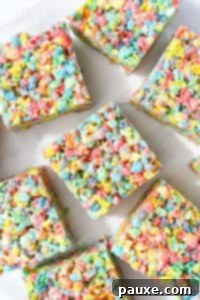
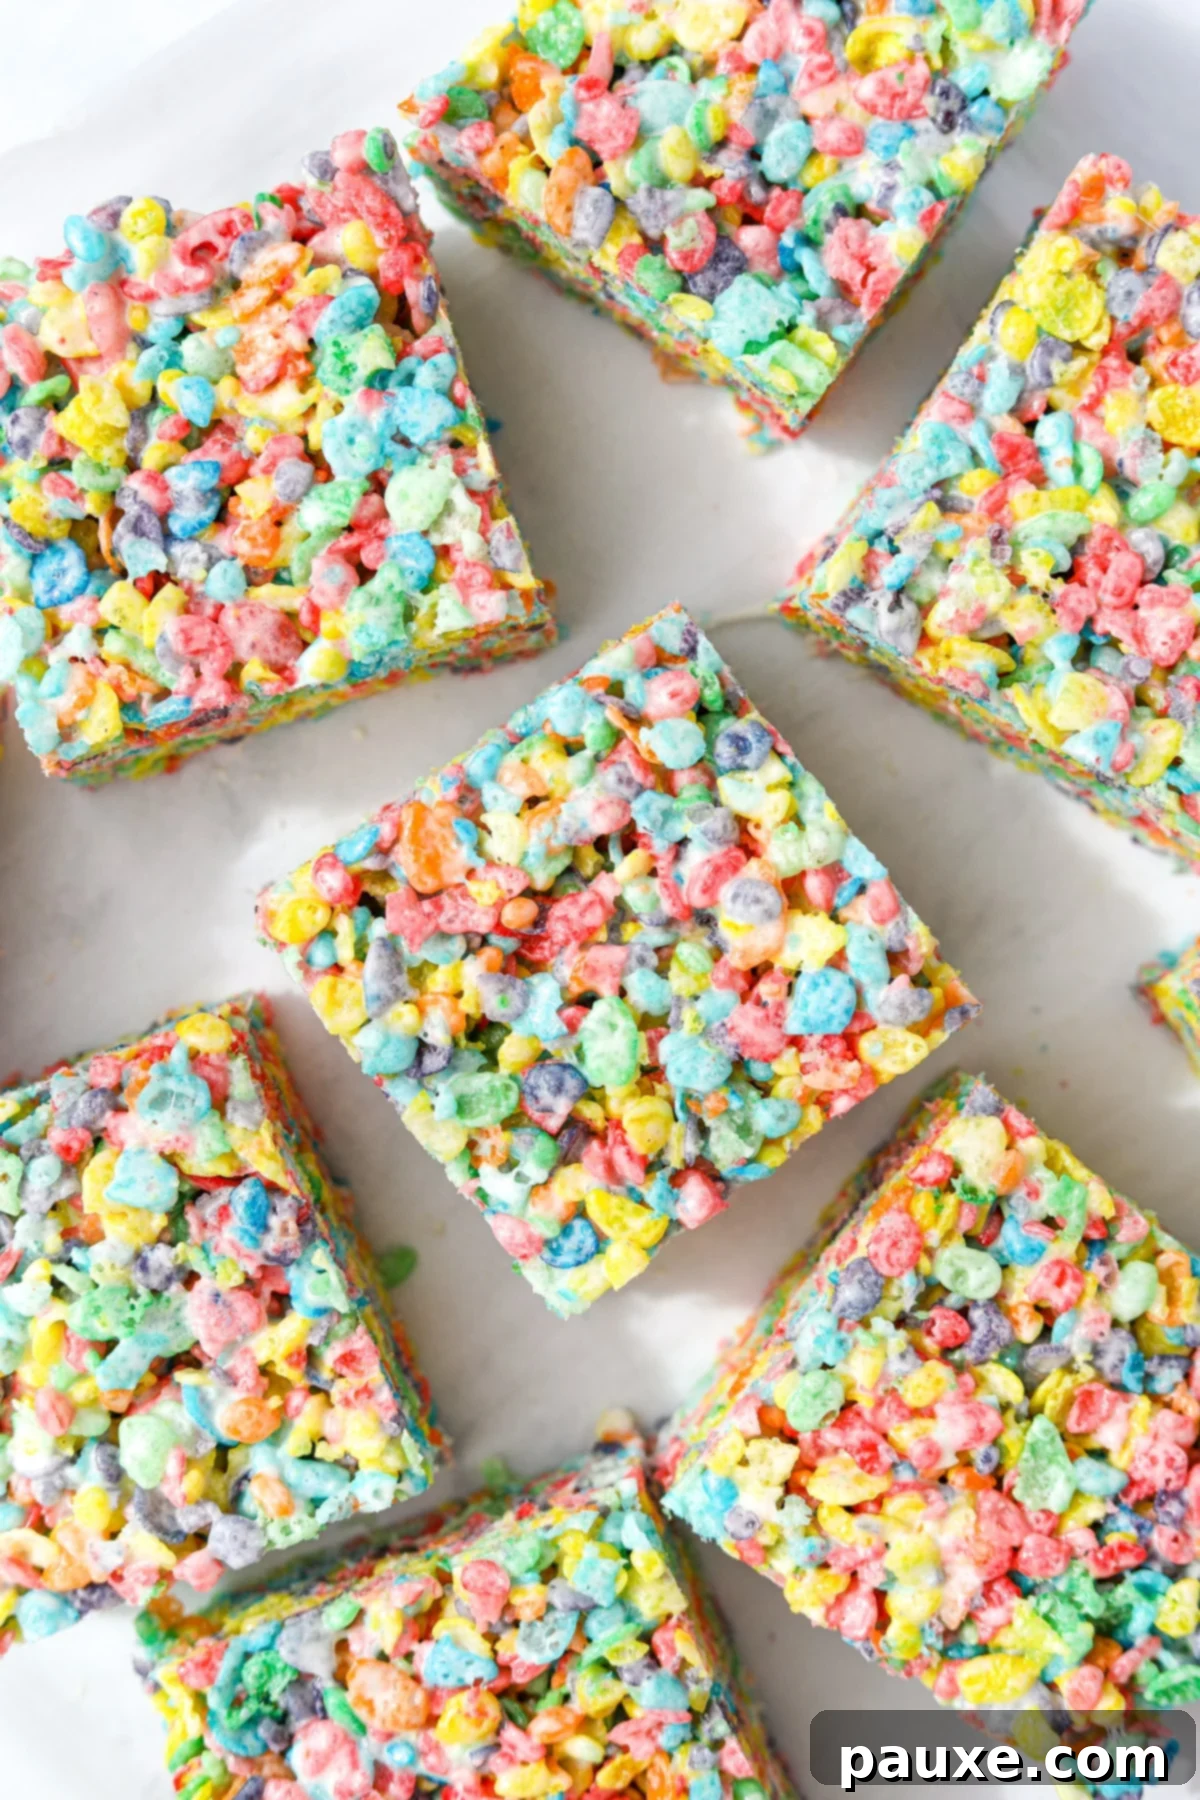
Step Five: Chill and Slice. Once the treats are evenly distributed in the pan, cover it and allow them to cool and set at room temperature for at least 1 hour. This crucial step allows the marshmallow to firm up just enough to hold its shape without losing its signature gooeyness. After cooling, use the parchment paper “handles” to easily lift the entire slab out of the pan. Place it on a cutting board and slice into 9-16 squares, depending on your desired portion size.
See the comprehensive recipe card below for detailed instructions for both stovetop and microwave methods, along with precise measurements.
Storing Your Leftover Fruity Pebbles Treats
Proper storage is key to maintaining the delightful texture and freshness of your Fruity Pebbles Treats. While they are best enjoyed fresh, these treats store wonderfully, allowing you to savor them over several days or even weeks.
For optimal gooeyness, it’s recommended to store leftover treats in an airtight container at room temperature. This helps maintain their soft, chewy consistency. If you prefer a firmer treat or need longer-term storage, the refrigerator is a good option.
Storage Guidelines:
- Room Temperature: When stored in an airtight container, these treats will remain fresh and delightfully gooey for up to 3 days.
- Refrigerator: For extended freshness, store in an airtight container in the refrigerator for up to 1 week. Note that refrigeration will make the treats firmer.
- Freezer: These treats freeze beautifully for up to 2 months.
To Freeze: For best results, individually wrap each treat tightly in plastic wrap before placing them in a freezer-safe bag or container. This prevents freezer burn and makes it easy to grab a single treat whenever a craving strikes. Don’t forget to label your container with the date!
Hint: To prevent individual treats from sticking together during storage, especially in warmer climates, place a sheet of wax paper or parchment paper between layers in your airtight container.
Expert Tips for Flawless Fruity Pebbles Treats
Achieving perfectly gooey, colorful, and delicious Fruity Pebbles Treats is easy with a few insider tricks. Follow these expert tips to ensure your treats are nothing short of spectacular:
- Always Line Your Pan: This cannot be stressed enough! These marshmallow treats are inherently sticky. Lining your baking pan with parchment paper is your best friend for an easy release and virtually no cleanup. I recommend cutting two pieces of parchment paper slightly longer than the width of your pan and overlapping them in the center, allowing the excess to hang over the sides. These “handles” make lifting the entire batch out of the pan incredibly simple, ready for slicing.
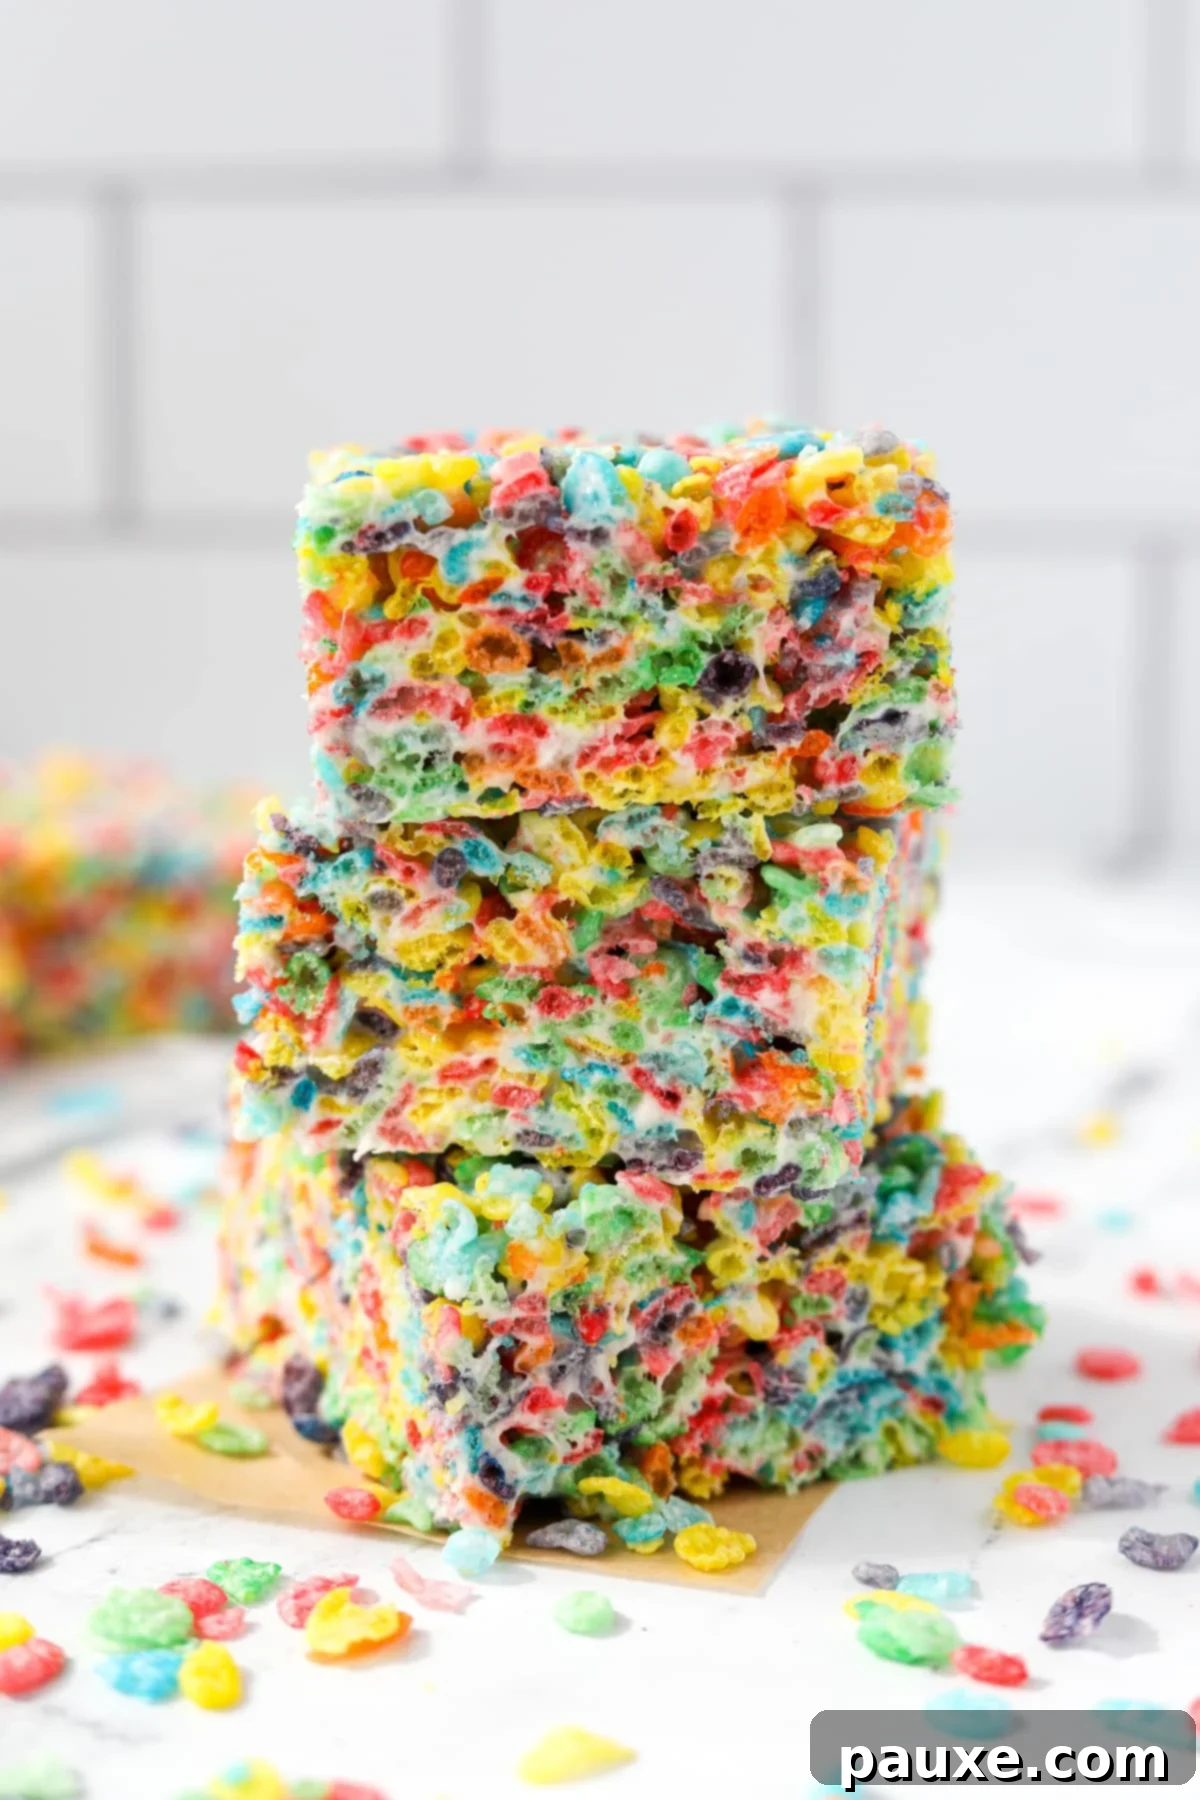
- Patience is a Virtue – Allow Them to Set: As tempting as it is to immediately dive into these warm, fragrant treats, resist the urge! Allowing them to rest and cool at room temperature for at least an hour (or even longer) is crucial. This setting time allows the marshmallow to firm up just enough so that the treats hold their shape beautifully when sliced, without being overly hard. If you cut them too soon, they’ll be too gooey and fall apart.
- Room Temperature vs. Refrigerator for Texture: The choice between storing your treats at room temperature or in the fridge depends entirely on your preferred texture. If you adore that ultra-gooey, soft, and chewy consistency, an airtight container at room temperature is the way to go. If you lean towards a firmer, more dense treat that holds its shape a bit better, especially in warm weather, then refrigerating them is a good option. They will soften slightly at room temperature if you take them out a bit before serving.
- The Gentle Press: When transferring the cereal mixture to the pan, use a very gentle hand. Over-packing the mixture will compress the cereal and squeeze out the air, resulting in a dense, hard treat rather than a light, airy, and gooey one. A light touch is all that’s needed to spread it into an even layer.
- Fresh Marshmallows Matter: For the best gooey results, use fresh marshmallows. Older marshmallows tend to be drier and don’t melt as smoothly, leading to a less desirable texture.
Recipe FAQs: Frequently Asked Questions
Yes, original Fruity Pebbles cereal is officially labeled as gluten-free on the box and is manufactured without gluten-containing ingredients. It is even certified gluten-free, which means it undergoes rigorous testing to meet specific standards for gluten content. This makes Fruity Pebbles a safe and enjoyable option for individuals with celiac disease or gluten sensitivity, allowing these treats to be enjoyed by a wider audience.
No, Rice Krispies and Fruity Pebbles are distinctly different cereals produced by different companies. Rice Krispies is a product of Kellogg’s and is a plain, puffed rice cereal known for its iconic snap, crackle, and pop sound. In contrast, Fruity Pebbles is made by Post Consumer Brands and features smaller, somewhat flatter rice crisps infused with a vibrant fruity flavor and vivid colors. A key difference for dietary needs is that traditional Rice Krispies contain barley malt extract, which means they are not gluten-free, whereas Fruity Pebbles are certified gluten-free, as mentioned above.
Yes, both original Fruity Pebbles and Cocoa Pebbles cereals are considered dairy-free and do not contain animal-based ingredients. This makes them suitable for those following a vegan diet. However, it’s important to note that marshmallows, a primary ingredient in these treats, are typically made with gelatin, which is an animal product. For a truly vegan treat, you would need to use vegan marshmallows and plant-based butter (see the Substitutions section for more details).
The sticky marshmallow mixture can be a bit challenging to work with. To prevent it from clinging to your hands, you have a few options: Lightly butter your hands or the back of your spatula, or dampen them with a little water. Alternatively, you can place a piece of wax paper or parchment paper over the mixture and gently press it down with your hands or another flat object.
Absolutely! These treats are a fantastic canvas for creativity. You can fold in mini chocolate chips, sprinkles, or even white chocolate chunks with the cereal for an extra layer of flavor and texture. Just be sure to add them quickly once the cereal is mixed in, before the marshmallow mixture sets.
Exciting Variations to Customize Your Treats
While these Fruity Pebbles Treats are perfect as is, they also serve as a versatile base for culinary creativity. Feel free to experiment with these fun variations to suit your taste or occasion:
- With Cocoa Pebbles: For a delicious chocolatey alternative, simply swap the Fruity Pebbles for an equal amount of Cocoa Pebbles cereal. The chocolate and marshmallow combination is a timeless classic that’s equally irresistible. Or, for a detailed guide, check out my dedicated Cocoa Pebbles Treats recipe.
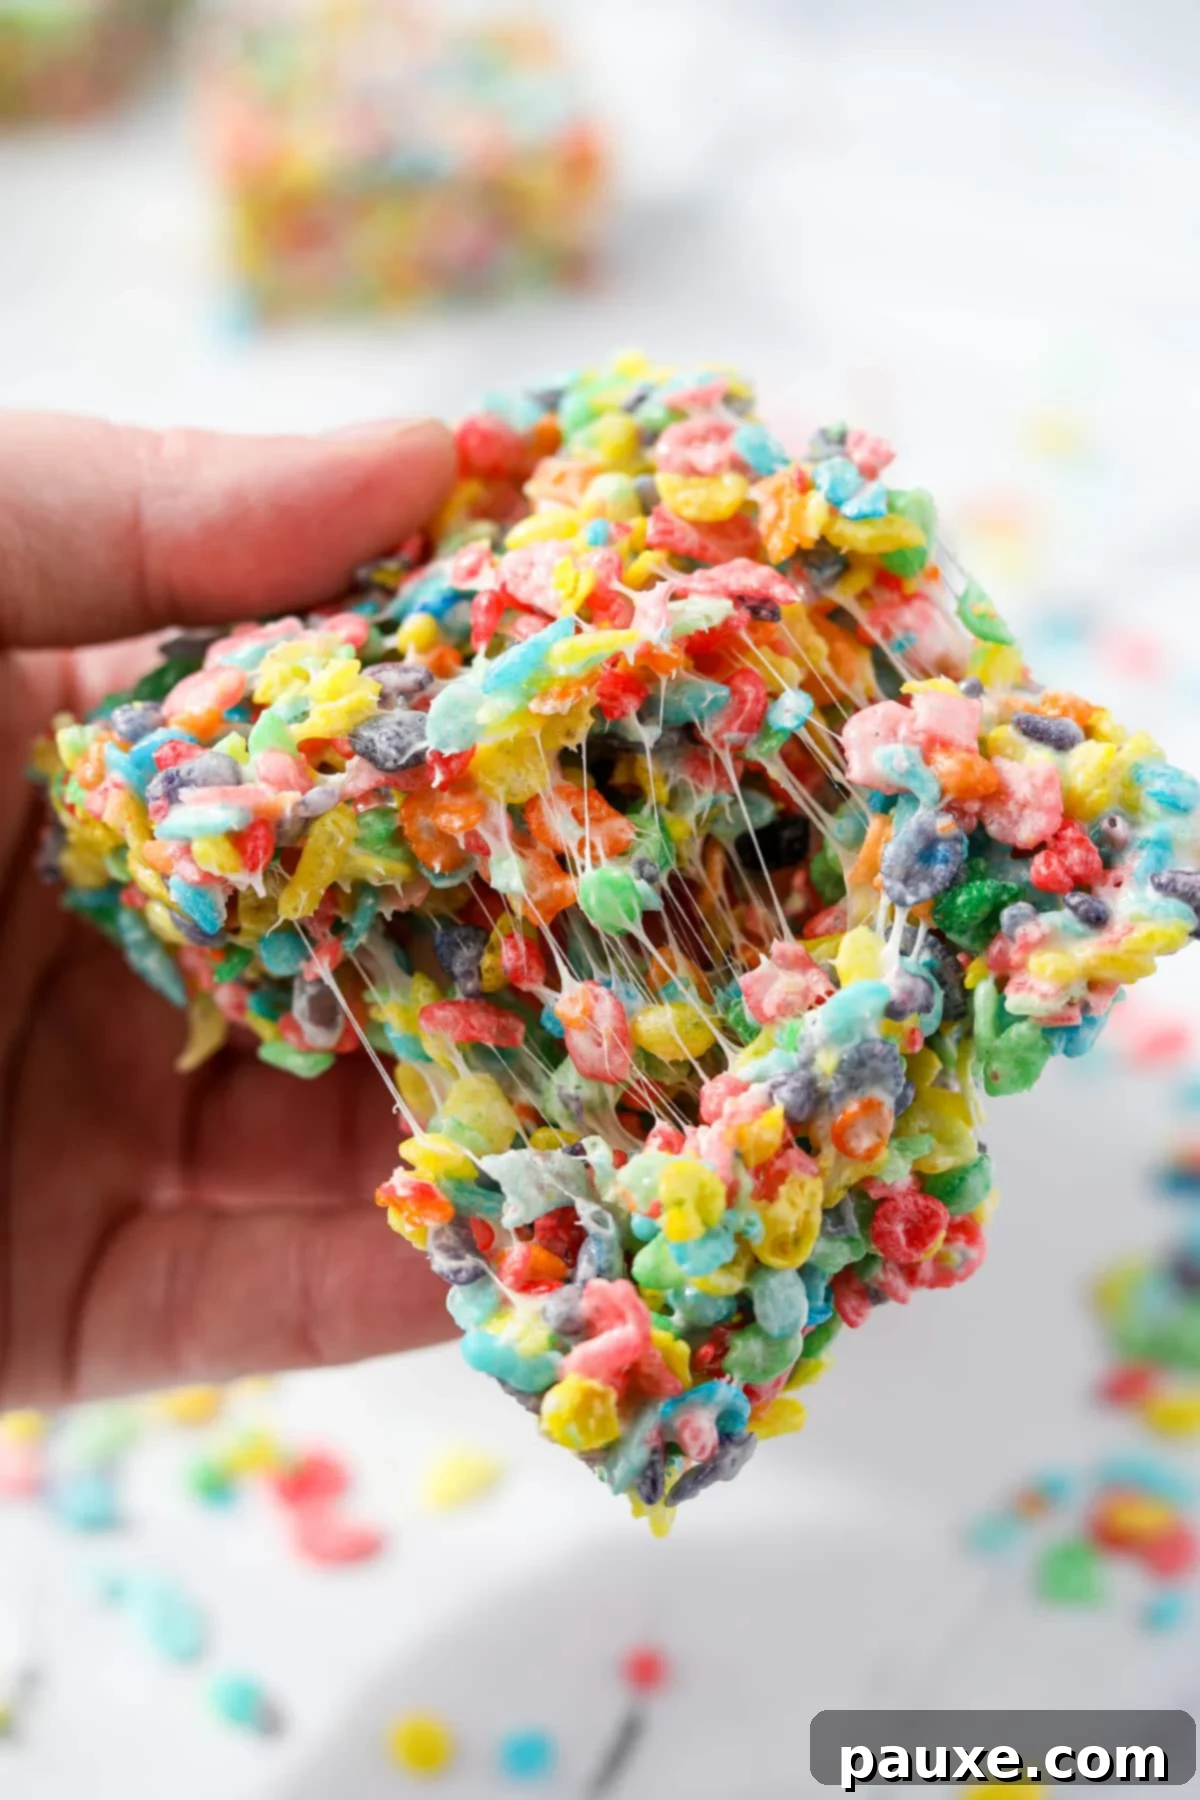
- Ultra-Gooey Version: If you’re a true fan of that extra-gooey, stretchy marshmallow texture, here’s a simple trick: fold in an additional ½ cup of mini marshmallows at the very same time you add the cereal. The residual heat from the melted marshmallow mixture will slightly soften these extra marshmallows, creating pockets of melty goodness throughout your treats.
- Rice Krispies Classic Fusion: For a delightful hybrid, substitute half of the Fruity Pebbles with an equal amount of classic Rice Krispies cereal. This offers a slightly milder fruity flavor with the familiar crispness of the original. If you prefer a firmer treat, you can use up to 6 cups of cereal in total (Fruity Pebbles or a mix), but be aware this will reduce the gooeyness.
- Rainbow Sprinkles Fun: Add a festive touch by folding in ½ cup of rainbow sprinkles (nonpareils or jimmies) along with the cereal. This is especially fantastic for birthday parties or celebrations!
- White Chocolate Drizzle: Once the treats have cooled and set, melt some white chocolate chips and drizzle them over the top for an elegant finish and an extra layer of sweetness.
Thoughtful Substitutions for Dietary Needs
This recipe can be easily adapted to accommodate various dietary preferences without sacrificing flavor or fun:
- Dairy-Free Option: To make these treats dairy-free, simply substitute the traditional butter with your favorite plant-based butter alternative. Most plant-based butters perform excellently in this recipe, yielding a rich flavor and proper texture. Ensure your chosen brand is suitable for melting and baking.
- Vegan Version: Creating a vegan version of these treats involves two key swaps:
- Marshmallows: Replace conventional marshmallows with vegan marshmallows. Brands like Dandies are widely available and melt beautifully, just like traditional marshmallows.
- Butter: Use a plant-based butter alternative, as described in the dairy-free option above.
Ensure all other ingredients (Fruity Pebbles, vanilla extract) are confirmed to be vegan-friendly.
More Easy Dessert Recipes to Satisfy Your Sweet Tooth
If you loved the simplicity and deliciousness of these Fruity Pebbles Treats, you’re in for a treat! Explore more of my easy, no-fuss dessert recipes that are perfect for any occasion:
- Cocoa Pebbles Treats
- Lucky Charms Treats
- No Bake Peanut Butter Bars
- No Bake Chocolate Chip Cheesecake
If you loved this recipe for Fruity Pebbles Treats, please let me know by leaving a 5-star review in the recipe card below or sharing your thoughts in the comments! Your feedback helps others discover delicious recipes. You can also tag me on Instagram @dashfordinner to share your creations. Happy treating!
Fruity Pebbles Treats
Print
Pin
Rate
Desserts, No Bake Desserts
American
5
5
1
1 10
16 treats
150kcal
Dorothy Bigelow
Equipment
- 8X8 Baking Pan (20X20 cm) or 9X9″ (23X23cm)
- Silicone spatula
- Parchment paper
Ingredients
-
▢
6 tablespoons butter -
▢
10 ounces mini marshmallows approximately 6 cups -
▢
½ teaspoon vanilla extract -
▢
5 ½ cups Fruity Pebbles cereal 9.2 ounces
Instructions
- Line an 8X8” or 9X9” baking pan with overlapping pieces of parchment paper, ensuring excess hangs over the sides to create “handles.” Lightly grease the parchment paper to hold it in place.
- Add the mini marshmallows and butter to a large, microwave-safe bowl.

- Melt the butter and marshmallows together in a microwave-safe bowl in 30-second intervals, stirring vigorously after each turn in the microwave until completely smooth and melted.
- Once the marshmallows and butter are fully melted, add in the vanilla extract and stir again to thoroughly combine and infuse the mixture with flavor.

- Add the Fruity Pebbles cereal to the marshmallow mixture and gently fold it in with a silicone spatula until every piece of cereal is completely coated. Work quickly but do not overmix or crush the cereal.

- Transfer the coated cereal mixture to the prepared baking dish. Using a very light touch, smooth it gently into an even layer. Do not pack it down tightly to ensure gooey treats. (**See notes)

- Cover the dish and let the treats set for at least 1 hour at room temperature. This allows them to firm up enough for clean slicing while remaining wonderfully gooey.***
- Once set, use the parchment paper handles to carefully lift the entire slab of treats out of the baking pan onto a cutting board.

- Slice into your desired number of squares (9 large, or 16 smaller treats), serve, and enjoy the explosion of fruity flavor!
- Store any leftover treats in an airtight container at room temperature for up to 3 days, or in the refrigerator for up to 5 days for a firmer texture.
Stovetop Instructions
- In a large pot or Dutch oven, melt the butter over medium-low heat, ensuring it’s fully liquid but not browning.
- Once the butter is melted, add in the mini marshmallows. Stir continuously with a silicone spatula until the marshmallows are completely melted and form a smooth, uniform mixture. Avoid high heat to prevent burning.
- Once the marshmallows are fully melted and silky, remove the pot from the heat. Stir in the vanilla extract until well combined.
- Add the Fruity Pebbles cereal to the marshmallow mixture in the pot and gently fold it in with your spatula until all the cereal is evenly coated.
- Transfer the coated cereal mixture to the prepared baking dish (lined with parchment paper) and smooth it gently into an even layer using a very light hand. (**See notes)
- Cover the dish and let the treats set for at least 1 hour at room temperature to achieve the perfect consistency.***
- Once cooled, lift the treats out of the pan using the parchment paper handles, slice, and serve. Store any remaining treats in an airtight container for lasting freshness.
Did you try this recipe?
Tag me at @dashfordinner and share your photos!
Notes
***Room Temperature for Gooeyness: Storing your Fruity Pebbles treats in the fridge will make for a firmer treat. If you prefer a soft, gooey texture, room temperature storage in an airtight container is highly recommended.
Doubling the Recipe: If you wish to make a larger batch for a crowd, simply double all the quantities listed in this recipe. Use a larger 9×13-inch baking pan to accommodate the increased volume.
Nutrition Information (per serving)
Calories: 150kcal
|
Carbohydrates: 26g
|
Protein: 1g
|
Fat: 5g
|
Saturated Fat: 3g
|
Polyunsaturated Fat: 0.2g
|
Monounsaturated Fat: 1g
|
Trans Fat: 0.2g
|
Cholesterol: 11mg
|
Sodium: 121mg
|
Potassium: 12mg
|
Fiber: 0.1g
|
Sugar: 15g
|
Vitamin A: 475IU
|
Vitamin C: 3mg
|
Calcium: 4mg
|
Iron: 1mg
Please note that some of my blog posts here at Dash for Dinner may contain affiliate links. If you make a purchase through these links, I will get a small commission at no additional cost to you. Please see my Disclaimer for more information.
