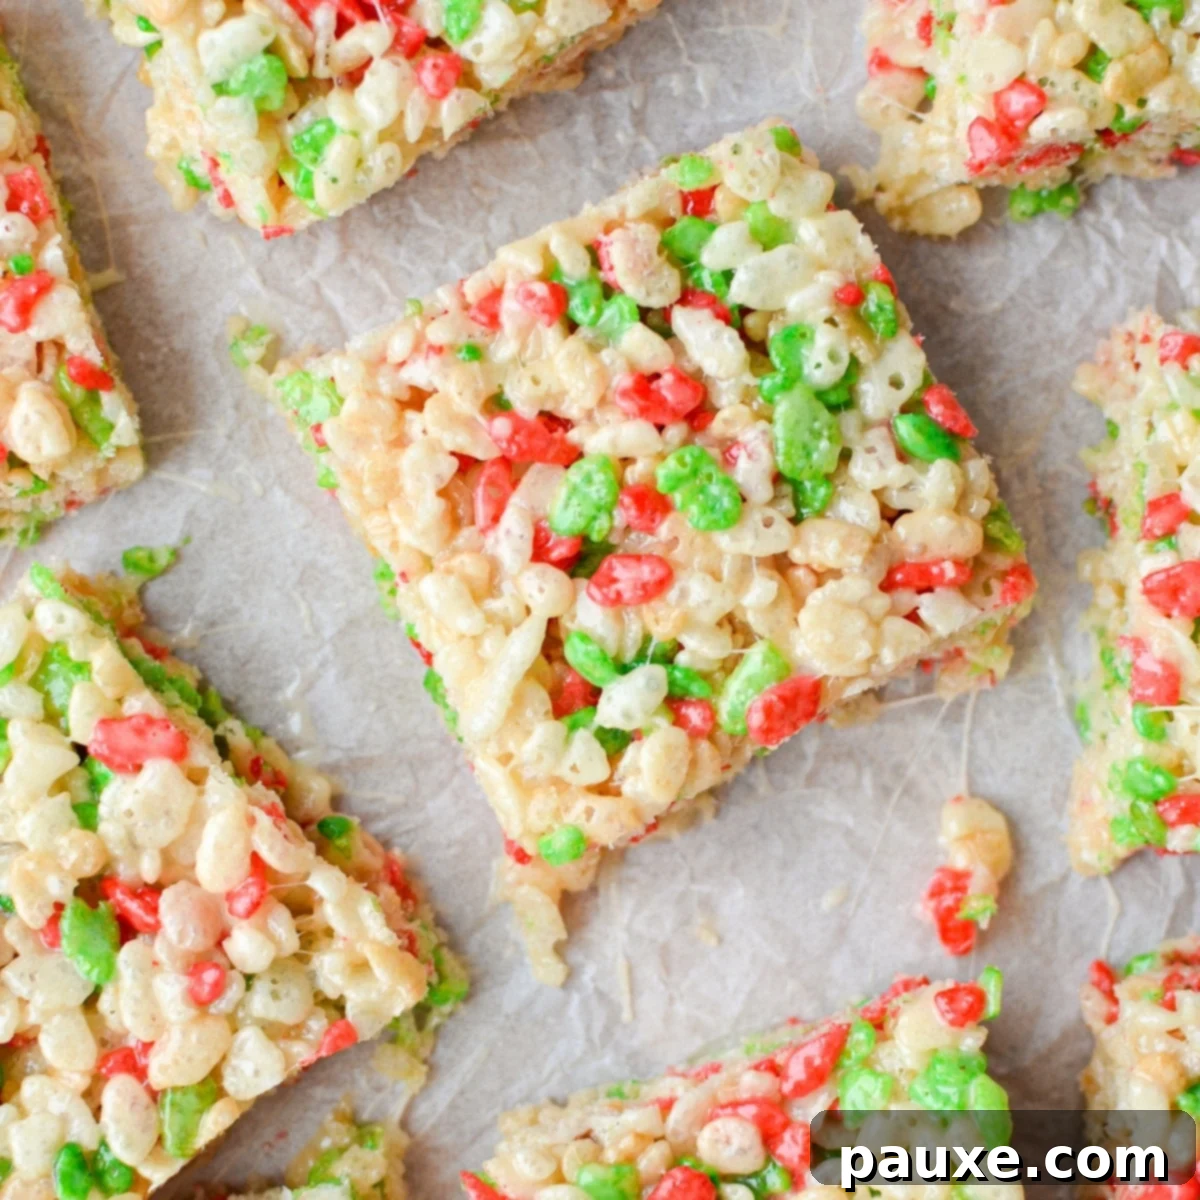
Step into the festive spirit with this incredibly easy Christmas Rice Krispie Treat recipe! Requiring just 4 simple ingredients, these delightful squares are the perfect way to infuse your home with holiday cheer and deliciousness. This recipe is wonderfully kid-friendly, making it an excellent activity for little helpers in the kitchen, and it’s always a huge hit at holiday parties, school events, bake sales, and family gatherings. Prepare to welcome the most wonderful time of the year with a batch of these classic, colorful treats!
Embracing the Magic of the Holiday Season
It’s truly amazing how swiftly the year seems to fly by once Halloween passes. One moment, you’re enjoying autumn leaves, and the next, you’re strolling down store aisles filled with twinkling lights, discovering festive Christmas wrapping paper, and hearing holiday carols on the radio. For many of us, this sudden shift can be a joyful, yet sometimes overwhelming, signal that the festive season is upon us. While it might bring a slight panic for those (like me!) who haven’t quite mastered their gift-buying schedule, it also ushers in a uniquely special time of year for Christmas celebrators.
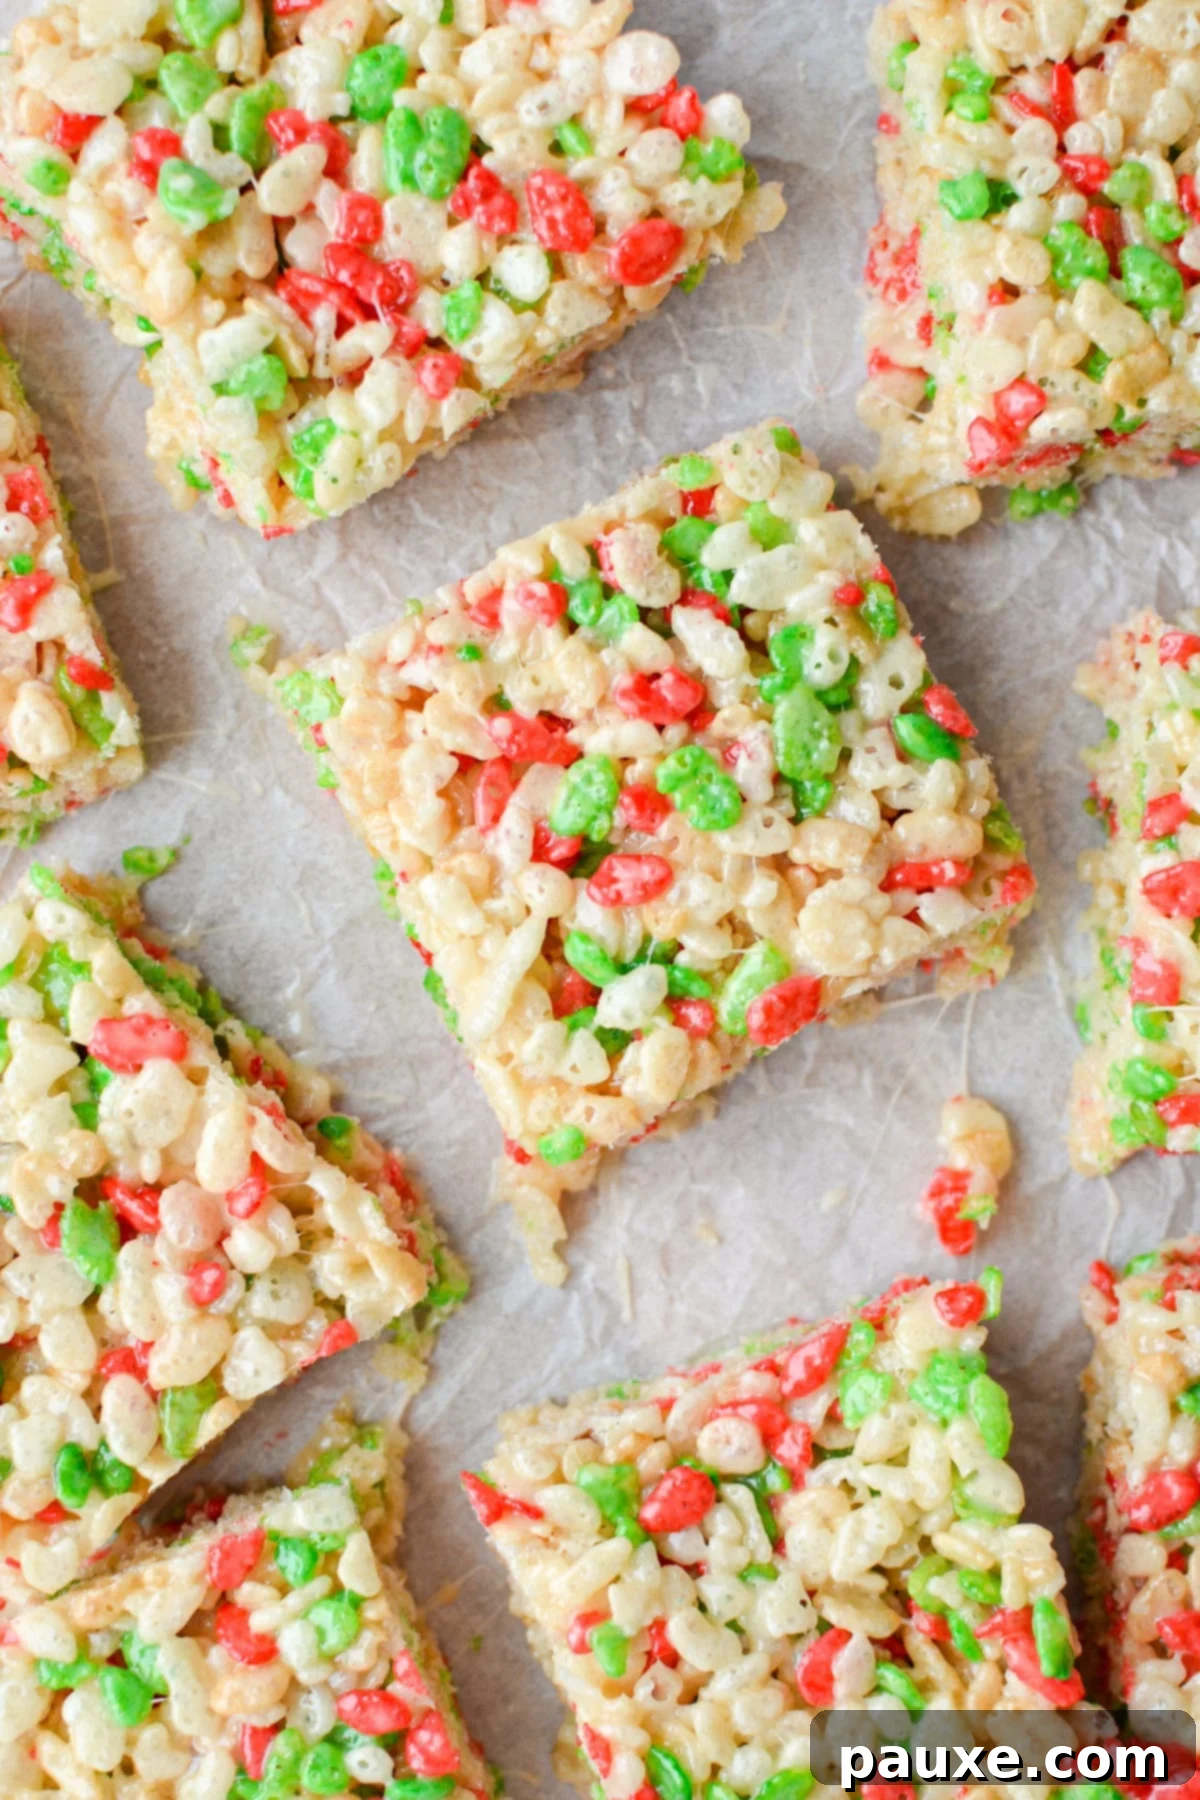
This period of preparation and anticipation is brimming with opportunities to create cherished family traditions that will be remembered and recounted for years to come. In our household, one such beloved tradition revolves around seeking out and procuring our annual box of holiday Rice Krispies cereal. These special boxes contain the familiar crispy rice cereal, but with the delightful addition of vibrant red and green pieces, instantly transforming any treat into a festive masterpiece. The hunt for these elusive boxes adds an extra layer of excitement to our holiday preparations. They can be surprisingly hard to find, as it seems everyone else is also eager to stock up for their favorite Christmas confections. When we spot them, we grab them without hesitation! And what’s the very first thing we make with our treasured find? You guessed it – a fresh batch of these wonderfully gooey and festive Rice Krispie treats!
Why You’ll Love This Easy Christmas Rice Krispie Treat Recipe
These Christmas Rice Krispie Treats aren’t just delicious; they’re also incredibly practical and fun to make. Here’s why this recipe will quickly become a cherished part of your holiday repertoire:
- Unbelievably Simple: With just 4 core ingredients, this recipe simplifies holiday treat-making without compromising on flavor or festivity. It’s a fantastic option when you need a quick dessert in a pinch.
- Perfect for All Ages: The straightforward steps make this recipe ideal for involving small children. Allowing them to actively participate in stirring, pressing, and decorating helps build wonderful holiday memories and fosters a sense of accomplishment.
- Effortless Festive Appeal: You don’t need a pantry full of specialized ingredients or complex techniques to bring Christmas cheer to your table. These treats offer instant holiday charm with minimal fuss.
- Versatile for Any Occasion: Whether you’re contributing to a school bake sale, a festive office potluck, a lively holiday party, or organizing a treat swap, these easy Christmas Rice Krispie treats are always a welcome addition. They transport well and are universally loved.
- No-Bake Convenience: Skip the oven! This no-bake holiday dessert frees up your oven for other festive dishes, making your holiday cooking schedule much smoother.
Essential Ingredients for Your Festive Treats
Creating these delightful holiday Rice Krispie squares requires just a handful of readily available ingredients. Simplicity is key to their charm and ease of preparation.
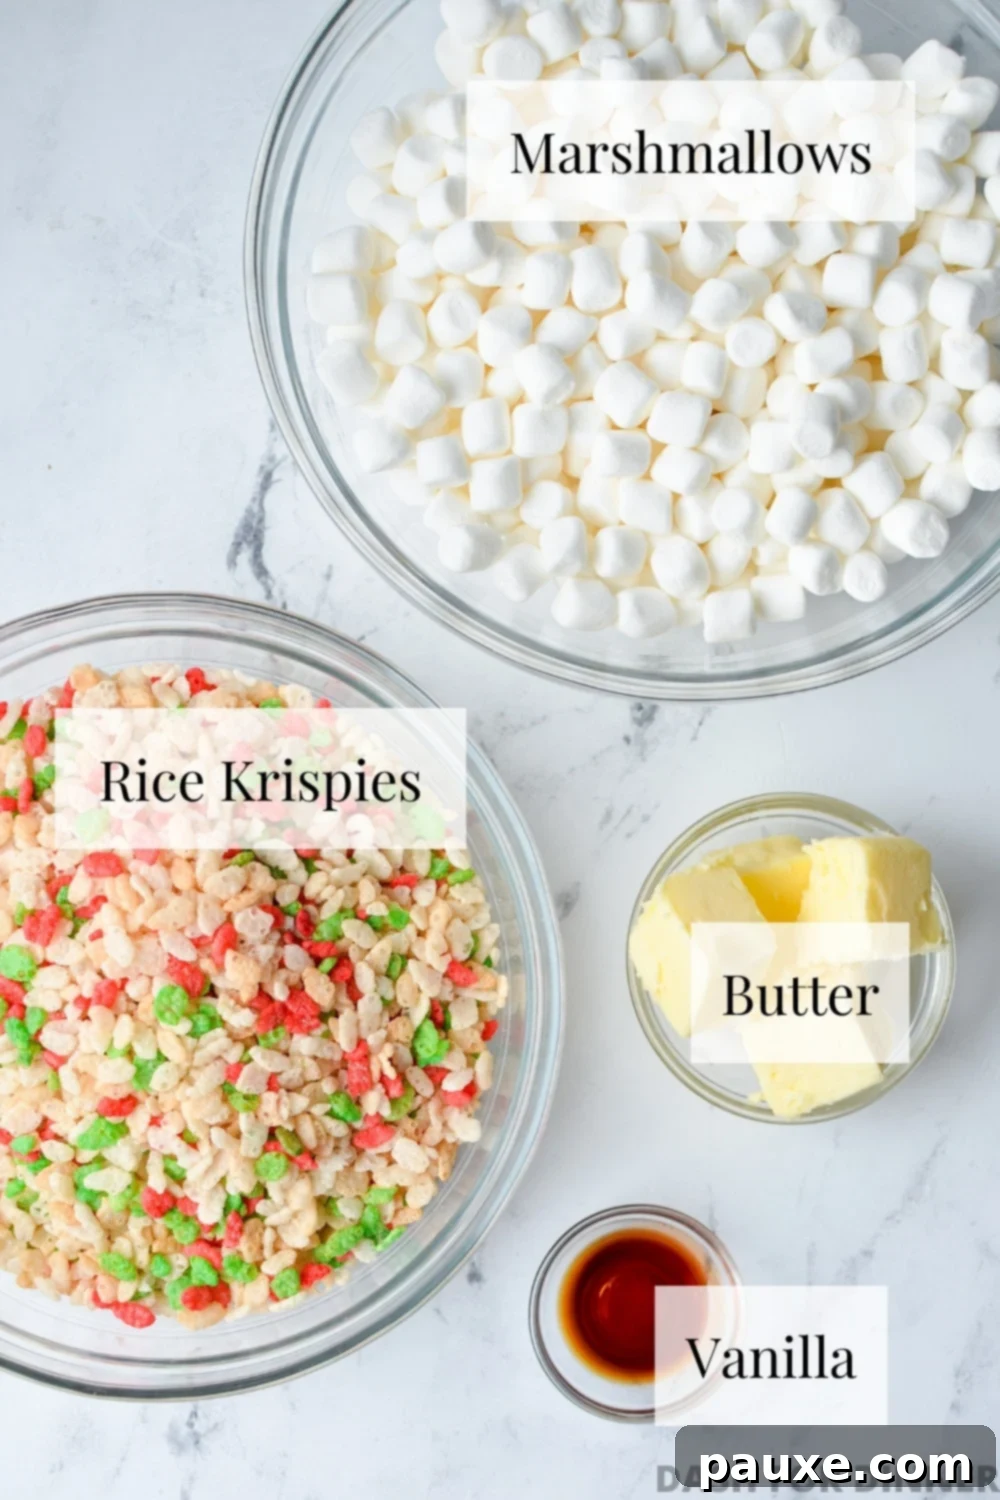
- Holiday Rice Krispies Cereal: These festive cereals, featuring red and green pieces, usually appear on grocery store shelves around early November. They can be quite popular and sometimes hard to find, so if you spot them, it’s wise to stock up! If you can’t find the holiday-specific cereal, regular Rice Krispies work perfectly well. You can always add a touch of red and green food coloring to your marshmallow mixture or sprinkle festive sprinkles on top for that holiday touch.
- Mini Marshmallows: For the best melting consistency and an ultimately gooey treat, I highly recommend using mini marshmallows. They melt much more quickly and evenly than larger marshmallows, ensuring a smooth, sticky binder for your cereal. A 10-ounce bag typically yields around 6 cups.
- Butter: I generally use salted butter in my recipes as it adds a subtle depth of flavor and balances the sweetness. However, if you prefer to use unsalted butter, simply add a small pinch (about ¼ teaspoon) of fine salt to your butter and marshmallow mixture during the melting phase. This minor addition makes a big difference in rounding out the overall taste.
- Vanilla Extract: A splash of good quality vanilla extract is crucial. It elevates the flavor profile, adding a warm, inviting aroma and a classic taste that perfectly complements the buttery, sweet marshmallow. Don’t skip this ingredient, as it truly enhances the overall deliciousness.
A Quick Note on Methods: While I will detail the stovetop instructions for making this easy Rice Krispie treat recipe, rest assured that microwave instructions are also provided further down for those who prefer an even quicker preparation method!
How to Make Delicious Christmas Rice Krispies Treats on the Stovetop
Follow these simple steps to create perfectly gooey and festive Rice Krispie Treats:
1. Prepare Your Baking Dish
Before you begin, select an 8×8 or 9×9 inch baking dish. Line it thoroughly with overlapping pieces of parchment paper, ensuring the paper extends over the edges of the dish. This overhang will create convenient “handles” for easy removal of the set treats. For extra stability, lightly grease the dish with a bit of butter before adding the parchment paper; this helps the paper adhere better and prevents slipping.
2. Melt Butter and Marshmallows
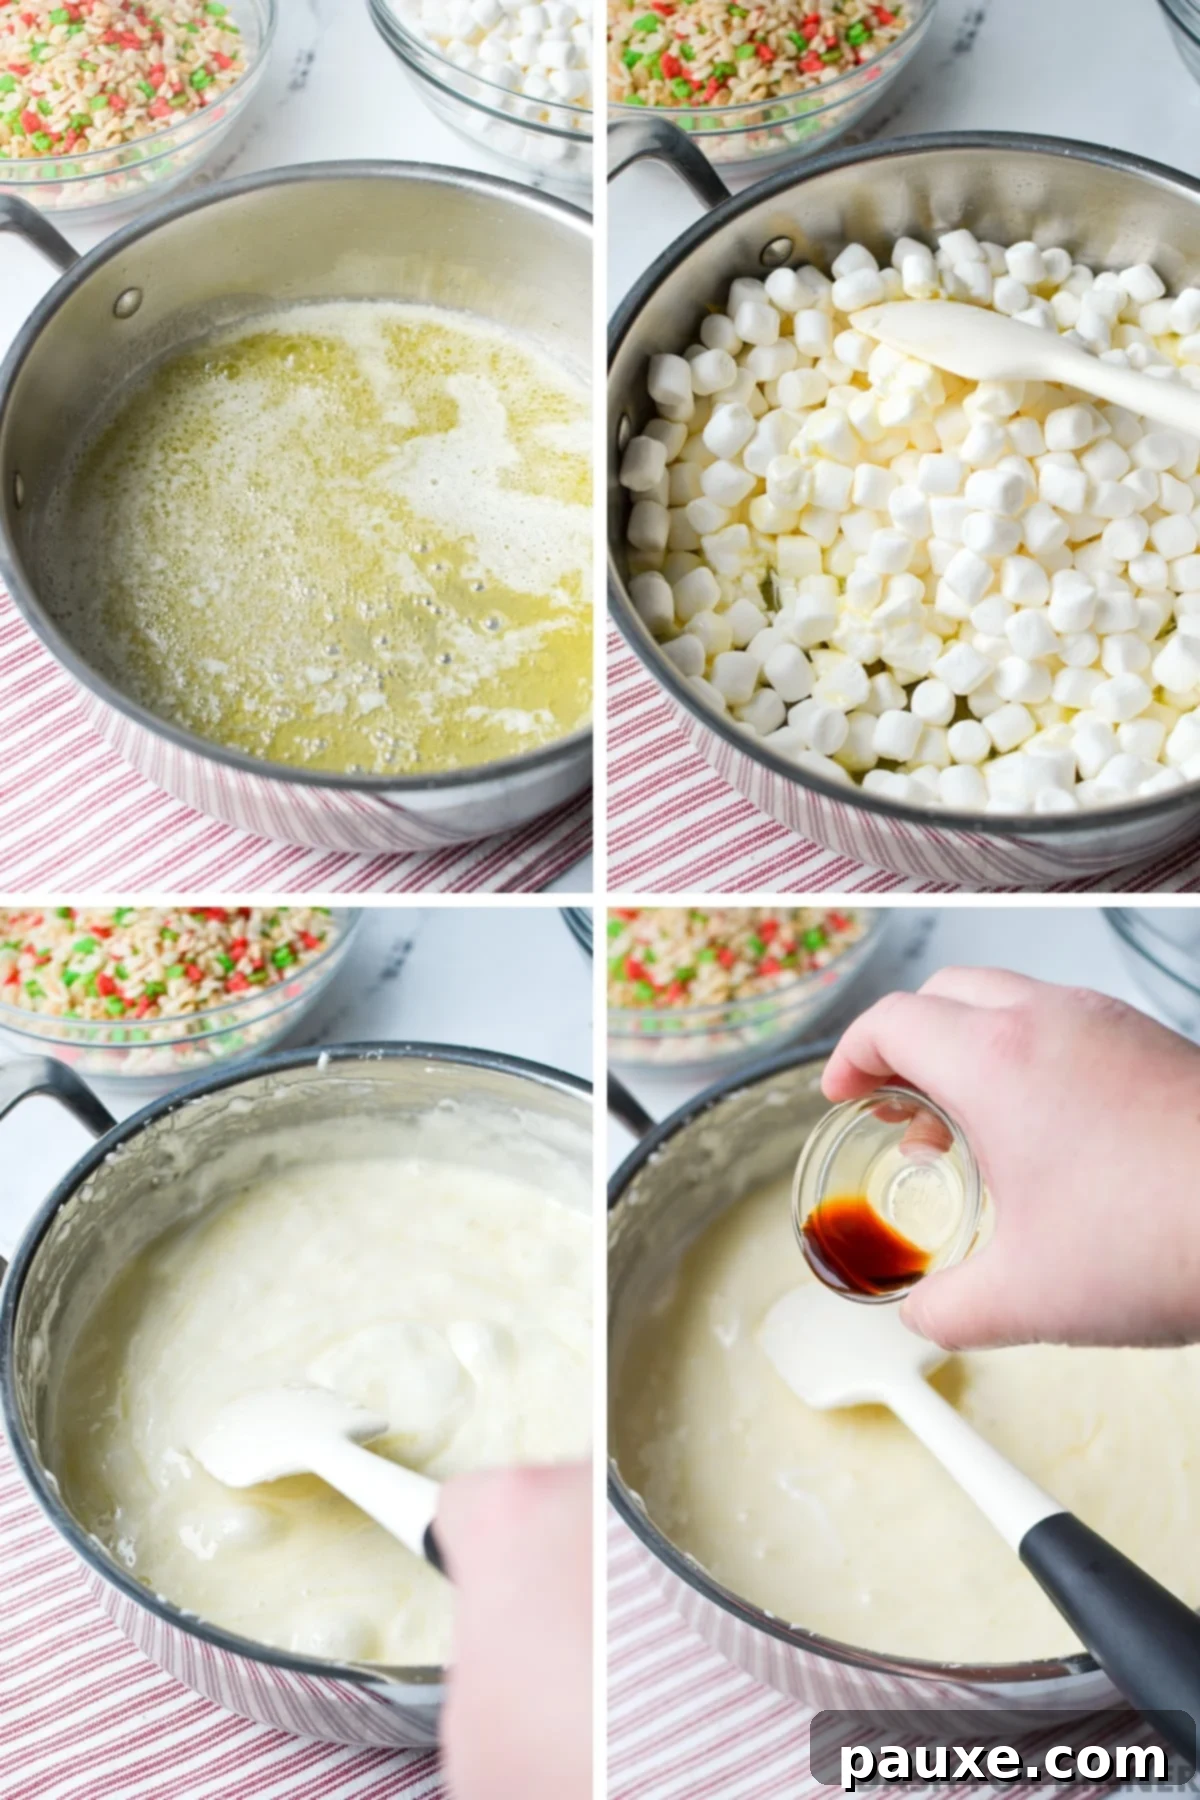
In a large saucepan or a high-sided skillet, melt the butter over medium heat. Keep a close eye on it to prevent burning. Once the butter has completely melted and is shimmering, add all the mini marshmallows to the pan. Stir continuously with a spatula, ensuring all the marshmallows are coated in the melted butter. This coating helps them melt smoothly and prevents sticking to the pan.
3. Achieve a Smooth Marshmallow Mixture
Continue to heat and stir the mixture until the marshmallows have completely melted and combined with the butter, forming a smooth, glossy, and sticky liquid. Once fully melted, immediately remove the pan from the heat. Stir in the vanilla extract until it’s well incorporated. The residual heat from the marshmallow mixture will be enough to disperse the vanilla evenly.
4. Incorporate the Rice Krispies Cereal
Promptly add the holiday Rice Krispies cereal to the warm marshmallow and butter mixture. Using a sturdy silicone spatula, gently fold the cereal into the sticky mixture until every piece is thoroughly coated. It’s important to work quickly at this stage, as the marshmallow mixture can start to set as it cools, making it harder to mix and transfer.
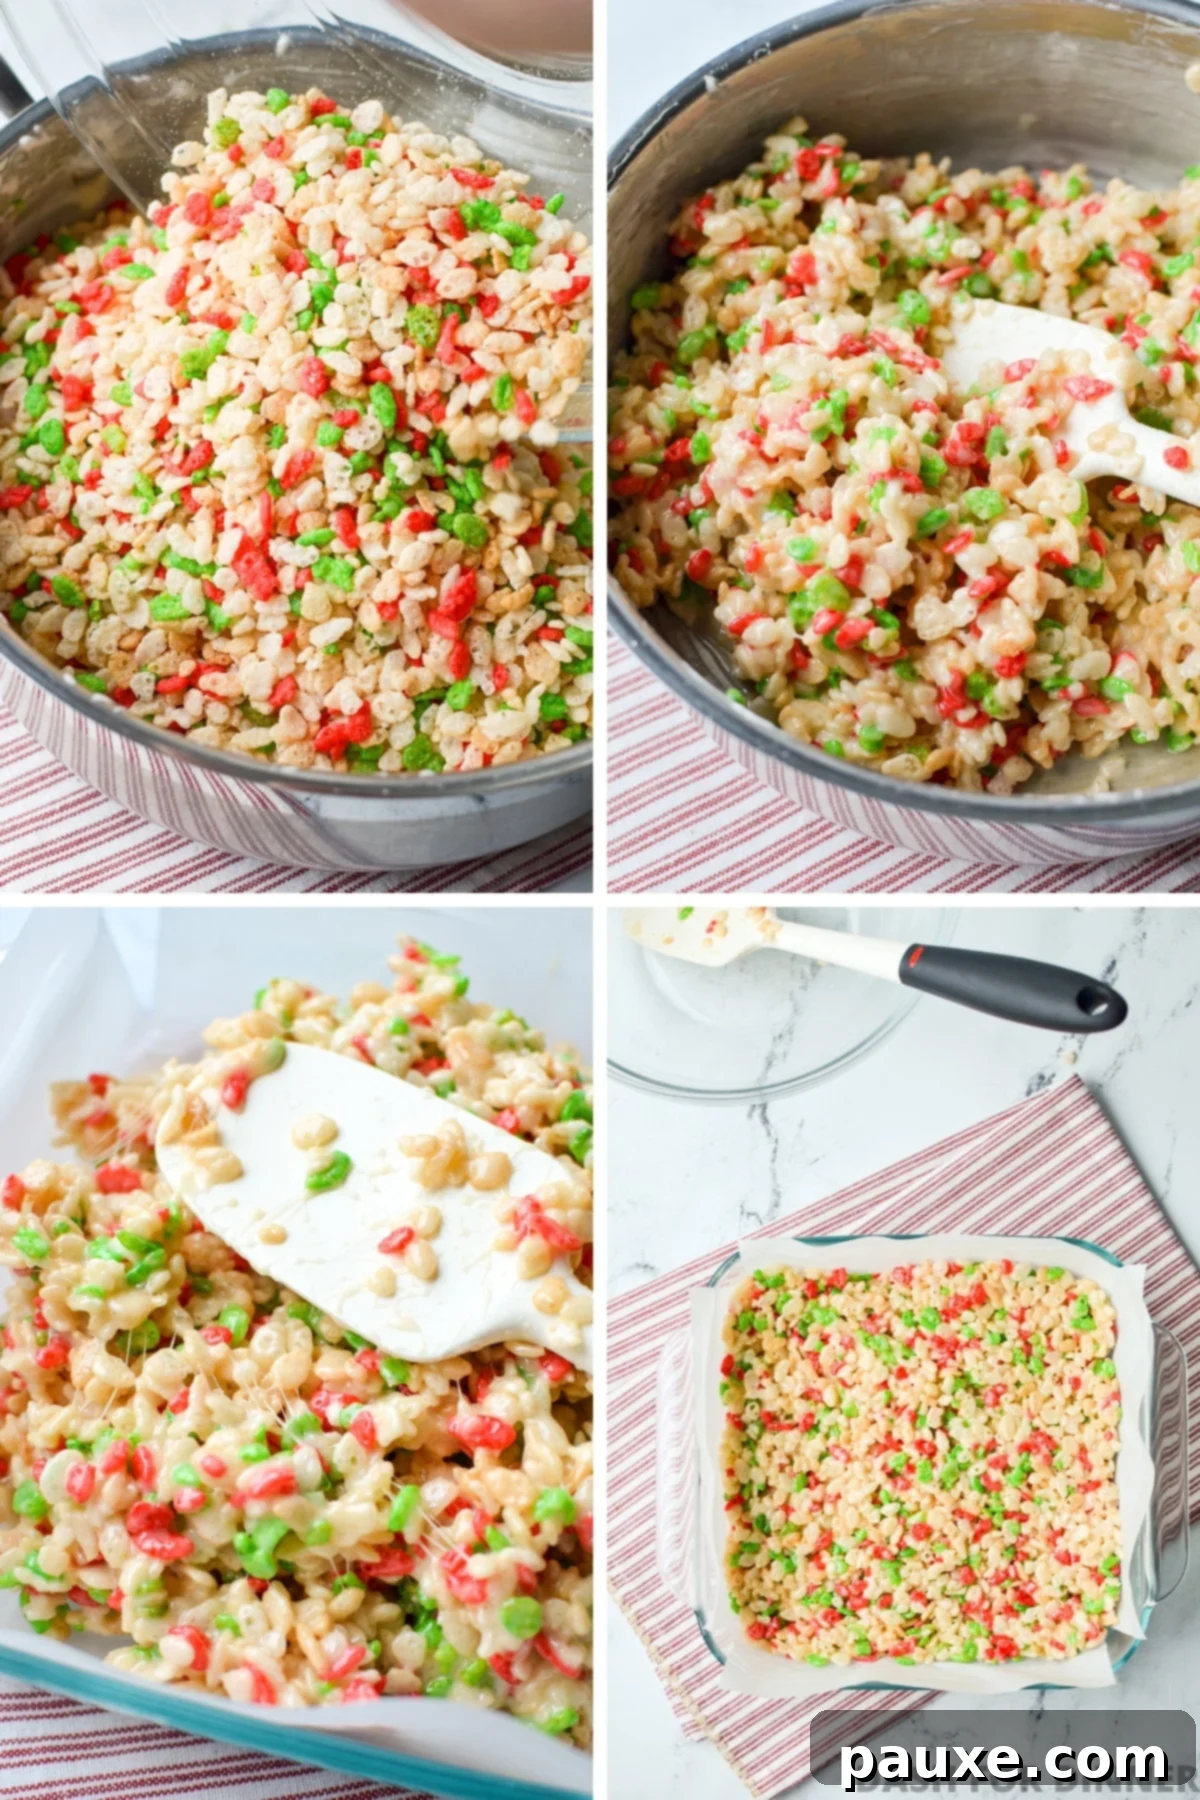
5. Transfer to Baking Dish and Shape Gently
Immediately transfer the entire sticky cereal mixture into your prepared baking dish. Using a very light touch, gently smooth the mixture into an even layer across the bottom of the dish. The key here is to avoid pressing the cereal down too firmly. Heavy compression will result in dense, hard treats. For that signature gooey, chewy texture, a light hand is always preferred.
6. Cooling the Treats for Perfect Texture
Once smoothed, cover the baking dish with a clean kitchen towel or a piece of plastic wrap. Allow the Christmas Rice Krispie treats to set completely at room temperature for at least 1 hour. This patient cooling process is vital for achieving the ideal soft and chewy texture. I highly recommend against chilling the treats in the refrigerator. While it might seem like a way to speed up the setting process, refrigeration tends to make them overly firm and dense. Plus, it doesn’t significantly reduce the cooling time, so room temperature is truly the best approach for delicious, gooey results.
7. Cutting Your Festive Squares
After the treats have fully cooled and set, use the parchment paper handles to lift the entire slab out of the baking dish and place it on a clean cutting board. Using a sharp, lightly greased knife, cut the treats into equal portions. For an 8×8 inch dish, cutting them into thirds widthwise and lengthwise will yield approximately 9 perfect squares. If you opted to double the recipe and used a larger 9×13 inch baking dish, you’d typically cut the pan into thirds widthwise, then in half lengthwise, and each half again into thirds lengthwise, resulting in a generous 18 treats.
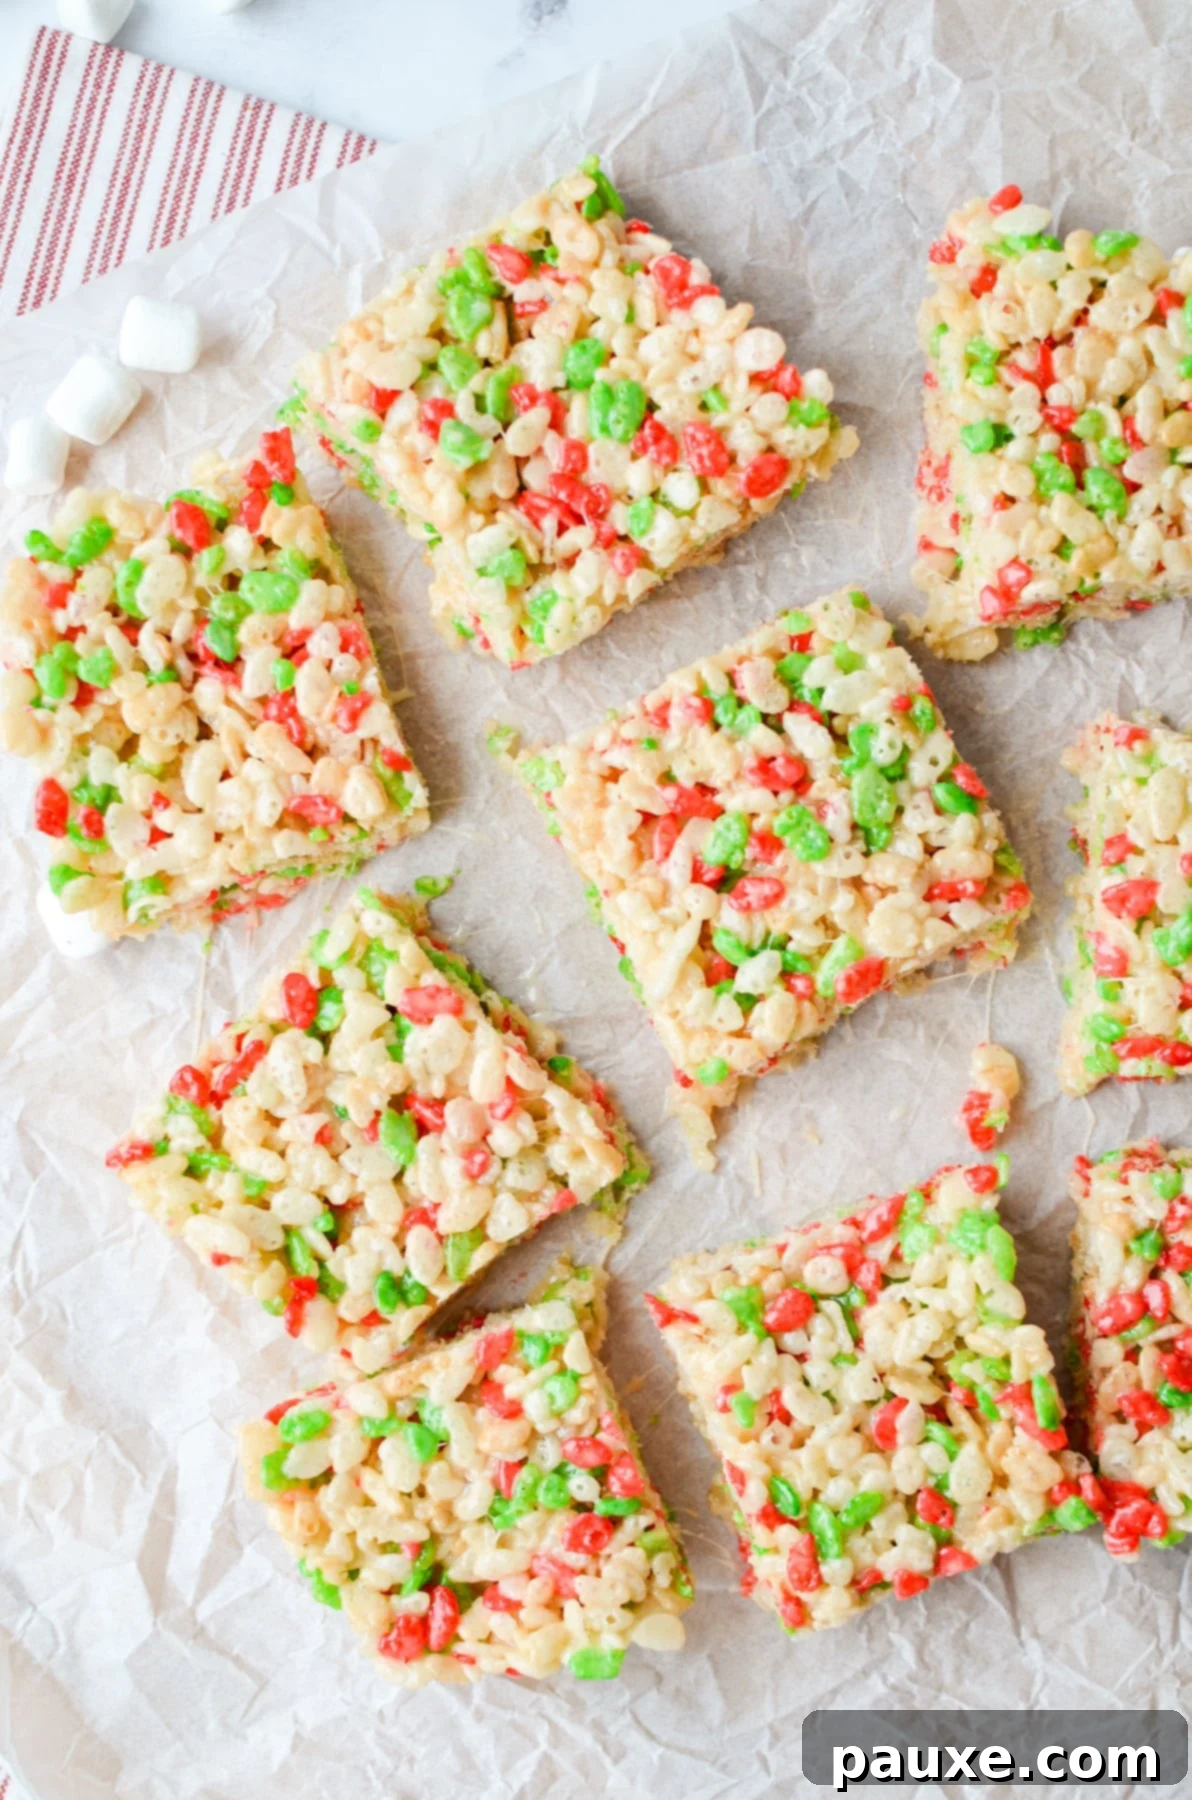
Storing Your Delicious Rice Krispies Treats
To keep your homemade Rice Krispies treats fresh and at their best, proper storage is essential.
Once your treats are sliced and fully cooled, transfer them to an airtight container with a snug-fitting lid. Store them at room temperature for up to 3 days to maintain their signature soft and chewy texture. If you need to store them for a bit longer, you can transfer them to the refrigerator for up to 5 days. Be aware that refrigeration will make the treats firmer and denser, but they will still be absolutely delicious!
Freezing for Longer Freshness: Rice Krispies treats also freeze exceptionally well, allowing you to prepare them far in advance of the holidays. For optimal results, I recommend wrapping individual treats tightly in plastic wrap before placing them in a freezer-safe bag or container. Store them in the freezer for up to 2 months. When you’re ready to enjoy them, simply thaw the wrapped treats at room temperature for a few hours. This method ensures you always have a delightful batch of festive squares ready to go!

Microwave Method: A Quick Alternative
For an even faster preparation, you can easily make these Christmas Rice Krispie treats using your microwave:
- Combine the butter and marshmallows in a large, microwave-safe bowl. Heat in 30-second intervals, stirring thoroughly after each interval, until the mixture is completely melted and smooth.
- Once the butter and marshmallows are fully melted, stir in the vanilla extract until well combined.
- Add the Rice Krispies cereal to the marshmallow mixture. Using a silicone spatula, fold the cereal in until every piece is uniformly coated.
- Transfer the coated cereal mixture to your prepared parchment-lined baking dish. Gently smooth it into an even layer, remembering to use a light hand to keep the treats gooey.
- Cover the dish and allow the treats to cool and set at room temperature for at least 1 hour before slicing and serving.
Creative Variations for Every Holiday
While perfect for Christmas, the versatility of Rice Krispies treats means you can adapt this recipe for virtually any holiday or celebration throughout the year! Many brands offer seasonal Rice Krispies cereal boxes with varying colors, but you can also easily customize your treats with food coloring and festive toppings. Here are some inspiring ideas:
- Valentine’s Day: Tint the marshmallow mixture pink or red, and top with cinnamon hearts or conversation candies.
- Spring Celebrations: Opt for pastel blue or green food coloring to welcome the season.
- St. Patrick’s Day: Make them vibrant green! For an extra whimsical touch, mix in some Lucky Charms marshmallows (or explore a dedicated Lucky Charms Treats recipe).
- Easter: Use a palette of pastel blue, green, or pink. Edible Easter grass or small candy eggs make great additions.
- 4th of July: Go patriotic with red or blue marshmallow mixtures, and adorn with candy stars or sprinkles.
- Halloween: Color your treats spooky orange or eerie yellow, and top with candy corn, gummy worms, or festive sprinkles.
- Thanksgiving: Earthy orange or warm brown hues for the marshmallow base, garnished with candy corn or autumn-themed candy leaves.
- Christmas: The classic choice! Use the holiday-themed Rice Krispies cereal and feel free to top with your favorite seasonal candies, chocolate drizzles, or sprinkles for extra sparkle.
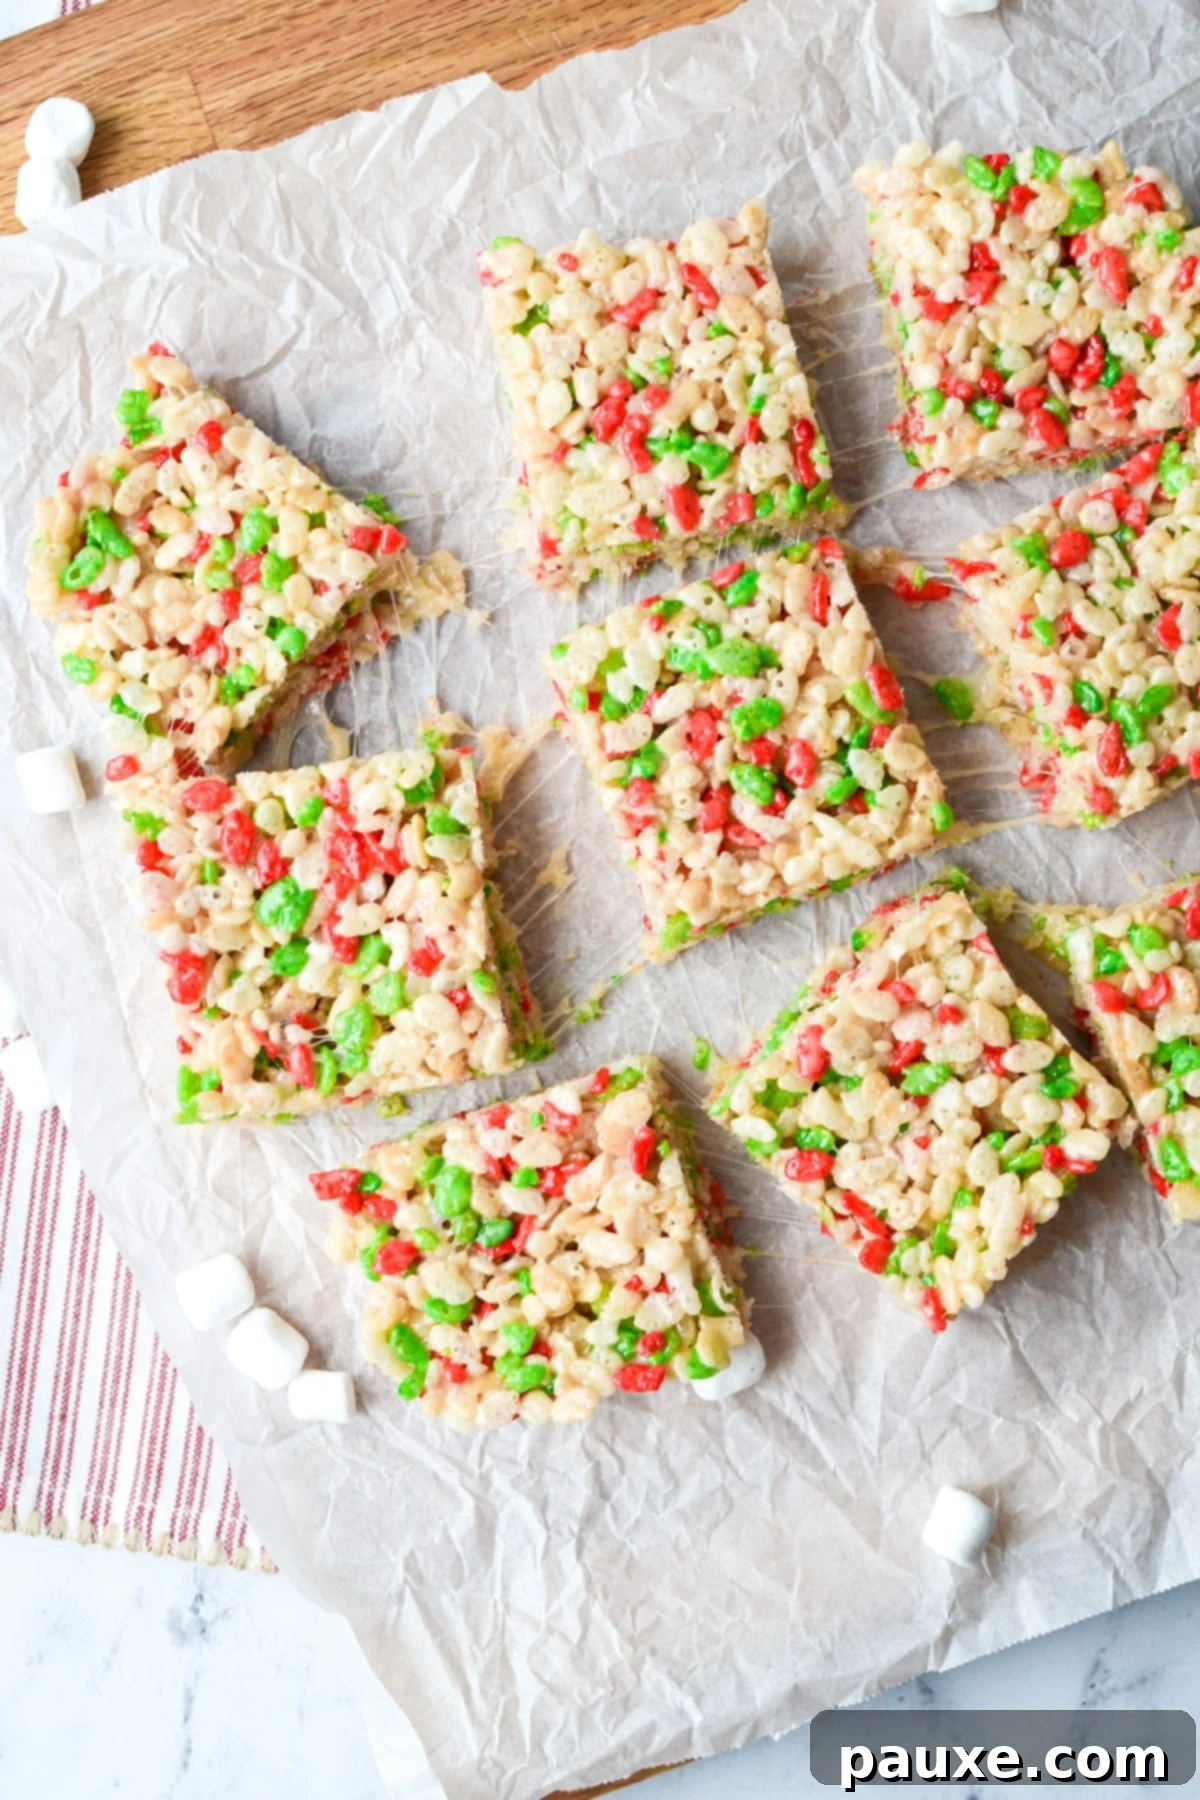
Frequently Asked Questions About Rice Krispie Treats
Can you make Rice Krispie treats ahead of time?
Absolutely! You can prepare Rice Krispie treats up to 3 days in advance. They are often at their best when made the day before, allowing the flavors to meld and the texture to fully set. For longer storage, you can even freeze them. When you’re ready to serve, simply thaw them at room temperature, and they’ll be as delightful as freshly made.
How do you keep homemade Rice Krispie Treats from getting hard?
The secret to soft and gooey homemade Rice Krispie treats lies in storing them correctly. Always keep them in an airtight container at room temperature. Refrigeration tends to make them firm and dense, altering their desired texture. Another crucial tip is to use a very gentle hand when pressing the cereal mixture into the baking dish. Over-compressing the mixture will result in very dense, hard treats rather than the light and chewy squares you’re aiming for.
Can you put Rice Krispies in molds?
Yes, you can certainly use this same delicious recipe to create fun shapes in molds! Gently press the warm Rice Krispies mixture into your desired molds. Once filled, cover the molds with plastic wrap and allow them to set at room temperature for at least 1 to 2 hours. To ensure easy release, a light coating of cooking spray inside the molds before filling can be very helpful once the treats have cooled and firmed up.
Doubling the Recipe for Larger Batches
If you’re catering to a crowd or simply want to ensure you have plenty of these irresistible Christmas Rice Krispie treats, doubling the recipe is incredibly easy. All ingredient quantities listed can be proportionally increased to perfectly fill a standard 9×13 inch baking pan.
When doubling, I recommend using a deeper baking dish or a larger roasting pan to comfortably accommodate the increased volume of cereal and marshmallow mixture without any risk of spilling over. Keep in mind that a larger pan of treats will require a longer cooling time. Instead of the recommended 1 hour for an 8×8 or 9×9 inch dish, allow for 1½ to 2 hours of cooling at room temperature to ensure the treats are fully set and easy to cut.
More Easy No-Bake Desserts to Enjoy:
- Cranberry Pretzel Salad
- Lazy Cheesecake Salad
- Pumpkin Fluff Dip
- Lucky Charms Treats
- Red, White, and Blue Cheesecake Salad
- Christmas Fudge – from Spaceships and Laser Beams
Christmas Rice Krispies Treats
This easy Christmas Rice Krispie Treat recipe uses just 4 ingredients and is the perfect way to welcome the holidays with a festive and delicious no-bake dessert! Enjoy these simple, sweet squares at any holiday gathering.
Course: Dessert, Snacks | Cuisine: American
Prep Time: 5 minutes | Cook Time: 5 minutes | Additional Time: 1 hour | Total Time: 1 hour 10 minutes
Yields: 9 Treats | Calories: 221kcal | Author: Dorothy Bigelow
Ingredients
- 6 tablespoons salted butter
- 10 ounce bag mini marshmallows (approximately 6 cups)
- ½ teaspoon vanilla extract
- 4 ½ cups holiday Rice Krispies cereal
Instructions
- Line an 8×8 or 9×9 inch baking dish with overlapping pieces of parchment paper, cutting to size. Lightly grease the dish before adding parchment to help it stick.
- Melt the butter over medium heat in a large pot. Once melted, add the mini marshmallows and stir to coat.
- Continue stirring until the marshmallows are completely melted and smooth.
- Remove from heat and stir in the vanilla extract.
- Add the holiday Rice Krispies cereal to the marshmallow mixture and gently fold until completely coated.
- Transfer the coated cereal mixture to the prepared baking dish and gently smooth into an even layer. Avoid pressing too firmly to ensure a gooey, not dense, treat.
- Cover the dish and allow the treats to set for at least 1 hour at room temperature. Room temperature cooling is recommended for the best gooey texture.
- Once set, use the parchment paper to lift the treats out, then slice into squares and serve.
- Store in an airtight container at room temperature for up to 3 days, or in the refrigerator for up to 5 days.
Notes
- Microwave Method: For a faster approach, melt butter and marshmallows in a microwave-safe bowl in 30-second intervals, stirring after each. Once melted, stir in vanilla and then the cereal. Transfer to the prepared baking dish.
- Doubling the Recipe: To fill a 9×13 inch baking pan, simply double all the ingredient quantities. Allow 1.5 to 2 hours for cooling a larger batch.
Nutrition Information
Serving: 1g | Calories: 221kcal | Carbohydrates: 38g | Protein: 2g | Fat: 8g | Saturated Fat: 5g | Polyunsaturated Fat: 0.4g | Monounsaturated Fat: 2g | Trans Fat: 0.3g | Cholesterol: 20mg | Sodium: 159mg | Potassium: 22mg | Fiber: 0.1g | Sugar: 20g | Vitamin A: 1165IU | Vitamin C: 9mg | Calcium: 4mg | Iron: 4mg
Please note that some of my blog posts here at Dash for Dinner may contain affiliate links. If you make a purchase through these links, I will get a small commission at no additional cost to you. Please see my Disclaimer for more information.
