Crispy Chickles (Cheese Pickles): Your Ultimate 2-Ingredient Low-Carb Snack!
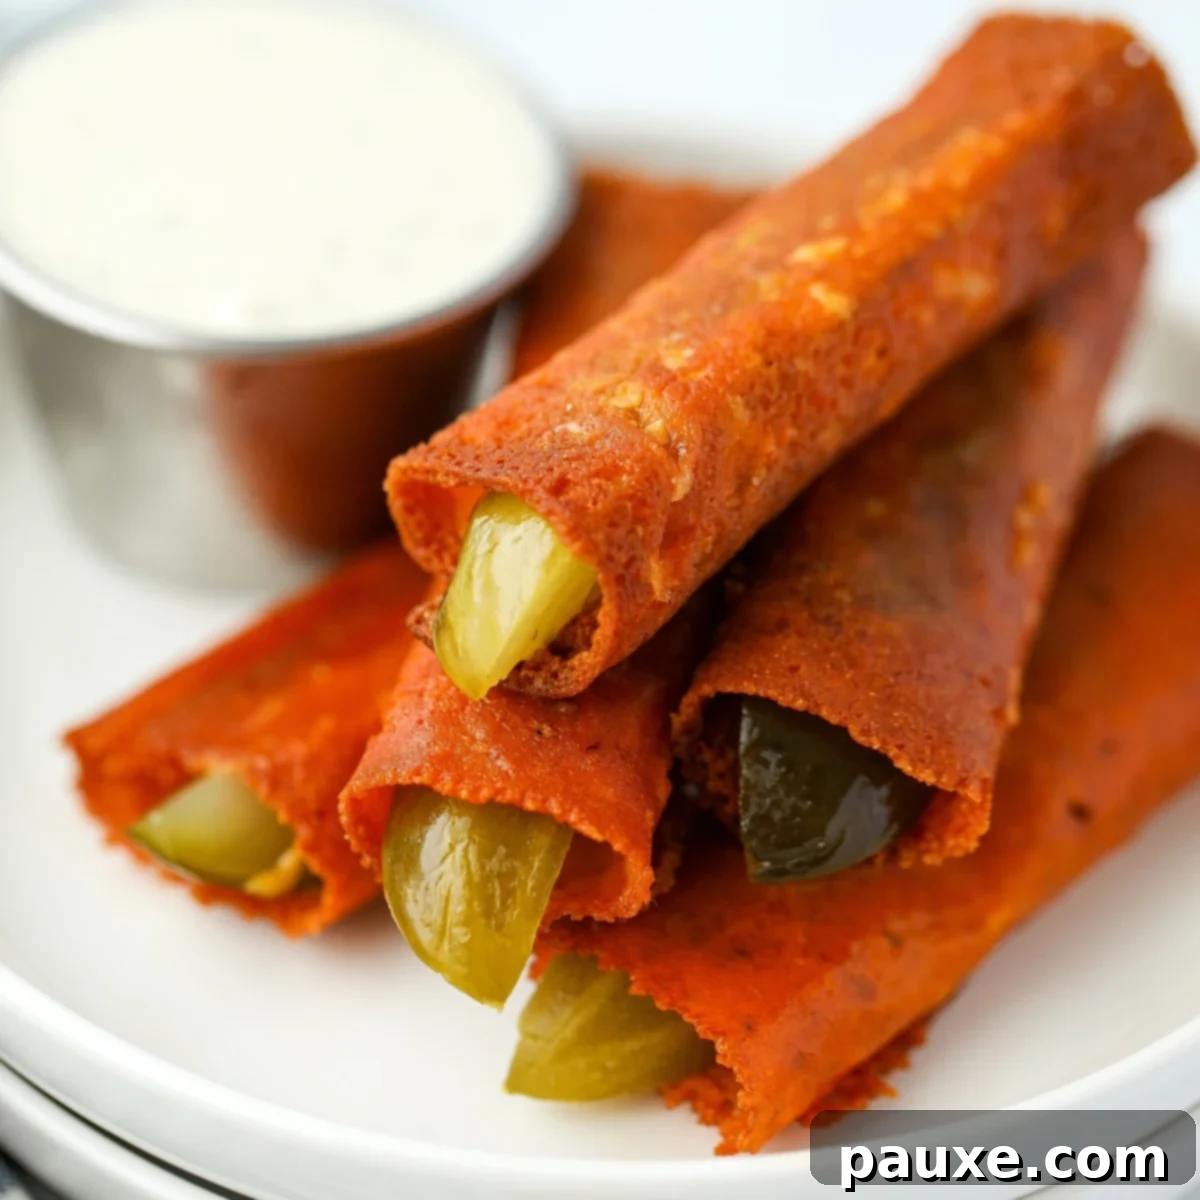
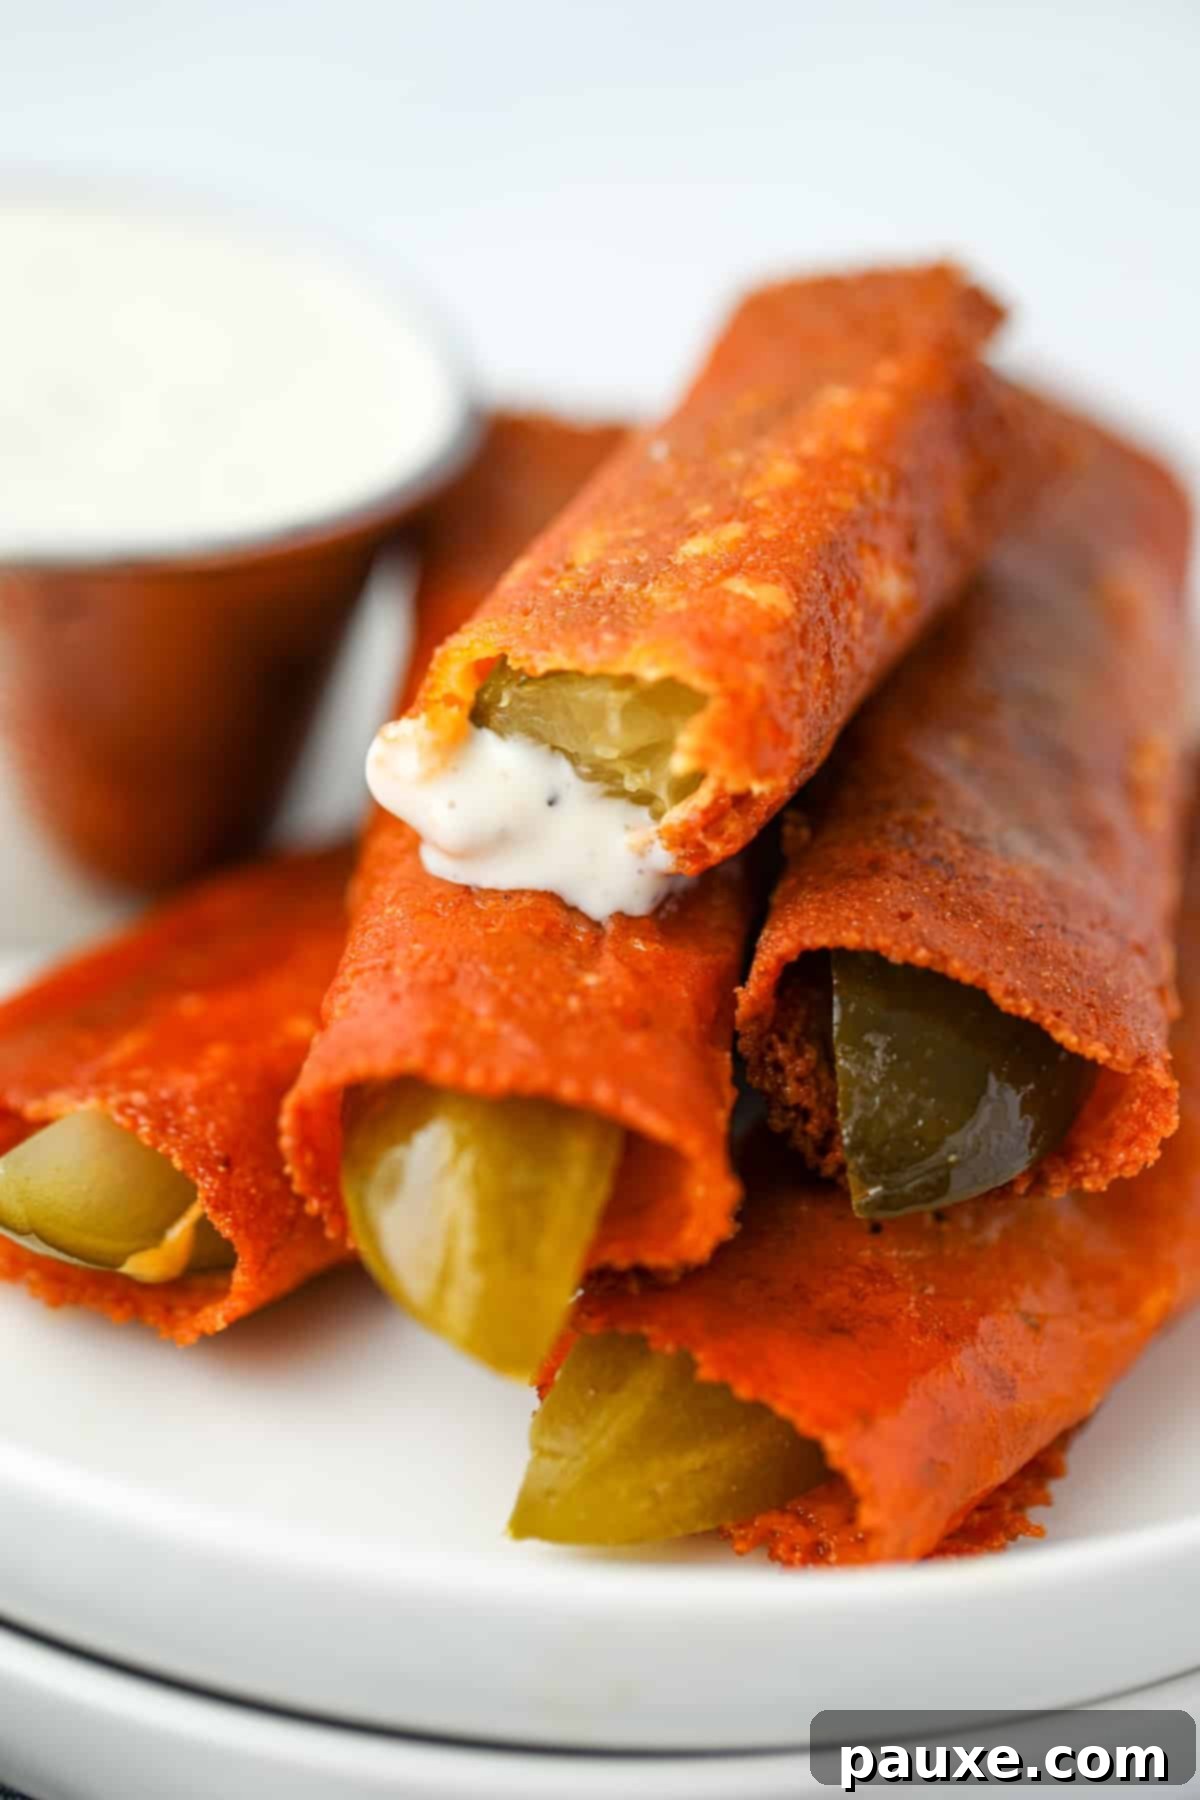
Craving that satisfying crunch but keeping an eye on your carb intake? Look no further! This unbelievably easy recipe for Crispy Chickles, affectionately known as Cheese Pickles, delivers a phenomenal flavor and texture experience with just two simple ingredients: cheese and pickles. Forget deep-fried guilt; these pan-fried beauties offer all the crispy satisfaction of traditional fried pickles without the heavy breading. This makes them the perfect low-carb, high-protein snack for any time of day, and they are absolutely fabulous when dipped into your favorite creamy ranch dressing. Prepare to discover your new go-to snack obsession!
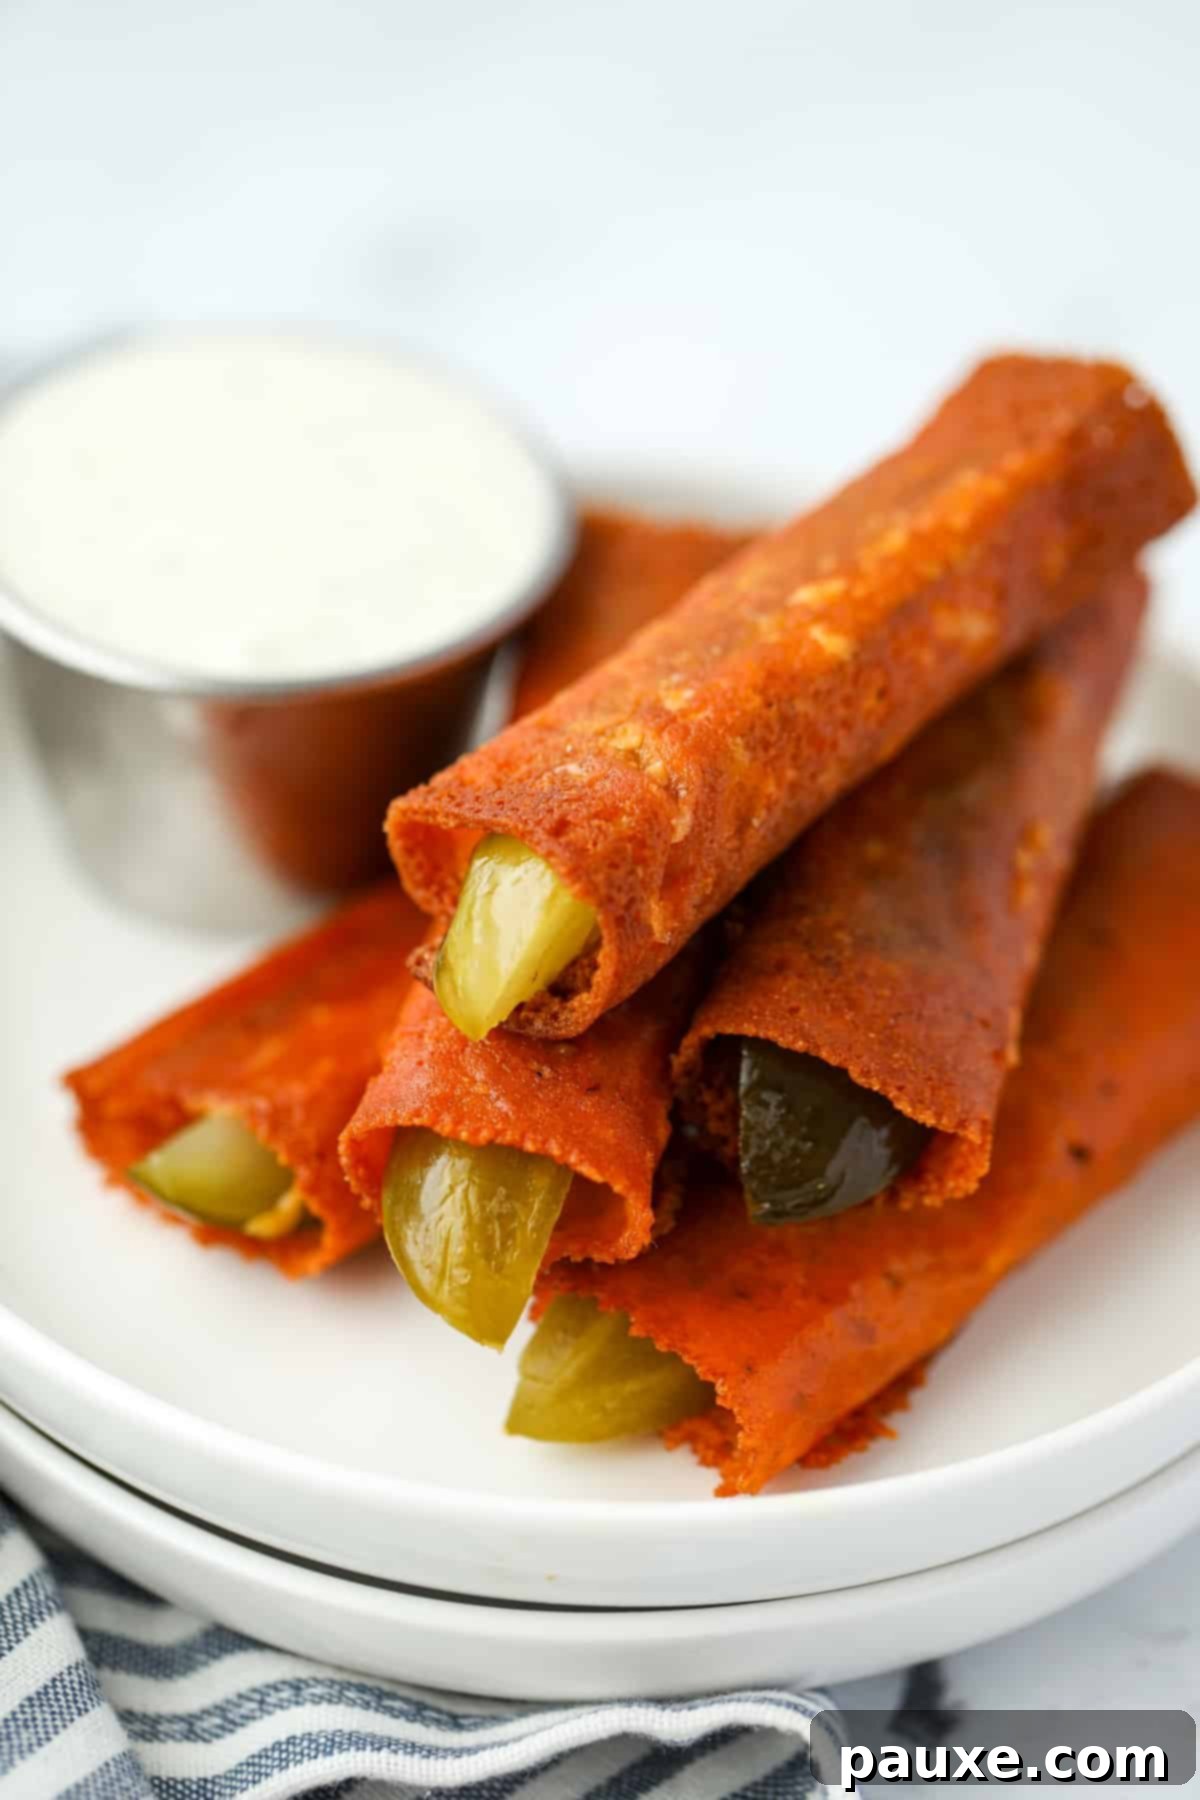
My journey with these delightful fried cheese pickles (AKA chickles) began about a year ago, sparked by a viral sensation on TikTok. The original videos typically showcased shredded cheese being melted in a skillet, then skillfully enveloped around a pickle spear to create a crispy, savory bite. From the very first batch I made, I was utterly hooked, and this snack quickly evolved into a weekly staple in my kitchen.
After much experimentation and countless batches, I discovered that using real cheese slices actually yields the best results. Not only do they crisp up more consistently, but they also offer significantly easier cleanup and a higher success rate compared to shredded cheese. This refined chickle recipe, complete with expert tips and tricks, guarantees you’ll achieve perfect, crispy results every single time, turning this simple idea into a foolproof gourmet snack.
Chickles are more than just a passing trend; they are the ideal solution for anyone seeking a guilt-free, delicious treat. They make a fantastic low-carb, high-protein snack that truly satisfies those cravings for fried foods. Moreover, they serve as a unique and tasty appetizer, or a fun, crunchy accompaniment to meals like grilled cheese and tomato soup, embracing the popular “girl dinner” concept – another TikTok favorite that prioritizes ease and enjoyment.
Why You’ll Fall in Love with Crispy Chickles
These cheese pickles aren’t just easy to make; they’re packed with benefits that make them a standout choice for any snack lover. Their unique combination of flavors and textures, coupled with their simple preparation, makes them incredibly appealing. Here are the top reasons why chickles deserve a permanent spot in your recipe rotation:
Key Benefits & Irresistible Features:
- Effortlessly Easy & Lightning Fast: Each cheese pickle takes only a couple of minutes to cook. From start to finish, you can have a satisfying, crunchy snack in under 5 minutes. This makes them perfect for those sudden hunger pangs or when you need a quick bite without fuss.
- Nutritionally Superior: With approximately 5 grams of protein and just 1 net carb per chickle, they are an excellent option for those following low-carb, ketogenic, or high-protein diets. They help keep you feeling full and energized without the heavy carbohydrates often found in traditional snacks.
- Only 2 Ingredients: Simplicity is key! All you need is a slice of your favorite real cheese and a dill pickle spear. No complicated shopping lists or obscure ingredients required.
- Unforgettable Flavor & Texture: If you adore the savory richness of crispy, golden-brown cheese and the zesty tang of a sour pickle, prepare to be utterly smitten. The contrasting textures of the crunchy cheese and the juicy pickle create a truly addictive eating experience that’s both familiar and exciting.
- Incredibly Versatile: While fantastic on their own, chickles are also a superb appetizer for entertaining, a creative side dish, or a fun component in a customizable snack board. They pair wonderfully with a variety of dips and can complement many meal types.
Gather Your Simple Ingredients & Essential Kitchen Tools
The beauty of this recipe lies in its minimalist approach. You won’t need a pantry full of exotic spices or specialized equipment. Just a couple of readily available staples and basic kitchen tools are all it takes to whip up these irresistible cheese pickles.
What You’ll Need:
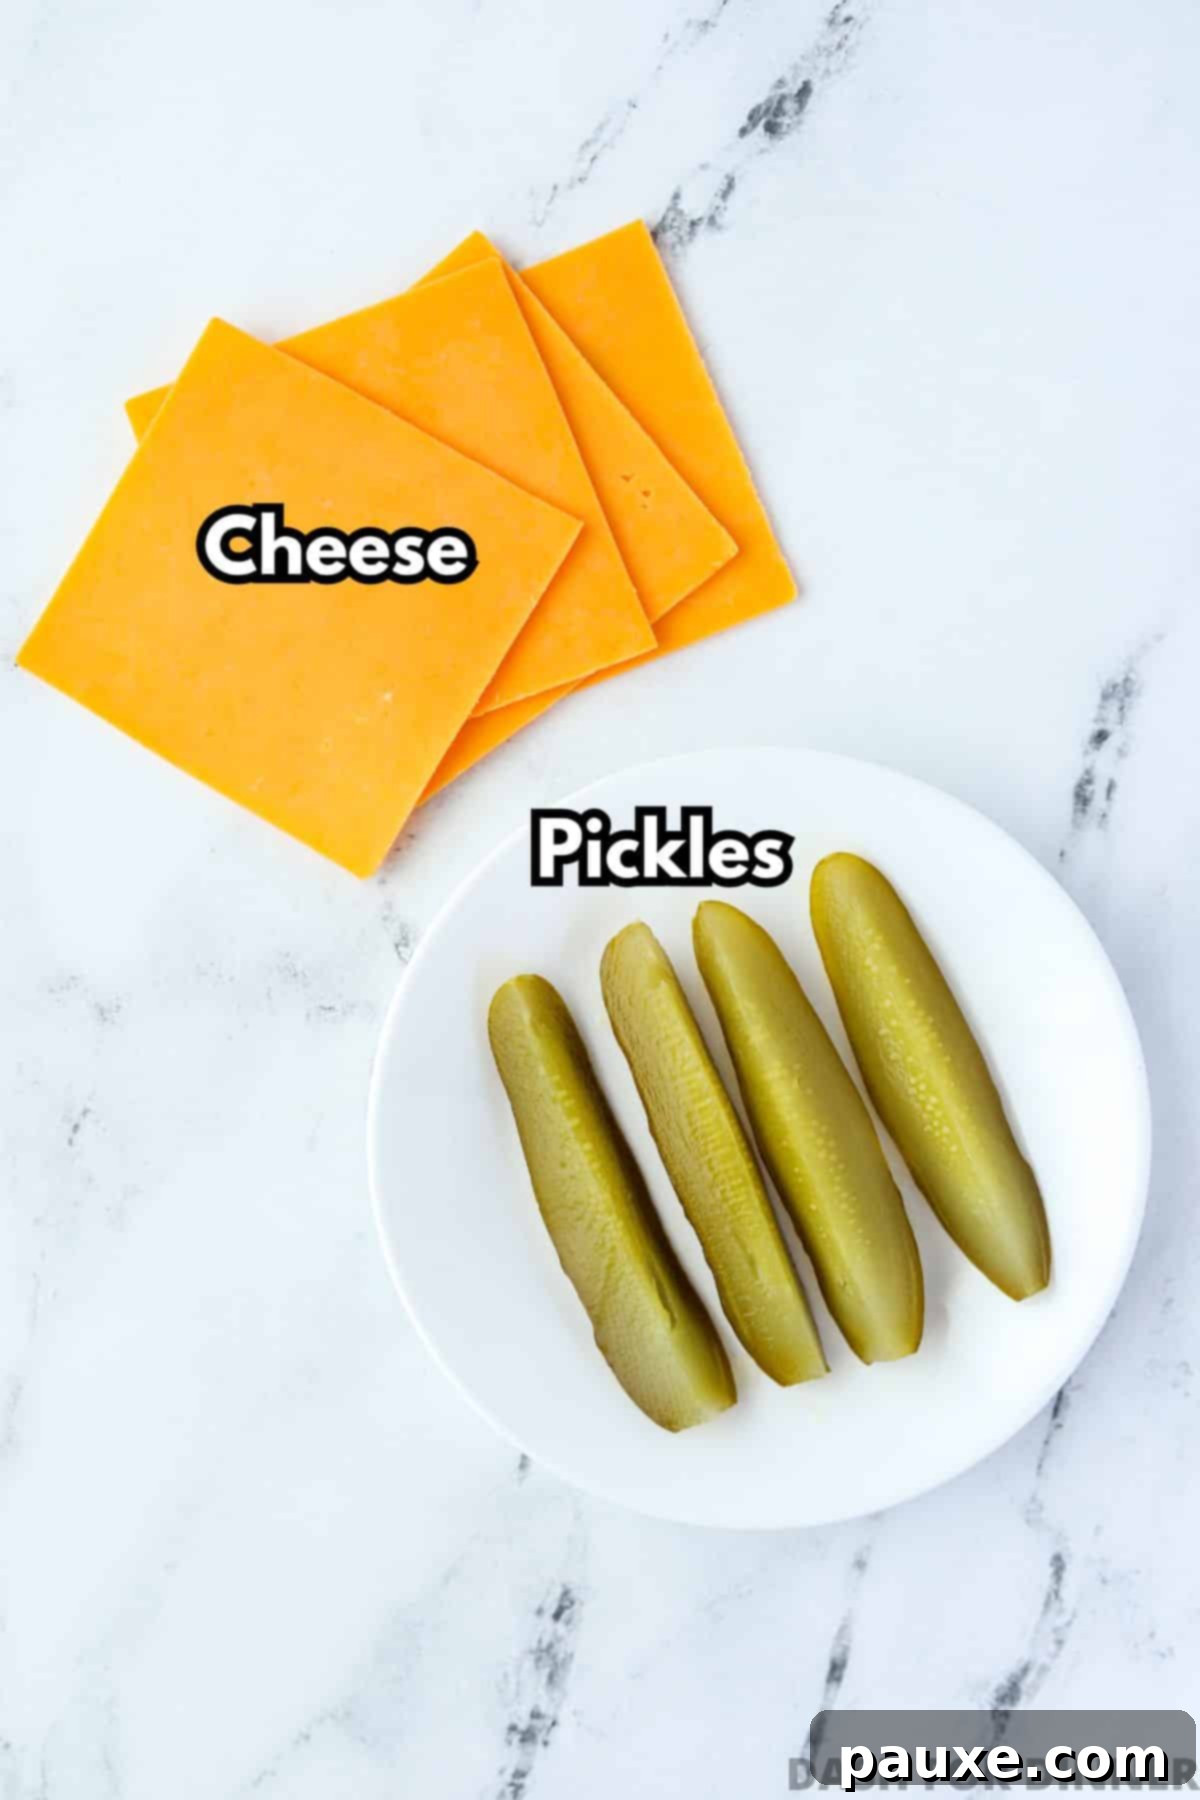
- Cheese Slices: For optimal results and the easiest cooking experience, I strongly recommend using real cheese slices. Varieties like cheddar, Monterey Jack, or marble cheese work exceptionally well as they crisp up nicely without excessive sticking to the pan, and they offer a robust, delicious flavor. It’s best to avoid processed American cheese slices, as their melting properties differ, often resulting in a greasier, less crispy outcome. If you only have shredded cheese, it can work; just be sure to arrange it in a single, even, square layer in your hot skillet.
- Dill Pickles: Crisp dill pickle spears are the ideal choice for this recipe. Their elongated shape and substantial size provide the perfect cheese-to-pickle ratio, making them easy to wrap and giving you a satisfying bite that’s pretty similar to classic fried pickles. If you prefer a smaller, more snackable format, you could experiment with dill pickle chips or thicker slices, ensuring they are well-drained.
Essential Tools & Equipment:
- Non-stick Skillet (or Well-Seasoned Cast Iron): A good quality non-stick skillet is paramount for preventing the cheese from adhering and ensuring easy release. Alternatively, a meticulously seasoned cast iron skillet can also work wonderfully, providing excellent, even heat distribution for consistent crisping.
- Thin-Edged Turner or Spatula: A spatula with a thin, flexible edge is your most valuable tool for this recipe. It allows you to gently slide underneath the crispy cheese to loosen it from the pan and then deftly roll it around the pickle. A metal spatula is often preferred for its thinness and rigidity.
Mastering the Art of Making Cheese-Wrapped Pickles (Chickles)
Creating these crispy cheese pickles is surprisingly straightforward and incredibly rewarding. Follow these detailed steps for perfect results every time, transforming simple ingredients into a gourmet snack that’s ready in minutes.
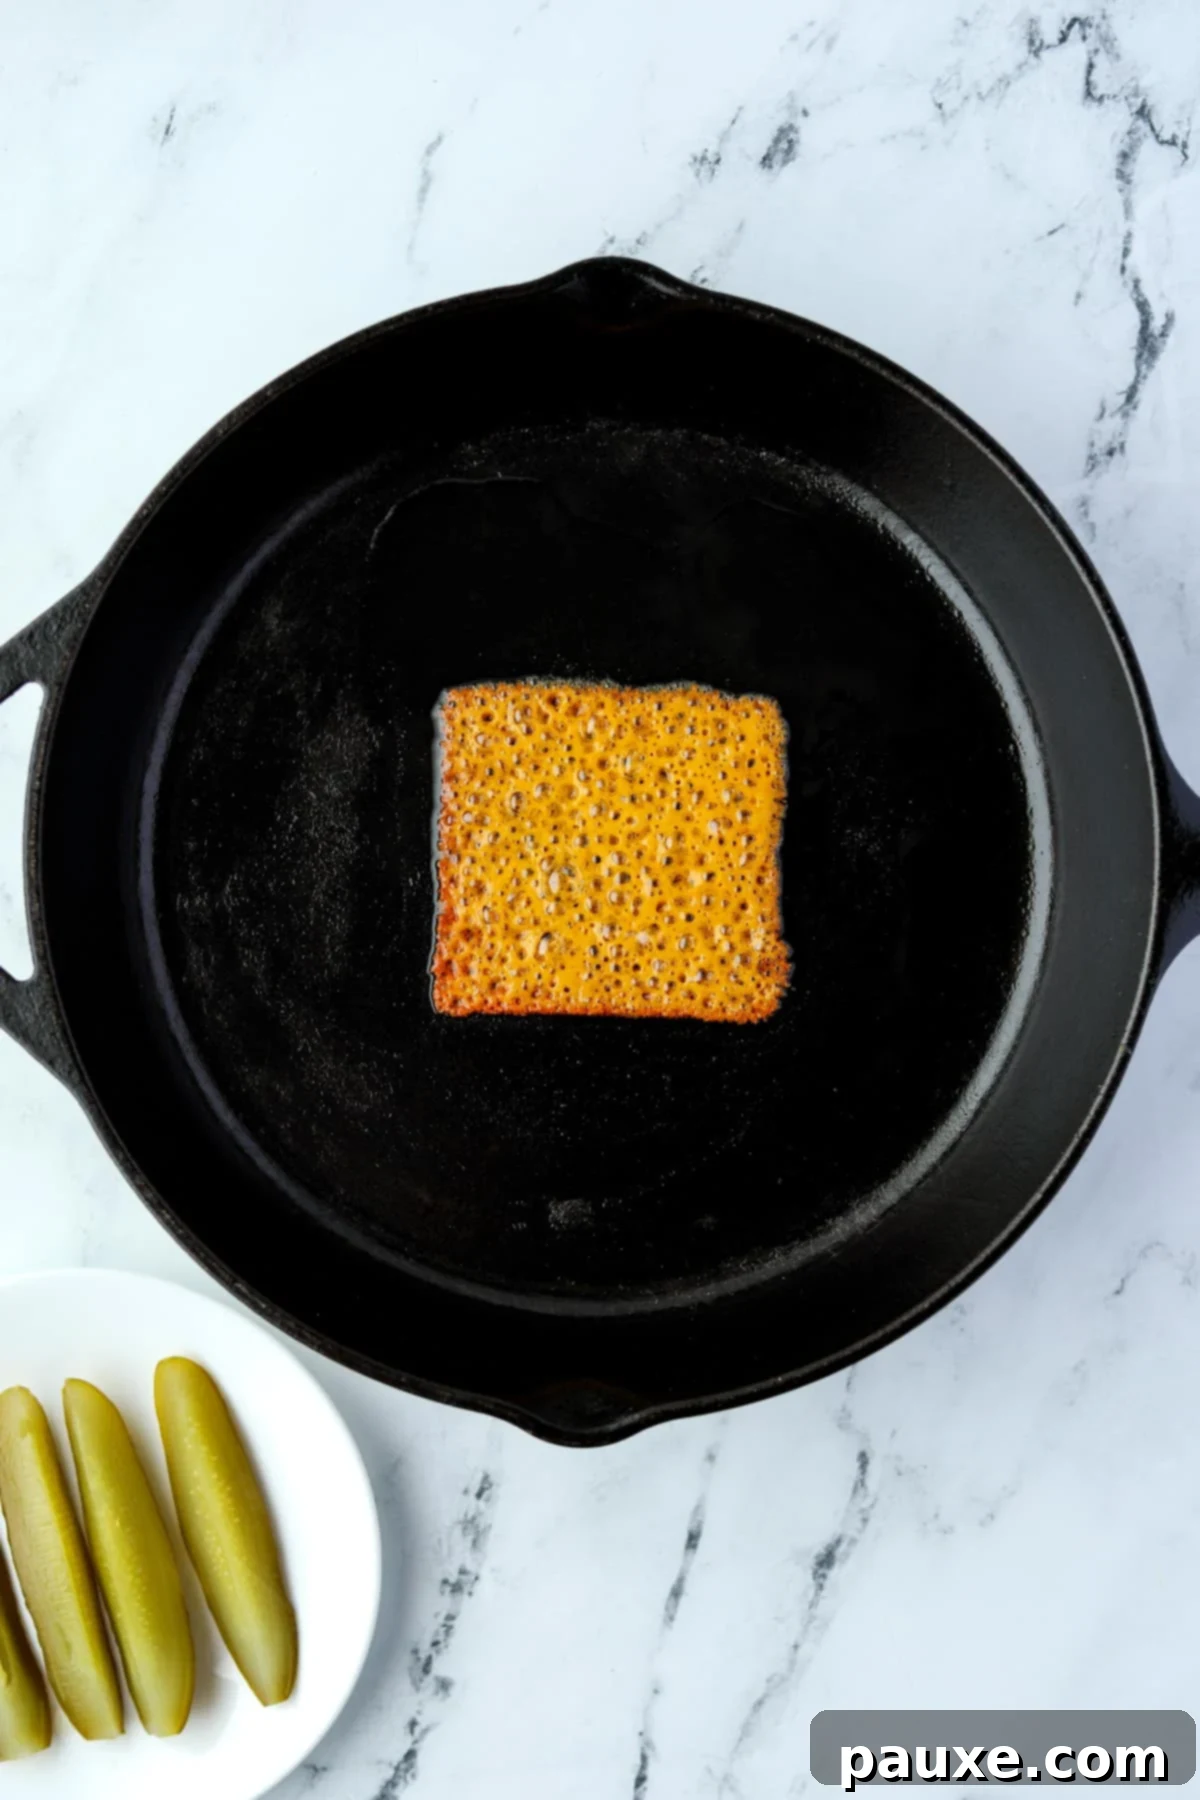
- Preheat Your Skillet: Begin by placing a heavy-bottomed non-stick skillet (or a well-seasoned cast iron skillet) over medium heat. Allow it to preheat for several minutes until it’s consistently hot. This initial heat is absolutely crucial for preventing the cheese from sticking and ensuring it crisps beautifully.
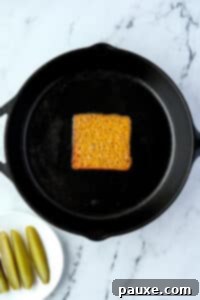
- Add the Cheese Slice: Once the skillet is adequately hot and radiating heat, carefully place a single slice of cheese directly in the center of the pan. Resist the urge to move it immediately.
Pro Tip for Shredded Cheese: If you opt to use shredded cheese, arrange it into an even, approximately square-shaped layer in the center of the preheated pan. This meticulous arrangement helps ensure uniform crisping and makes it significantly easier to wrap around the pickle spear later.
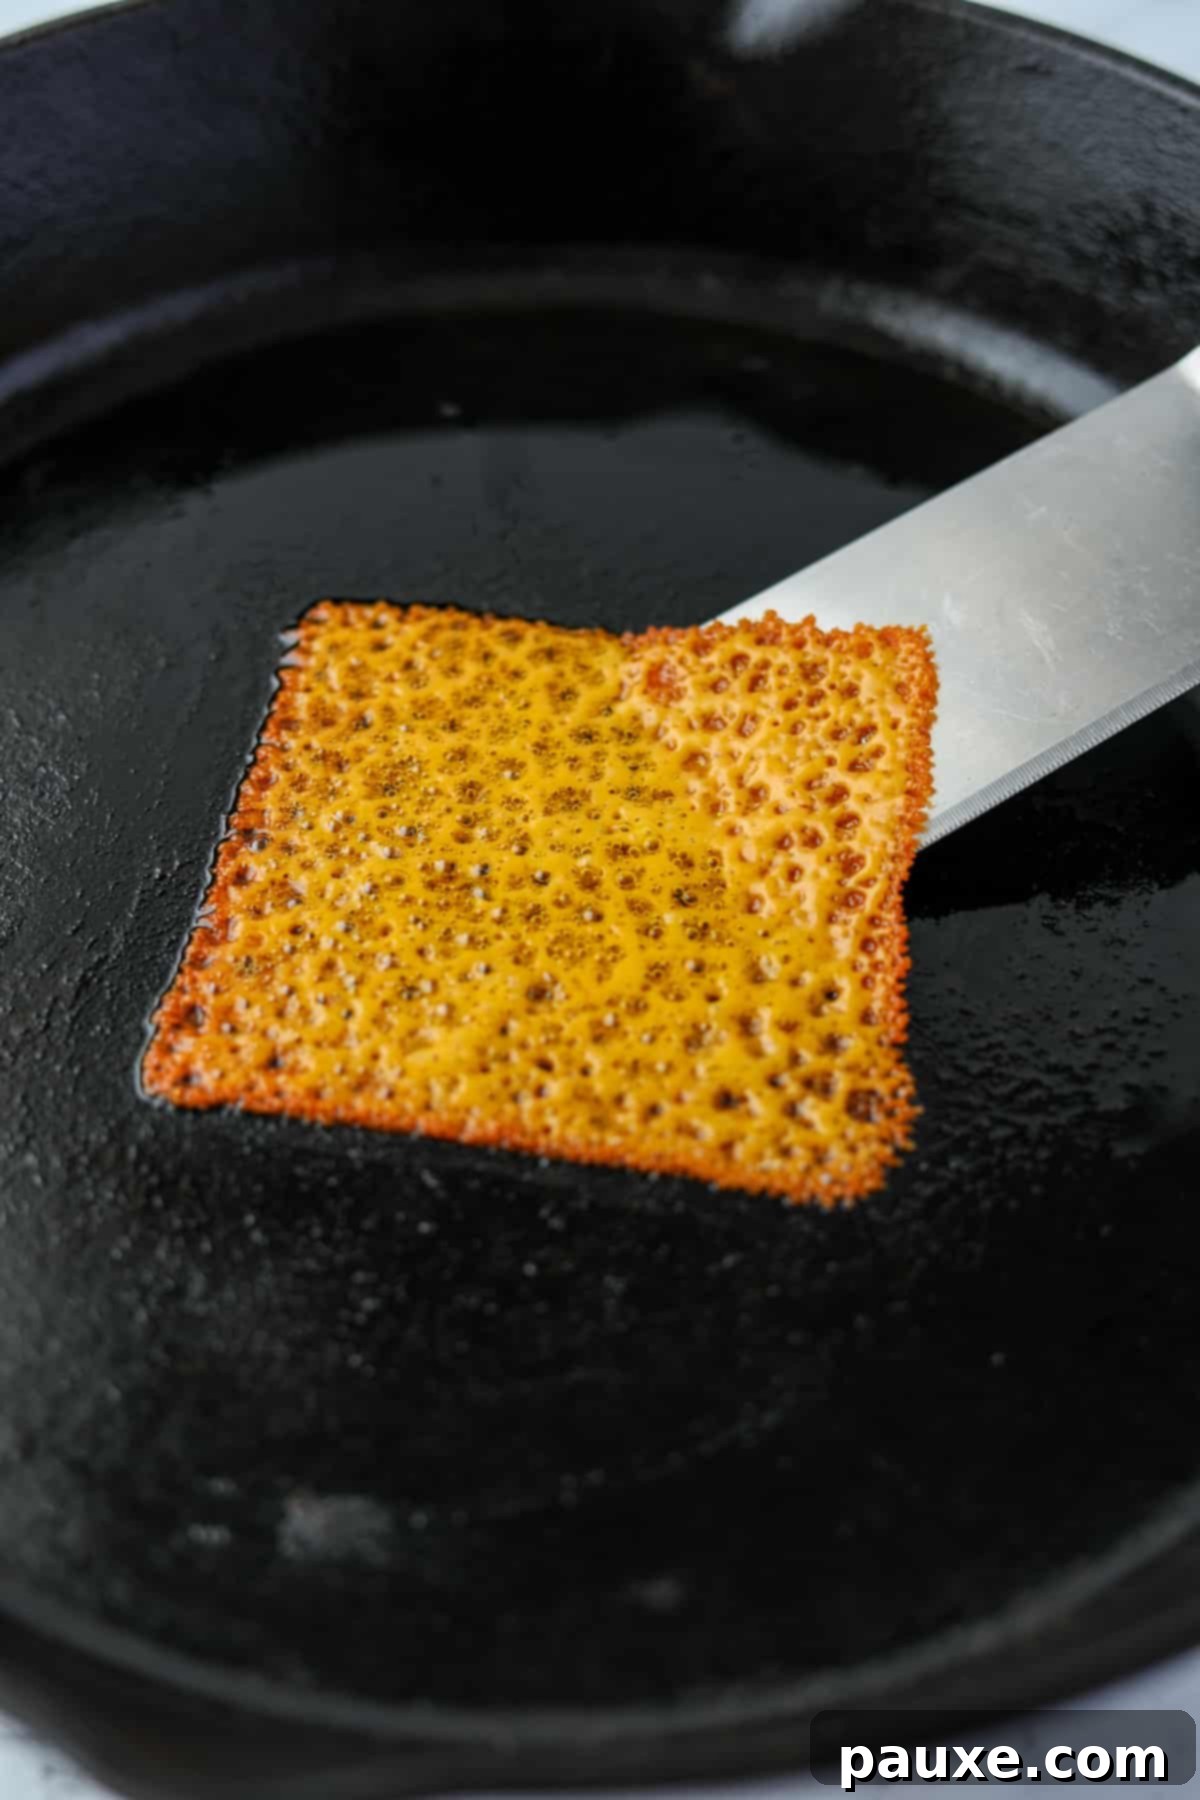
- Melt, Bubble, and Crisp: Allow the cheese to melt fully, bubble actively, and begin to cook undisturbed. You’ll notice it starting to brown and crisp beautifully around the edges. This golden-brown coloration is your signal that the cheese is forming that desirable crunchy texture.
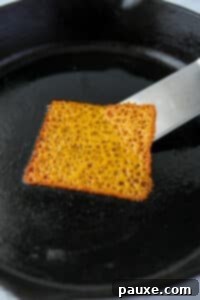
- Loosen the Edges: Once the edges are distinctly golden brown and crispy (this usually takes about 1-2 minutes, but watch closely as cook times can vary), use your thin-edged spatula to gently slide underneath the entire cheese slice, carefully loosening it from the pan. This step is vital to prevent any sticking and to prepare the cheese for wrapping.
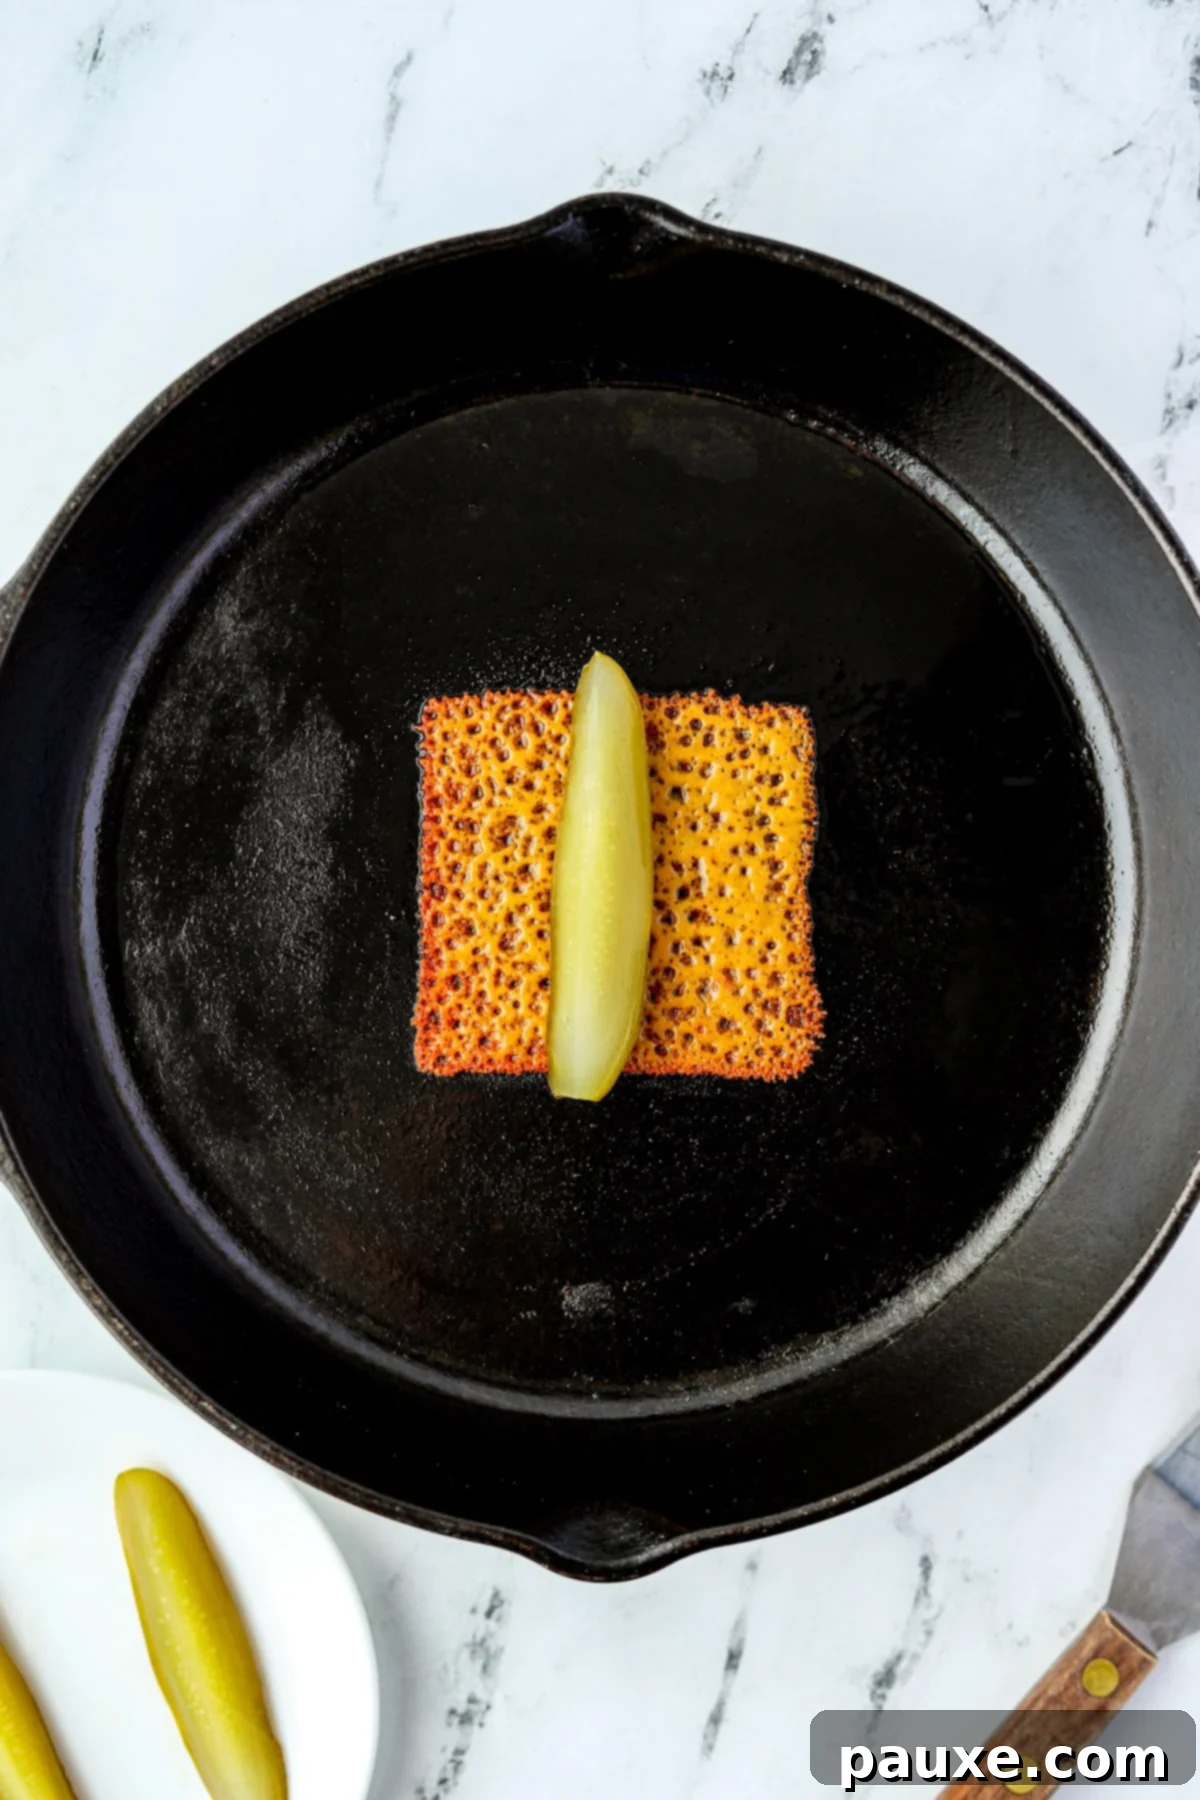
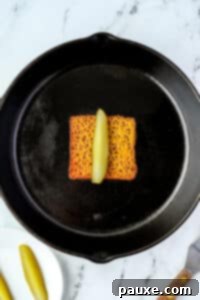
- Place the Pickle: Immediately after loosening the cheese, place a single, well-drained dill pickle spear squarely in the center of the crispy cheese slice. Ensuring it’s centered will allow for even and neat wrapping.
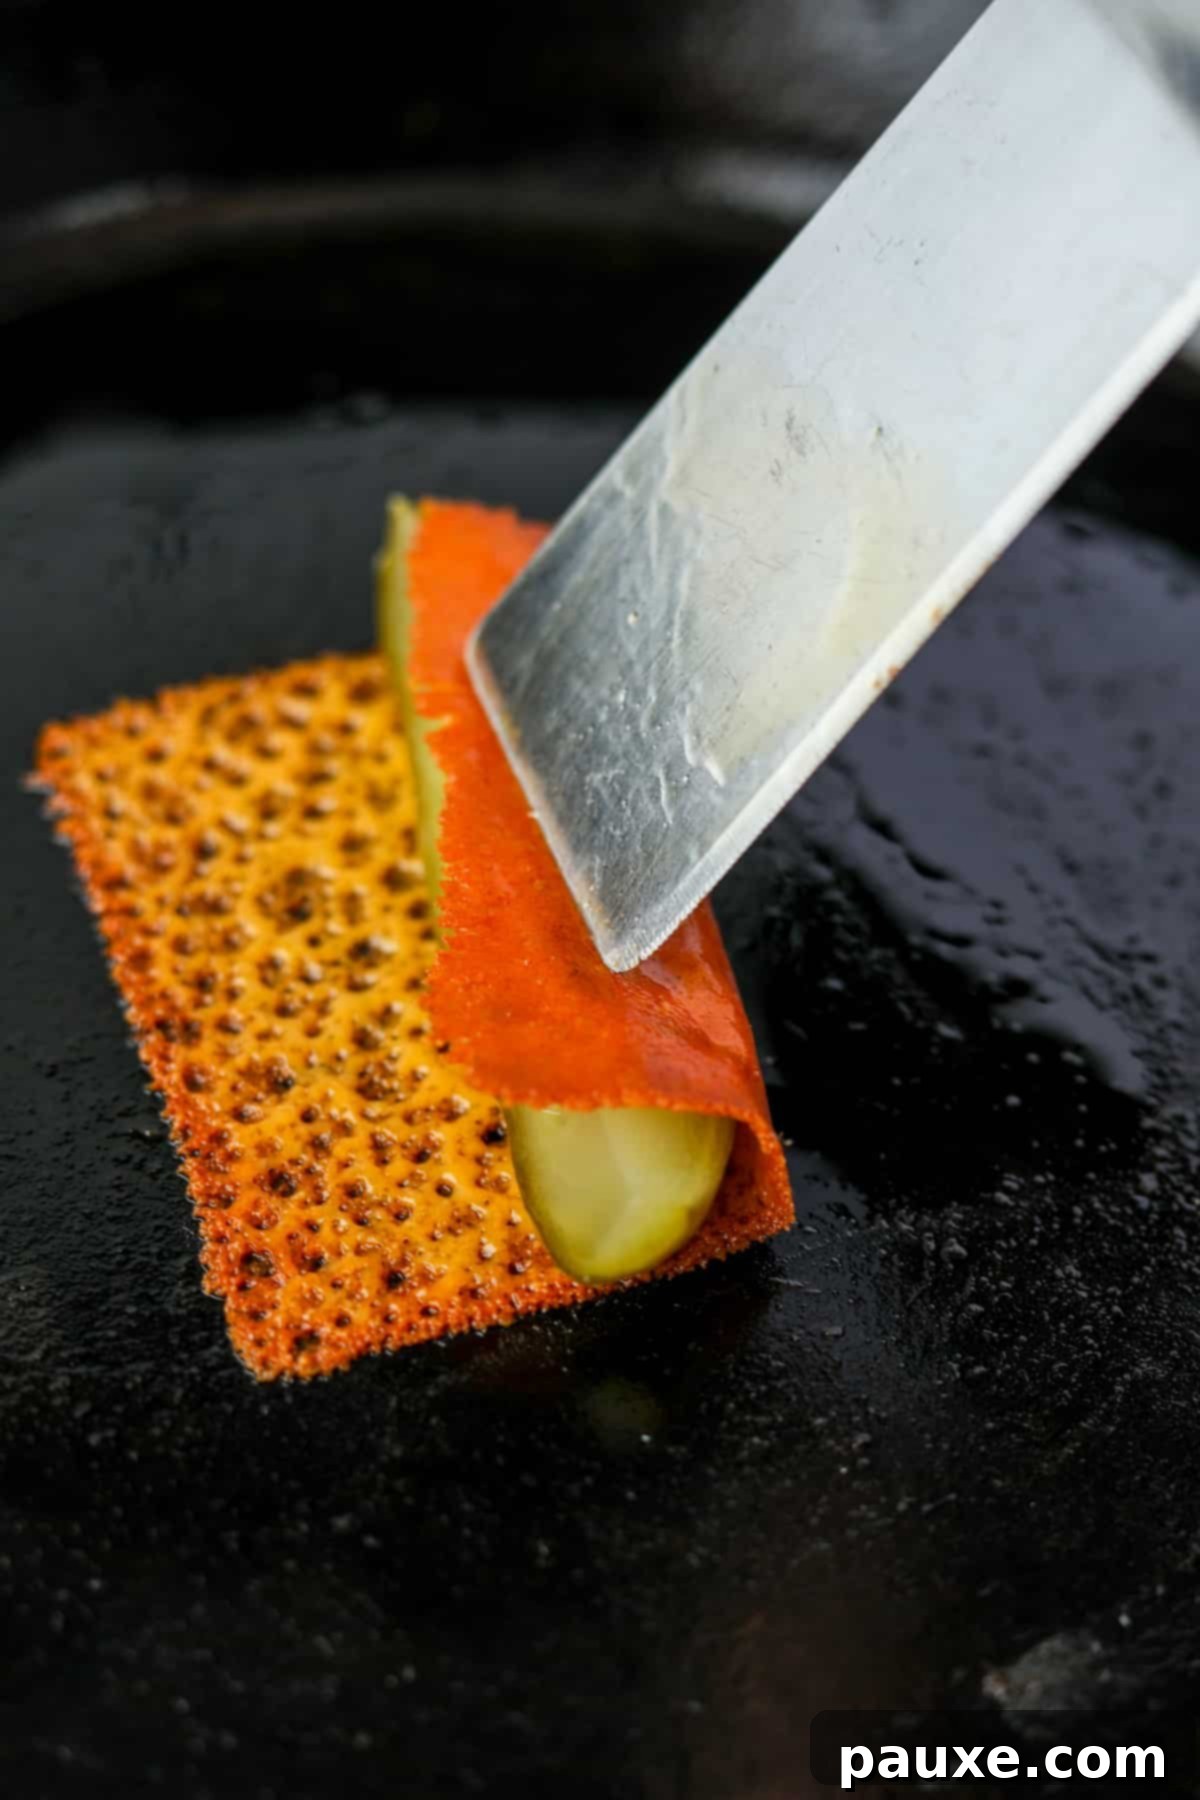
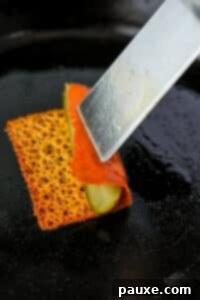
- Wrap the Pickle: Using your thin spatula, gently lift one side of the crispy cheese and fold or roll it over the pickle spear in the center. Continue rolling the pickle until it is completely enveloped by the golden-brown cheese. The cheese will still be warm and pliable enough to form a snug wrap around the pickle.
- Remove and Drain: Carefully remove the finished chickle from the skillet using your spatula. If desired, you can place it on a paper towel-lined plate to absorb any excess grease, though with proper non-stick technique, this step might not be heavily needed.
- Repeat for More: Continue this process, making one or two chickles at a time to maintain optimal control and heat. Repeat until you have achieved your desired quantity of these hot, fresh, and delightful treats!
Serving Suggestions & Delightful Pairings
Once your irresistible chickles are hot, crispy, and ready, it’s time to enjoy them! While they are incredibly delicious on their own, a good dipping sauce can elevate the experience even further, adding another layer of flavor and texture.
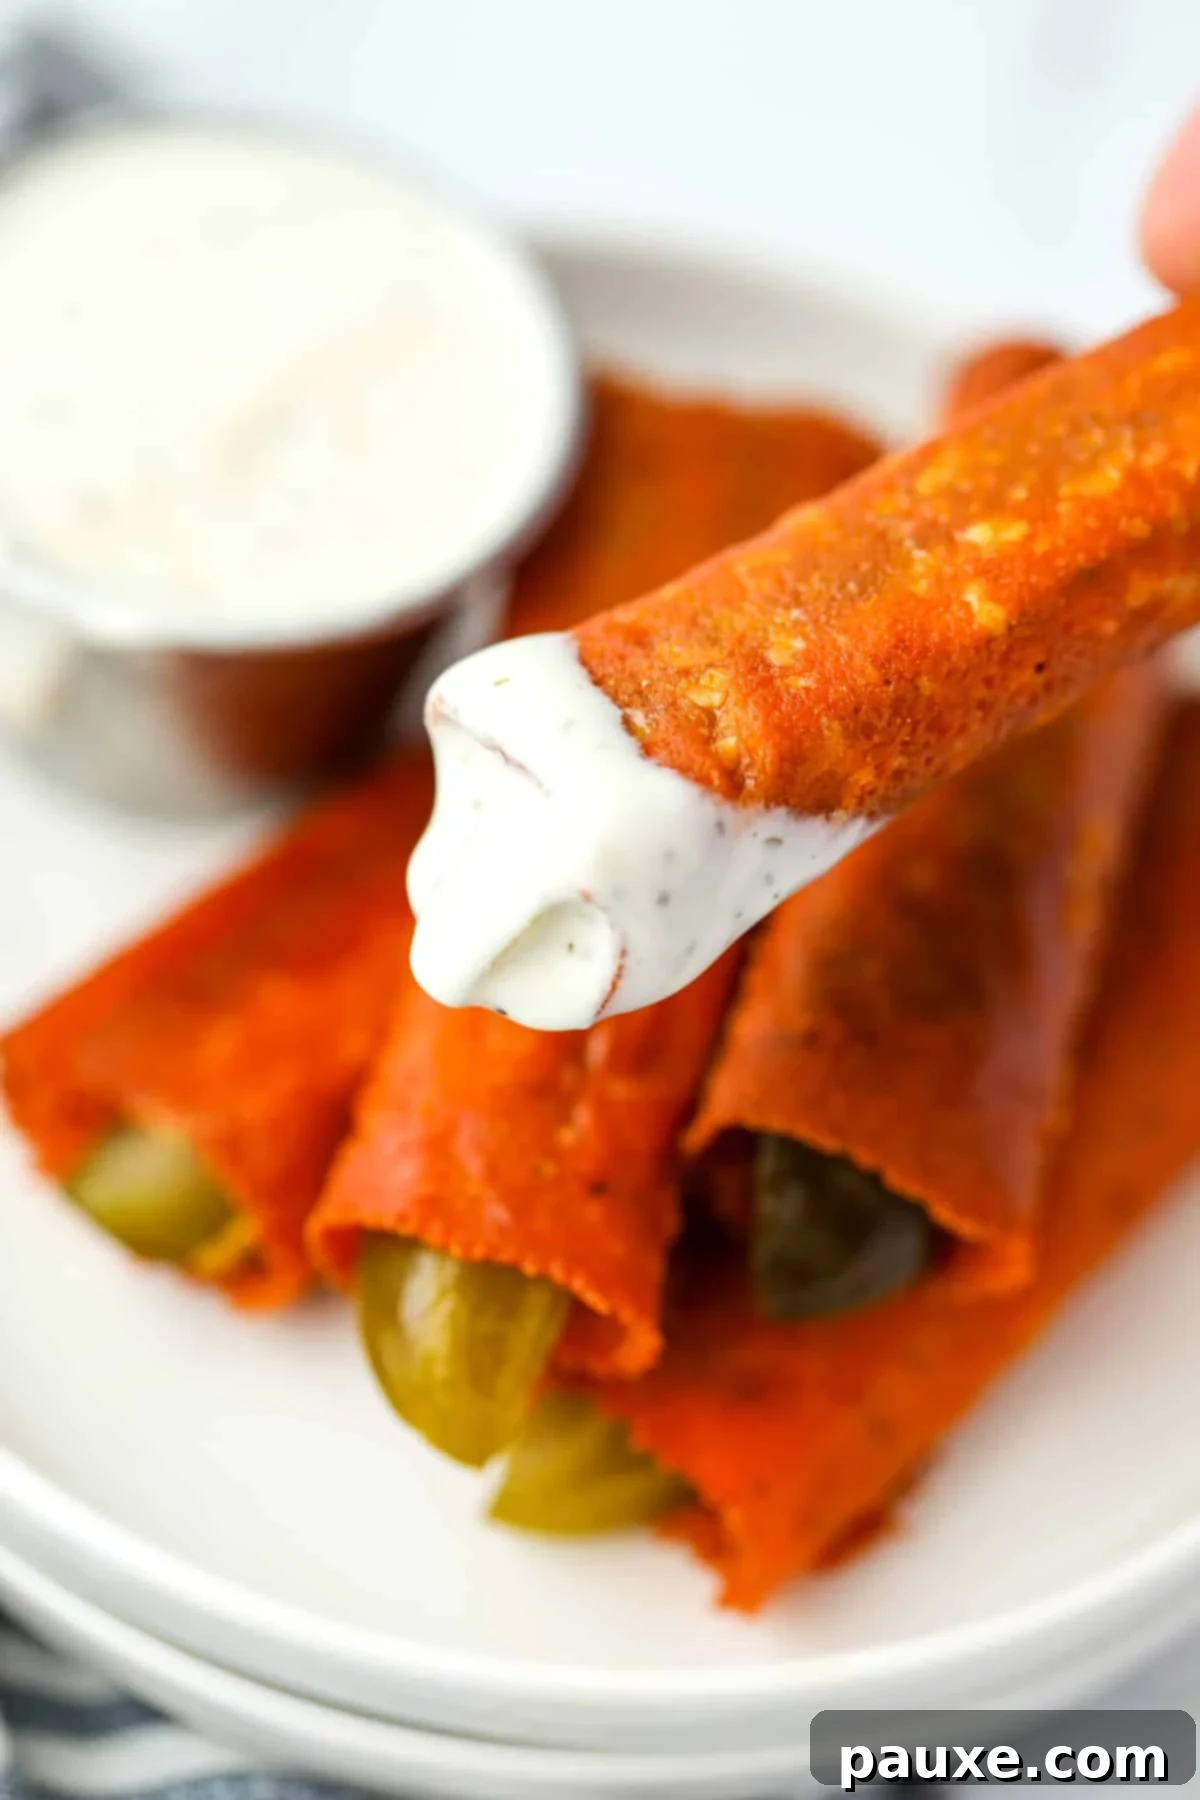
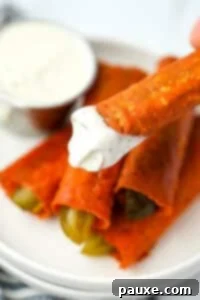
My top recommendation for dipping is a high-quality ranch dressing or a rich, homemade ranch dip. The cool, creamy tang of ranch dressing provides a perfect contrast and complement to the savory crunch of the crispy cheese and the zesty bite of the pickle. However, don’t hesitate to experiment with other fantastic dipping options to suit your personal preferences:
- Spicy sriracha mayo for a zesty kick
- Sweet and tangy honey mustard
- Cool and refreshing cucumber dill sauce
- Classic ketchup for a timeless pairing
- Creamy blue cheese dressing for a bold flavor
Chickles are also incredibly versatile and can be incorporated into a larger meal or snack spread with ease. Consider serving them:
- As a unique and impressive low-carb appetizer for gatherings and parties.
- Alongside a comforting classic like grilled cheese and a hearty bowl of tomato soup for an elevated, satisfying meal.
- As a fun, customizable component of a “girl dinner” or a creative charcuterie board.
- A quick, fulfilling component of a packed lunch for work or school.
- With other crunchy snacks for a delightful textural medley.
More Easy Low-Carb Snack Ideas to Explore:
If you’re loving the simplicity and health benefits of chickles, you’ll surely enjoy these other fantastic low-carb snack recipes:
- Crispy Air Fryer Pepperoni Chips
- Homemade Parmesan Crisps (Our Favorite Whisps Copycat Recipe)
- Savory Air Fryer Paneer Cubes
Storing Leftovers & Reheating for Best Results
While chickles are undeniably at their absolute best when enjoyed fresh off the skillet, you can certainly store any leftovers for later. Simply place them in an airtight container and refrigerate for up to 2-3 days. It’s important to note, however, that the moisture from the pickles will likely soften the cheese over time, so they won’t retain their initial crispiness as perfectly.
- Reheating for Crispness: To revive some of that wonderful crisp texture, the best method is to reheat your chickles in a preheated oven at 350ºF (175ºC) or in an air fryer at 325ºF (160ºC). Heat them for a few minutes until they are thoroughly warmed through and the cheese begins to crisp up once again. Avoid using the microwave, as this will invariably make them rubbery and soggy, losing all their appealing texture.
Expert Tips for Perfectly Crispy Chickles Every Single Time
Achieving chickle perfection is simpler than you might think, but a few insider tricks can make all the difference. These tips, honed over countless batches, will ensure your cheese pickles are consistently golden, wonderfully crispy, and unbelievably delicious, guaranteeing success even for first-time makers.
- Work in Small Batches: To maintain optimal control over the cooking process and ensure even crisping, I highly recommend making chickles one or two at a time. Attempting to manage too many melting cheese slices simultaneously can lead to uneven cooking, burning, or frustrating sticking. This methodical approach guarantees a perfect, golden-brown result for each individual chickle.
- Proper Skillet Preheat is Paramount: This is arguably the most critical tip for chickle success. A properly preheated skillet prevents the cheese from sticking and actively encourages it to crisp up beautifully. Heat your non-stick or cast iron skillet over medium heat for several minutes until you can distinctly feel heat radiating when you hold your hand an inch or two above the surface. Don’t rush this step!
- Opt for Real, Non-Processed Cheese: For the best texture and flavor, always steer clear of highly processed options like individual American cheese slices. Their unique melting properties often result in a greasy, less satisfyingly crispy outcome. Instead, choose “real” cheeses such as sharp cheddar, creamy Monterey Jack, or a visually appealing marble cheese. Provolone can also work wonderfully, offering a milder flavor. Experiment with different varieties to discover your personal favorite!
- Pat Your Pickles Thoroughly Dry: Excessive moisture from the pickle spears can significantly hinder the cheese from crisping properly. Before placing your pickle spear on the melted cheese, take a moment to gently pat it dry with a paper towel. This seemingly small step can make a substantial difference, leading to a much crispier and more enjoyable chickle.
- Utilize a Thin Metal Spatula: A metal spatula with a thin, flexible edge (and ideally a shorter handle for precise control) is an invaluable tool for this recipe. Its slim profile allows you to easily slide underneath the delicate, crispy edges of the cheese without tearing it. This makes both loosening the cooked cheese and deftly rolling it around the pickle far easier and more efficient.
- Consider Adding Extra Seasoning to the Cheese: For an extra boost of flavor, you can lightly sprinkle the cheese slice with a pinch of garlic powder, onion powder, a dash of smoked paprika, or even a generous sprinkle of your favorite everything bagel seasoning *before* it begins to melt in the skillet. This adds another layer of deliciousness and customization to your chickles.
Explore More Delicious Low-Carb Delights
If you’re thoroughly enjoying the low-carb lifestyle and are on the hunt for more delicious, health-conscious recipes that don’t compromise on flavor, then you’ve come to the right place! Check out these other fantastic favorites from our expanding collection:
- Chicken Diane
- Inside Out Egg Roll in a Bowl
- Creamy Spinach and Mushroom Chicken
- John Wayne Casserole
If you’ve enjoyed this incredible recipe for Chickles (AKA Cheesy Pickles), please consider leaving a 5-star review in the recipe card below or dropping a comment! Your feedback truly helps our community. Don’t forget to share your delicious creations on Instagram by tagging @dashfordinner. We love seeing your culinary adventures!
Chickles (Cheese Pickles)
Print
Pin
Rate
Appetizer, Snack, Snacks
American
2
2
4
1
serving
74
kcal
Dorothy Bigelow
Ingredients
-
1
slice
cheese
cheddar, monterey Jack, marble, etc. (Do not use American cheese) -
1
dill pickle spear
Instructions
- Heat a large non-stick skillet (or well seasoned cast iron) over medium heat.
- Once the pan radiates heat, place the cheese slice in the center of the pan.

- The cheese slice will bubble up and melt. Do not attempt to touch it until the edges begin to brown and the bottom crisps up.
- Once the edges of the cheese brown (about 1-2 minutes), slide a thin spatula around the edges of the cheese to loosen it from the pan.

- Place a single pickle spear in the center of the melted cheese square.

- Use the spatula to roll one half of the cheese on top of the pickle spear, then continue to roll the pickle so that it becomes wrapped in the fried cheese.

- Remove from the skillet. If desired, drain the excess grease on a paper towel lined plate.
- Repeat with the desired amount of cheese and pickles.
- Serve with ranch dressing (or your favorite dipping sauce) and enjoy!

Did you try this recipe?
Tag me at @dashfordinner and share your photos!
Notes
Using Shredded Cheese: This recipe can indeed be made with shredded cheese. When doing so, ensure you press it into a single, even layer in a square shape in the pan, roughly the length of your pickle spear, to facilitate even crisping and easy wrapping.
Nutrition
Calories:
74
kcal
|
Carbohydrates:
2
g
|
Protein:
5
g
|
Fat:
5
g
|
Saturated Fat:
3
g
|
Polyunsaturated Fat:
0.2
g
|
Monounsaturated Fat:
1
g
|
Cholesterol:
13
mg
|
Sodium:
663
mg
|
Potassium:
99
mg
|
Fiber:
1
g
|
Sugar:
1
g
|
Vitamin A:
286
IU
|
Vitamin C:
1
mg
|
Calcium:
179
mg
|
Iron:
0.3
mg
Please note that some of my blog posts here at Dash for Dinner may contain affiliate links. If you make a purchase through these links, I will get a small commission at no additional cost to you. Please see my Disclaimer for more information.
