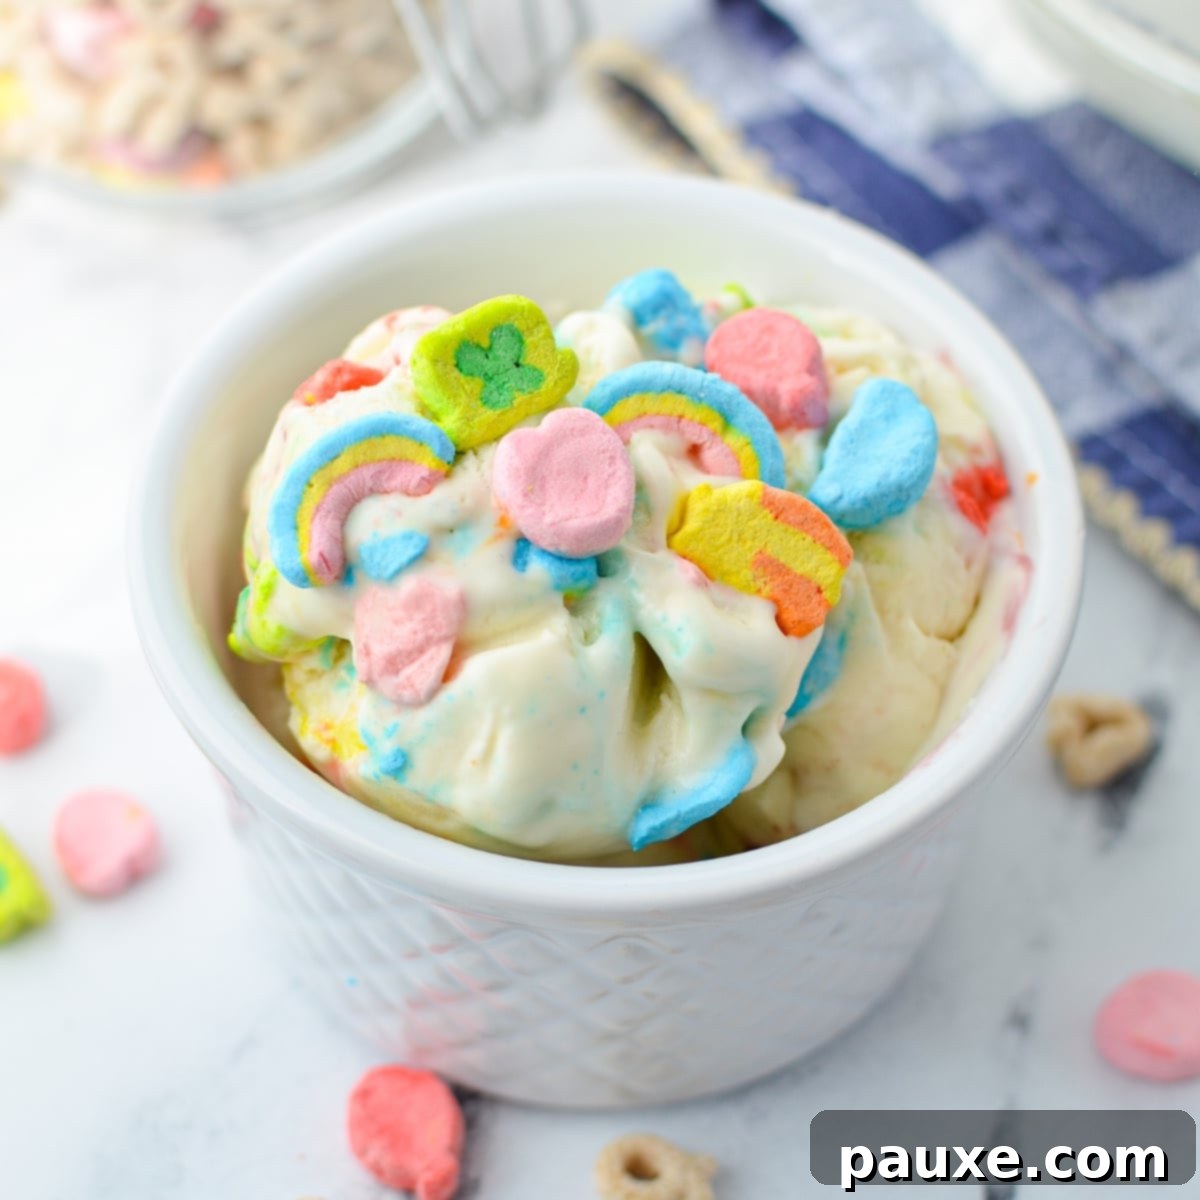
Unlock a world of magical flavor with this incredibly easy recipe for No-Churn Lucky Charms Ice Cream! Forget the need for a bulky ice cream maker; this enchanting dessert comes together with just four simple ingredients. Dive into a creamy, dreamy base that tastes exactly like authentic cereal milk, then discover a delightful explosion of vibrant Lucky Charms marshmallows in every scoop. It’s the ultimate homemade sweet treat, perfect for celebrating St. Patrick’s Day or simply adding a touch of whimsy to any day of the year.
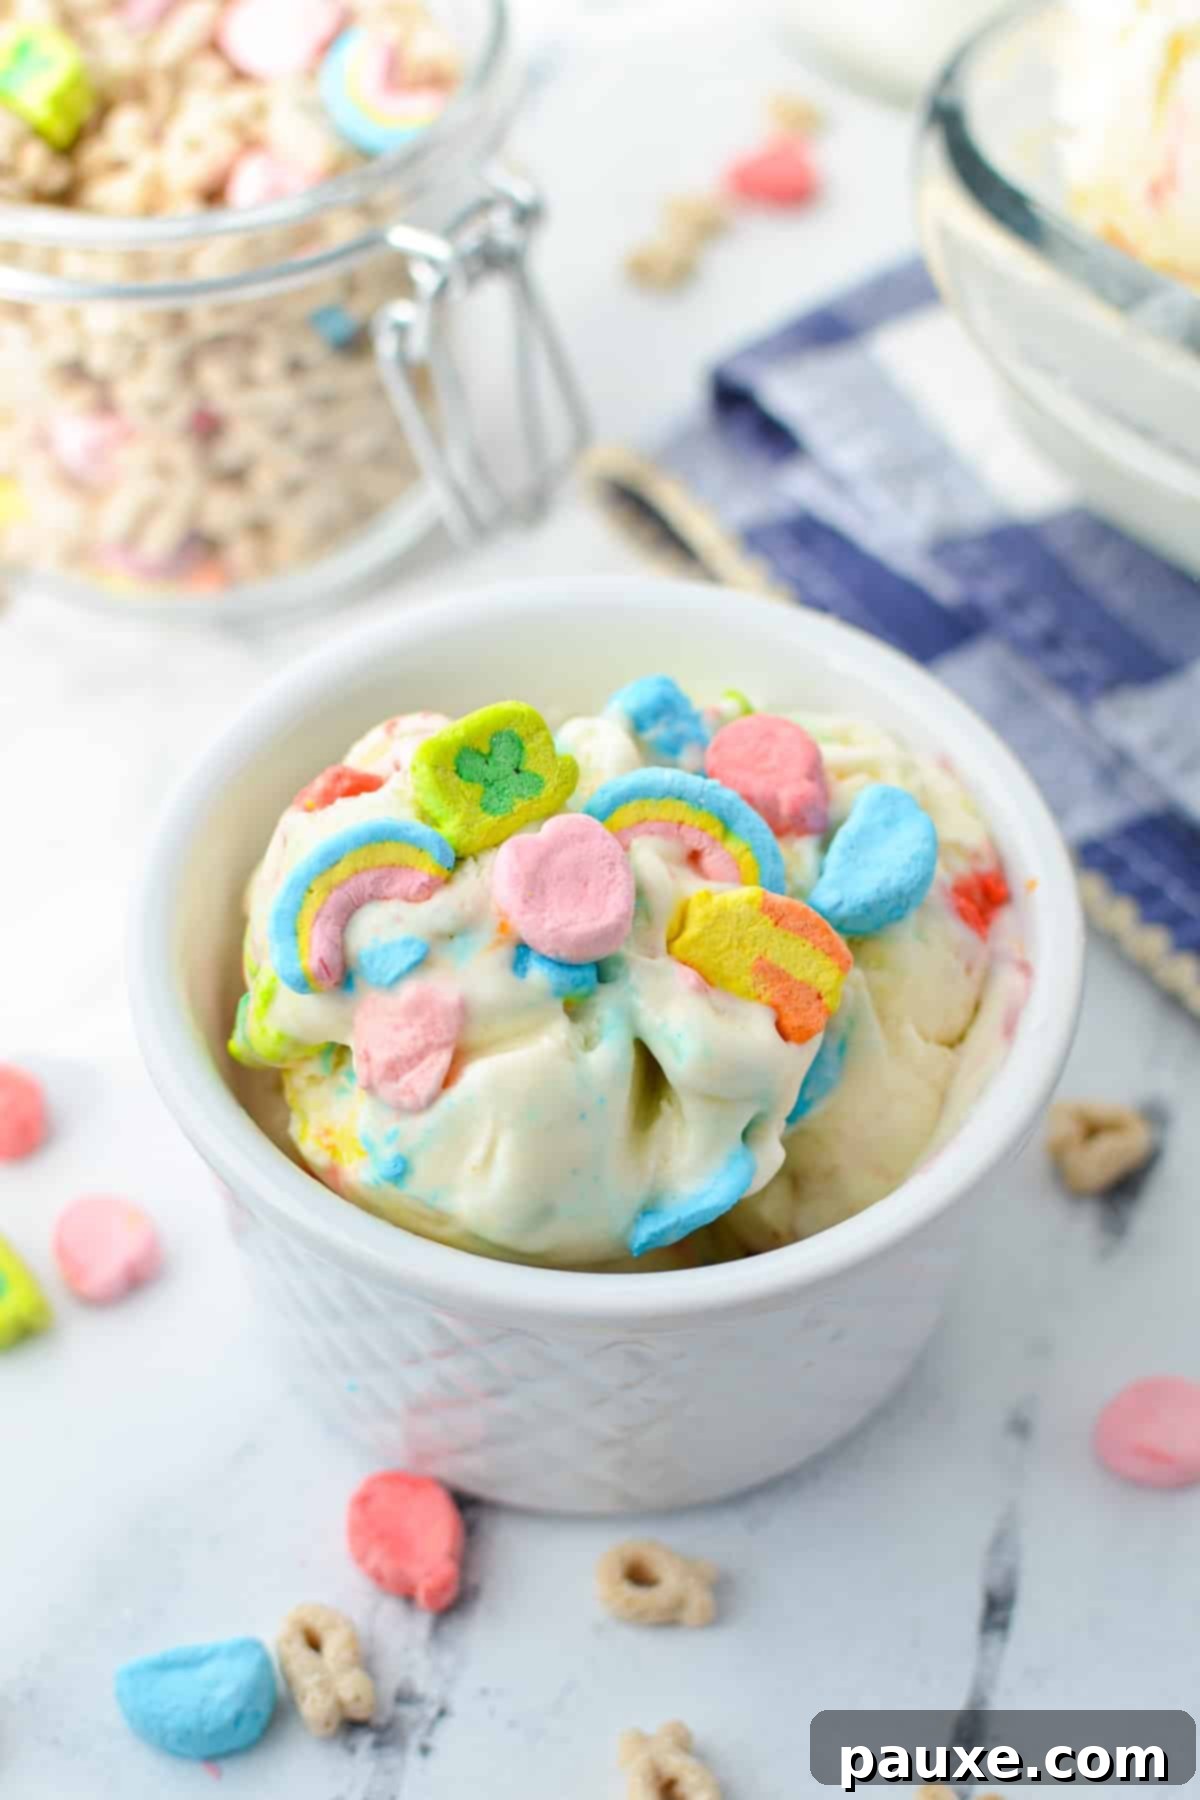
While Lucky Charms cereal is undeniably a beloved classic enjoyed year-round, its charm truly shines as St. Patrick’s Day approaches. The iconic leprechaun mascot, chasing a pot of gold at the end of a rainbow, perfectly encapsulates the festive spirit and the cherished “luck of the Irish” folklore. It’s a whimsical connection that makes “lucky charms” and the holiday feel like a match made in heaven, bringing joy and a touch of magic to our kitchens.
For my family, incorporating this popular cereal into our St. Patrick’s Day treats has become a cherished tradition. Last year, we celebrated with delightful Lucky Charms Treats and a beloved copycat Shamrock Shake, both of which were resounding successes and highly requested throughout the year. As the days grow longer and hints of warmer weather beckon, I wanted to create something refreshingly cool, wonderfully sweet, and perfectly aligned with the joyful anticipation of spring. Thus, the idea for a homemade Lucky Charms ice cream was born!
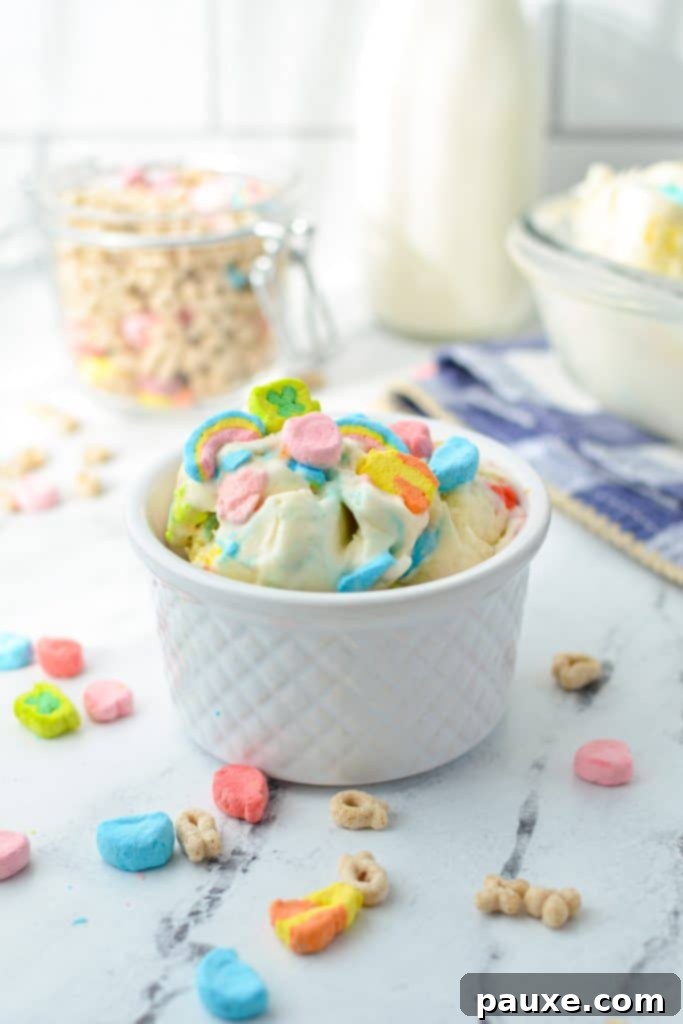
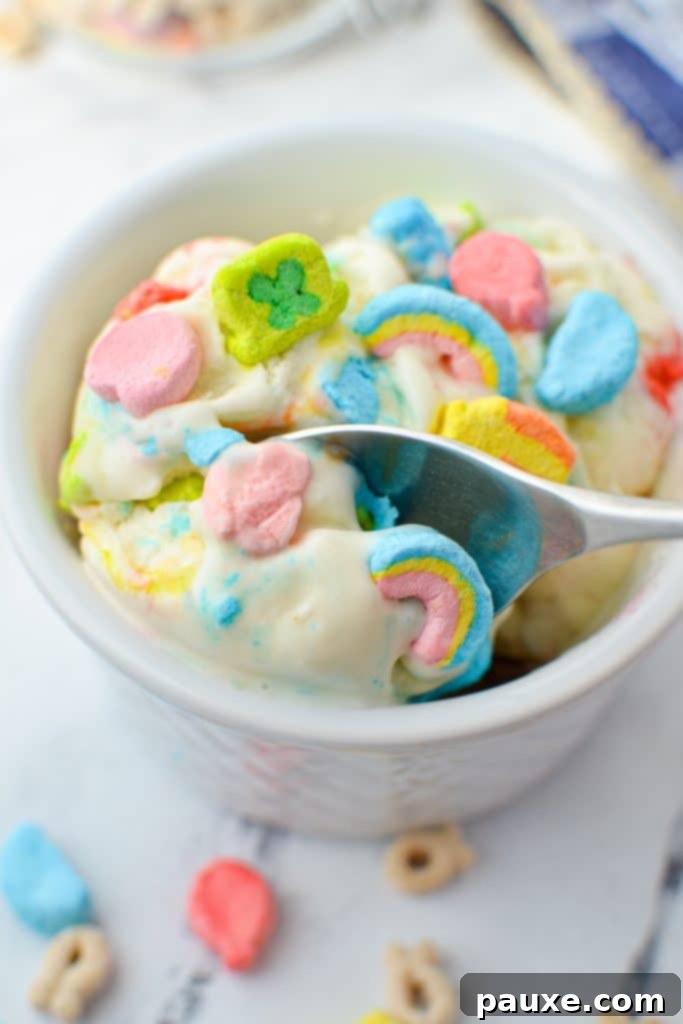
This unique ice cream creation takes the concept of a classic no-churn vanilla ice cream base and elevates it with an irresistible twist. The base is lovingly infused with the authentic flavor of Lucky Charms cereal, creating a nostalgic “cereal milk” taste that’s both comforting and exciting. To complete this enchanting dessert, it’s generously folded with the vibrant, colorful marshmallows that make Lucky Charms so iconic. Who could resist such a delightful combination of creamy texture and playful sweetness?
Why You’ll Adore This No-Churn Lucky Charms Ice Cream
Preparing homemade ice cream has never been easier or more rewarding. This recipe offers a multitude of reasons why it should be your next kitchen adventure, especially if you’re looking for a delightful dessert without the fuss of specialized equipment. Let’s explore why this Lucky Charms ice cream stands out as a truly magical treat.
- Effortless Creation: This recipe requires only 4 core ingredients and, most importantly, eliminates the need for an expensive or cumbersome ice cream maker. It’s a fantastic entry point for anyone new to homemade ice cream.
- Irresistible Cereal Milk Flavor: The innovative infusion technique ensures the ice cream base tastes exactly like the sweet, comforting milk left after a bowl of Lucky Charms! This unique flavor profile adds a layer of nostalgia and deliciousness that store-bought options can’t replicate.
- Quick Preparation: As a no-churn ice cream recipe, the hands-on preparation time is minimal. Once mixed, it’s ready to freeze in no time, making it perfect for last-minute cravings or spontaneous gatherings.
- Perfect for Any Occasion: Whether you’re seeking a vibrant, festive dessert for St. Patrick’s Day or simply a fun, special treat to brighten an ordinary day, this ice cream fits the bill beautifully. Its colorful appearance and delightful taste are sure to bring smiles.
- Simple & Accessible: Unlike many traditional ice cream recipes, this version contains no eggs or egg yolks, simplifying the process and making it accessible to more home cooks. You don’t need to worry about tempering eggs or any complex techniques.
Essential Ingredients for Your Magical Ice Cream
Crafting this enchanting Lucky Charms ice cream requires just a handful of readily available ingredients. Each component plays a crucial role in creating the rich, creamy texture and distinct cereal milk flavor that makes this dessert so special. Let’s delve into what you’ll need to bring this recipe to life.
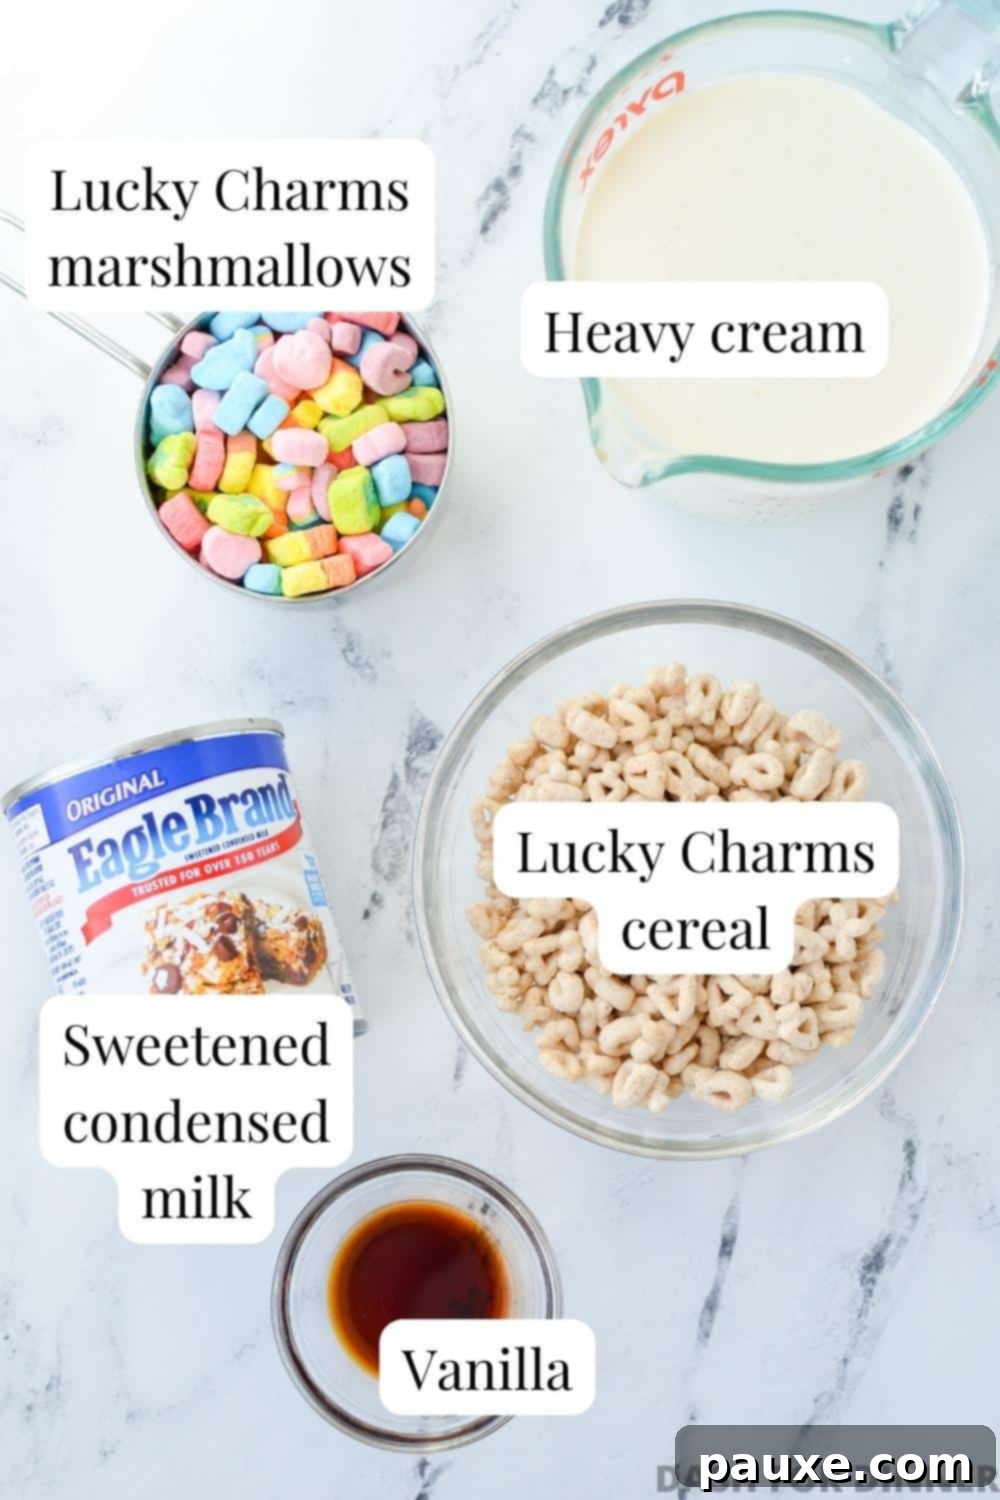
- Lucky Charms Cereal: This is, of course, the star of our show! You’ll need a standard-sized box. The recipe specifically calls for separating the cereal into two distinct parts: 1 cup of the crispy oat pieces for infusing the cream and a full 1 cup of the iconic, colorful marshmallows to fold into the finished base. Since the marshmallow-to-cereal ratio in a standard box isn’t 1:1, you’ll find yourself happily picking out many of those vibrant shapes to reach your marshmallow quota.
- Heavy Cream: Also widely known as heavy whipping cream, this ingredient is absolutely fundamental to achieving the luscious, super creamy consistency that we all adore in a premium ice cream. When whipped, it transforms into light, airy peaks that form the backbone of our no-churn base, providing structure and richness without any churning.
- Sweetened Condensed Milk: This is the ingenious “secret ingredient” that makes no-churn ice cream recipes possible. Its thick, sweet, and highly concentrated nature eliminates the need for cooking a custard base. It not only provides the perfect level of sweetness but also contributes significantly to the smooth, almost velvety texture of the final ice cream, binding all the components together beautifully.
- Vanilla Extract: A splash of high-quality vanilla extract enhances and rounds out the overall flavor profile. Its warm, inviting aroma and classic taste perfectly complement the unique cereal milk infusion, adding depth and complexity that elevates the Lucky Charms flavor without overpowering it.
Essential Equipment for Success
One of the many joys of this no-churn recipe is its minimal equipment requirements. You won’t need any specialized or expensive gadgets, making homemade ice cream accessible to everyone. Here’s what you’ll need to gather before you begin:
- Loaf Pan: This is your primary vessel for freezing the homemade ice cream. A standard 9×5-inch loaf pan works exceptionally well for no-churn recipes, providing the perfect depth and shape for easy scooping. If a loaf pan isn’t available, an 8×8-inch freezer-safe baking dish can be used, though your ice cream might end up a bit firmer due to the shallower depth. Ensure it’s lined with parchment paper or lightly sprayed for easy removal.
- Stand Mixer or Hand Mixer: Since you’ll be whipping the heavy cream into a fluffy whipped topping, an electric mixer is highly recommended to save time and effort. A stand mixer fitted with a whisk attachment offers hands-free convenience, while an electric hand mixer provides excellent portability and control. While theoretically possible to whip by hand, it requires significant arm strength and time. A large food processor could also work, but ensure it’s spacious enough to handle the volume of cream in a single batch.
Crafting Your Dreamy Lucky Charms Ice Cream: A Step-by-Step Guide
Once you experience the sheer simplicity and delectable results of making this easy Lucky Charms ice cream at home, you’ll likely wonder why you ever bought ice cream from the store! The unique cereal-infused milk flavor is utterly captivating, and the luxurious taste and perfectly soft texture easily rival, if not surpass, many premium ice cream brands. Get ready to embark on a delightful culinary journey!
Step 1: Infusing the Cereal Milk Magic
The secret to our distinctive cereal milk flavor lies in a simple yet effective infusion process. To begin, pour all of your cold heavy whipping cream into a large measuring cup or a medium-sized bowl. Next, gently add 1 cup of the Lucky Charms oat cereal pieces (ensure no marshmallows are included at this stage) and press them down to fully submerge them in the cream. This ensures maximum flavor extraction.
Cover the mixture tightly with plastic wrap to prevent any absorption of fridge odors and place it in the refrigerator. Allow it to chill and infuse for approximately 30 minutes. This brief soaking period is crucial for the heavy cream to absorb the sweet, toasted oat flavor of the cereal, creating that signature “cereal milk” taste.
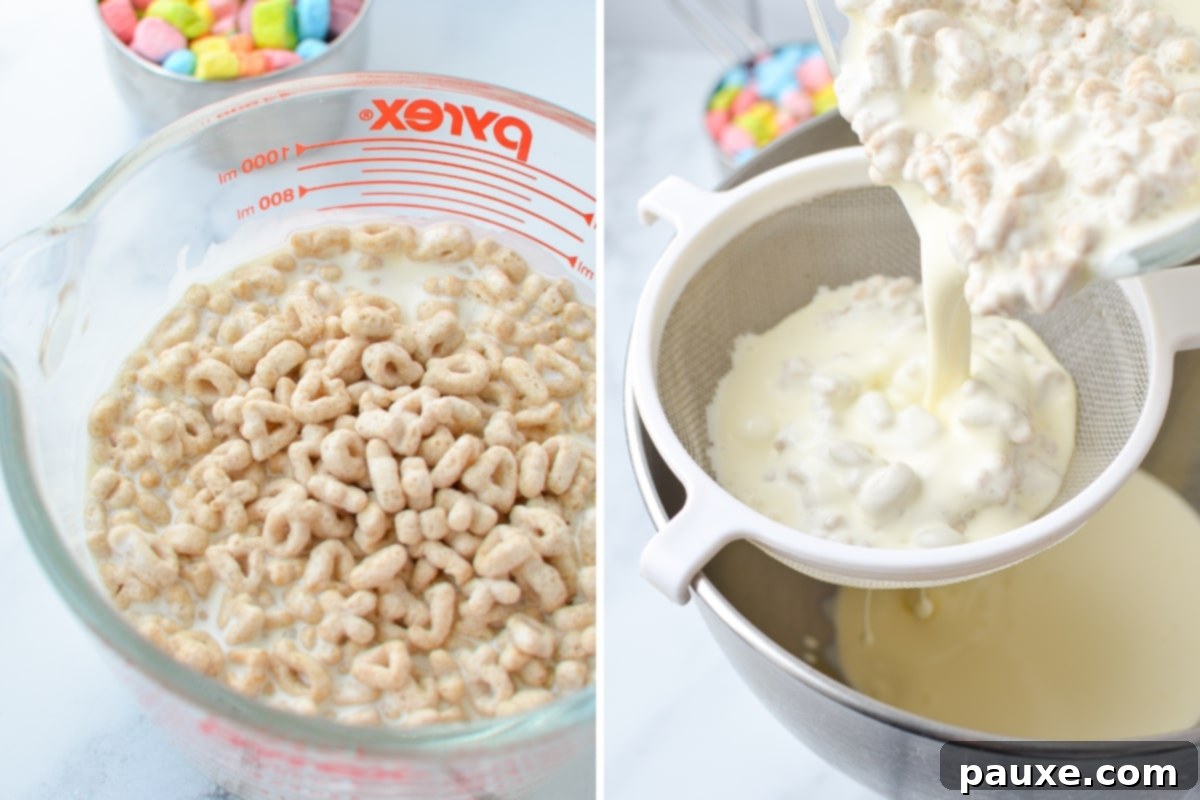
After the 30-minute infusion period, retrieve the cereal-infused cream. Set a fine-mesh strainer over a clean, large bowl (or directly over the bowl of your stand mixer, if you’re using one). Carefully pour the cereal and heavy cream mixture through the strainer. The strainer will effectively catch all the oat cereal pieces, allowing the beautifully flavored heavy cream to flow through into the bowl below. For good measure, gently press on the strained cereal to release any remaining absorbed cream, maximizing the cereal milk flavor. You can discard the soaked cereal or enjoy it as a snack!
Step 2: Preparing the Velvety Ice Cream Base
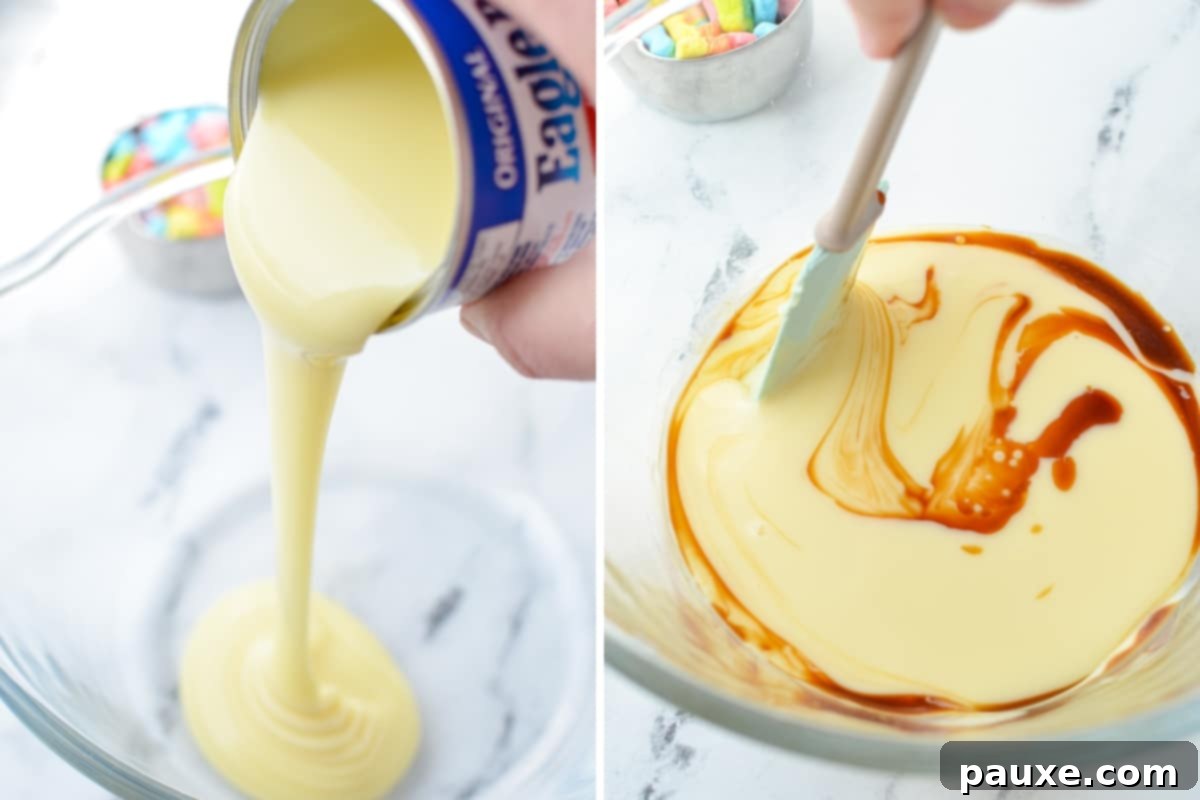
With your cereal-infused cream ready, it’s time to build the foundation of our decadent ice cream. In a separate large mixing bowl, add the entire can of sweetened condensed milk. This provides the primary sweetness and creamy texture for our no-churn base. Next, measure in the vanilla extract, which will beautifully enhance the overall flavor profile. Stir these two ingredients thoroughly until they are well combined and uniform. Set this bowl aside for a moment, as it will soon welcome the whipped cream.
Step 3: Whipping the Cream to Perfection
Now, it’s time to transform the infused heavy cream into light and airy peaks. If you haven’t already, pour the chilled cereal-infused heavy cream into the bowl of a stand mixer fitted with the whisk attachment. Alternatively, use a large, deep bowl with an electric hand mixer. Ensure your cream is very cold, as this is key to achieving optimal volume.
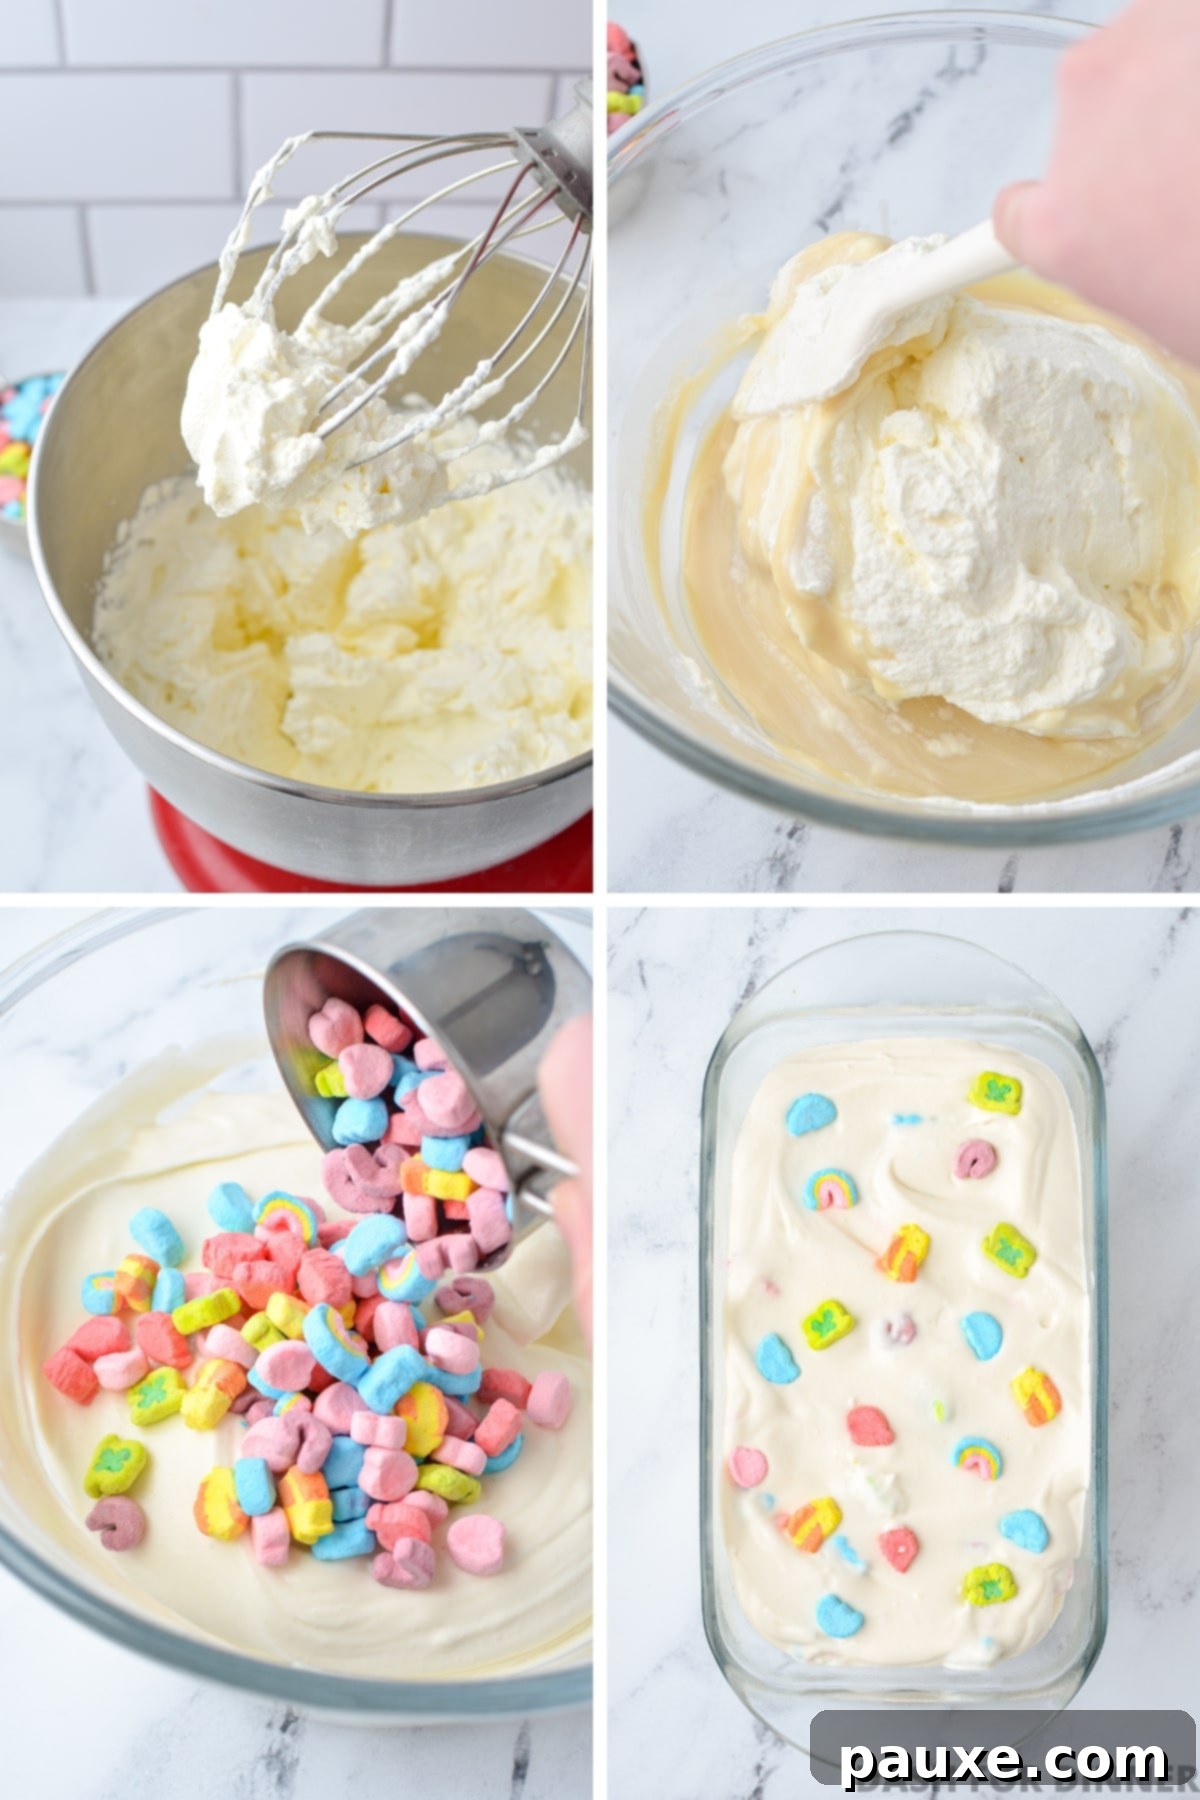
Begin whipping the heavy cream on medium-high to high speed. Continue mixing until stiff peaks form, which typically takes about 2-3 minutes. You’ll know it’s ready when the cream holds its shape firmly and doesn’t droop when you lift the whisk. Be careful not to over-whip, as it can turn grainy.
Once the cream is perfectly whipped and holding its shape beautifully, gently transfer this cloud-like whipped cream into the bowl containing the sweetened condensed milk and vanilla mixture. Using a flexible silicone spatula, carefully and slowly fold the whipped cream into the condensed milk base. The key here is to use a light hand and fold gently to maintain as much air as possible in the mixture, which is vital for the ice cream’s soft, scoopable texture. Continue folding until the two components are completely combined, creating a smooth, uniform ice cream base.
Step 4: Incorporating the Iconic Lucky Charms Marshmallows
With your smooth and uniform ice cream base ready, it’s time for the signature addition: the colorful Lucky Charms marshmallows! Measure out a full cup of these delightful, vibrant shapes and add them directly into the ice cream base. Now, using that same gentle folding technique, carefully incorporate the marshmallows. It’s crucial to use a very light hand at this stage, as overworking the mixture could cause the colors from the marshmallows to bleed into the light ice cream base, detracting from its appealing appearance. Fold just enough until the marshmallows are evenly distributed throughout the mixture.
Once the marshmallows are folded in, transfer the entire ice cream mixture into your prepared, freezer-safe loaf pan. Ensure the loaf pan has been lined with parchment paper or lightly sprayed with cooking spray for easy removal once frozen. Smooth the top with your spatula for an even freeze.
Step 5: The Freezing Process
The final step before enjoying your magical creation is to properly freeze it. Cover the ice cream-filled loaf pan tightly with plastic wrap. This is essential to prevent freezer burn and keep your ice cream fresh. Carefully place the covered loaf pan into your freezer. While it can be tempting to try a taste sooner, for the best results, allow it to chill and set for at least 4 hours before serving. However, the true sweet spot for optimal texture and firmness is typically between 8-12 hours. This extended freezing time ensures the ice cream is perfectly set and scoopable.
It’s important to remember that this style of no-churn ice cream is naturally softer and more pliable than traditional churned ice creams. It won’t become rock-hard after freezing, but it should achieve a deliciously firm yet creamy consistency that’s easy to scoop and melts beautifully on the tongue.
Creative Serving Suggestions for Your Magical Ice Cream
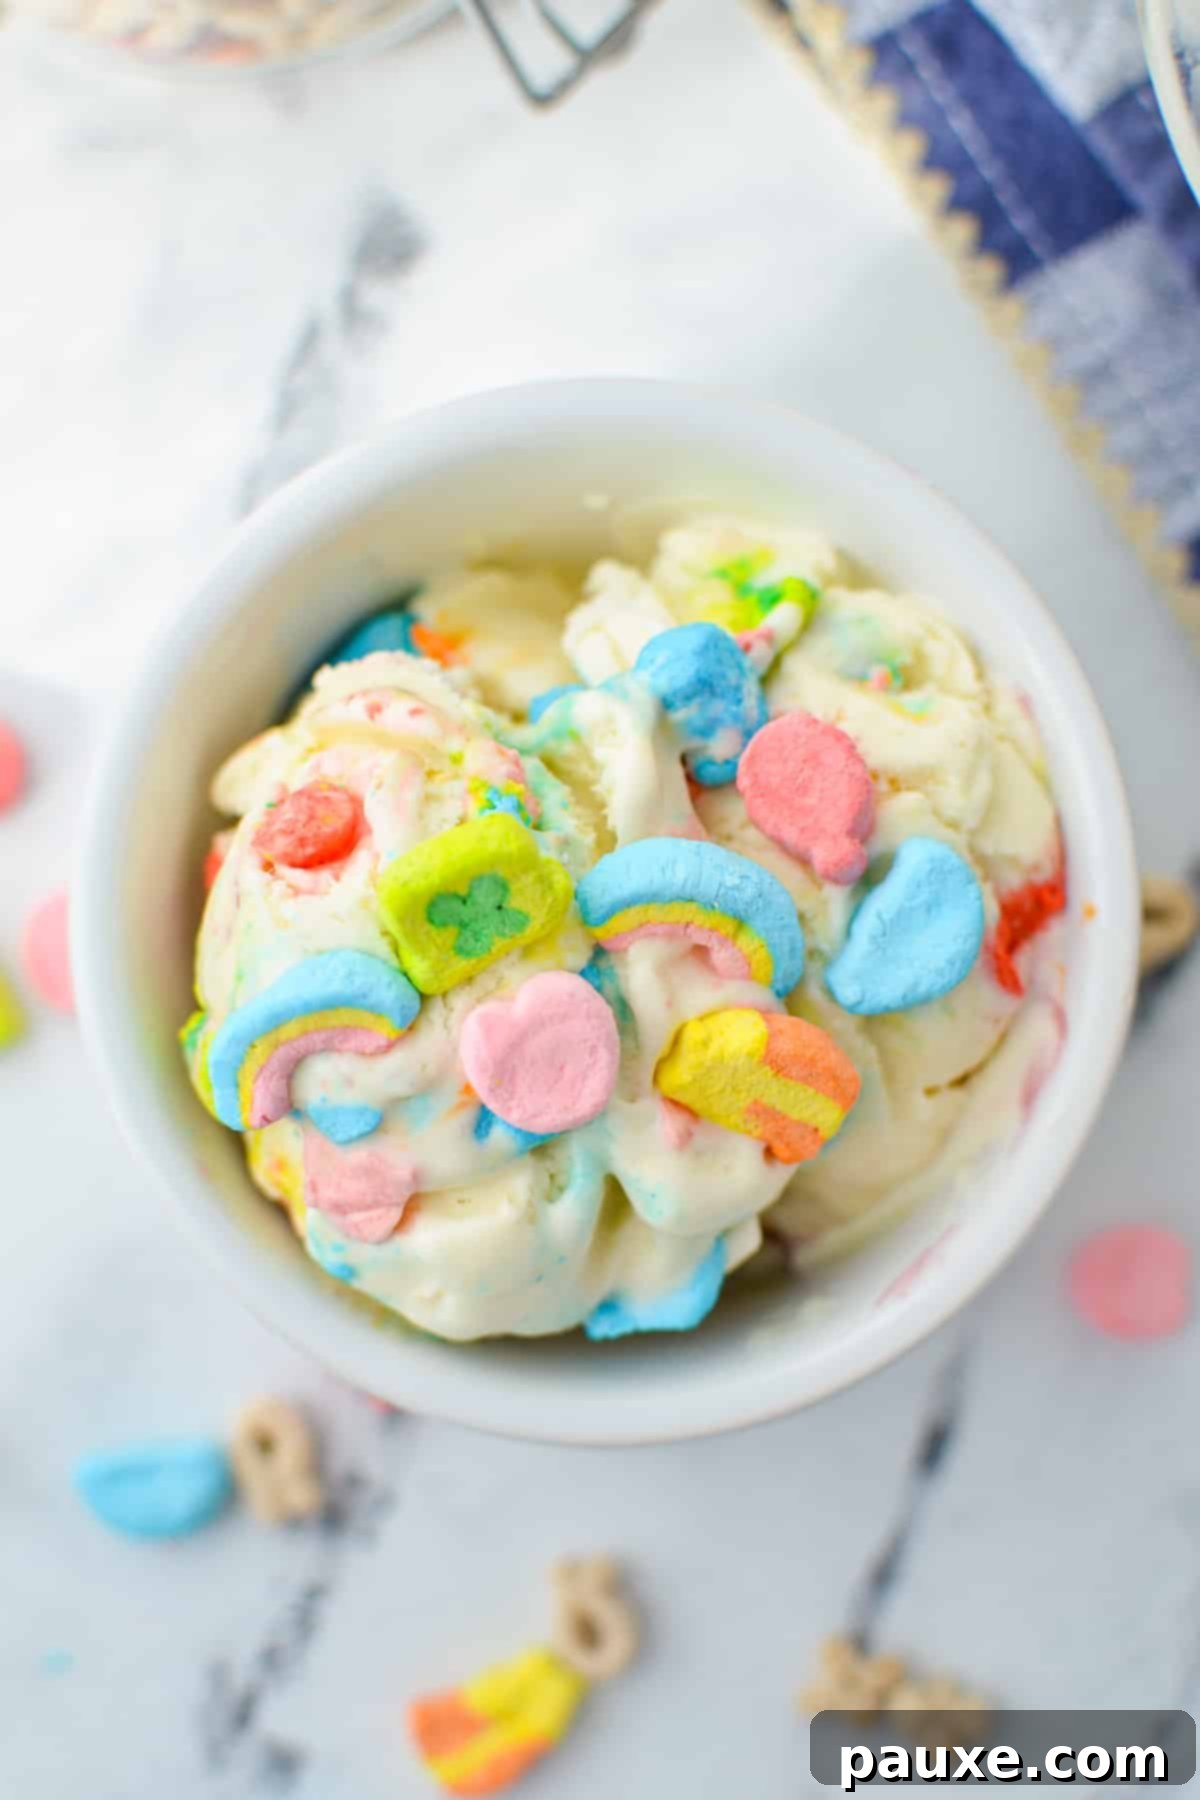
Once your homemade Lucky Charms ice cream has achieved that perfect scoopable firmness in the freezer, it’s time to unleash your creativity and enjoy this whimsical treat! This cereal-bowl-inspired dessert offers endless possibilities for presentation and flavor enhancements, making every serving extra special. Here are some enchanting ideas to elevate your ice cream experience:
- Extra Marshmallow Magic: Generously sprinkle additional Lucky Charms marshmallows on top of each scoop for an extra burst of color, texture, and sweetness.
- Glimmering Gold: Add a touch of elegance and whimsy by topping your ice cream with edible gold glitter or dust, perfect for a “pot of gold” theme on St. Patrick’s Day.
- Classic Cone Delight: Serve your scoops in crispy waffle cones or traditional sugar cones for a delightful crunch with every bite.
- Milkshake Extravaganza: Blend a few scoops of the ice cream with a splash of milk to whip up a sensational Lucky Charms milkshake, an even creamier indulgence.
- St. Patrick’s Day Special: Go all out for the holiday by serving your ice cream in vibrant green waffle cones. You can even tint the ice cream base a festive green by adding a few drops of green food coloring to the sweetened condensed milk mixture before folding in the whipped cream.
- Mini Pots of Gold: For a truly themed presentation, serve individual portions in small, decorative “pots of gold” – perhaps small ceramic ramekins or themed bowls.
- Ice Cream Sandwich Adventure: Create delicious ice cream sandwiches by scooping a generous amount of this creamy treat between two chocolate wafer cookies or your favorite homemade sugar cookies.
- Marshmallow Swirl: For an added layer of sweetness and chewiness, gently fold a ribbon of marshmallow fluff into the soft-serve consistency ice cream base just before transferring it to the loaf pan for freezing.
Storing Your Leftover Lucky Charms Ice Cream
Ensuring your delicious homemade Lucky Charms ice cream stays fresh and flavorful for as long as possible is key to enjoying every last spoonful. Proper storage techniques will help maintain its creamy texture and vibrant taste.
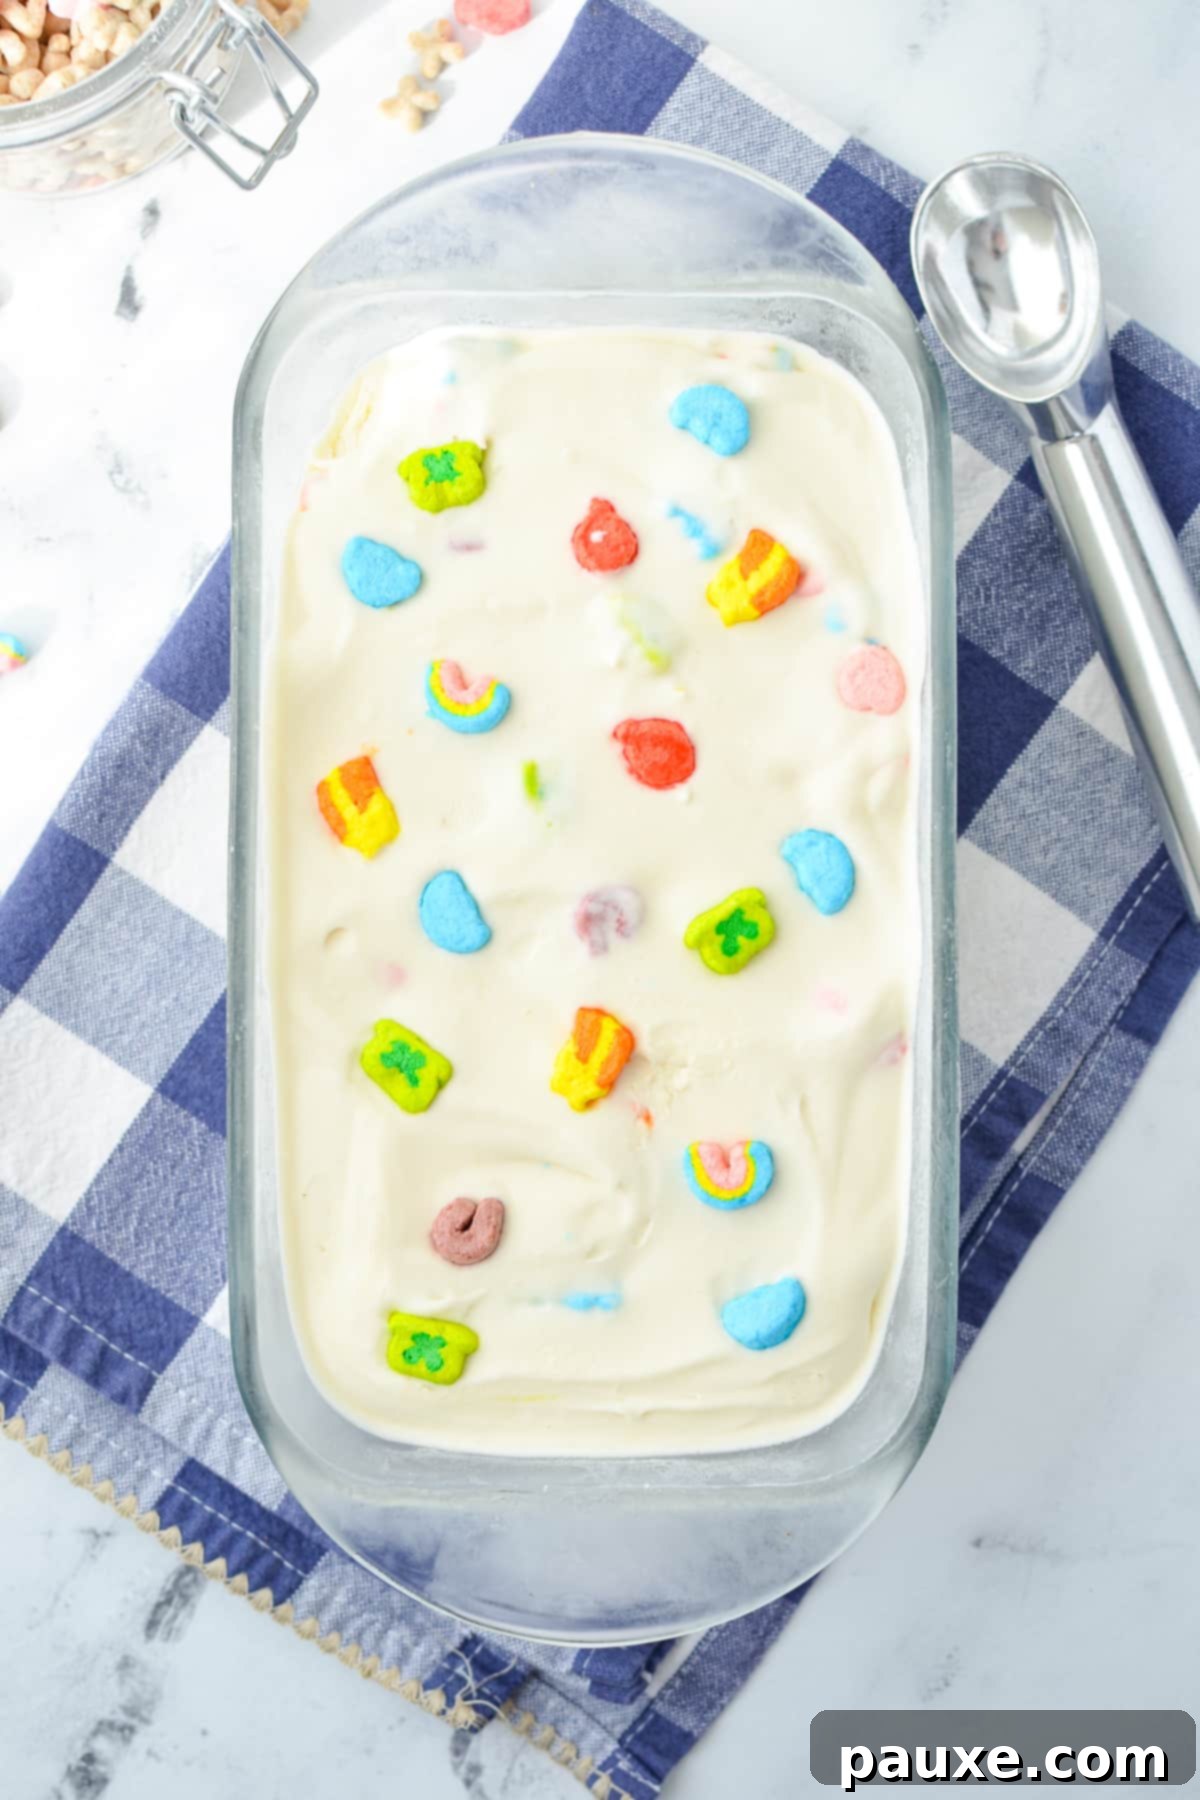
Initially, your ice cream will be perfectly fine to store directly in the loaf pan for up to 1 week. Simply keep it tightly covered with plastic wrap to minimize exposure to air. Beyond a week, however, you run the risk of developing freezer burn, which can lead to ice crystals forming and a degradation of both texture and flavor. To avoid this, consider transferring the ice cream for longer-term storage.
For storage extending beyond a week, I highly recommend transferring any leftover ice cream to a specialized ice cream container designed for homemade treats. These containers are often insulated and shaped to reduce air exposure, which is the primary culprit behind freezer burn. You can easily find various sizes to suit your needs, whether you prefer quart-sized options, convenient mini-size (6oz) containers for individual portions, or even large containers if you’re making big batches. Storing your homemade ice cream in these airtight freezer-safe containers will keep it delightful for up to 1 month, allowing you to savor the magic over an extended period.
Expert Tips for Crafting the BEST Homemade Ice Cream
Achieving truly outstanding homemade ice cream, even with a simple no-churn recipe, can be elevated with a few clever techniques. Follow these expert tips to ensure your Lucky Charms ice cream is exceptionally creamy, flavorful, and perfectly set every time.
- Embrace the Chill: Temperature is your best friend when making no-churn ice cream. If you have the luxury of time and freezer space, preemptively chill your mixing bowls and the loaf pan in the freezer for at least 15-30 minutes before you even begin preparing the whipped cream and ice cream base. Furthermore, always make sure your heavy whipping cream is thoroughly chilled in the refrigerator for several hours (or overnight) before you attempt to whip it. Cold cream whips faster, holds its shape better, and results in a lighter, more stable base.
- Patience is a Virtue: While the ice cream might appear somewhat set and scoopable around the 4-hour mark, true perfection takes a little more time. For the absolute best texture, consistency, and a truly scoopable experience, allow your ice cream to freeze for a minimum of 8-12 hours before serving. This extended freezing period ensures it’s fully firmed up, allowing the flavors to meld beautifully and resulting in that delightful, creamy mouthfeel.
- The Art of Delegation (and Rewards): Separating the tiny Lucky Charms marshmallows from the oat pieces can be a fun, albeit somewhat tedious, task. Make it an enjoyable family activity by striking a deal with a kitchen helper (perhaps a child or a willing friend!): if they meticulously separate the cereal into its marshmallow and oat components, they get to enjoy the remaining cereal pieces as a reward. This tactic works like a charm every single time, making the prep work fly by!
Discover More Easy & Delightful Desserts
If you’ve enjoyed the simplicity and deliciousness of this no-churn Lucky Charms Ice Cream, you’re in for a treat! Explore some of our other favorite easy dessert recipes that are perfect for any occasion, from quick weeknight indulgences to impressive (yet simple) party dishes.
- Lucky Charms Treats
- No-Bake Chocolate Chip Cheesecake
- Berry Cheesecake Salad
- No-Bake Peanut Butter Bars
- No-Bake Nutella Pie
Lucky Charms Ice Cream (No-Churn Recipe)
This incredibly easy recipe for homemade Lucky Charms Ice Cream requires no ice cream maker! Just 4 simple ingredients are needed to create this delightful cereal milk-flavored treat, bursting with colorful marshmallows.
Course: Dessert
Cuisine: American
Prep Time: 45 minutes
Freezing Time: 4 hours (minimum)
Total Time: 4 hours 45 minutes
Servings: 12 servings
Author: Dorothy Bigelow
Equipment
- Loaf pan (9×5 inches recommended)
- Stand mixer or electric hand mixer
- Fine-mesh strainer
- Large mixing bowls
- Silicone spatula
Ingredients
- 2 cups Lucky Charms cereal, separated into 1 cup of crispy oat cereal pieces and 1 cup of colorful marshmallows*
- 2 ¼ cups heavy cream (or heavy whipping cream), very cold
- 14-ounce can sweetened condensed milk
- 1 ½ teaspoons vanilla extract
Instructions
- Prepare your pan: Line a 9×5-inch loaf pan with parchment paper, leaving an overhang on the sides for easy removal, or lightly spray it with cooking spray. Place the prepared loaf pan in the freezer to chill while you prepare the ice cream base.
- Infuse the cream: In a medium-sized bowl, combine the cold heavy cream with 1 cup of the Lucky Charms oat cereal pieces (without marshmallows). Stir gently to ensure the cereal is submerged. Cover the bowl with plastic wrap and refrigerate for 30 minutes to allow the cream to infuse with the cereal flavor.
- Strain the cream: After 30 minutes, place a fine-mesh strainer over a large mixing bowl. Pour the cereal and cream mixture through the strainer, collecting the infused heavy cream in the bowl below. Press gently on the cereal in the strainer to extract as much liquid as possible, then discard the soaked cereal.
- Combine base ingredients: In a separate large bowl, add the entire can of sweetened condensed milk and the vanilla extract. Stir these ingredients together until thoroughly combined and smooth. Set this bowl aside.
- Whip the cream: Pour the cereal-infused heavy cream into the bowl of a stand mixer fitted with the whisk attachment, or use a large bowl with an electric hand mixer. Whip the heavy cream on medium-high speed until stiff peaks form (approximately 2-3 minutes). The cream should hold its shape firmly.
- Fold into base: Gently transfer the whipped cream to the bowl containing the sweetened condensed milk and vanilla mixture. Using a silicone spatula, carefully and slowly fold the whipped cream into the condensed milk mixture until no streaks remain and it is uniformly combined. Be gentle to maintain the airiness of the whipped cream.
- Add marshmallows: Gently fold the 1 cup of colorful Lucky Charms marshmallows into the ice cream base. Fold just enough to distribute them evenly without overmixing, which could cause the colors to bleed.
- Transfer and cover: Pour the finished ice cream base into the chilled, prepared loaf pan. Smooth the top with a spatula. If desired, sprinkle a few extra marshmallows on top for decoration. Cover the loaf pan tightly with plastic wrap, ensuring it touches the surface of the ice cream to prevent ice crystals.
- Freeze: Place the covered loaf pan in the freezer. Freeze for at least 4 hours before serving. For the best, firmest results, aim for 8-12 hours of freezing time.
Notes
- *Separating the cereal: This recipe uses 2 cups of Lucky Charms cereal, specifically 1 cup of oat pieces for infusing and 1 cup of marshmallows for folding in. You’ll find that the marshmallow-to-cereal ratio in a standard box is not 1:1, so you will likely use most of the marshmallows from one box to get the full 1-cup measurement needed for the ice cream.
- Chilling the bowls: For optimal results, if time permits, chill your mixing bowls (especially the one for whipping cream) in the freezer for about 15-30 minutes beforehand. This helps the cream whip more efficiently and keeps the ice cream base colder, aiding in faster freezing and better texture.
- Nutritional Information Note: The estimated calories and nutritional data provided for this recipe include the full value of the Lucky Charms cereal used, even though a portion of the oat cereal is discarded after the infusion process.
Nutrition
Calories: 282kcal | Carbohydrates: 24g | Protein: 4g | Fat: 19g | Saturated Fat: 12g | Polyunsaturated Fat: 1g | Monounsaturated Fat: 5g | Trans Fat: 0.001g | Cholesterol: 62mg | Sodium: 93mg | Potassium: 179mg | Fiber: 0.3g | Sugar: 22g | Vitamin A: 914IU | Vitamin C: 3mg | Calcium: 149mg | Iron: 1mg
Please note that some of my blog posts here at Dash for Dinner may contain affiliate links. If you make a purchase through these links, I will get a small commission at no additional cost to you. Please see my Disclaimer for more information.
