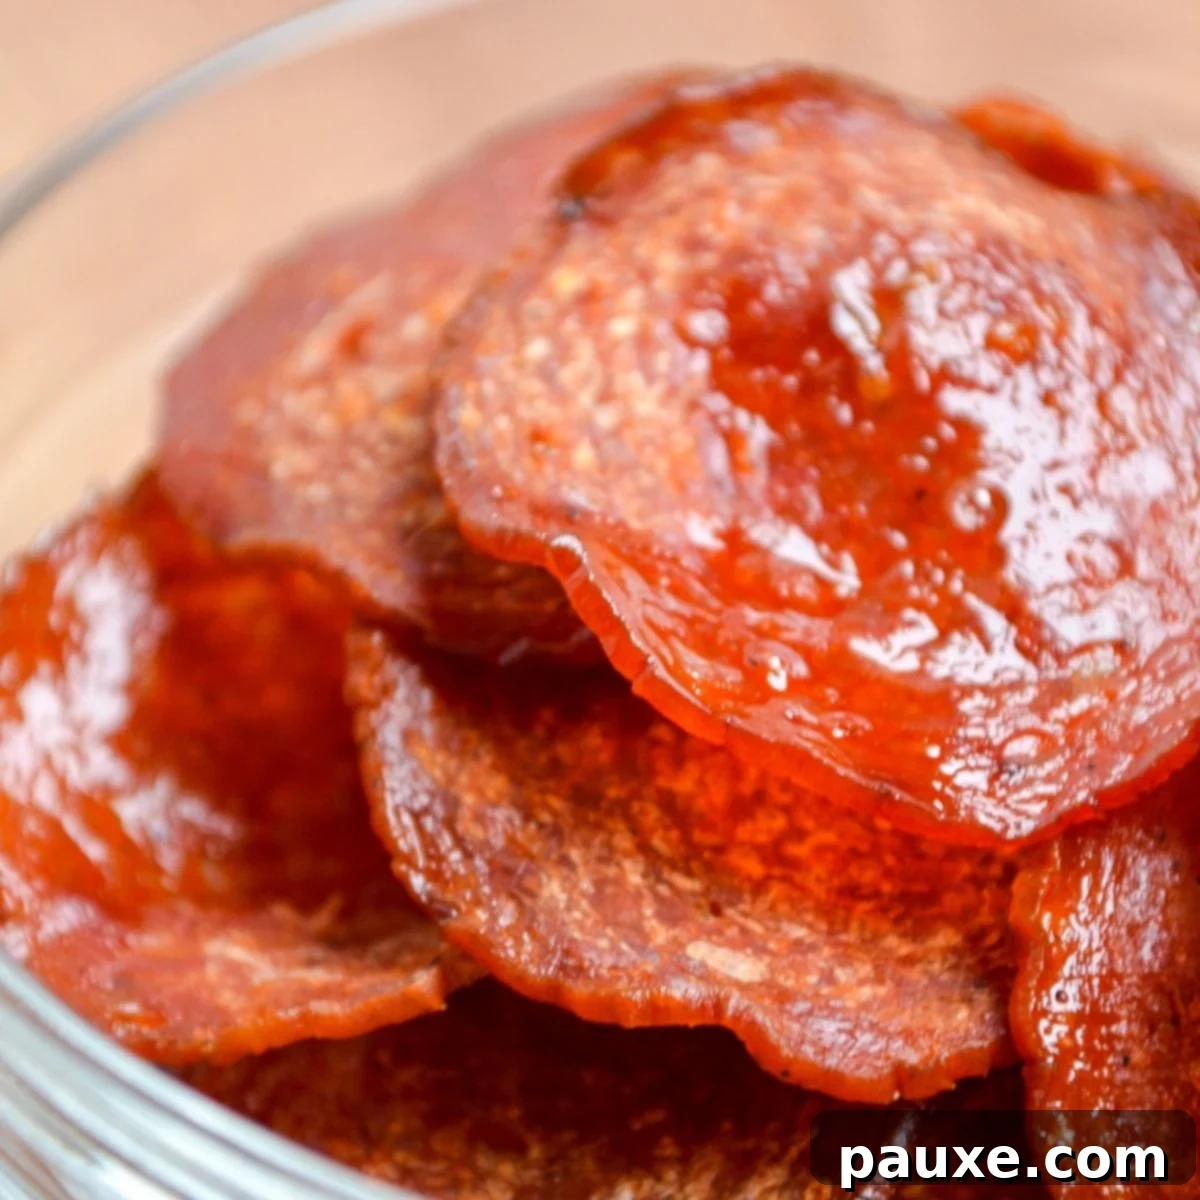
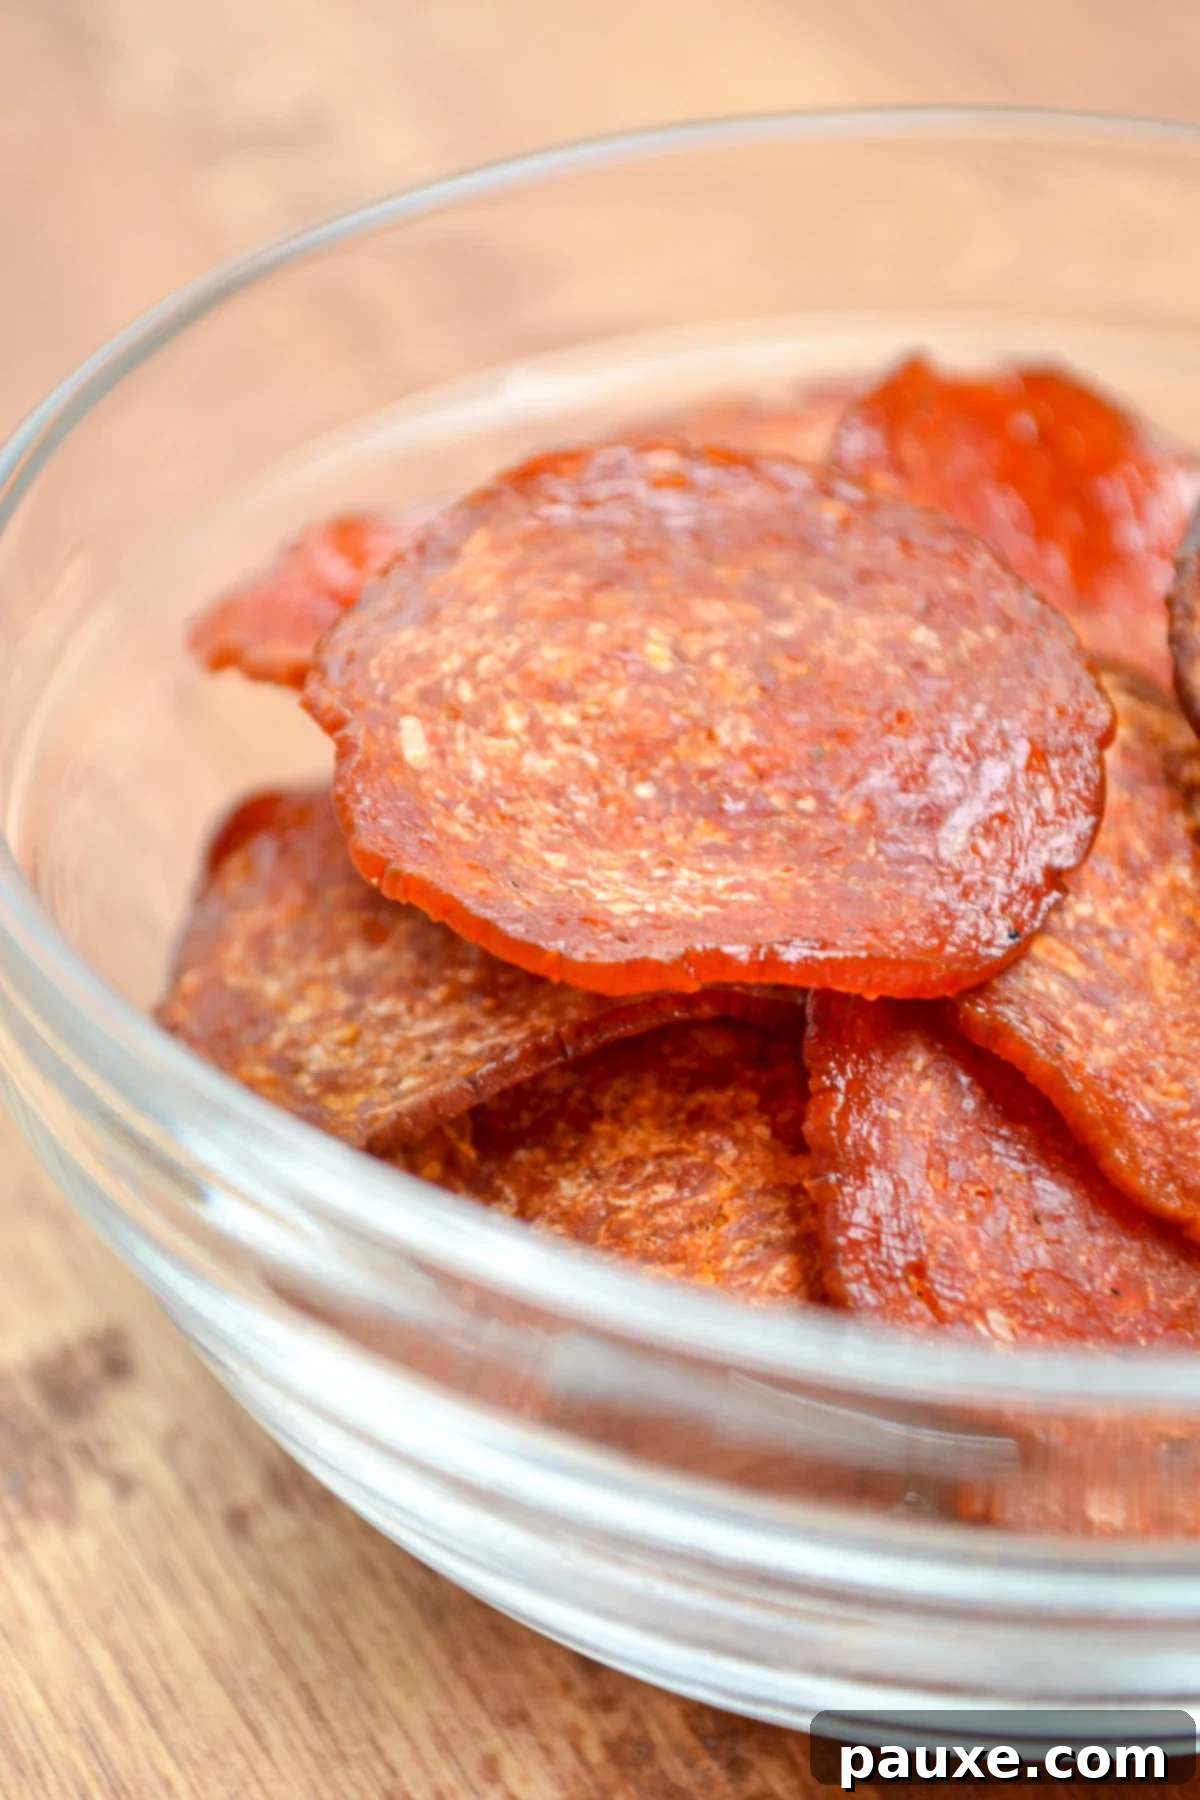
Looking for an incredibly quick, undeniably easy, and irresistibly crunchy snack that perfectly satisfies your cravings? You’ve landed in the right spot! These Air Fryer Pepperoni Chips are a game-changer, requiring just one simple ingredient and a mere four minutes to cook to crispy perfection. It truly doesn’t get any easier than this to whip up a satisfying treat. Plus, they are naturally keto-friendly, low-carb, gluten-free, dairy-free, and sugar-free, making them an ideal choice for a variety of dietary needs. Prepare to revolutionize your snack routine with this effortless recipe!
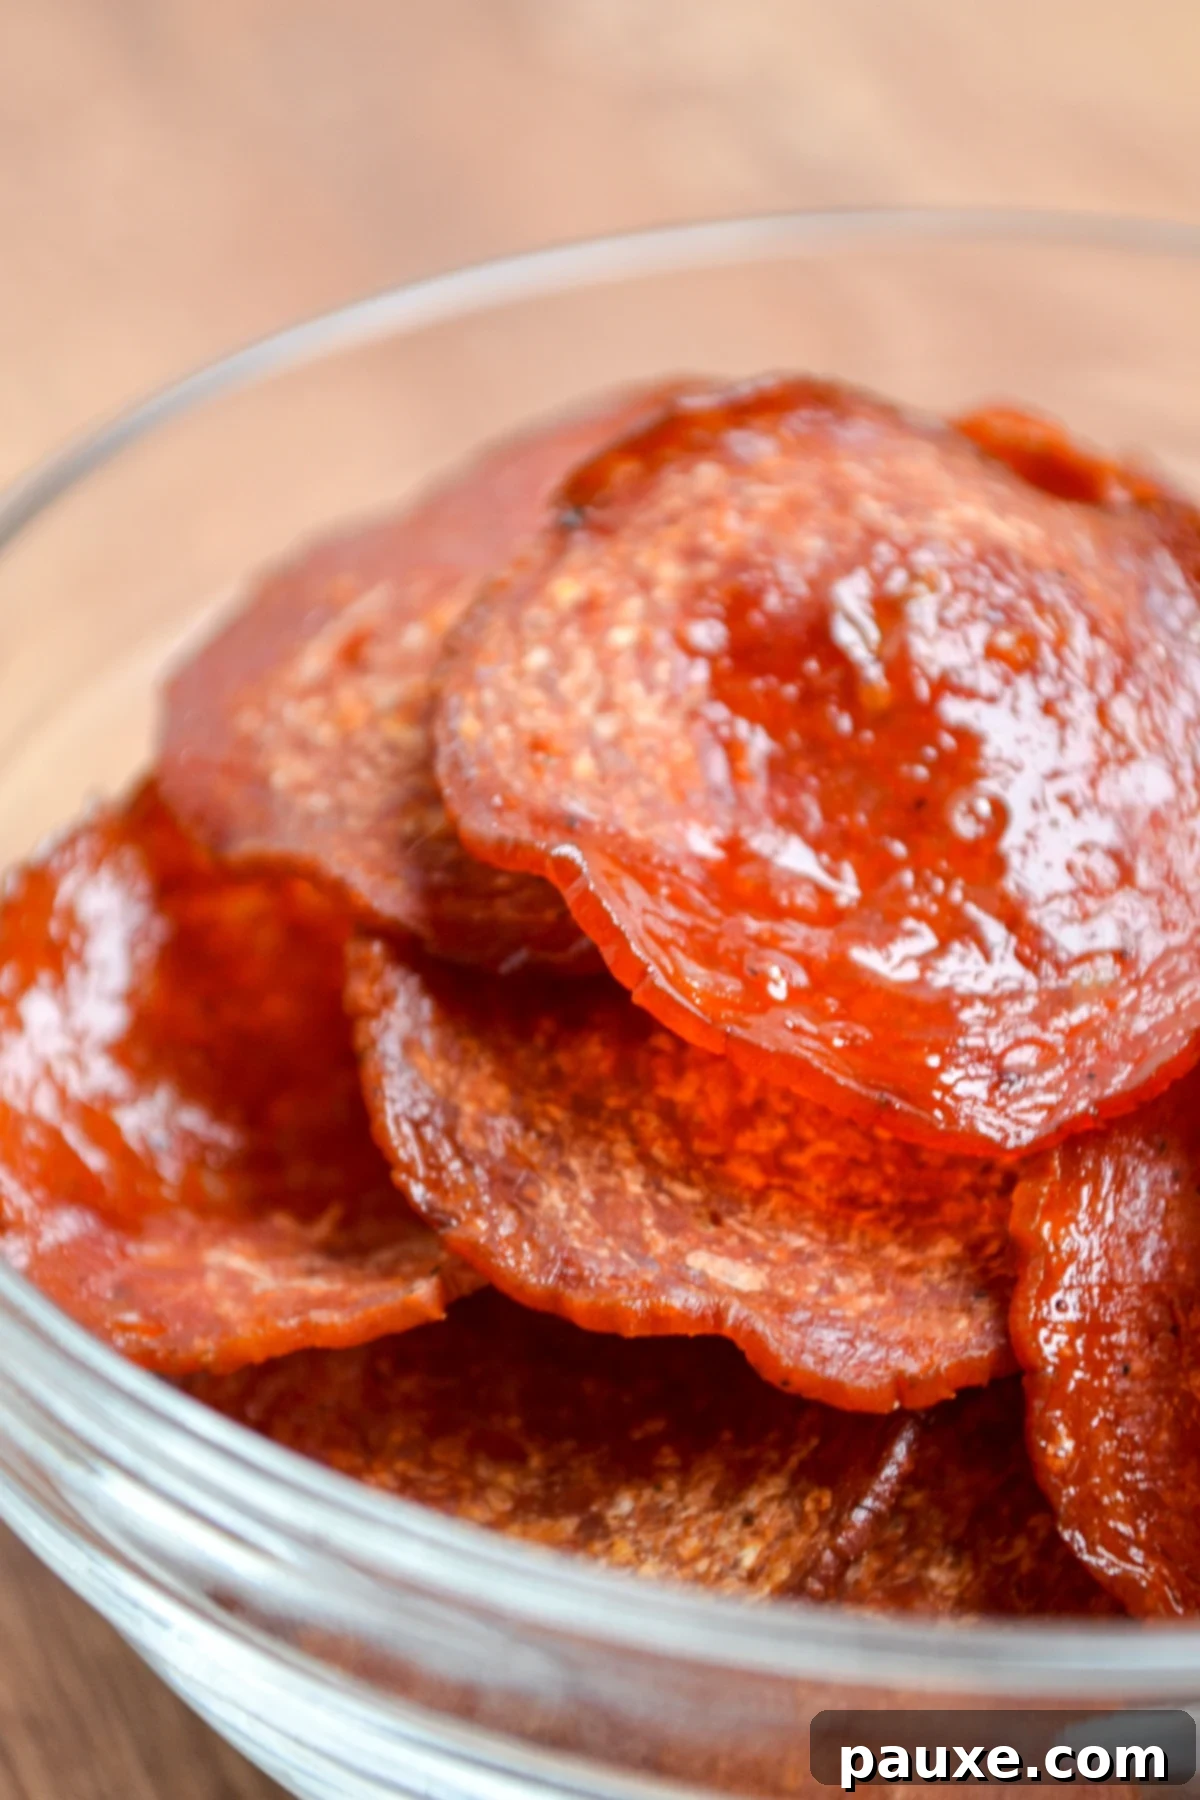
Ever since the day an air fryer first graced my kitchen countertop, it has become an indispensable culinary companion. Its ability to transform everyday ingredients into crispy, golden delights has made it a daily-use appliance. While it excels at the usual suspects like turning frozen fries into a gourmet experience, reheating leftover pizza to its former glory, or crafting our family’s favorite homemade chicken tenders, its true potential extends far beyond these common applications. Recently, my thoughts drifted towards discovering truly effortless snacks that could be conjured up in this magical device.
And when the criteria is “effortless,” nothing quite measures up to the sheer simplicity and speed of these incredible Air Fryer Pepperoni Chips!
Unlocking the Ultimate Low-Carb Snack with Your Air Fryer
For years, during my low-carb diet journey, I often resorted to a stovetop rendition of crispy pepperoni. This method, while effective, often involved a greasy skillet, inconsistent crisping, and a fair amount of splatter. I’d even prepared similar crispy pepperoni pieces to sprinkle over casseroles, adding a delightful crunch and savory depth. However, once the air fryer entered my culinary arsenal, a realization dawned: there had to be a superior, cleaner, and more efficient method for achieving that perfect pepperoni crisp.
Indeed, there is a vastly improved way! The air fryer streamlines the entire process, yielding consistently crisp pepperoni chips with minimal fuss and much less cleanup. These Air Fryer Pepperoni Chips demand just one essential ingredient and achieve their golden-brown crispness in an astonishingly quick four minutes of cook time. This level of convenience is a dream come true for anyone seeking a fast, satisfying, and diet-friendly snack. I am absolutely thrilled with this discovery; how about you?
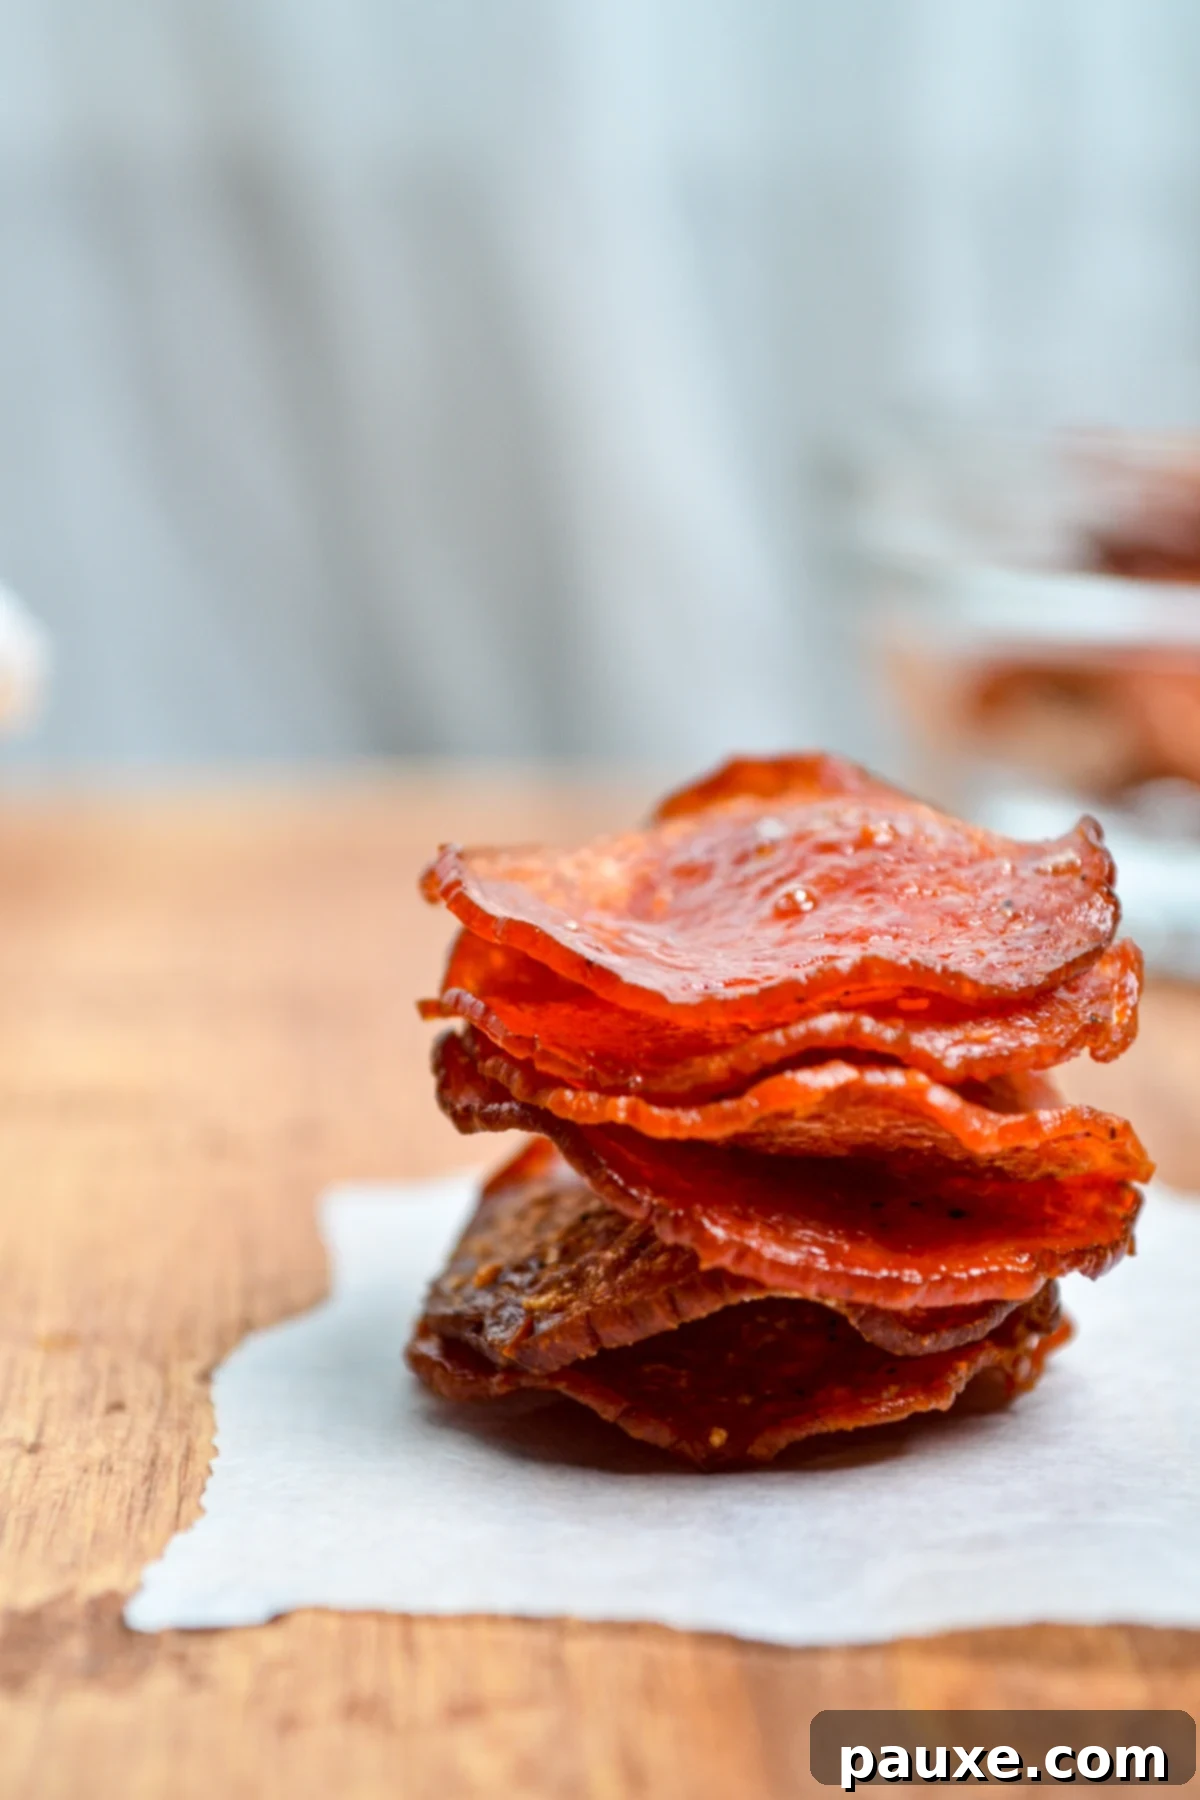
Gather Your Simple Supplies
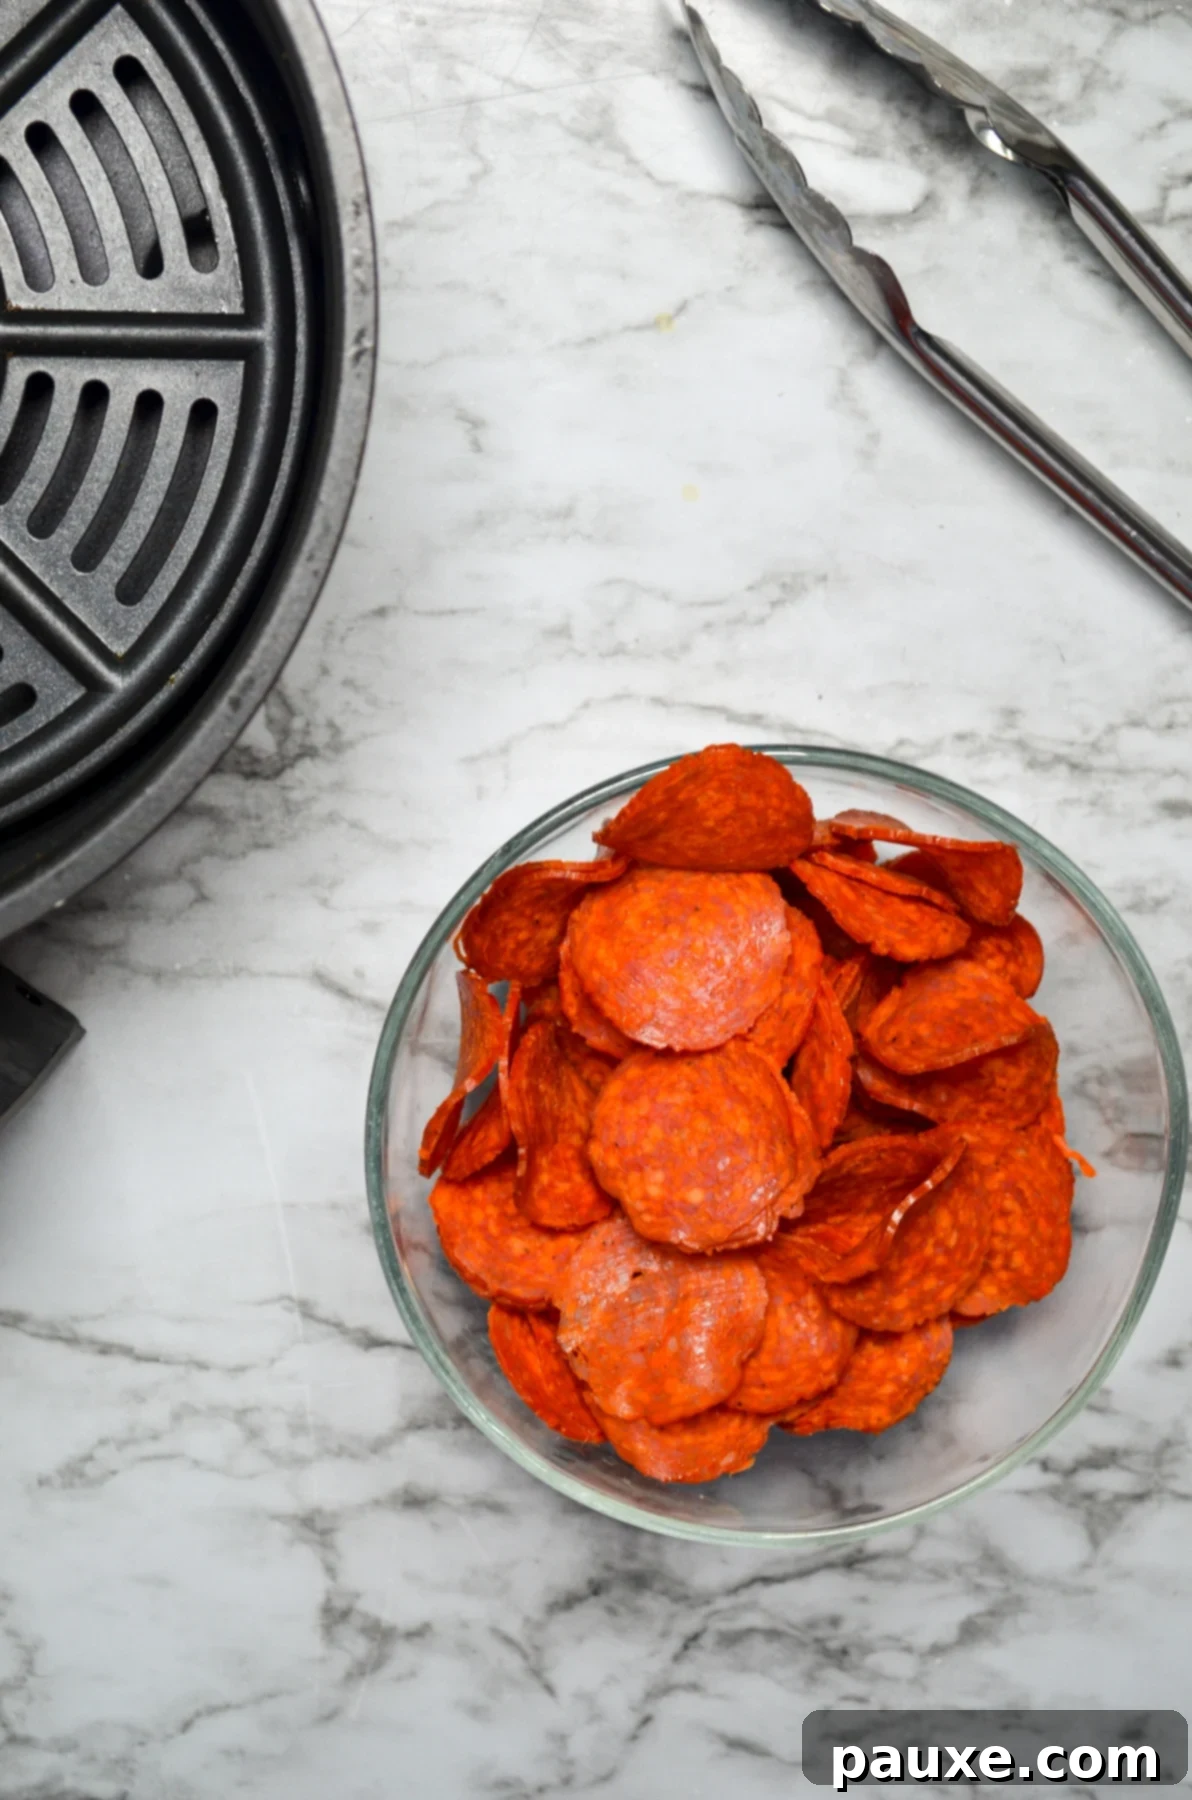
One of the most appealing aspects of this recipe is its minimal equipment and ingredient list. Beyond your trusty air fryer, preferably one with an adjustable temperature setting, all you’ll truly need is a reliable pair of tongs to handle the hot pepperoni and, of course, your chosen sliced pepperoni. It’s truly that straightforward!
Choosing the Right Pepperoni for Perfect Chips
For optimal results when making Air Fryer Pepperoni Chips, I strongly recommend opting for pre-sliced pepperoni. The kind typically found in vacuum-sealed packages, designed for topping pizzas, is ideal. This type of pepperoni is consistently thinly sliced, which is crucial for ensuring that each piece crisps up beautifully and evenly in the air fryer. The thinness allows the fat to render quickly, creating that desirable crunchy texture without becoming tough or chewy.
While slicing pepperoni from a log might seem like a more economical or traditional approach, it’s generally not recommended for this specific recipe. Achieving the uniform thinness required for truly crispy chips at home, even with a sharp knife, can be quite challenging. Thicker slices tend to remain chewy in the center or burn on the edges before the middle fully crisps, leading to an inconsistent and less satisfying chip. Stick to the pre-sliced variety for guaranteed success and a delightful snack every time.
My Top Air Fryer Recommendations for Crispy Results:
Having experimented with various models, I’ve found certain air fryers truly excel at delivering consistent, crispy results for recipes like these pepperoni chips. Here are a couple of my favorites that I confidently recommend:
- Ninja 4 qt. Air Fryer: This model is very similar to the one I currently rely on in my own kitchen. It’s perfectly sized for small families or individuals and offers excellent performance and reliable crisping capabilities. Its compact design also makes it a great choice for kitchens with limited counter space.
- Ninja 8 qt. Double Basket Air Fryer: For larger families, frequent entertainers, or anyone who loves to cook multiple items simultaneously, this double-basket air fryer is an absolute winner. It significantly increases your cooking capacity, allowing you to prepare more pepperoni chips (or other dishes) in one go. This is definitely the model I have my sights set on for my next upgrade!
The Simple Steps to Air Fryer Pepperoni Chips Perfection
Creating these delightful pepperoni chips is incredibly straightforward. Follow these easy steps to achieve perfectly crispy, savory snacks every time:
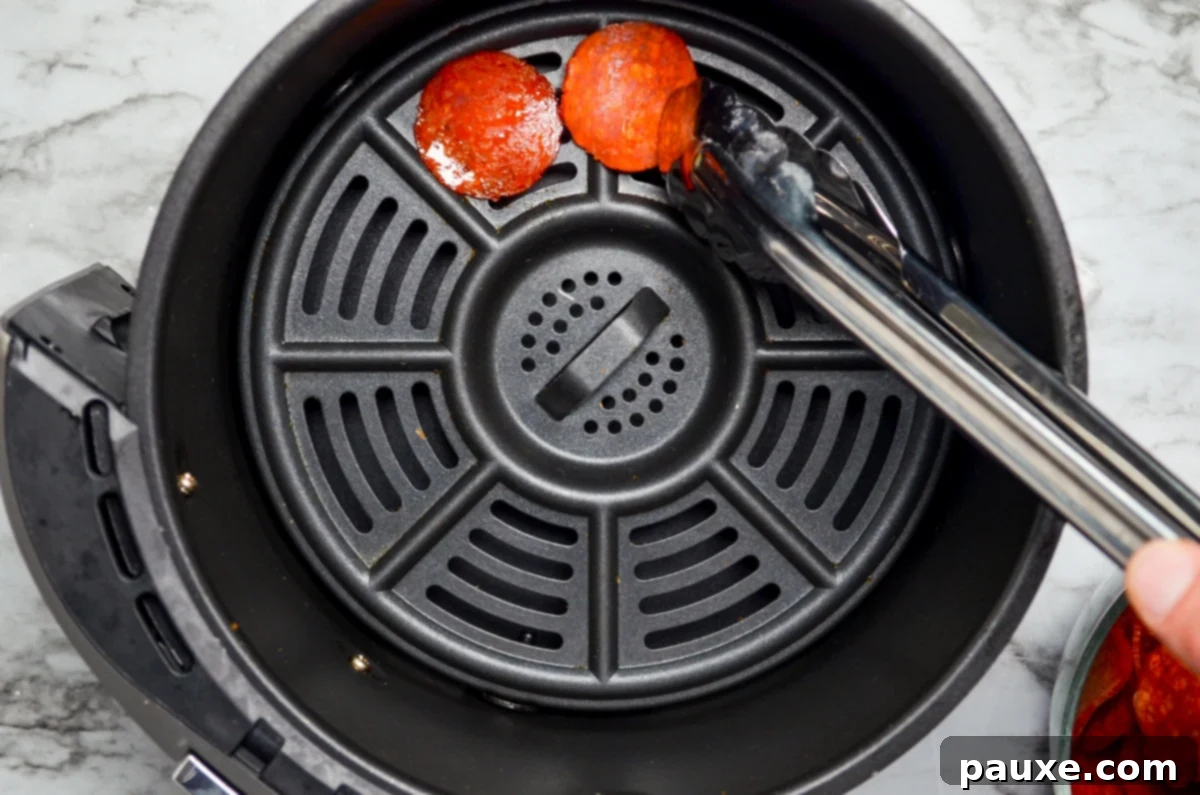
1. Begin by preheating your Air Fryer basket. Ensure the crisping tray (if your model has one) is inserted. Set your air fryer to 400°F (200°C) and allow it to preheat for approximately 3 minutes. A useful trick I employ is setting the timer for 7 minutes, then simply hitting the pause button once the 4-minute mark is reached. Preheating is a crucial step that ensures the pepperoni starts cooking immediately upon entering the basket, promoting even crisping and preventing a soggy texture.
2. Carefully transfer the pepperoni slices into the preheated air fryer. Once your air fryer basket is adequately preheated, use a pair of tongs to arrange the pepperoni slices inside. While they can overlap a tiny bit, it’s best to aim for a single layer as much as possible. This approach allows the hot air to circulate freely around each slice, resulting in the most consistent and crispiest outcome. Don’t worry if they move around slightly during cooking; the airflow is part of the magic!
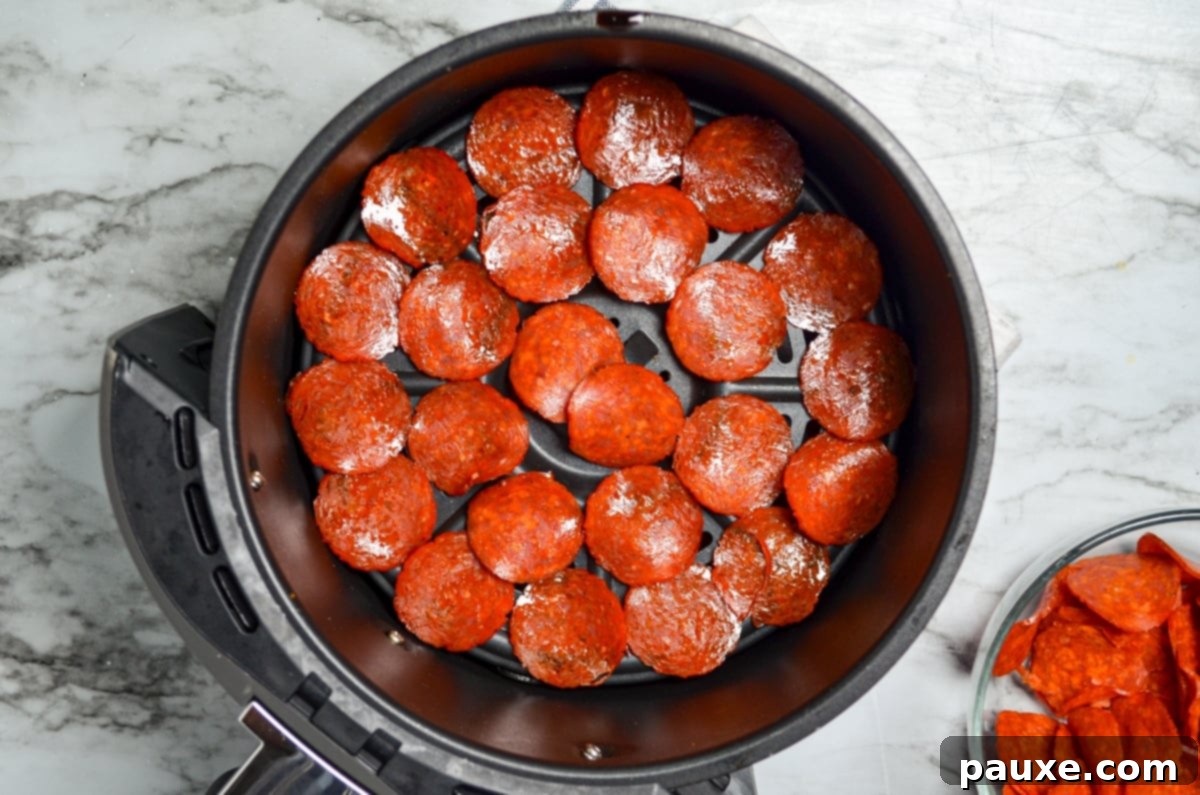
3. Cook the pepperoni to crispy perfection. With a single layer of pepperoni slices now filling your crisping tray, slide the basket back into the air fryer. Select the air fryer function and cook for precisely 4 minutes at 400°F (200°C). This optimal time and temperature combination ensures the pepperoni becomes beautifully golden and crisp without burning.
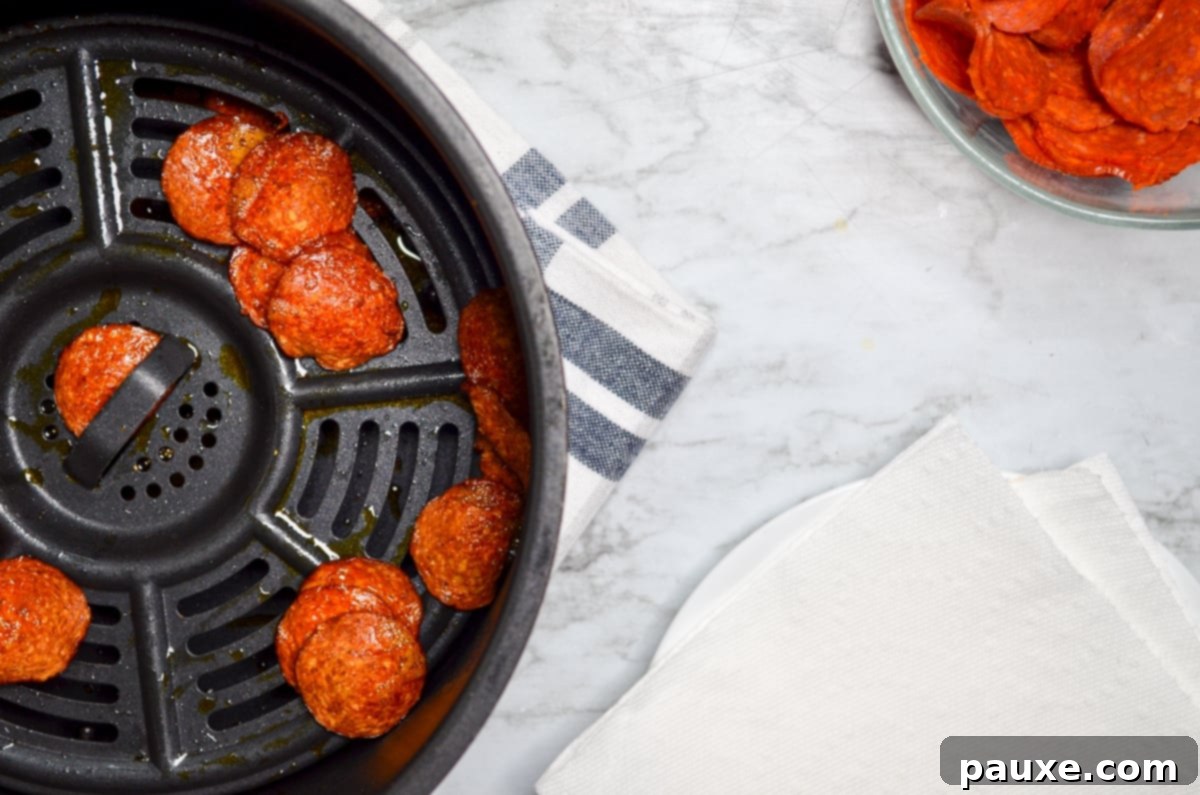
4. Remove the cooked pepperoni. Once your air fryer signals that the cooking cycle is complete, carefully remove the basket from the unit. Place it immediately onto a heat-resistant surface, such as a hot pad or trivet, to protect your countertops.
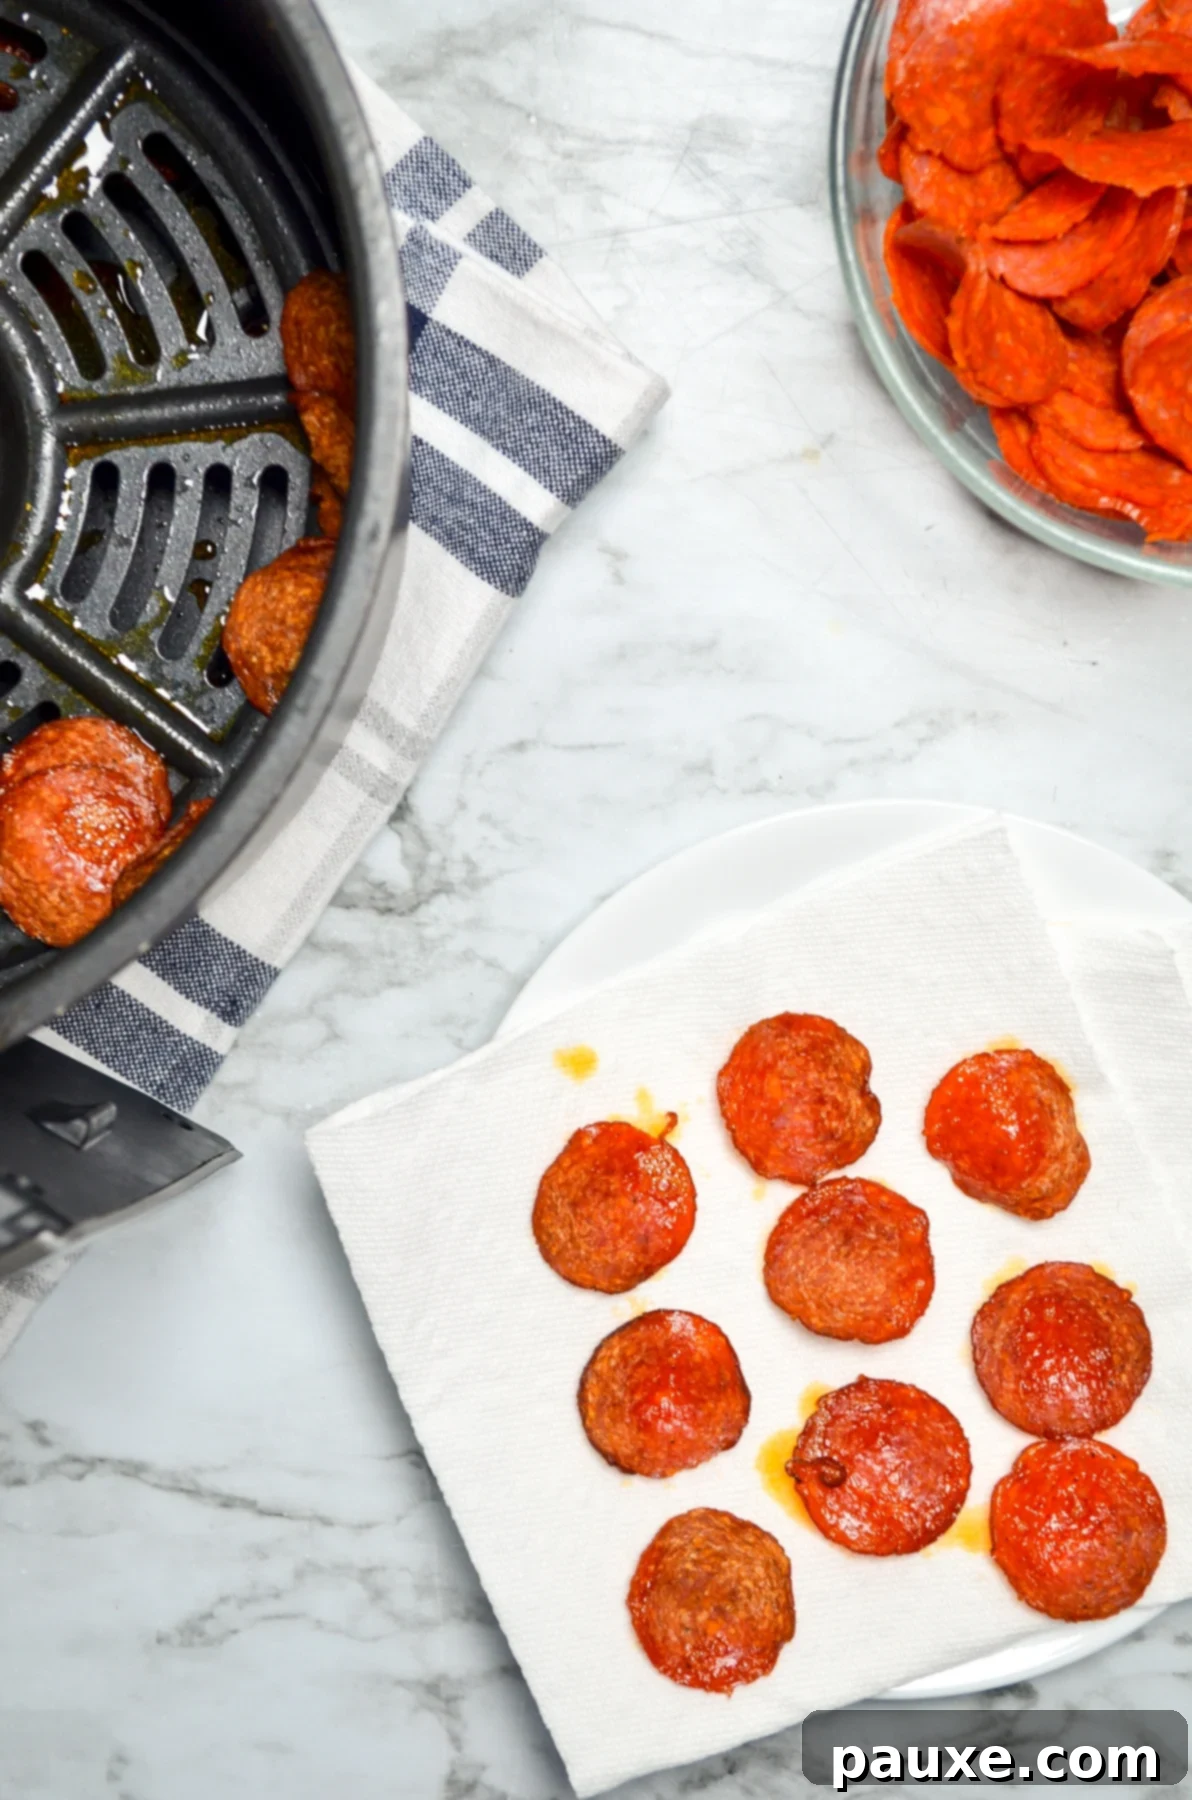
5. Prepare for draining. While the pepperoni is still hot, ready a plate or platter by layering it with two sheets of paper towel. This absorbent surface is crucial for drawing out any excess grease from the cooked pepperoni, which not only makes the chips healthier but also helps them achieve and maintain maximum crispness as they cool.

6. Drain the pepperoni chips. Using your tongs, quickly and gently transfer the hot, freshly air-fried pepperoni slices from the basket to the prepared paper towel-lined plate. Arrange them in a single layer if possible, to allow for efficient grease absorption.
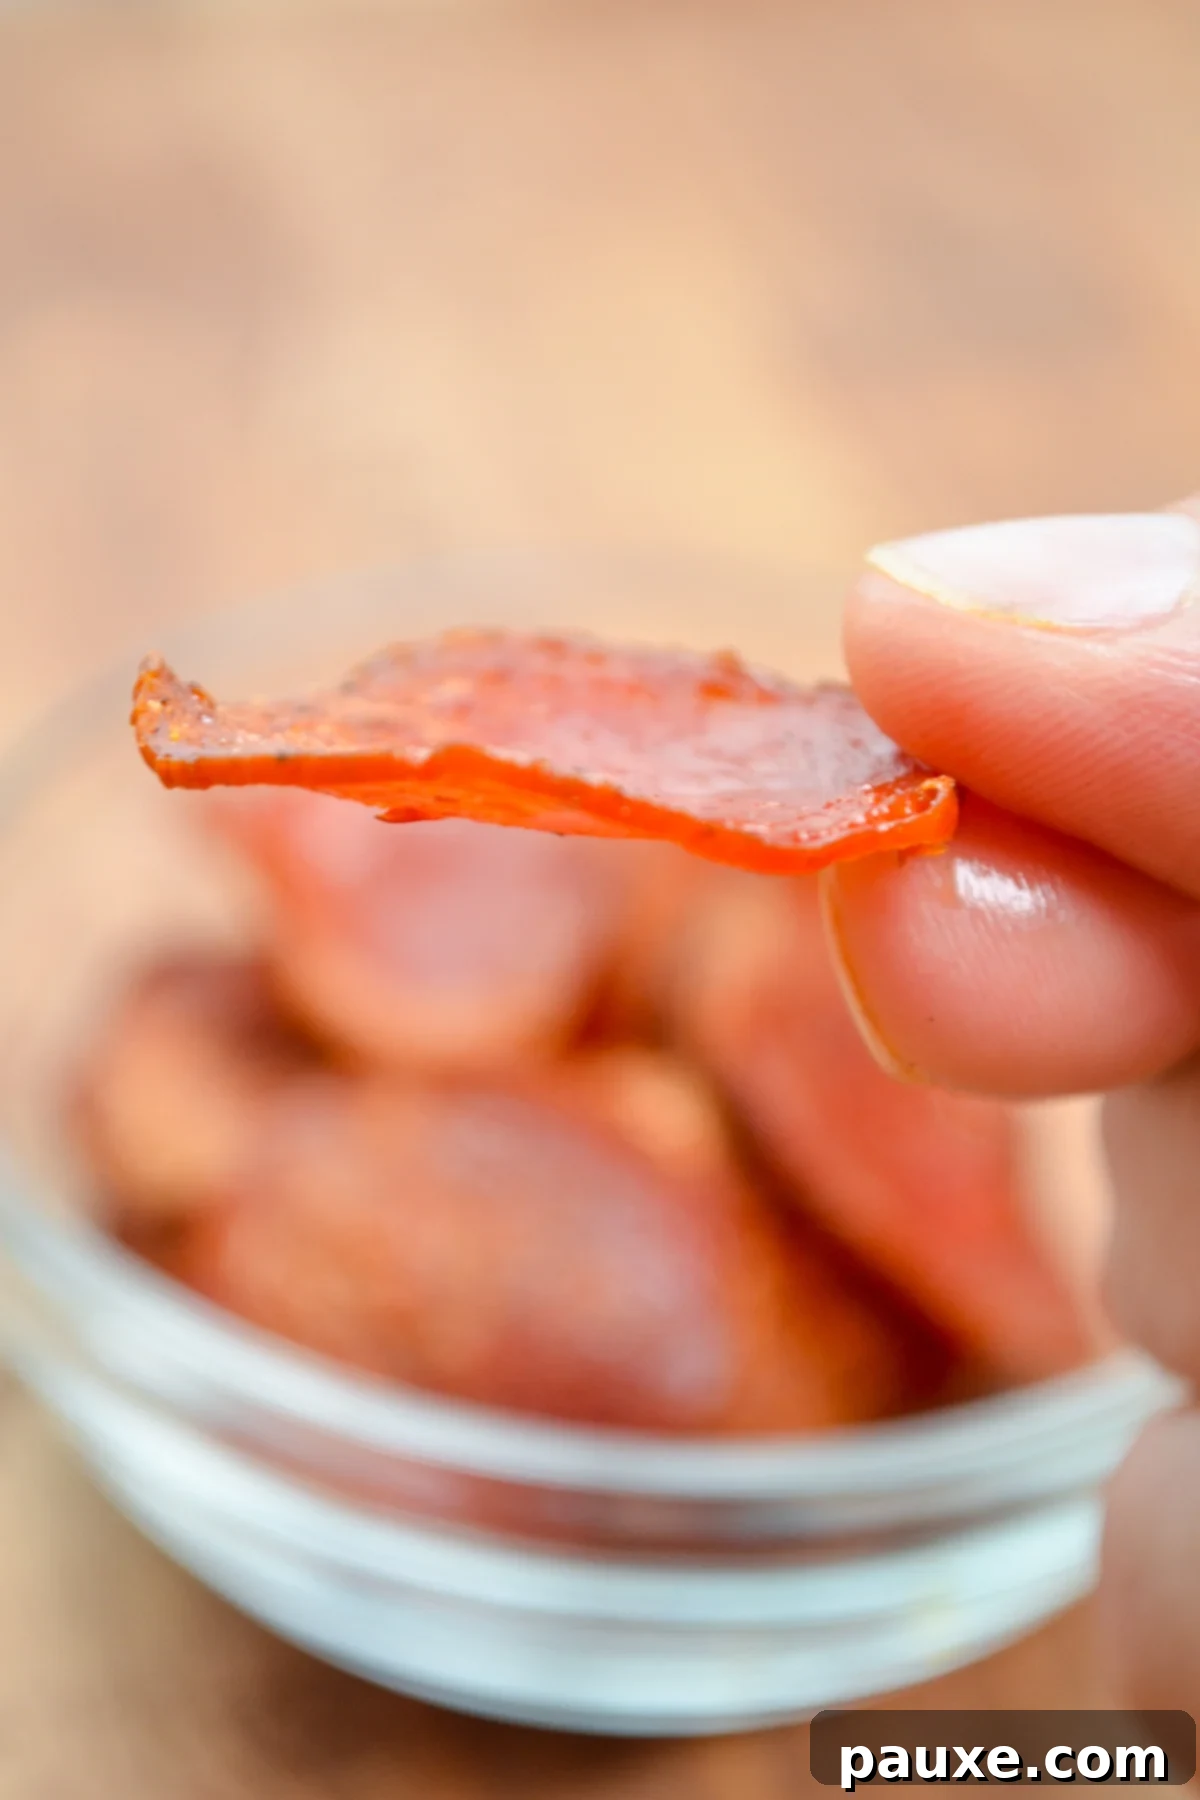
7. Allow them to cool and crisp. Let the pepperoni chips drain on the paper towel for approximately 5 minutes. During this time, flip them over once to ensure both sides release any residual grease. This cooling and draining period is vital for their texture, allowing them to transform from slightly pliable to perfectly crisp and crunchy. Once cooled, they are ready to be served and savored!
Frequently Asked Questions: Air Fryer Pepperoni Chips
For achieving optimal crispness and convenience, I highly recommend using thinly sliced pepperoni that comes in pre-packaged bags. This is the same type of pepperoni you’d typically buy to put on a pizza. Attempting to slice pepperoni thinly enough from a whole log at home can be quite challenging and often results in uneven pieces that don’t crisp consistently. Save yourself the effort and opt for the pre-sliced variety for perfectly crispy chips.
To ensure your pepperoni chips are as crispy and less greasy as possible, it’s essential to drain them properly after frying. Once cooked, transfer the hot pepperoni slices to a plate or tray lined with two layers of paper towel. Allow them to drain for about 5 minutes, making sure to flip them once halfway through. The paper towel will efficiently absorb the excess grease, leaving you with wonderfully crispy, delightful pepperoni chips.
Absolutely! Pepperoni is an excellent choice for individuals following a ketogenic or low-carb diet. It is inherently very low in carbohydrates, typically containing less than 1 gram per serving, while being rich in protein and healthy fats. This macronutrient profile makes it a highly satisfying and energy-dense snack that can help keep you full and curb cravings. However, like all foods, moderation is key, and it’s always advisable to consult with your doctor or a registered dietitian to determine the best dietary choices for your individual health needs and goals.
Yes, you can certainly prepare larger quantities. However, to ensure even cooking and maximum crispness, it’s crucial to cook them in single layers in the air fryer. Overcrowding the basket will lead to steamed, rather than crispy, results. The good news is that because the air fryer retains heat, you can skip the initial preheating step for subsequent batches. Simply preheat once, then continue cooking batches back-to-back.
There are a few factors that can affect crispness. First, ensure your pepperoni is thinly sliced. Second, avoid overcrowding the air fryer basket; always cook in a single layer. Third, make sure your air fryer is fully preheated to the correct temperature. Finally, don’t skip the draining step on paper towels; this is crucial for removing excess fat that can prevent optimal crisping.
Explore Other Delicious Low Carb and Keto Air Fryer Recipes:
If you’re loving the ease and versatility of your air fryer for low-carb and keto cooking, here are some other fantastic recipes from trusted sources to inspire your next meal or snack:
- Air Fryer Whole Chicken – Joy Filled Eats: A hearty and impressive meal made surprisingly simple in the air fryer.
- Air Fryer Chicken Tenders – Lexi’s Clean Kitchen: Crispy, juicy chicken tenders without the deep-frying mess.
- Easy Air Fryer Bacon and Cream Cheese Stuffed Jalapeno Poppers – Stay Snatched: A flavorful and indulgent appetizer that’s perfect for parties.
- Air Fryer Zucchini Chips – Wholesome Yum: A light and healthy vegetable chip alternative.
- Air Fryer Parmesan Shrimp – Bitz and Giggles: Quick-cooking shrimp with a savory, cheesy crust.

Air Fryer Pepperoni Chips
Print
Pin
Rate
Ingredients
- 24 slices Pepperoni
Instructions
- With the basket insert inside of the Air Fryer, preheat your air fryer to 400F (200C) for 3 minutes. This initial preheating step is key to ensuring your pepperoni starts crisping up immediately.
- Once the air fryer has preheated for 3 minutes, carefully add the pepperoni slices using a pair of tongs. While a slight overlap is acceptable, try to arrange them in a single layer as much as possible. Overpacking the basket will prevent proper air circulation and result in less crispy chips.
- Once you have a full, single layer of pepperoni slices in the basket, place it back into the air fryer unit and cook for 4 minutes at 400F (200C). This short, hot burst of cooking is perfect for achieving crispness.
- When the air fryer beeps, signaling that the cooking time is complete, carefully remove the basket from the unit. Place it on a heat-safe surface, such as a hot pad or trivet.
- Prepare a plate or a tray by lining it with a double layer of paper towel. This will absorb the excess oil and contribute to the final crispness of your chips.
- Working quickly, use your tongs to remove the hot pepperoni slices from the air fryer basket and transfer them to the paper towel-lined plate to drain.
- Allow the pepperoni slices to drain for 5 minutes, flipping them over once during this period to ensure both sides release oil and cool evenly. This step is crucial for achieving that ultimate crispy texture.
- After the 5 minutes are up and the chips are cooled and crispy, transfer the pepperoni chips to a small airtight container for storage or serve them immediately for the best fresh crunch.
Notes
If you plan to prepare larger quantities of these delightful pepperoni chips, perhaps for a party or simply to have on hand for quick snacking, remember that the key to ultimate crispness is cooking them in single layers. While this means more batches, the good news is that once your air fryer is initially heated, you can skip the preheating step between subsequent batches. This significantly speeds up the overall process, allowing you to produce a substantial amount of crispy chips efficiently.
For Gluten-Free Considerations:
The good news for those with gluten sensitivities or celiac disease is that many pepperoni brands available today are formulated without fillers containing gluten, making them naturally gluten-free. However, it is always imperative to verify this directly by carefully checking the product labels of the brand you intend to purchase. Look for explicit “gluten-free” declarations or certifications, often indicated by a small logo at the bottom of the packaging, to ensure it meets your dietary requirements.
For Dairy-Free Needs:
Similar to gluten-free options, a growing number of pepperoni brands are now crafted to be dairy-free, making them suitable for individuals avoiding dairy. As with any specific dietary need, the best practice is to confirm the dairy-free status by thoroughly inspecting the packaging and ingredient list of your chosen pepperoni brand. While many common brands may naturally be dairy-free, a quick check of the label is the only way to be absolutely certain.
Nutrition
Please note that some of my blog posts here at Dash for Dinner may contain affiliate links. If you make a purchase through these links, I will get a small commission at no additional cost to you. Please see my Disclaimer for more information.
