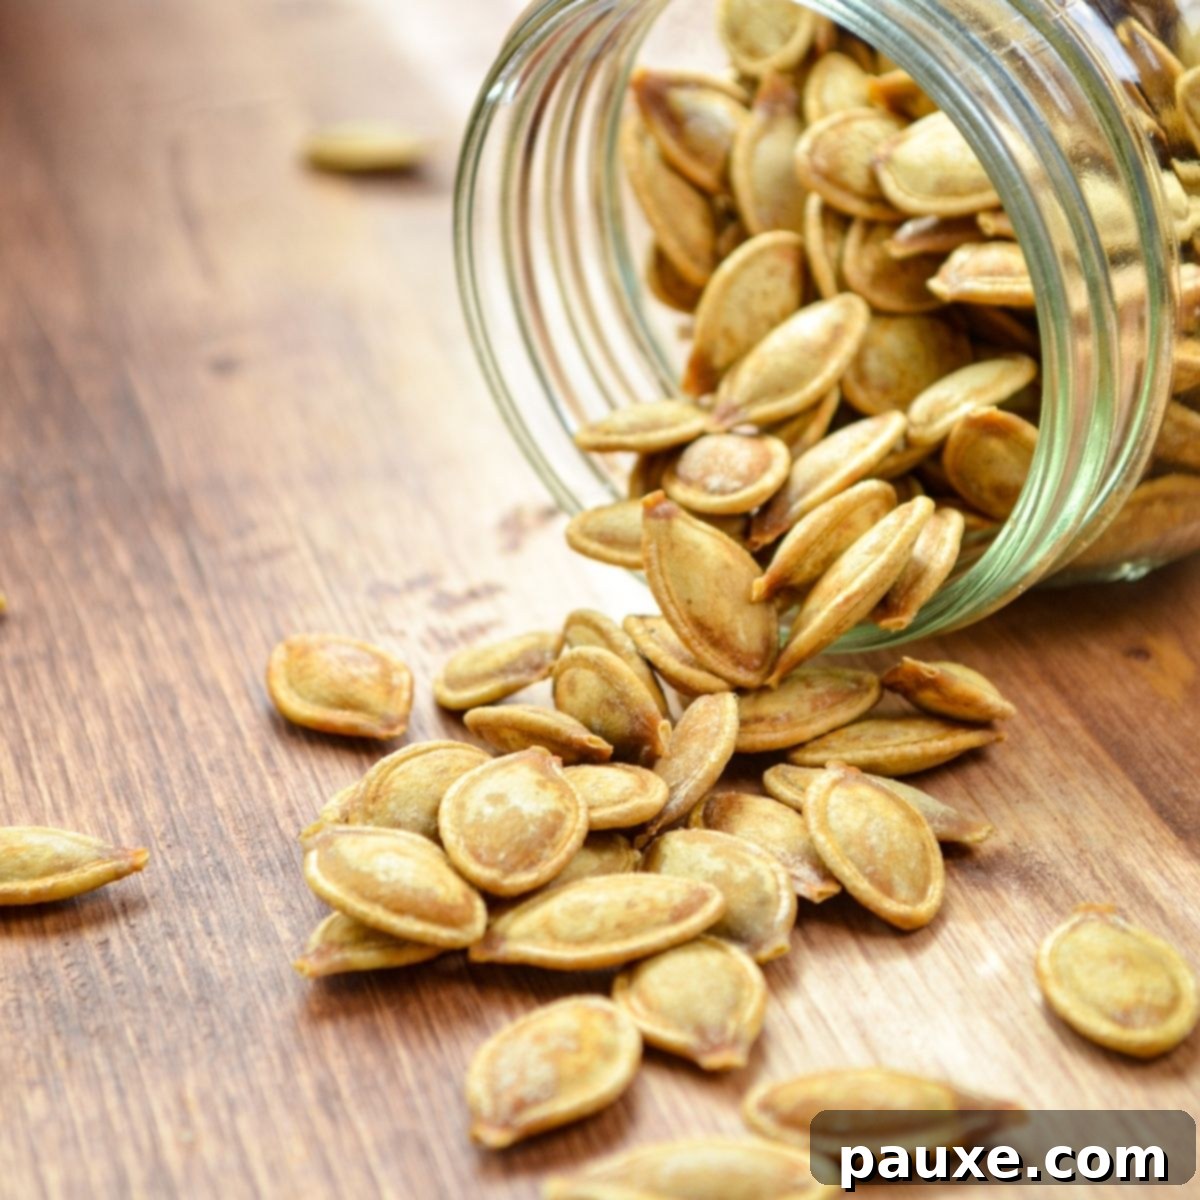
As the vibrant colors of autumn paint the landscape and a crisp, inviting coolness fills the air, Fall brings with it a beloved tradition: pumpkin carving! While the artistic endeavor of creating a spooky or whimsical jack-o’-lantern is undoubtedly a seasonal highlight, it also presents a golden opportunity to enjoy a delicious and often-overlooked seasonal treat – homemade roasted pumpkin seeds. Forget the cumbersome oven and the frustration of uneven baking; this year, let your air fryer revolutionize your pumpkin seed game, delivering consistently perfect results with minimal effort.
These air fryer roasted pumpkin seeds are not just incredibly easy to prepare; they consistently turn out wonderfully crisp and golden every single time. It’s an ideal culinary activity to share with family, transforming a simple kitchen task into a fun and memorable experience, especially for kids. Beyond their delicious taste and ease of preparation, these seeds cater to a wide array of dietary preferences, being naturally low carb, keto-friendly, dairy-free, gluten-free, and completely vegan. Get ready to transform those humble pumpkin guts into a sensational, healthy snack that you’ll crave all season long!
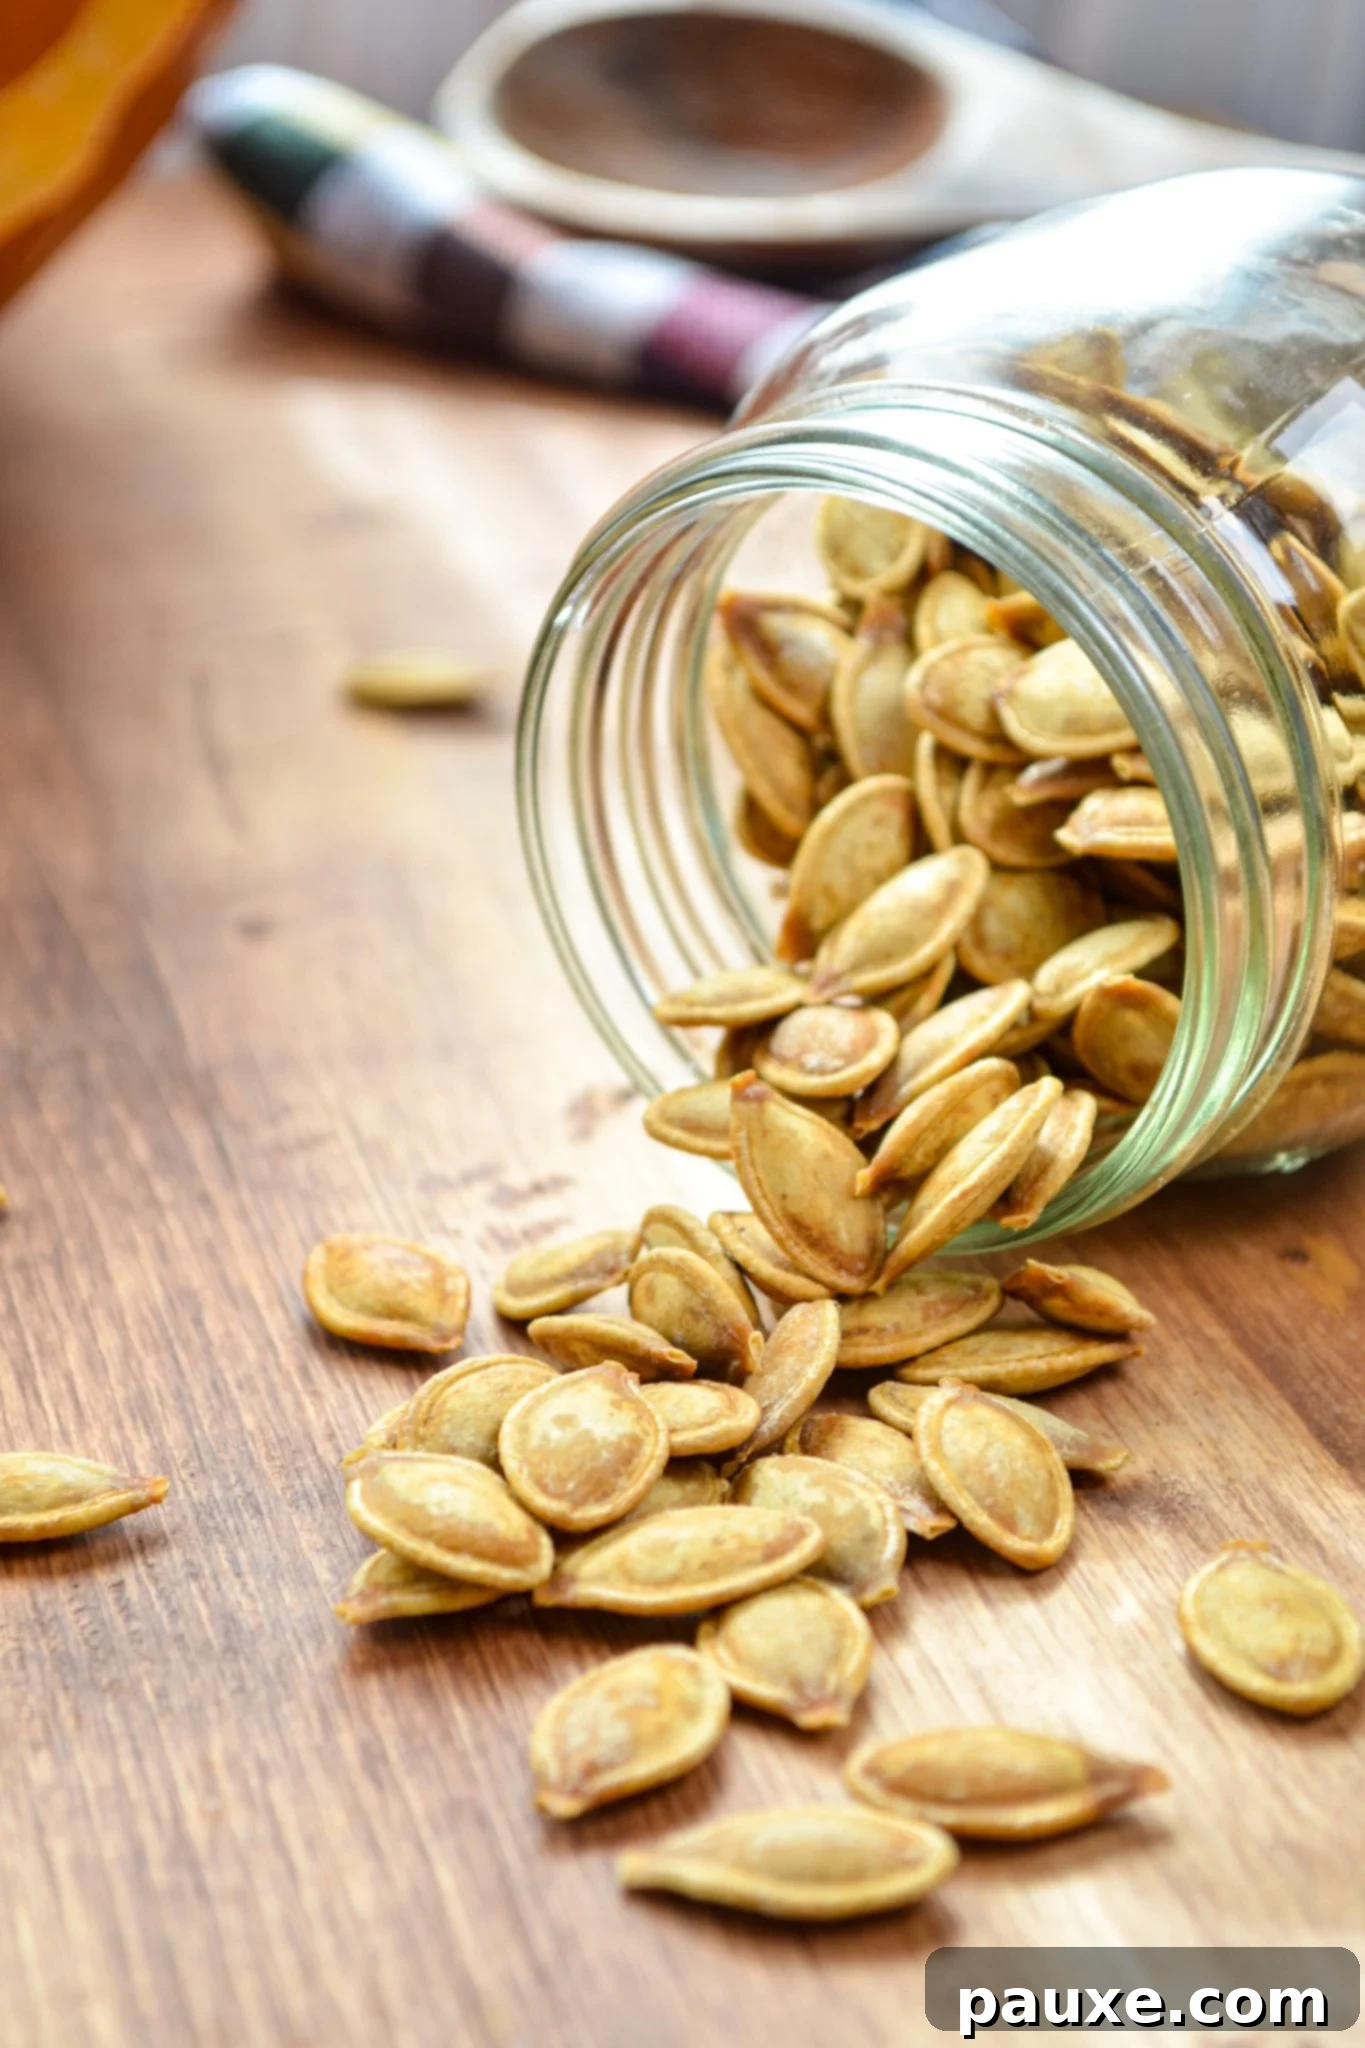
The Air Fryer Advantage: Why It’s Perfect for Pumpkin Seeds
For many years, the process of roasting pumpkin seeds typically involved preheating a large conventional oven, carefully spreading the seeds across a baking sheet, and diligently flipping them to ensure an even crispness. The results, more often than not, were a bit of a gamble – some seeds might come out burnt, while others remained stubbornly chewy. However, since embracing the air fryer as my ultimate kitchen appliance, I’ve discovered its unparalleled ability to consistently deliver perfectly roasted results for snacks just like these.
The air fryer’s powerful convection cooking method works by rapidly circulating superheated air around the food. This mechanism effectively mimics the crisping effect of deep frying, but with significantly less oil, making it a healthier alternative. For pumpkin seeds, this means an incredibly crunchy texture, beautiful golden-brown color, and uniform doneness in a fraction of the time, all with minimal fuss and cleanup. This “spooky season,” as we embarked on our annual pumpkin carving adventure, I naturally put my favorite countertop companion to the test with our freshly harvested pumpkin seeds. Enlisting the enthusiastic help of my husband and our young son, we transformed the carving process into a delightful family event, culminating in these absolutely fantastic air fryer roasted pumpkin seeds. The outcome was so remarkably delicious and effortless that I am now completely convinced this will be our exclusive method for preparing them from this point forward!
Essential Ingredients for Your Crispy Air Fryer Pumpkin Seeds
Crafting these delectable air fryer pumpkin seeds requires only a handful of fundamental ingredients. This simplicity allows the inherent, wholesome flavor of the pumpkin seeds to truly shine through, resulting in an irresistible and satisfying snack. Focusing on quality ingredients will undoubtedly make a significant difference in achieving that ultimate crunch and savory taste.
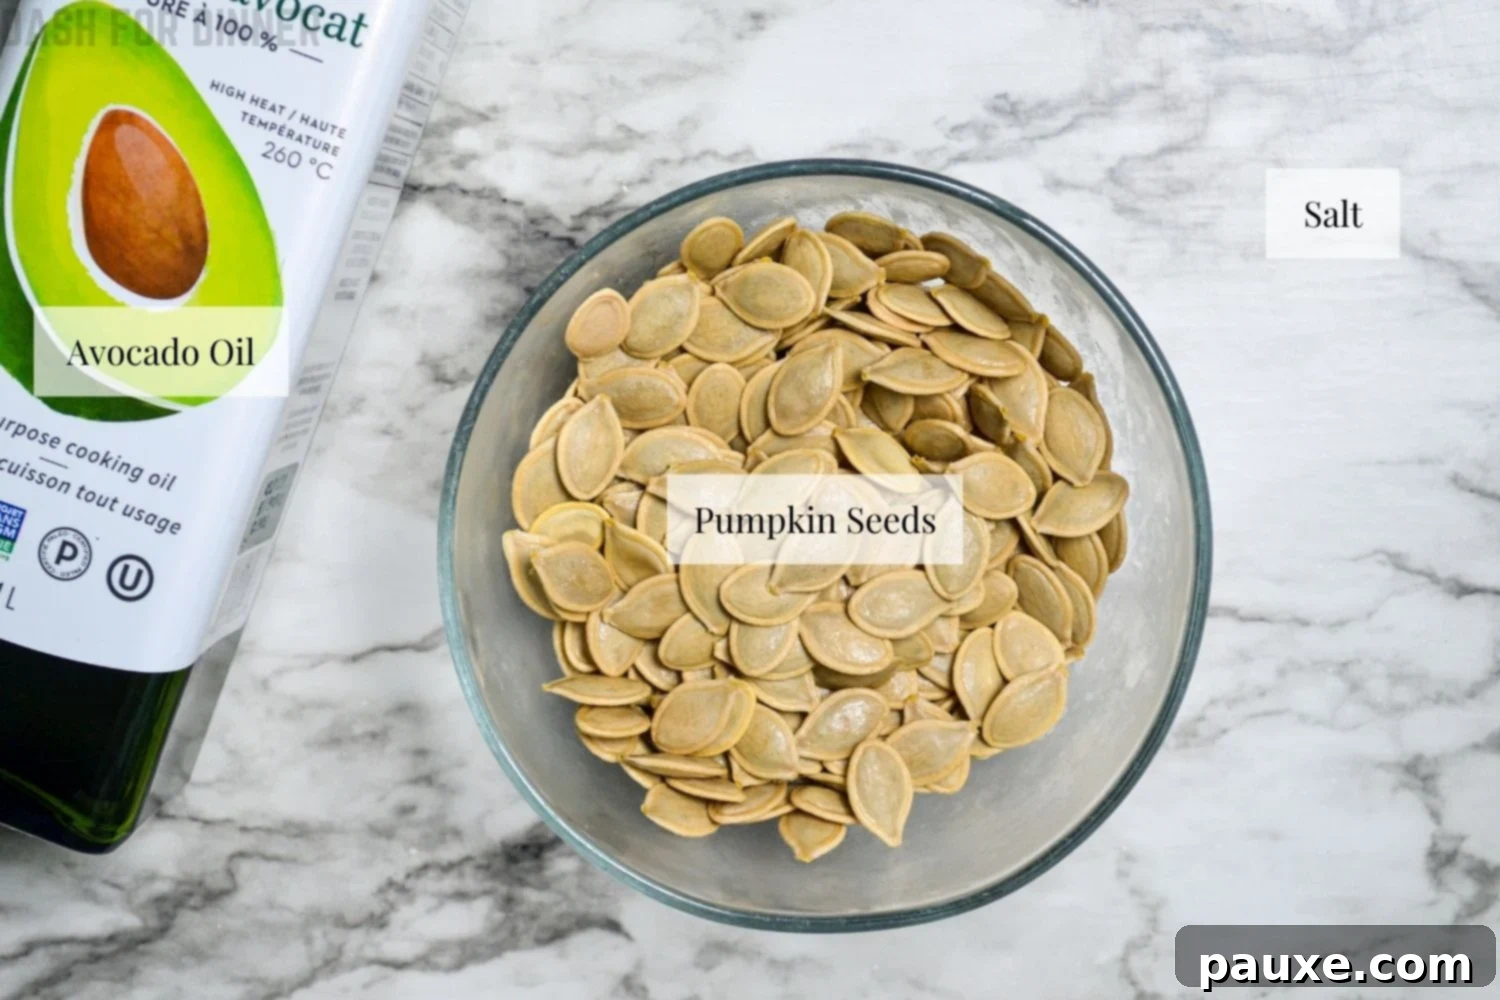
- Fresh Pumpkin Seeds: These are, of course, the indispensable star of our recipe! You can expect to yield approximately 1 ½ to 2 cups of cleaned seeds from a single medium-sized carving pumpkin. For the best flavor and texture, always aim for seeds from the freshest pumpkin possible. Pumpkins specifically intended for carving often contain larger, more robust seeds, which are ideal for roasting.
- Salt: A critical flavor enhancer that elevates the natural taste of the pumpkin seeds. I highly recommend using kosher salt for this recipe. Its larger crystal size adheres beautifully to the seeds, ensuring a delightful burst of savory goodness with every bite. If kosher salt is unavailable, fine table salt can be used; however, you will need to adjust the quantity accordingly (please refer to the substitution notes provided below). The salt incorporated during the initial boiling process is particularly important, as it pre-seasons the seeds from the inside out, guaranteeing a more deeply flavored and balanced snack.
- Avocado Oil: My absolute top recommendation for cooking with an air fryer. Avocado oil is prized for its exceptionally high smoke point and remarkably neutral flavor profile, making it the perfect choice for achieving desired crispiness without introducing any unwanted tastes. Other excellent neutral-tasting oils that also possess high smoke points and make great substitutes include canola oil, vegetable oil, sunflower oil, or even a light olive oil. If you are inclined towards a richer, more buttery flavor, 1 tablespoon of melted unsalted butter can be used instead of oil. However, if using butter, you might want to consider slightly reducing the air fryer’s cooking temperature to prevent the milk solids from burning prematurely.
Step-by-Step Guide: How to Properly Save Your Pumpkin Seeds
The delightful journey to perfectly roasted pumpkin seeds commences with the careful extraction and initial preparation of the seeds directly from your Halloween pumpkin. This preliminary process offers a fantastic opportunity to involve the entire family, making it an engaging and educational activity for everyone!
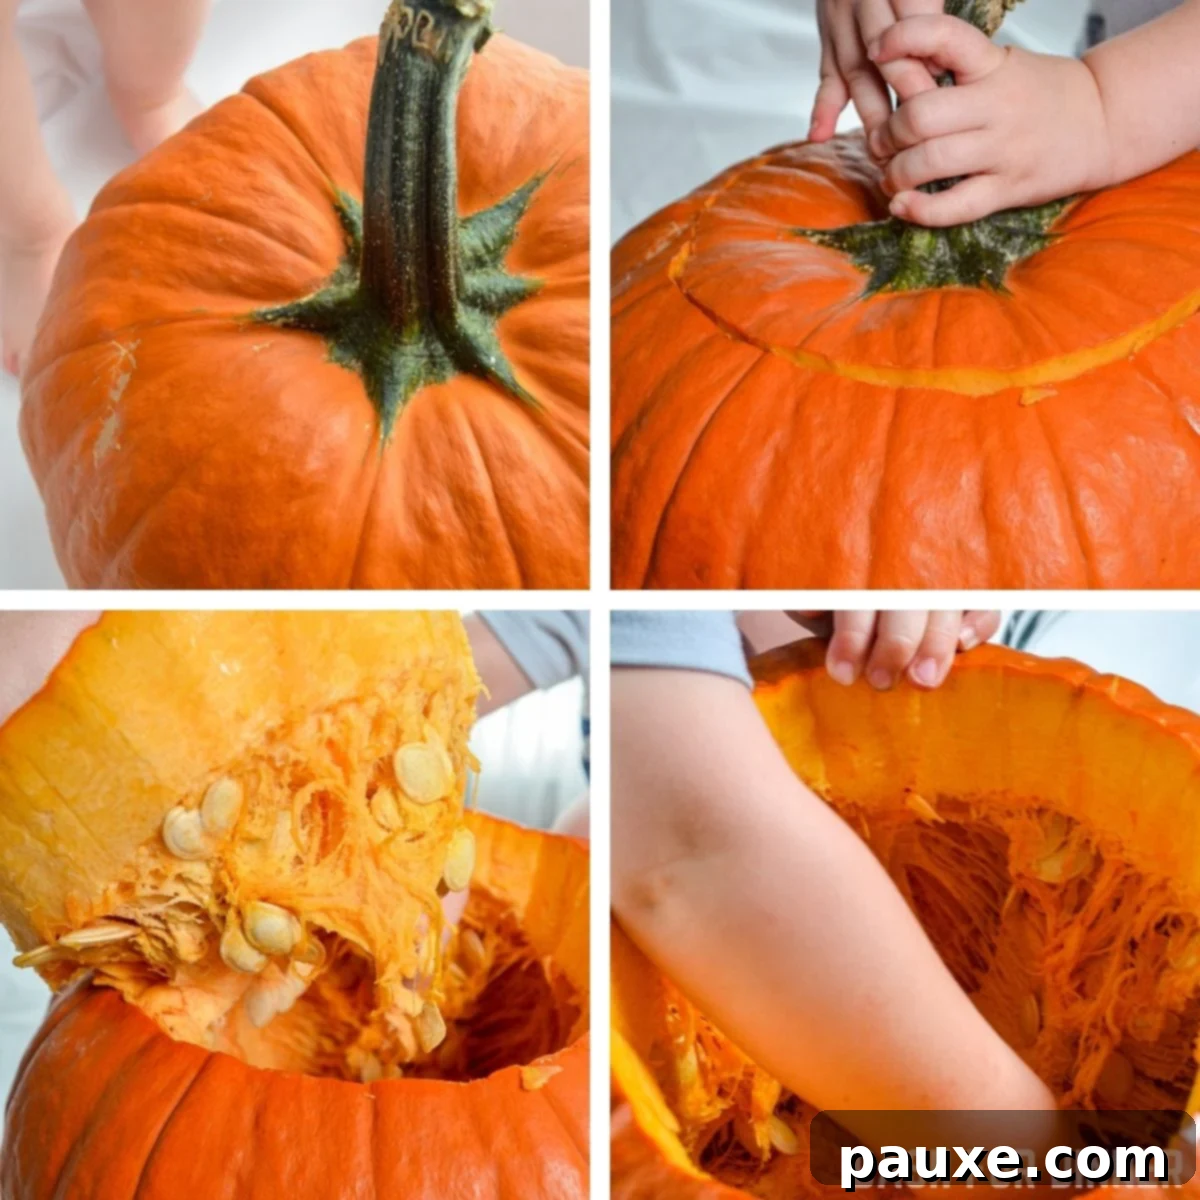
- Select Your Pumpkin Wisely: Begin by choosing a firm, healthy pumpkin that appears free from any noticeable blemishes, soft spots, or signs of decay. While any pumpkin will yield seeds, choosing a good quality one can make the scooping and cleaning process smoother and ensure better seeds.
- Carve the Top: Using a sharp, sturdy knife (a serrated pumpkin carving knife is often ideal for this task), carefully cut a circular or hexagonal opening around the pumpkin’s stem. For a lid that sits securely back in place, angle your knife slightly inwards as you cut.
- Remove the Lid and Initial Pulp: Gently pull the carved lid off, utilizing the stem as a convenient handle. You’ll observe a significant amount of stringy pulp and seeds clinging to the underside of the lid. Use your knife, a robust spoon, or a pumpkin scoop to carefully scrape off as much of this excess pulp and seeds as possible, transferring these into a designated bowl for subsequent cleaning.
- Thoroughly Scoop Out the Interior: Now, reach your hand deep into the pumpkin cavity. Employing your fingertips, a large sturdy spoon, or even a specialized pumpkin scoop, systematically scrape along the bottom and sides of the pumpkin to dislodge all remaining seeds and fibrous pulp. Be meticulous and thorough in this step; the cleaner the pumpkin, the more seeds you’ll salvage. Collect all scooped contents into your bowl.
- Perform an Initial Seed Separation: Once all the contents are in the bowl, manually separate the larger clumps of seeds from the most fibrous and stringy pulp. Don’t stress about achieving absolute perfection at this stage; the subsequent cleaning steps will effectively handle the finer, more stubborn pieces.
Thoroughly Cleaning Your Pumpkin Seeds for Optimal Roasting
The diligent cleaning of your pumpkin seeds is arguably the most crucial step in ensuring they roast evenly and develop that perfectly crispy texture you desire. Any lingering bits of pulp can easily burn during the air frying process or, worse, introduce unwanted moisture, leading to soggy rather than crispy seeds.
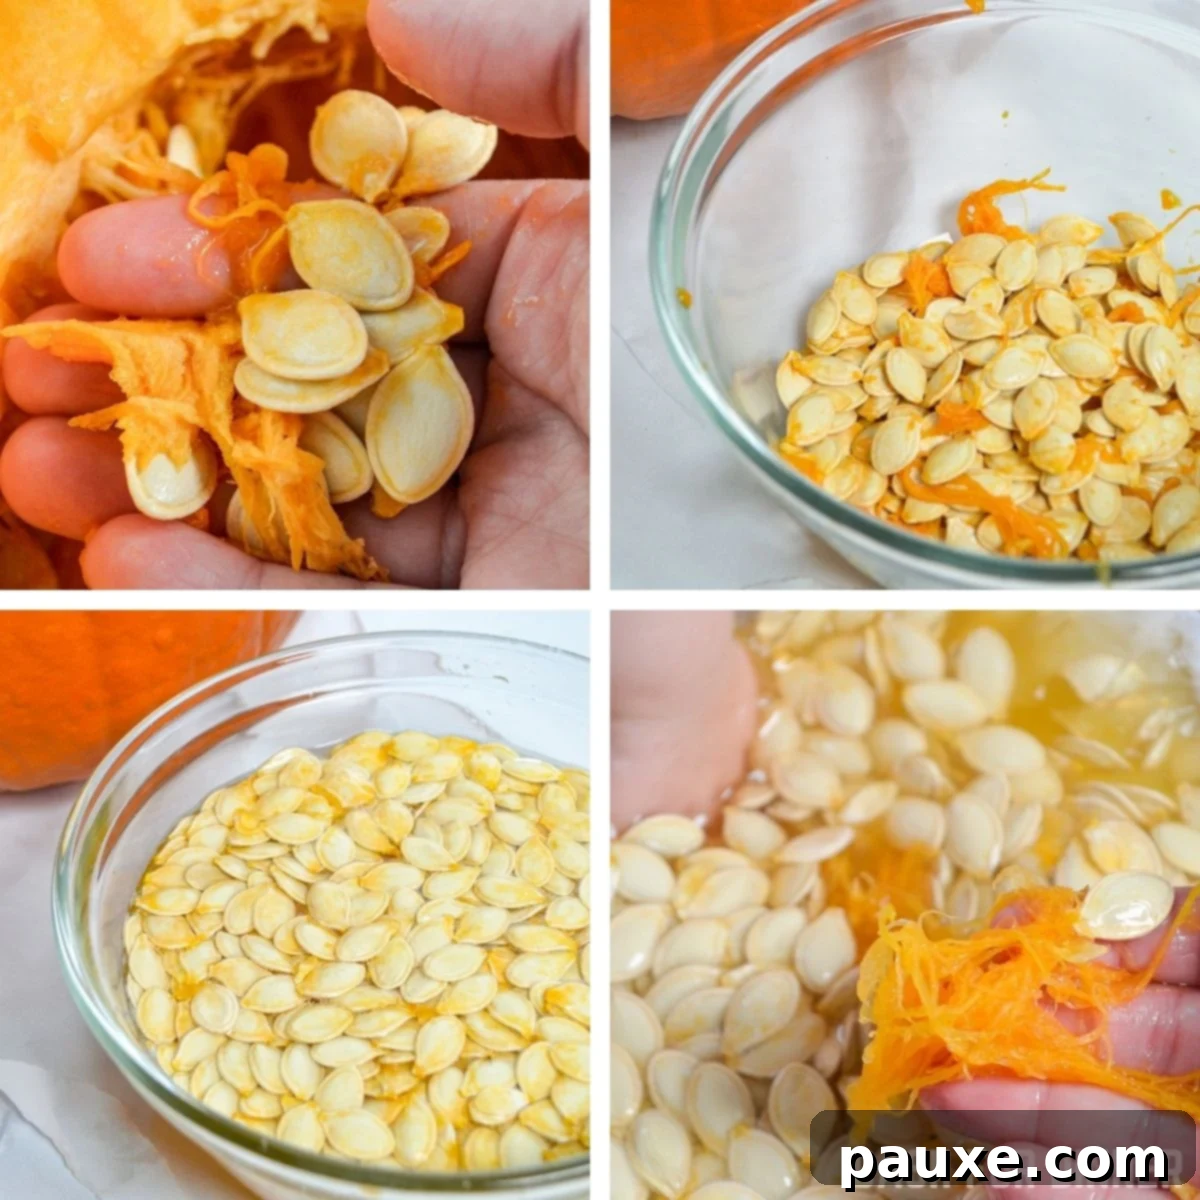
- First Rinse and Pulp Removal: Once you have successfully separated the bulk of the seeds from the thick, stringy pulp, transfer the collected seeds into a large mixing bowl. Fill the bowl generously with cool water. You will notice that the remaining stringy pulp and fibers tend to float to the surface, making them significantly easier to pick out and discard. Gently agitate the seeds with your hands, meticulously removing any persistent bits of stringy pulp or fibers. This step requires a degree of patience but is absolutely essential for achieving a truly clean and delicious snack.
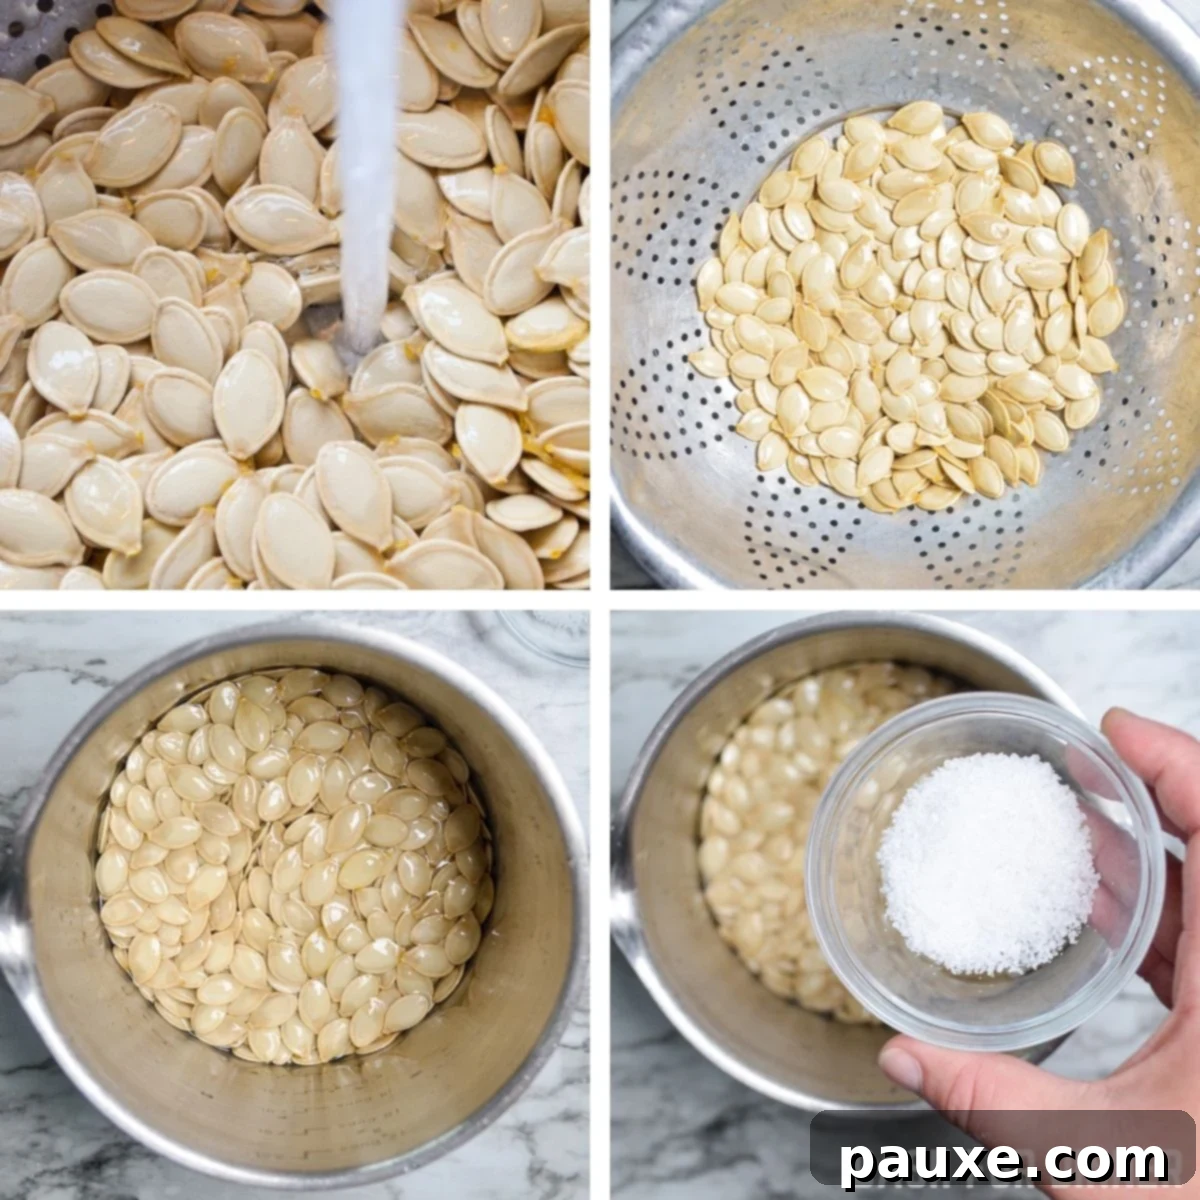
- Drain and Inspect: After the initial water bath, thoroughly drain your pumpkin seeds using a colander under a stream of running water. Give them a final, careful visual inspection to ensure all traces of pulp have been completely removed. If you spot any stubborn pieces, do not hesitate to rinse them again.
- Brine the Seeds for Enhanced Flavor and Texture: Now, transfer your impeccably clean pumpkin seeds to a medium-sized saucepan. Pour in 2 cups of fresh, potable water and add 1 tablespoon of kosher salt. Stir the mixture vigorously until the salt is fully dissolved and the seeds are well-coated. This brining step is absolutely fundamental to the success of the recipe – it not only infuses the seeds with a deep, savory flavor but also helps to gently soften their outer shells. This pretreatment is key to achieving a perfectly crisp exterior combined with a satisfyingly tender interior after roasting.
Mastering Air Fryer Pumpkin Seeds: The Precise Cooking Process
Now, we arrive at the most exciting part – transforming your perfectly brined and prepared seeds into golden, crunchy perfection right in your air fryer! Follow these detailed steps closely for consistently impeccable results.
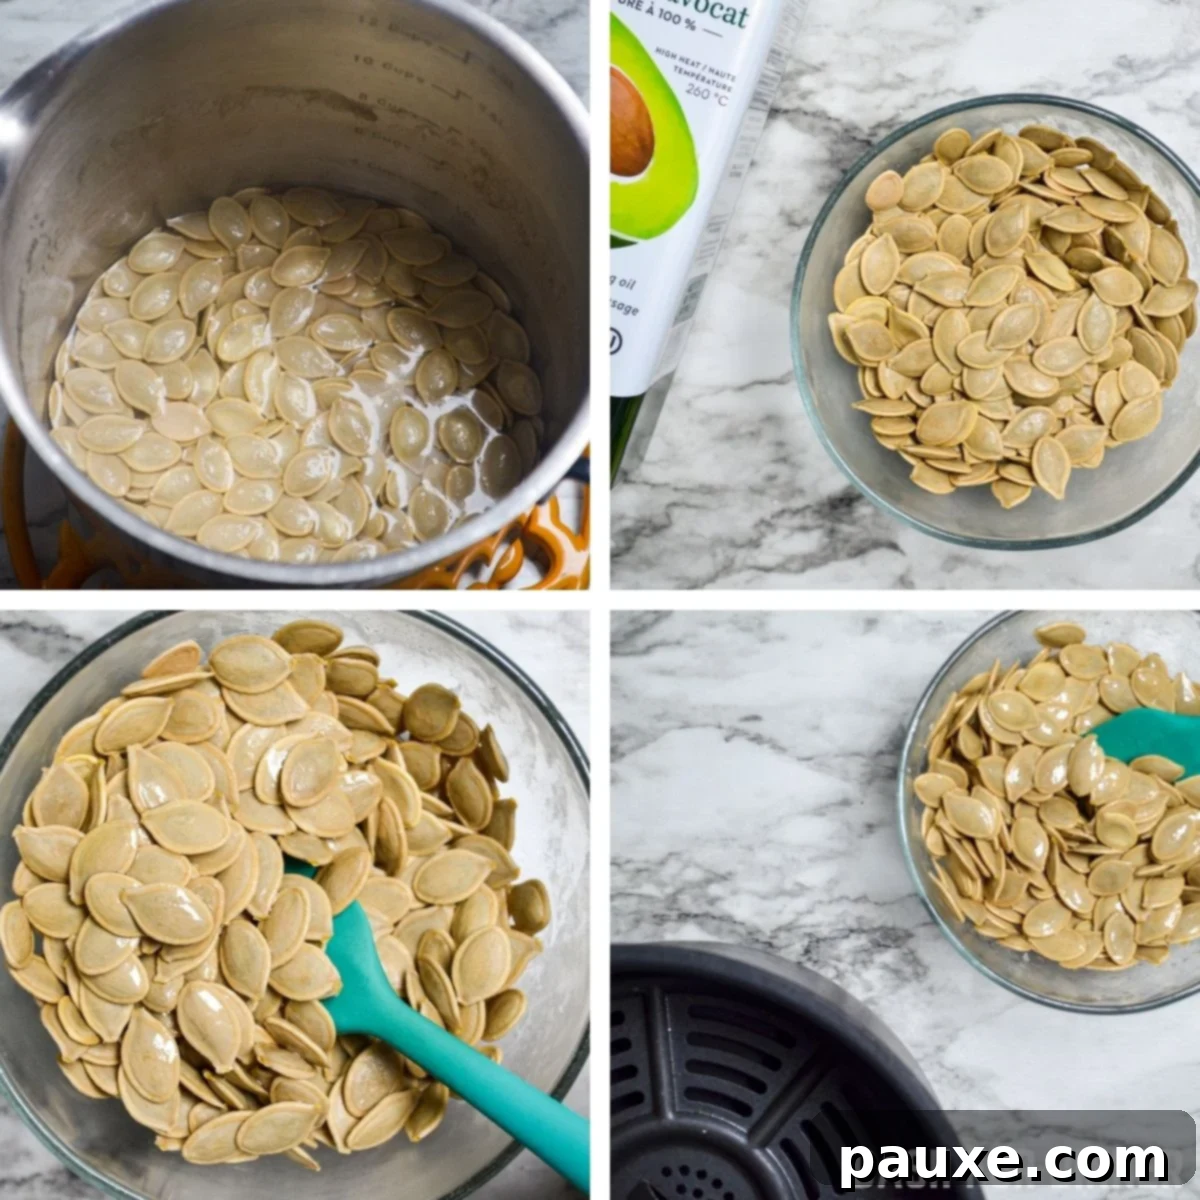
- Boil the Seeds: Bring the mixture of water, salt, and pumpkin seeds in the saucepan to a rapid boil over high heat. Once a rolling boil is achieved, reduce the heat to medium and allow the seeds to simmer gently for exactly 10 minutes. This simmering process extends the brining action and further tenderizes the seeds, setting them up for an ideal texture after air frying.
- Drain and Dry Thoroughly: After the 10-minute simmering period, drain your seeds once more using a colander. This step is critically important: you must pat the pumpkin seeds as dry as humanly possible using several layers of paper towels or a clean, absorbent kitchen towel. Any residual moisture is the absolute enemy of crispiness in an air fryer, so invest ample time and effort in this drying step.
- Season with Oil: Transfer the now-dry, boiled seeds into a clean, entirely dry bowl. Pour in the specified amount of avocado oil (or your preferred high-smoke-point oil) and toss them vigorously. Ensure that every single seed is uniformly coated with a thin layer of oil. The oil is fundamental for helping the seeds achieve that beautiful golden-brown color and irresistible crunch, and it plays a vital role in preventing them from burning or drying out.
- Preheat Your Air Fryer: Always, without exception, preheat your air fryer! This simple, quick step ensures that your food immediately begins cooking in an already hot environment, which is paramount for achieving consistent and supremely crispy results. Preheat your air fryer to 375°F (190°C) for a minimum of 3 minutes, or strictly adhere to your appliance’s manufacturer instructions for preheating times.
- Air Fry the Seeds: Once your air fryer has reached the preheated temperature, carefully add the seasoned pumpkin seeds to the air fryer basket. It is crucial to spread them out in a single, even layer as much as possible. Avoid the common pitfall of overcrowding the basket, as this will lead to the seeds steaming rather than crisping. If you have a larger batch of seeds, it is always best to cook them in multiple, smaller batches.
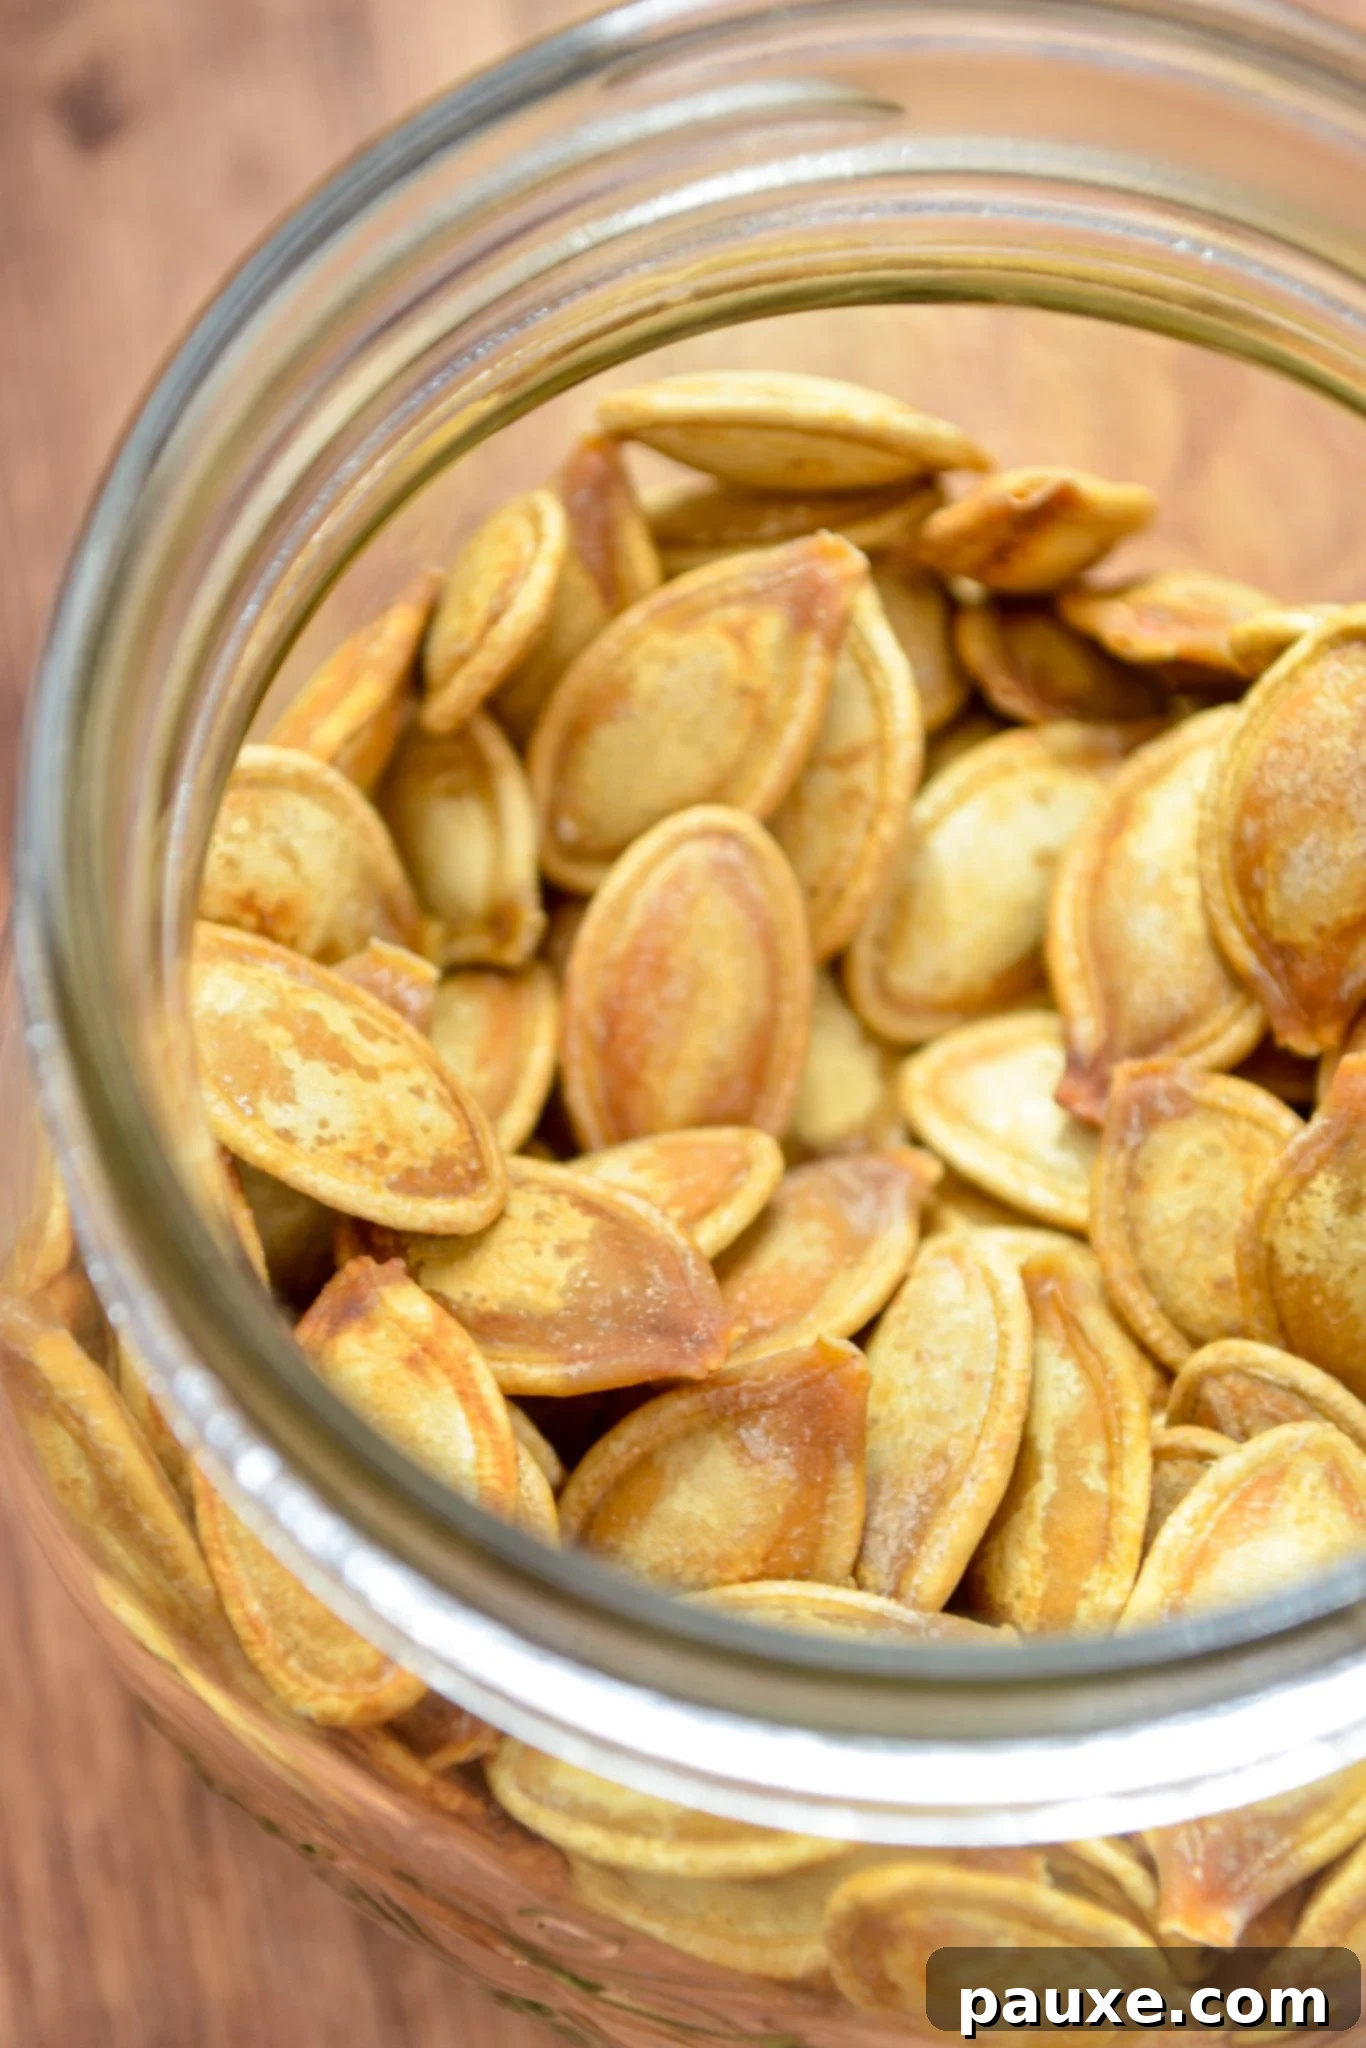
- Cook Until Golden and Crispy: Place the basket securely back into the air fryer and cook for a duration of 5-12 minutes. The precise cooking time will vary based on your specific air fryer model, its wattage, and, importantly, the size of your pumpkin seeds. Smaller seeds may reach perfect crispness in as little as 5-7 minutes, while larger, thicker seeds could require closer to 10-12 minutes.
- Shake for Even Browning: To guarantee that all sides of the seeds become uniformly crispy and beautifully golden brown, vigorously shake the air fryer basket at the halfway point of the cooking time. Ideally, repeat this shaking process a couple more times throughout the cooking cycle. It’s important to keep a close eye on them, especially during the final few minutes, as they can transition rapidly from perfectly golden to burnt.
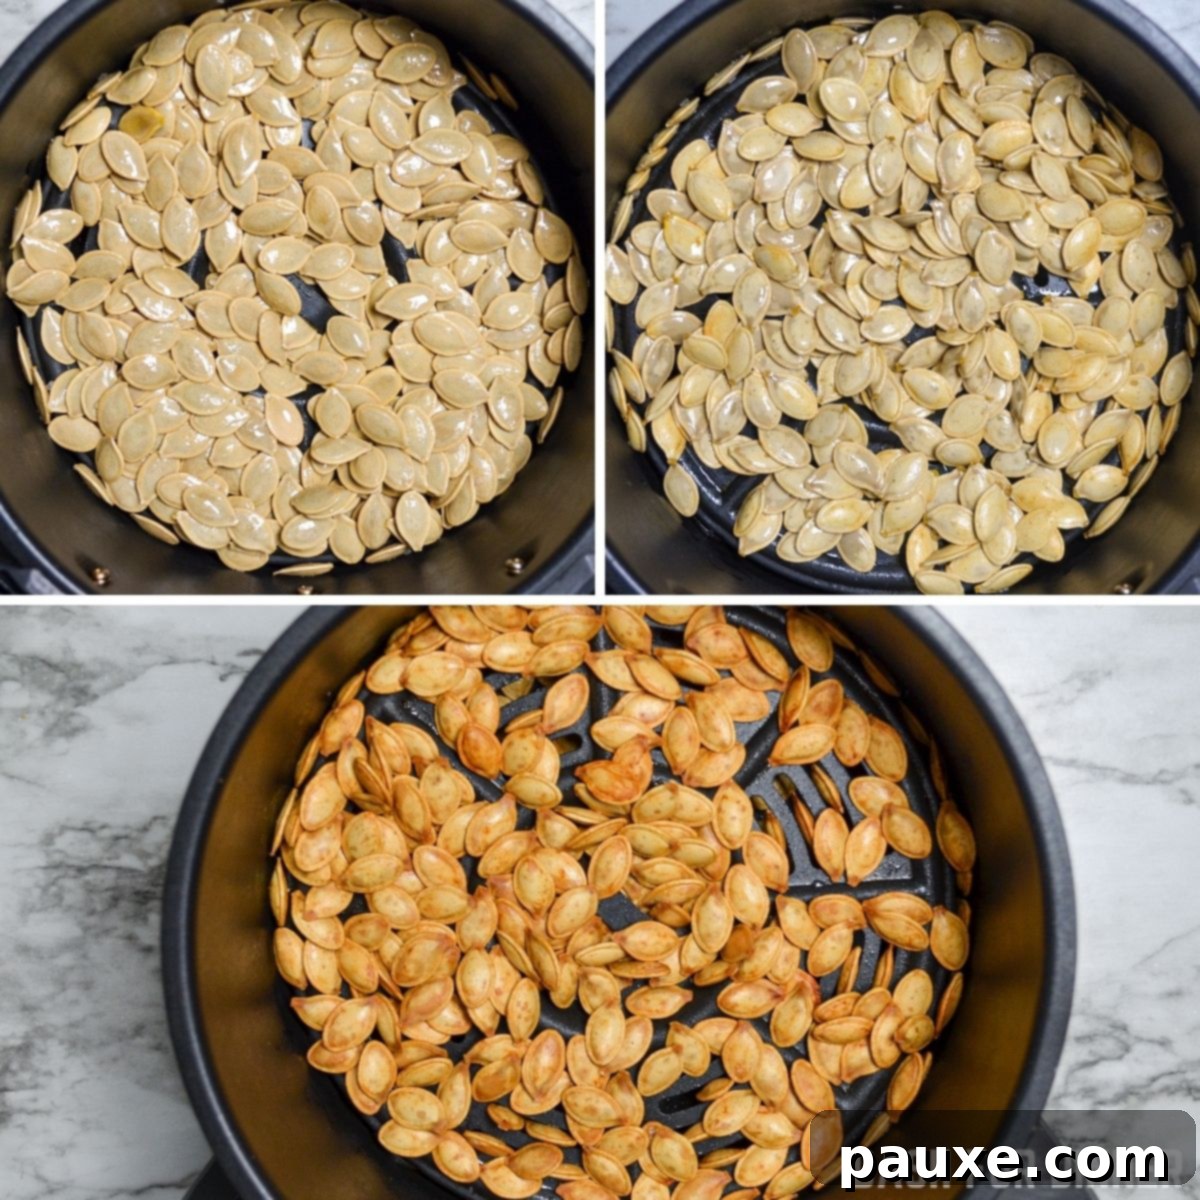
- Cool and Season Further: Once the pumpkin seeds are cooked to a beautiful golden-brown and are audibly crisp, immediately spread them out onto a baking sheet or a plate lined with parchment paper. This critical step allows them to cool rapidly and prevents any condensation from forming underneath, which could otherwise lead to them becoming soggy. Taste a warm seed and, if desired, add any additional salt or your favorite seasonings while they are still hot; the residual heat will significantly help the seasonings adhere better to the seeds.
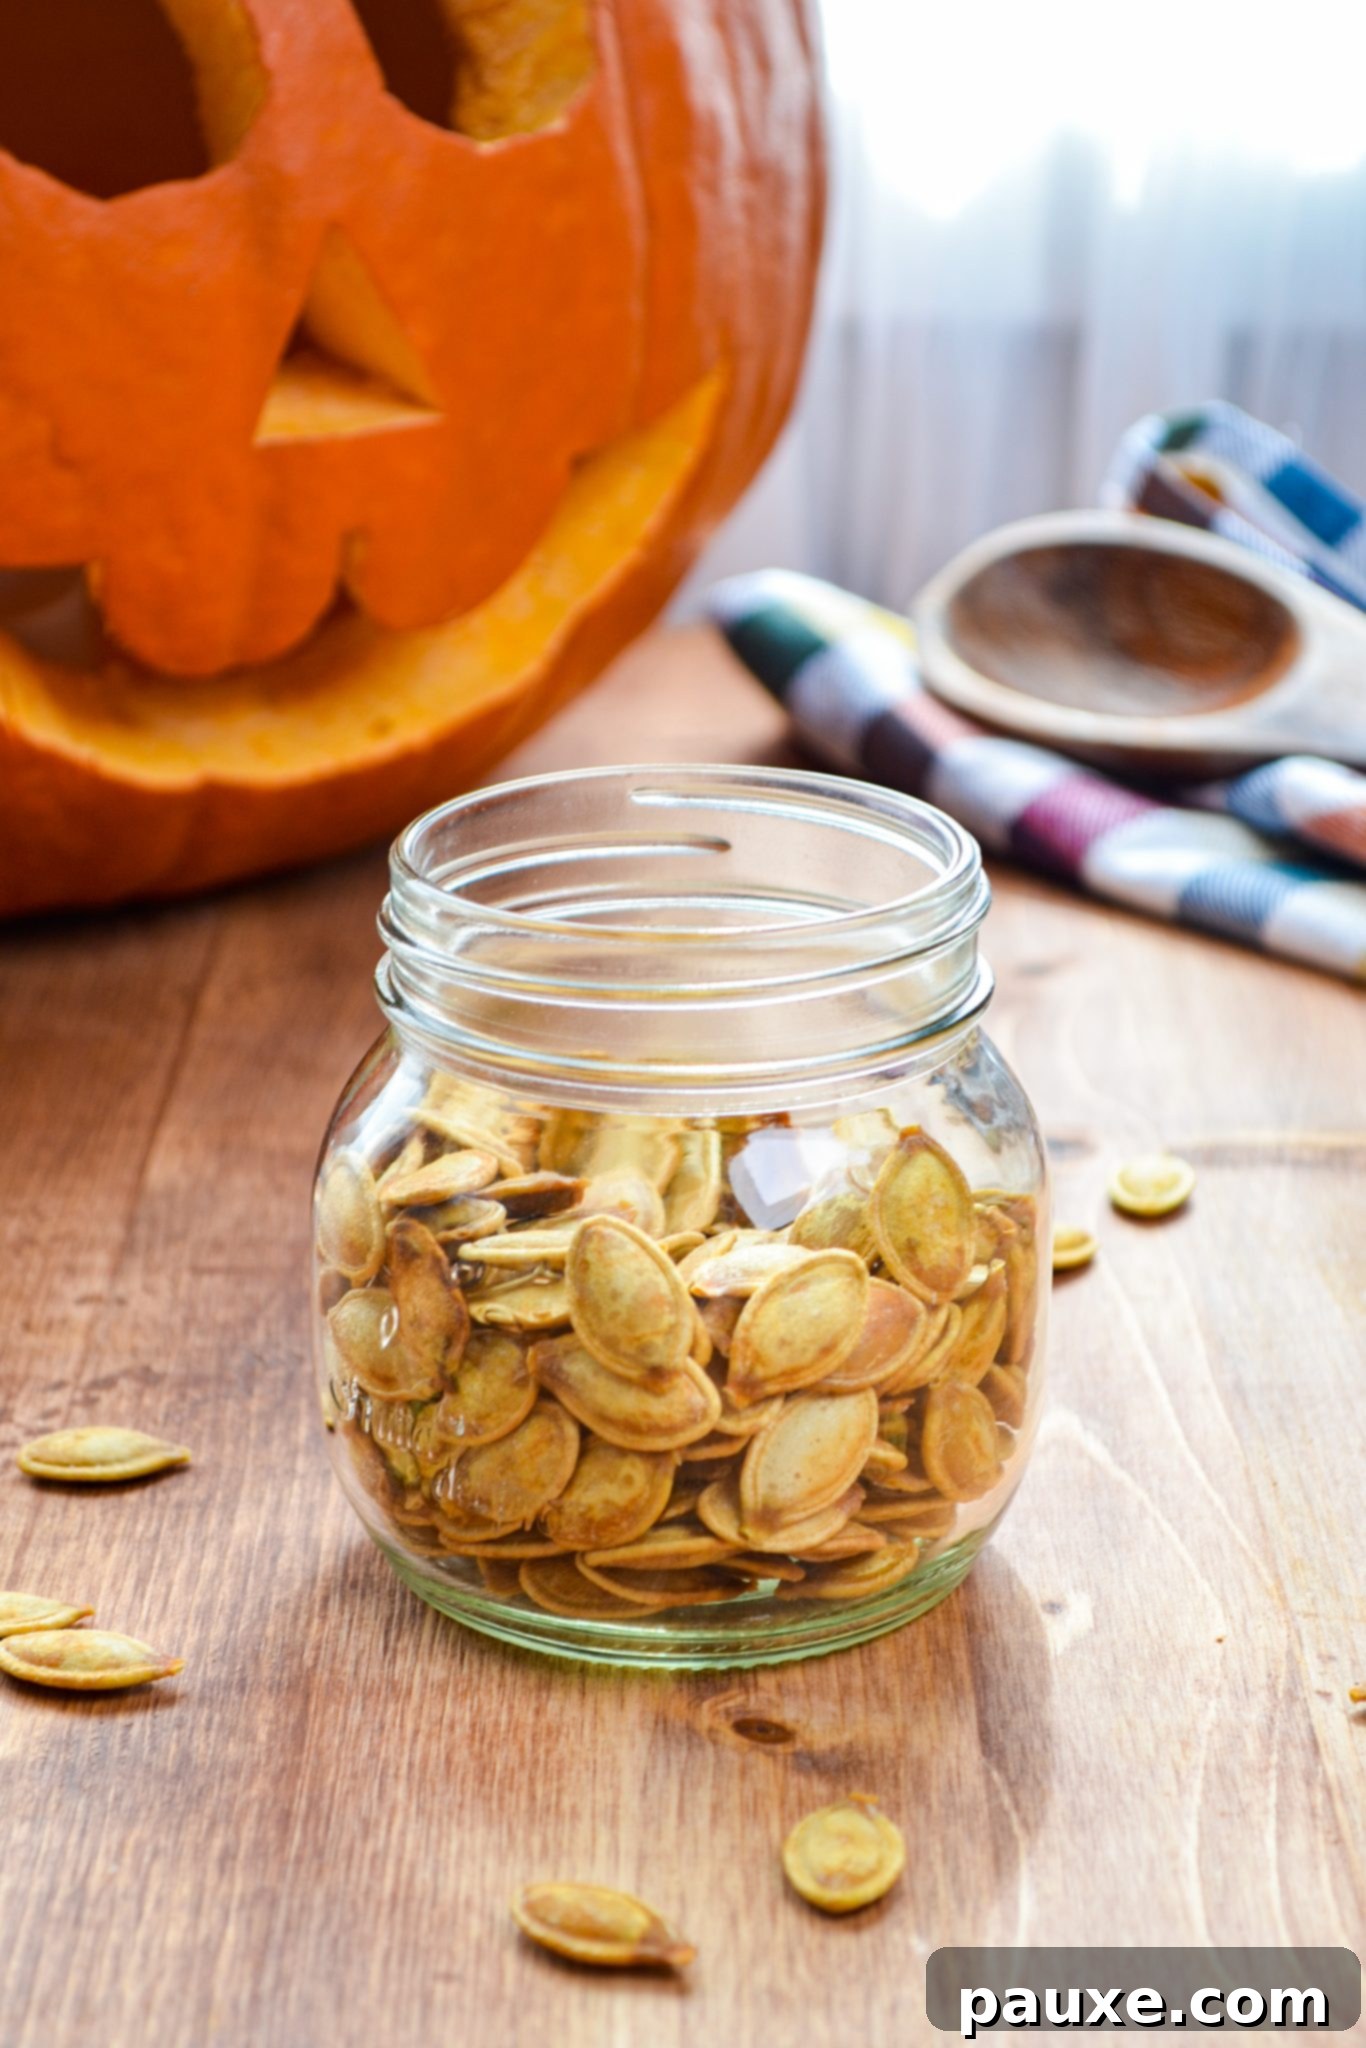
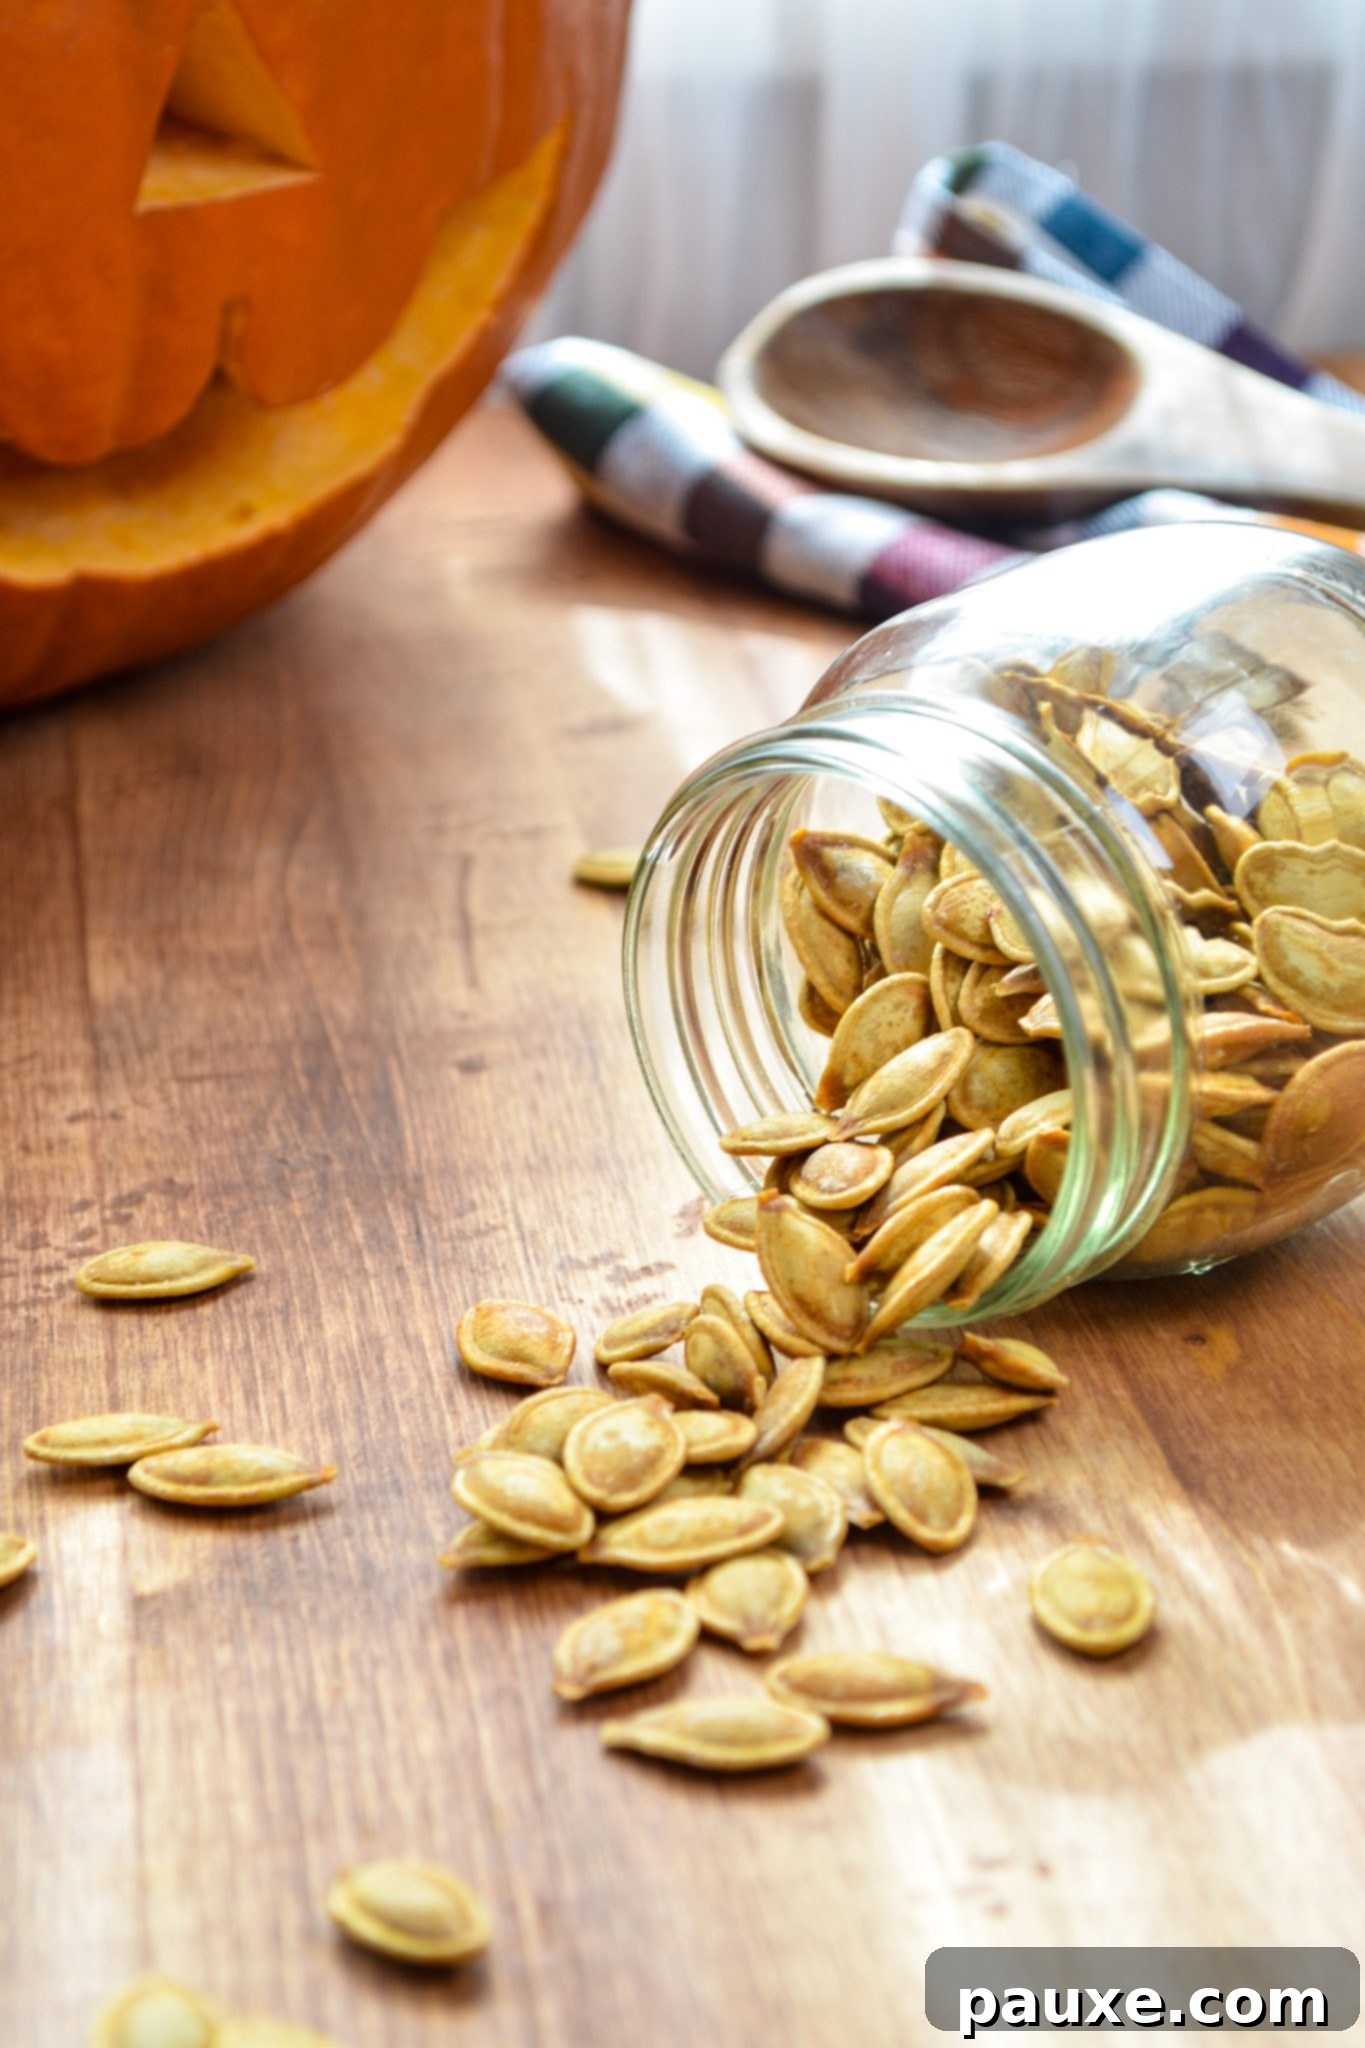
- Serve and Store: Allow the seeds to cool sufficiently so they can be comfortably handled. They are absolutely delicious enjoyed warm, but also equally fantastic at room temperature. For peak crispness, they are best consumed on the same day they are made. However, any completely cooled leftovers can be transferred to an airtight container and stored at room temperature for up to 1 week.
Expert Tips for Guaranteed Air Fryer Pumpkin Seed Success
Achieving consistently perfect, golden, and crispy air fryer pumpkin seeds is incredibly straightforward when armed with a few simple, expert tricks. These tips will help ensure your seeds are always a hit:
- Account for Seed Size Variations: Pumpkin seeds naturally vary significantly in size depending on the specific pumpkin variety. Smaller seeds will inevitably cook faster than larger, thicker ones. Always begin with the shorter end of the suggested cooking time (around 5-7 minutes) for smaller seeds and extend it gradually as needed. For very large seeds, you might require the full 10-12 minutes. It’s crucial to keep a very close eye on them during the last few minutes, as they can transition from perfectly golden to unfortunately burnt quite rapidly.
- Never Omit the Oil: While it might be tempting to reduce fat content, the oil in this recipe is an absolute non-negotiable component. A small amount of oil is critically important for achieving that desirable golden-brown color and the signature crispy texture. It helps to conduct heat evenly across the seeds and effectively prevents them from becoming dry, brittle, or, worse, burning without proper browning. Always opt for a neutral-flavored, high-smoke-point oil for the most superior results.
- Seasoning is Your Key to Flavor: The initial salt brine does an exceptional job of seasoning the seeds from the inside out, providing a solid flavor foundation. However, your personal taste preferences might call for an extra touch! Always taste a warm seed immediately after cooking and before it cools completely. Any additional salt, savory spices, or sweet coatings will adhere much more effectively to warm seeds.
- Ensure Complete Cooling Before Storage: This is a paramount storage tip that cannot be overlooked. Never, under any circumstances, store warm or even slightly warm pumpkin seeds in an airtight container. The residual heat from the seeds will inevitably create condensation inside the sealed container, introducing unwanted moisture. Moisture, in turn, is the primary enemy of crispiness and a known catalyst for premature spoilage and mold growth. Always spread your seeds out and allow them to cool 100% to room temperature – or even chill them briefly – before transferring them to an airtight container for storage.
- Avoid Overcrowding the Basket: For optimal crispiness and even cooking, it is absolutely essential to ensure that your pumpkin seeds are spread in a single, even layer within your air fryer basket. Overcrowding the basket will severely impede proper air circulation, causing the seeds to steam rather than roast, which will invariably result in a soft, chewy texture instead of a satisfyingly crispy one. If you have a substantial batch of seeds, always prioritize quality over speed by cooking them in multiple, smaller batches.
- Listen and Observe Beyond the Timer: While the timer is a useful guide, develop an intuitive sense for when your seeds are done. Beyond merely watching the clock, pay close attention to both the subtle sounds and visual cues from your seeds. As they cook and crisp up, they will become audibly crunchier, often emitting a gentle crackling sound. Their color will also deepen to a rich, inviting golden brown. These sensory signals are excellent indicators that your perfectly roasted pumpkin seeds are nearly ready to enjoy.
Ingredient Substitutions and Creative Flavor Variations
This air fryer pumpkin seed recipe is remarkably versatile, allowing for straightforward ingredient substitutions and an exciting array of creative flavor enhancements. These adjustments enable you to tailor the snack perfectly to your personal palate and dietary preferences.
Handy Ingredient Substitutions:
- Alternative Oils: While avocado oil is my preferred choice due to its neutral flavor and high smoke point, you are certainly not limited to it. Any other high-smoke-point, neutral-tasting oil will work wonderfully for your air fryer pumpkin seeds. Excellent substitutes include light olive oil, refined coconut oil (which has less coconut flavor), canola oil, vegetable oil, or sunflower oil. For those who prefer a richer, distinctly buttery flavor, 1 tablespoon of melted unsalted butter can be used in place of the oil. If opting for butter, you might find it beneficial to slightly reduce the cooking temperature (e.g., to 350°F / 175°C) to prevent the butter’s milk solids from burning.
- Salt Choices: If you don’t have kosher salt readily available, you can easily substitute it with fine table salt. It’s important to remember that table salt is finer and generally more potent than kosher salt. Therefore, as a general guideline, use approximately 1 ½ teaspoons of table salt for every 1 tablespoon of kosher salt specified in the brine recipe.
Exciting Flavor Variations to Try:
- Sweet Cinnamon Sugar Pumpkin Seeds: For a truly delightful sweet and savory treat, start by replacing the avocado oil with 1 tablespoon of melted unsalted butter. In a small separate bowl, combine 2 tablespoons of granulated sugar with ½ teaspoon of ground cinnamon. Toss this enticing mixture thoroughly with your butter-coated pumpkin seeds just before adding them to the air fryer. To prevent the sugar from burning, reduce the air fryer temperature slightly to 350°F (175°C) and adjust the cooking time to a shorter range of 4-10 minutes, keeping a very vigilant eye on them as they cook. These sweet seeds are fantastic sprinkled on oatmeal, yogurt, ice cream, or simply enjoyed as a standalone dessert snack.
- Zesty Chili Lime Pumpkin Seeds: For a vibrant and zesty kick, after coating the seeds with oil, toss them with ½ teaspoon of chili powder, ¼ teaspoon of ground cumin, and a generous pinch of cayenne pepper (adjust to your spice preference). Once the seeds are cooked and still warm, squeeze fresh lime juice over them and add an extra dash of salt to taste.
- Savory Garlic Herb Pumpkin Seeds: Create an aromatic and savory snack by mixing 1 teaspoon of garlic powder, ½ teaspoon of dried Italian herbs (such as oregano, basil, and thyme), and a quarter teaspoon of freshly ground black pepper with the oil-coated seeds before they go into the air fryer.
- Smoky Paprika Pumpkin Seeds: For a deep, rich, and smoky flavor profile, add ½ teaspoon of smoked paprika and a pinch of onion powder to your seeds along with the oil before air frying. This variation pairs wonderfully with soups or salads.
Frequently Asked Questions About Air Fryer Pumpkin Seeds
Do I have to boil pumpkin seeds before roasting?
While it’s not strictly mandatory, boiling pumpkin seeds before roasting is highly and enthusiastically recommended for achieving genuinely superior results. Boiling them in a salt brine serves several crucial purposes: it effectively pre-seasons the seeds from the inside out, infusing them with a much deeper, more balanced flavor, and it also gently softens their naturally fibrous outer shells. This thoughtful pretreatment leads to seeds that are perfectly crispy on the outside yet delightfully tender and never “rock hard” in the middle, providing a far more enjoyable eating experience. If you explicitly prefer not to boil them, a viable alternative is to soak them in cold water for approximately 3 hours. Another method, if you have ample time, is to let them air dry thoroughly on a lined baking sheet overnight, or even up to 24 hours, after cleaning. If you choose either of these non-boiling methods, be prepared to adjust your air fryer’s cooking temperature (likely reducing it) and increasing the cooking time to account for any residual moisture.
Should I soak pumpkin seeds before roasting?
Yes, whether through soaking in cold water or boiling (which is essentially a hot soak in brine), pretreating your pumpkin seeds before roasting offers significant and undeniable benefits. Soaking or boiling helps to hydrate the seeds and gently break down their somewhat tough exterior. This preparatory step is vital because it allows the seeds to crisp up more easily and evenly during the roasting process, all while maintaining a pleasant, slightly tender chewiness in their centers. The ultimate outcome is a far more satisfying texture – seeds that are perfectly roasted and crunchy, but without becoming overly hard or brittle. As mentioned, if skipping the boiling step, a cold soak for a few hours is a good alternative, or a lengthy air-dry. However, if using these methods, you will certainly need to adjust the cooking parameters, typically by lowering the temperature and extending the cooking time to compensate for the additional moisture that needs to be cooked off.
Do I have to preheat my air fryer?
Absolutely! Preheating your air fryer is a quick, simple, and incredibly effortless step that yields a remarkably significant difference in the overall quality and texture of your air-fried foods, including these delightful pumpkin seeds. Just like a conventional oven, introducing food into an already preheated air fryer ensures that it immediately begins cooking in a hot, consistently circulating air environment. This immediate exposure to high heat is precisely what helps to create that desirable, crispy exterior and ensures that food cooks much more evenly throughout. Neglecting to preheat the air fryer can result in food sitting in a cold, then gradually warming, environment. This often leads to less than ideal outcomes, such as soggy textures, unevenly cooked portions, or a noticeable lack of crispiness. Most air fryers are designed to reach their target temperature efficiently, requiring only about 3-5 minutes for a proper preheat.
More Easy Air Fryer Snacks to Explore
If you’ve enjoyed making these perfectly roasted pumpkin seeds, you’ll love discovering other easy and delicious snacks you can whip up in your versatile air fryer. Expand your repertoire with these fantastic recipes:
- Air Fryer Pepperoni Chips
- Air Fryer Roasted Almonds
- S’mores in an Air Fryer
- How to Make Quesadillas in an Air Fryer
- Air Fryer English Muffin Pizzas
- Air Fryer Dill Pickle Chips – The Creative Bite
Air Fryer Pumpkin Seeds: The Ultimate Crispy Snack Recipe
These incredibly easy and satisfying roasted pumpkin seeds are crafted to perfection in your air fryer with just 3 simple ingredients! They make a healthy, delicious, low-carb, keto, dairy-free, gluten-free, and vegan snack that the whole family will adore. This recipe is an ideal way to make the absolute most of your Halloween pumpkin harvest or simply to enjoy a nutritious, crunchy treat any time the craving strikes.
Course: Air Fryer Recipes, Snack, Appetizer
Cuisine: Fall, American
Prep Time: 20 minutes
Cook Time: 12 minutes
Total Time: 32 minutes
Servings: 4 servings
Calories: Approximately 43 kcal per serving
Author: Dorothy Bigelow
Ingredients
- Seeds from 1 medium-sized pumpkin (yields approximately 1 ½ to 2 cups of cleaned seeds)
- 2 cups water (for boiling the seeds)
- 1 tablespoon kosher salt (for the brine)
- 1 tablespoon avocado oil (or any other neutral-tasting oil with a high smoke point)
- Optional: Additional salt or your desired seasonings for sprinkling after cooking
Instructions
- Carefully remove all seeds from your pumpkin, ensuring you scrape out all the stringy, fibrous pulp. Place the collected seeds into a bowl and discard the pulp.
- Fill the bowl with cool water and gently agitate the seeds. Meticulously remove any remaining stringy pulp that floats or clings to the seeds. Discard the cleaned pulp.
- Thoroughly drain the cleaned pumpkin seeds in a colander under a stream of running water. Perform a final inspection to ensure all pulp has been removed.
- Transfer the impeccably clean seeds to a medium-sized saucepan. Pour in 2 cups of fresh water and add 1 tablespoon of kosher salt. Stir well until the salt is completely dissolved.
- Bring the water, salt, and pumpkin seeds mixture to a rolling boil over high heat. Once boiling, reduce the heat to medium and allow the seeds to simmer for 10 minutes. This brining step is crucial for enhancing flavor and achieving a superior texture.
- After simmering for 10 minutes, drain the seeds again using a colander. Crucially, pat the seeds thoroughly dry with paper towels or a clean, absorbent dish towel. This step is absolutely critical for achieving optimal crispiness.
- Place the dried, boiled seeds into a clean, dry bowl. Pour in 1 tablespoon of avocado oil and toss vigorously to ensure every single seed is evenly coated.
- Preheat your air fryer to 375°F (190°C) for at least 3 minutes, or strictly follow your air fryer’s manufacturer instructions.
- Once the air fryer is fully preheated, carefully add the oiled pumpkin seeds to the air fryer basket, spreading them in a single, even layer. If you have a large batch, cook in multiple smaller batches to avoid overcrowding.
- Air fry for 5-12 minutes, or until the pumpkin seeds are beautifully golden brown and delightfully crispy. Shake the basket vigorously several times throughout the cooking process (e.g., every 3-4 minutes) to promote even browning and crisping. Remember, smaller seeds will cook faster, so monitor them closely.
- Once cooked, immediately spread the hot, golden seeds onto a baking sheet or a plate lined with parchment paper to cool quickly. This essential step prevents condensation from forming and helps maintain their crispness.
- Taste the warm seeds and add any additional salt or your preferred seasonings (such as chili powder, garlic powder, or cinnamon sugar) while they are still hot, as seasonings adhere best at this stage.
- Serve once the seeds have cooled sufficiently to be comfortably handled. For peak crispness, they are best enjoyed on the same day they are made. Any completely cooled leftovers can be transferred to an airtight container and stored at room temperature for up to one week.
Notes
- Seed size and cook time: The cooking time will vary based on the size of your pumpkin seeds. Smaller seeds will require less time (start at 5-7 minutes), while larger seeds may need the full 10-12 minutes. Always monitor closely.
- Storage best practice: Always ensure your roasted pumpkin seeds are 100% cooled to room temperature before storing them in an airtight container. Storing warm seeds will inevitably create condensation inside, leading to unwanted moisture, which causes premature spoilage and mold.
- Avocado oil substitutions: You can confidently use any high-smoke-point, neutral-tasting oil (such as light olive oil, canola, vegetable, or sunflower oil) in place of avocado oil. Melted butter is also a delicious option but may require a slightly lower cooking temperature (e.g., 350°F / 175°C) to prevent burning.
- Kosher salt substitution: If kosher salt is unavailable for the brine, substitute 1 tablespoon of kosher salt with 1 ½ teaspoons of fine table salt, as table salt is generally more potent.
- This recipe was inspired by Roasted Pumpkin Seeds by Simply Recipes.
Nutrition Information (Approximate per serving)
Serving: 1g | Calories: 43kcal | Carbohydrates: 3g | Fat: 3g | Polyunsaturated Fat: 3g | Sodium: 949mg | Fiber: 1g | Sugar: 1g
Please note that some of my blog posts here at Dash for Dinner may contain affiliate links. If you make a purchase through these links, I will get a small commission at no additional cost to you. Please see my Disclaimer for more information.
We sincerely hope this comprehensive guide inspires you to create your own batch of perfectly crispy air fryer pumpkin seeds. It’s an easy, healthy, and incredibly rewarding way to embrace the flavors of the season. Happy carving, and most importantly, happy snacking!
