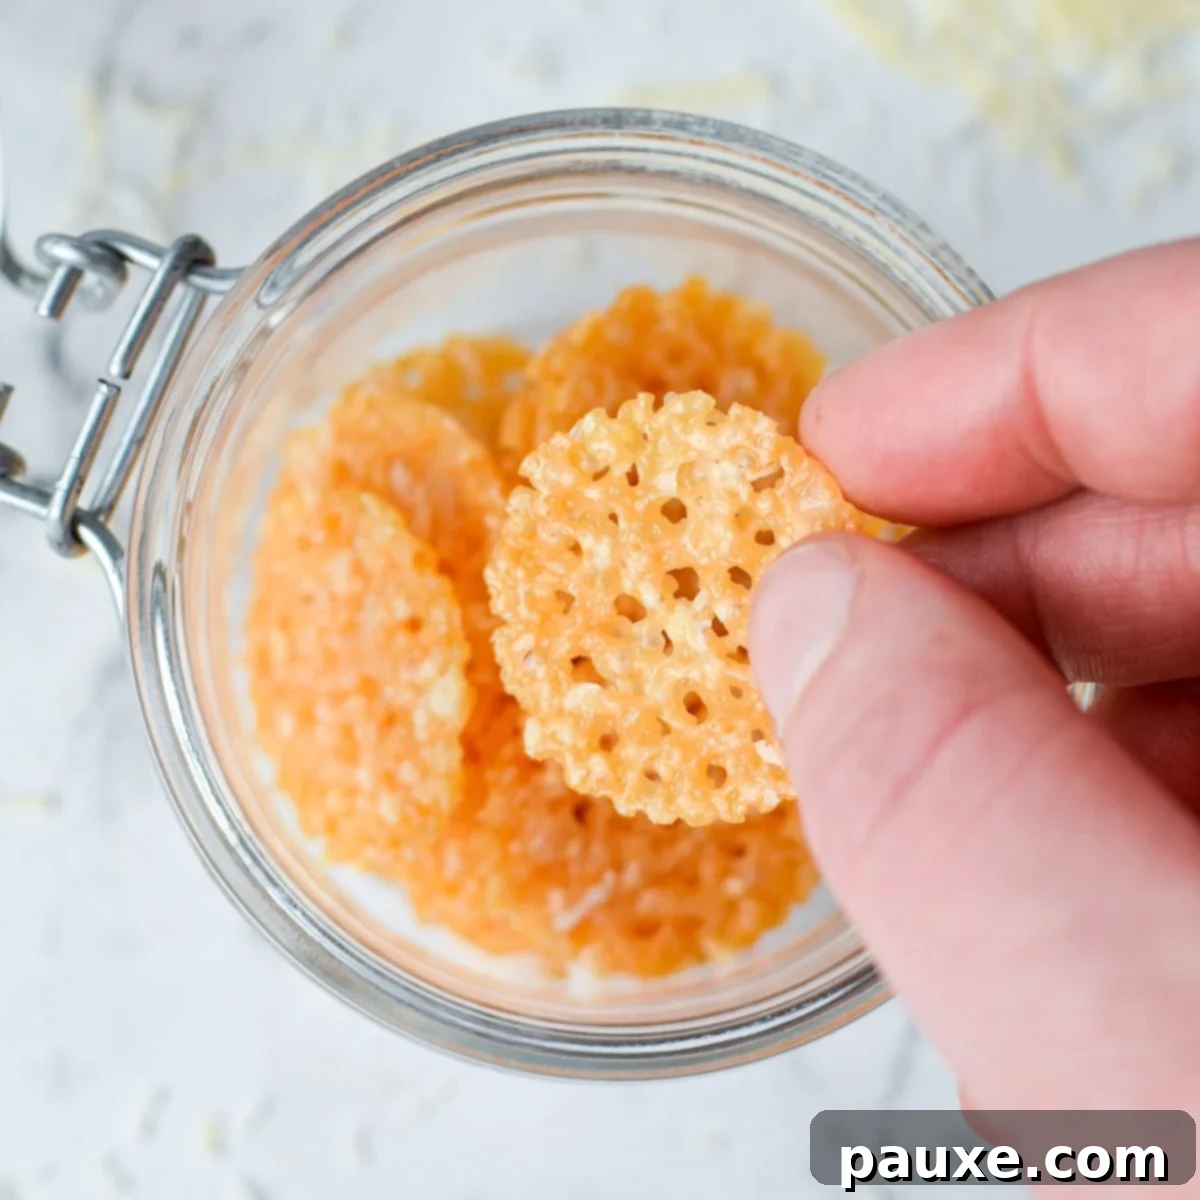
Craving a satisfyingly crunchy, savory snack that’s also incredibly simple to make? Look no further than this ultimate guide to crafting perfect Parmesan Crisps right in your own kitchen! Requiring just one magical ingredient and a mere few minutes of your time, these irresistible cheesy bites are destined to become a beloved family favorite. Forget processed snacks; these crisps are a naturally delicious, low-carb, keto-friendly, and gluten-free indulgence that doesn’t compromise on flavor or texture.
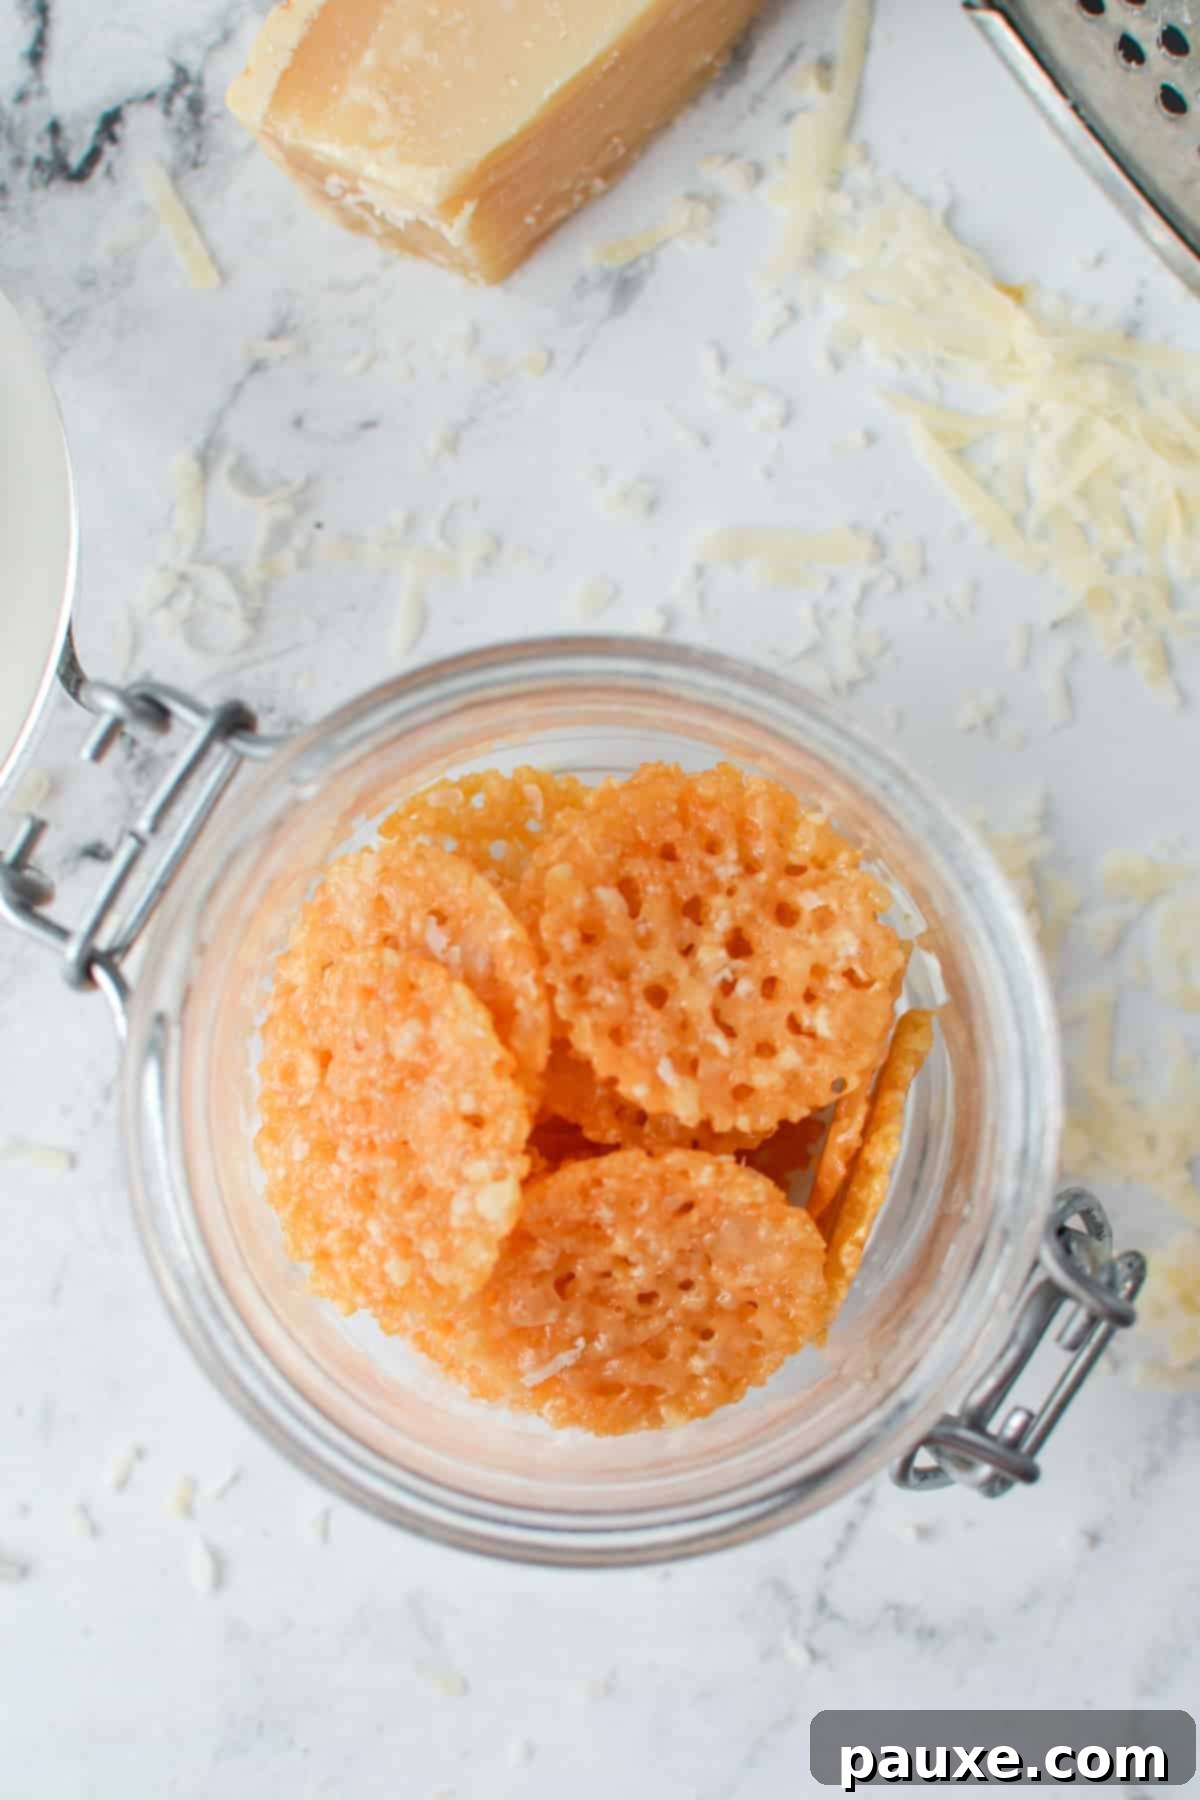
The Allure of Homemade Parmesan Crisps: A Snacker’s Dream
My journey with Parmesan crisps began years ago, a delightful discovery in the snack aisle. I was immediately captivated by their unique crunch and robust savory flavor. What truly sealed the deal was the realization that these store-bought wonders contained just one ingredient: Parmesan cheese. It was an ingenious concept – pure, unadulterated cheesy goodness in a crispy form.
However, over time, a thought started to nag at me: could I replicate this culinary gem at home? More importantly, could I make them more affordably and, dare I say, even better? The answer, as it turns out, was a resounding yes! Not only did making them at home drastically cut down on costs, but it also opened up a world of flavor possibilities. By investing in a block of authentic Parmigiano Reggiano, I unlocked a depth of flavor that store-bought versions often lacked, delivering twice the taste for a fraction of the price.
After numerous rounds of testing and tweaking, I am thrilled to share this foolproof recipe with you. It’s a simple technique that transforms humble Parmesan into an extraordinary snack. Get ready to fall in love with these homemade Parmesan crisps; I’m confident they will earn a permanent spot in your snack rotation.
Why You Need This Recipe in Your Life
These savory cheese crisps are more than just a snack; they’re a revelation. Here’s why this recipe deserves a prime spot in your culinary repertoire:
- Just One Simple Ingredient: That’s right – all you need is Parmesan cheese! This makes preparation incredibly straightforward and ensures a pure, unadulterated cheese flavor that shines through in every bite.
- Your Go-To Low-Carb & Gluten-Free Snack: Whether you’re adhering to a ketogenic diet, managing gluten sensitivities, or simply seeking healthier snack alternatives, these Parmesan crisps are an ideal choice. They offer guilt-free indulgence without any added carbs or gluten.
- Unbelievably Versatile: From a quick midnight craving to an elegant addition on a sophisticated charcuterie board, these crisps adapt to any occasion. Their rich flavor and satisfying crunch make them perfect for a wide array of culinary applications.
- Significantly More Affordable: While gourmet store-bought cheese crisps are undeniably tasty, their price tag can quickly add up. Making them at home offers substantial cost savings, allowing you to enjoy this delightful snack more frequently without breaking the bank.
Essential Ingredients & Equipment
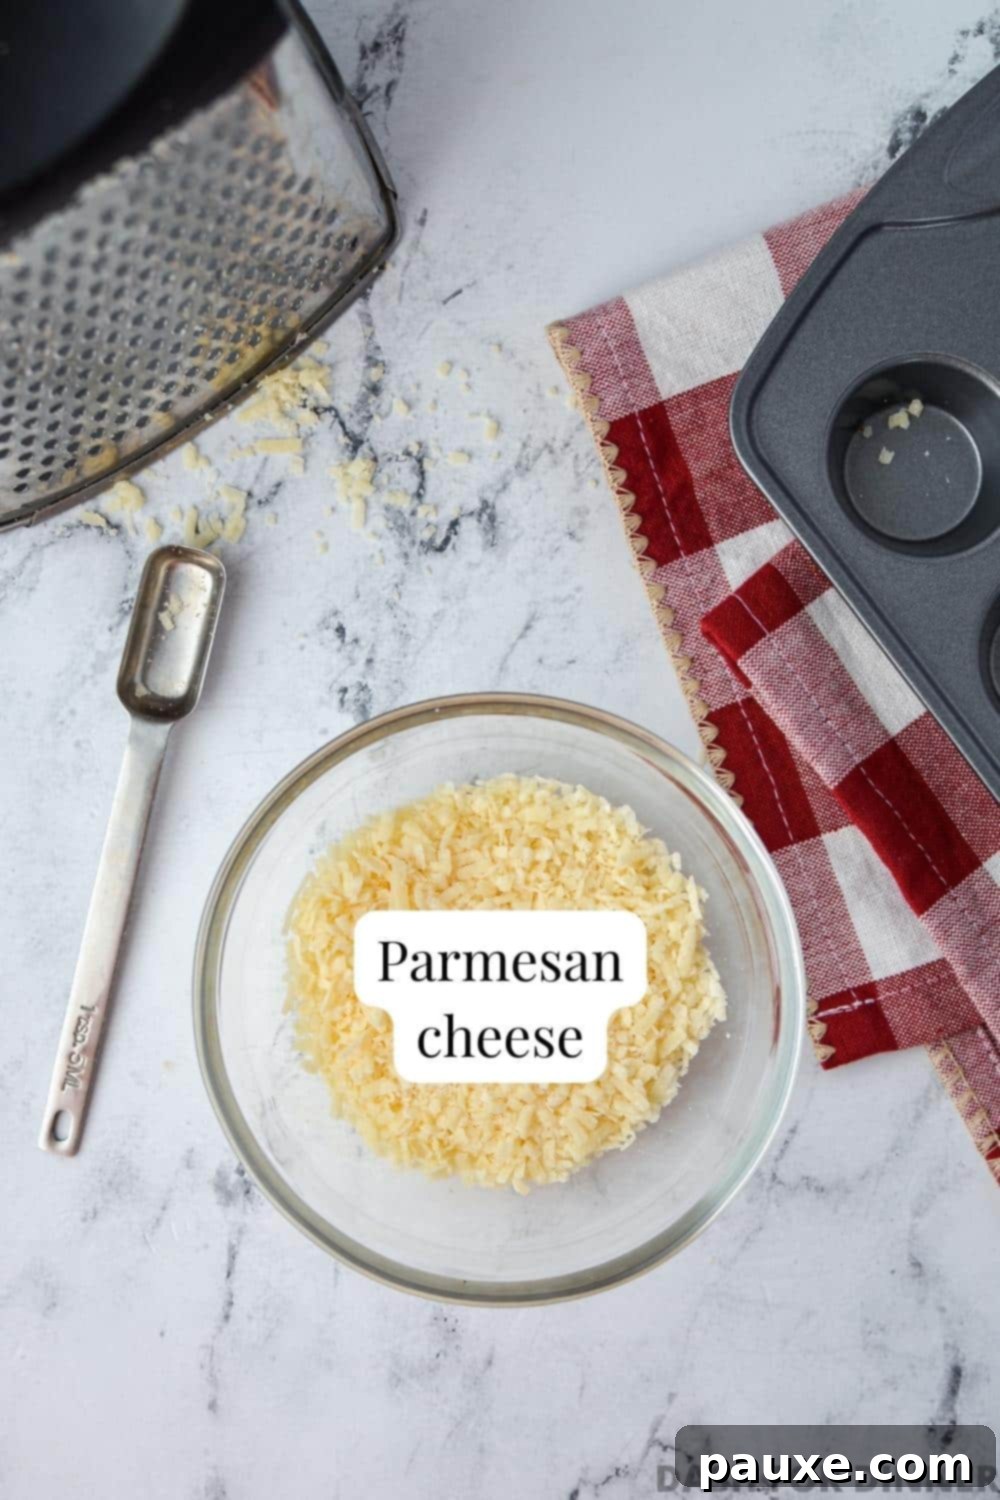
The Star Ingredient: Parmesan Cheese
- Parmesan Cheese: The quality of your cheese is paramount here. I’ve conducted extensive testing with various types of Parmesan, and the results speak volumes:
- The Best Option: Without a doubt, freshly grated Parmigiano Reggiano (the authentic, aged good stuff!) yields the most superior results. Its rich, nutty flavor intensifies beautifully when baked, and its fat content renders perfectly to create an exceptionally crisp texture. Use the small holes of a box grater for optimal fineness.
- Acceptable: Pre-shredded Parmesan cheese can be used, but the quality of the crisp may vary. It often contains anti-caking agents that can interfere with the melting process and overall texture.
- Avoid: Shelf-stable, pre-grated Parmesan in a shaker container is generally not suitable for this recipe. It often lacks the natural fat content and moisture needed for proper melting and crisping, resulting in a less flavorful and often chewy product.
Tools for Crispy Perfection
- 24-Hole Mini Muffin Tin: This is my preferred equipment for achieving perfectly uniform, round crisps. The individual cups help contain the cheese, preventing excessive spreading and ensuring each crisp has an ideal shape. If you have a smaller tin, you can work in batches.
- Alternatively, a Rimmed Baking Sheet: No mini muffin tin? No problem! A standard rimmed baking sheet lined with parchment paper works beautifully. Simply mound the shredded cheese, leaving ample space (about 1-2 inches) between each mound to allow for slight spreading. Parchment paper is crucial here to prevent sticking and ensure easy removal.
Step-by-Step Guide to Flawless Parmesan Crisps
Making these delightfully crispy Parmesan chips is incredibly simple. With just cheese and a mini muffin pan or a prepared baking sheet, you’ll be creating addictive snacks that you’ll want to make again and again!
Preparation is Key
- Step One: Preheat Your Oven. Begin by preheating your oven to 400ºF (approximately 204ºC). While the oven heats, prepare your chosen baking vessel: either a 24-hole non-stick mini muffin tin or a large rimmed baking sheet lined with parchment paper. Proper preheating ensures even cooking and crispness.
- Step Two: Finely Shred the Cheese. Using the small holes of your box grater, finely shred your Parmesan cheese. Aim for approximately ½ cup of shredded cheese, which typically yields about 24 Parmesan crisps. Fine shredding allows the cheese to melt uniformly and crisp up perfectly.
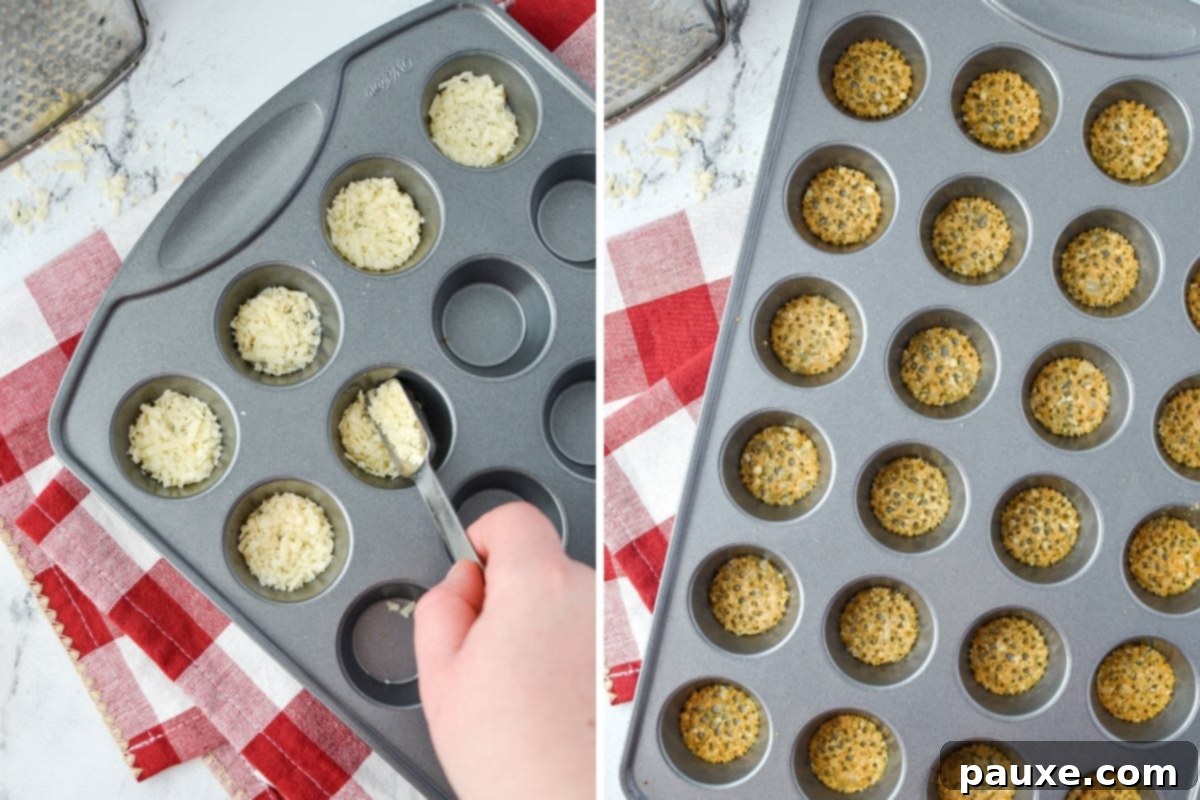
Step Three: Arrange the Cheese. Measure out 1 teaspoon of the finely shredded Parmesan cheese for each mini muffin cup. Place it into the cup and gently spread it out evenly with the back of a spoon. This ensures uniform thickness and consistent crisping. Repeat this process until all muffin cups are filled.
Step Four: Bake to Golden Perfection. Carefully place the filled mini muffin tin into the preheated oven. Bake for 4-6 minutes, or until the cheese is thoroughly melted, visibly bubbly, and its edges have turned a beautiful golden brown. During my extensive recipe tests, 5 minutes consistently proved to be the ideal baking time for maximum crispness.
Step Five: Initiate Cooling in the Pan. Once baked, remove the mini muffin tin from the oven. It’s crucial to allow the Parmesan crisps to cool directly in the pan for about 5-10 minutes. During this period, they will transition from being pliable and soft to firm and crispy. Resist the urge to remove them too soon!
The Critical Cooling & Draining Stage
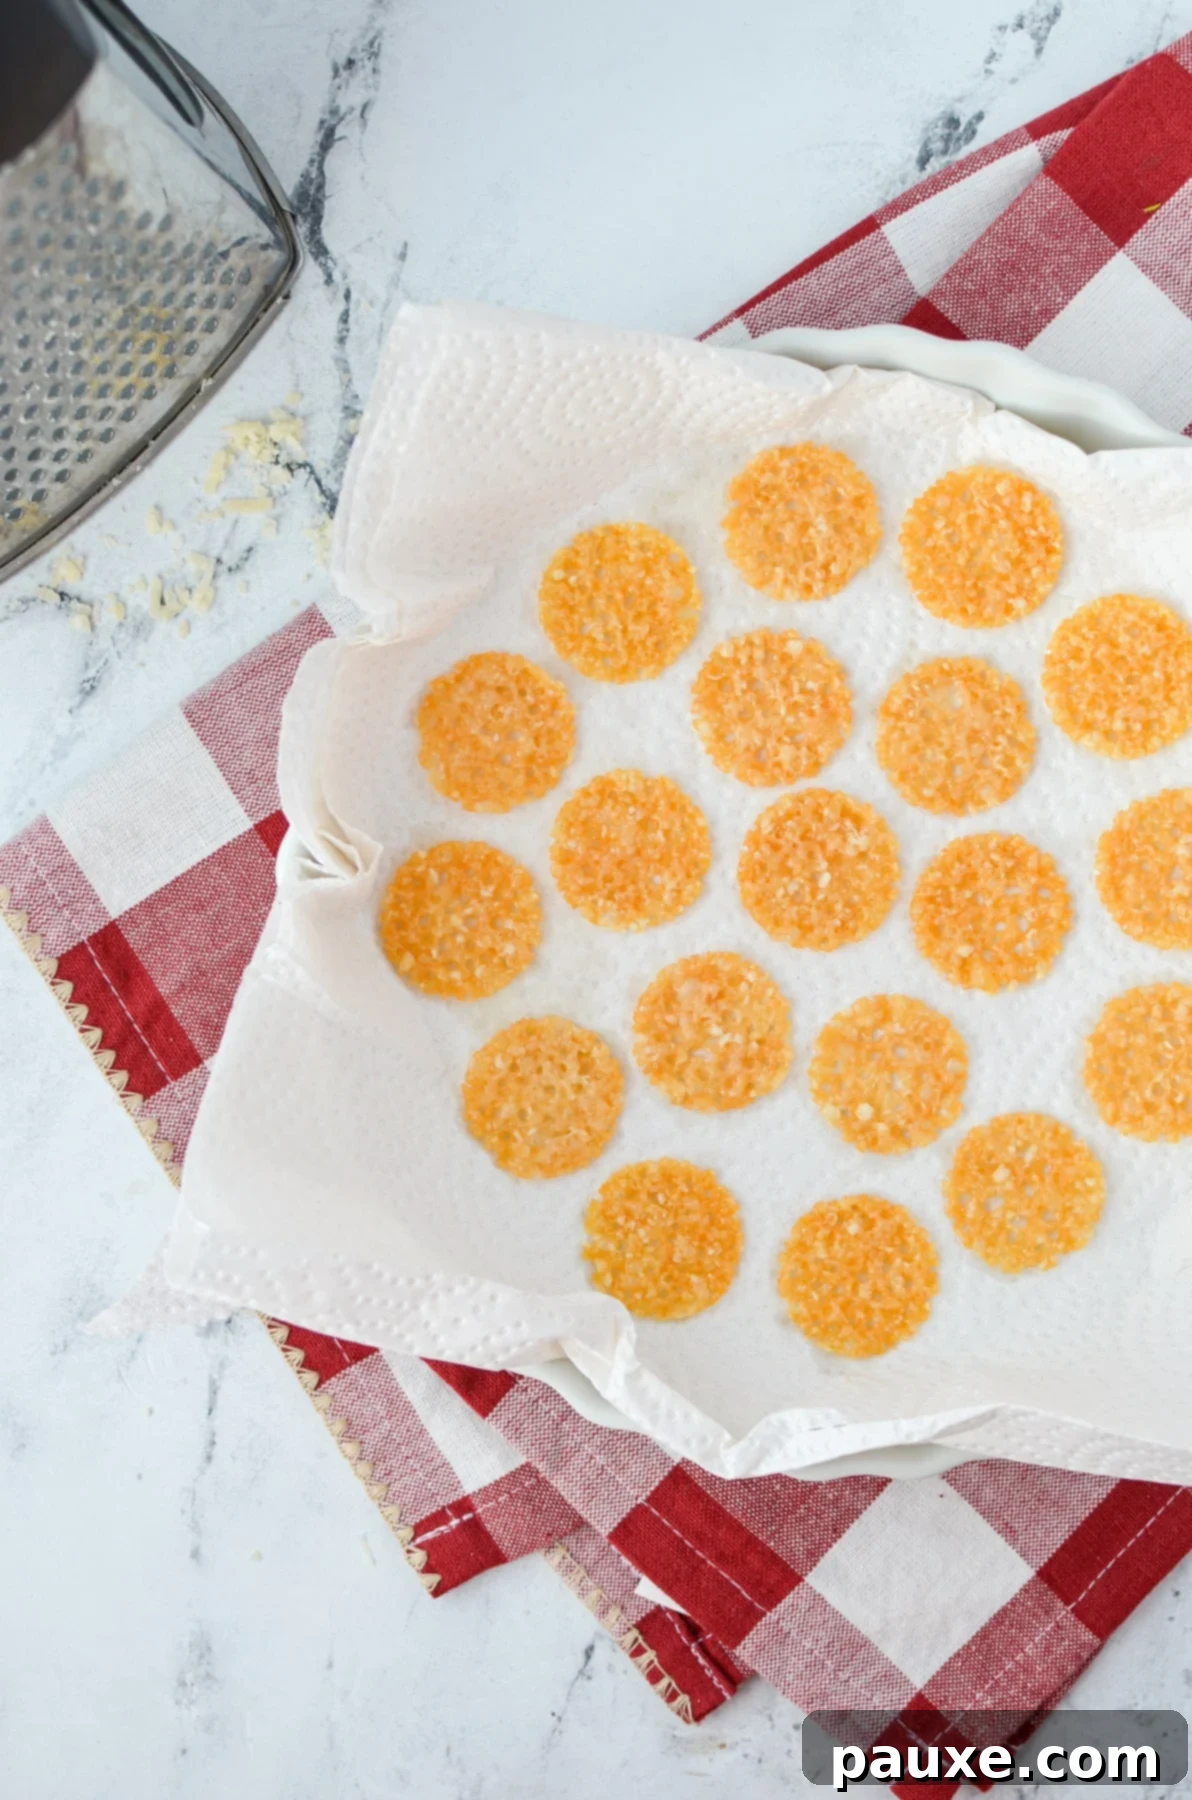
Step Six: Final Drain and Cool. Once the Parmesan crisps have cooled slightly in the pan and are firm enough to handle, carefully remove them using a fork or a thin knife. Transfer them to a plate or tray lined with 2-3 layers of paper towels, or onto a wire cooling rack. This step is essential for draining any residual oil and ensuring maximum crispness. Once completely cooled and drained, your perfectly crunchy Parmesan crisps are ready to be served and savored!
No Mini Muffin Pan? Use a Sheet Pan Instead!
If you don’t own a mini muffin pan, don’t fret! Achieving perfectly round and crispy Parmesan chips is still entirely possible with a standard baking sheet. My tests with this alternative method yielded equally delicious results, with the cheese maintaining its shape surprisingly well.
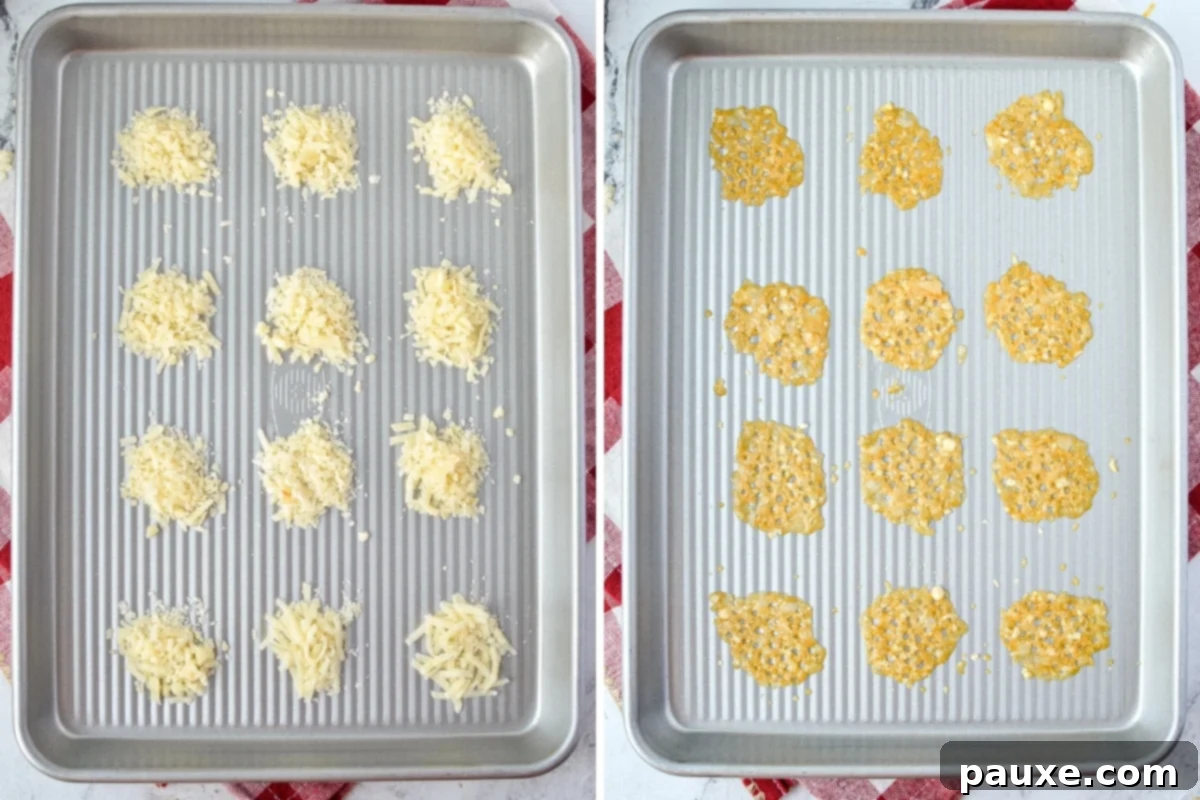
- Prepare the Sheet Pan: Line a non-stick or standard baking sheet with parchment paper. This is a crucial step to prevent sticking and ensure easy removal.
- Mound the Cheese: For each crisp, mound 1 teaspoon of finely shredded Parmesan cheese onto the prepared baking sheet. Leave approximately 1-2 inches of space between each mound to allow for expansion.
- Bake: Place the baking sheet in your preheated 400ºF oven and bake for 4-6 minutes, or until golden brown and bubbly.
- Cool in Place: Remove the sheet pan from the oven and allow the Parmesan cheese crisps to cool on the pan for 5-10 minutes. They will firm up considerably during this time.
- Drain and Serve: Carefully lift the crisps off the parchment paper with a fork or butter knife and transfer them to a paper towel-lined plate to absorb any excess grease. Once completely cool and crisp, serve and enjoy!
Larger Batches Made Easy
This recipe is incredibly scalable. Feel free to double, triple, or even quadruple the ingredients if you’re feeding a crowd or simply want to stock up. When making larger quantities, it’s best to work in batches to ensure even baking and consistent crispness. Just remember to consume your homemade Parmesan crisps within 2-7 days for optimal freshness and texture.
Beyond the Snack Bowl: Creative Ways to Enjoy Your Parmesan Crisps
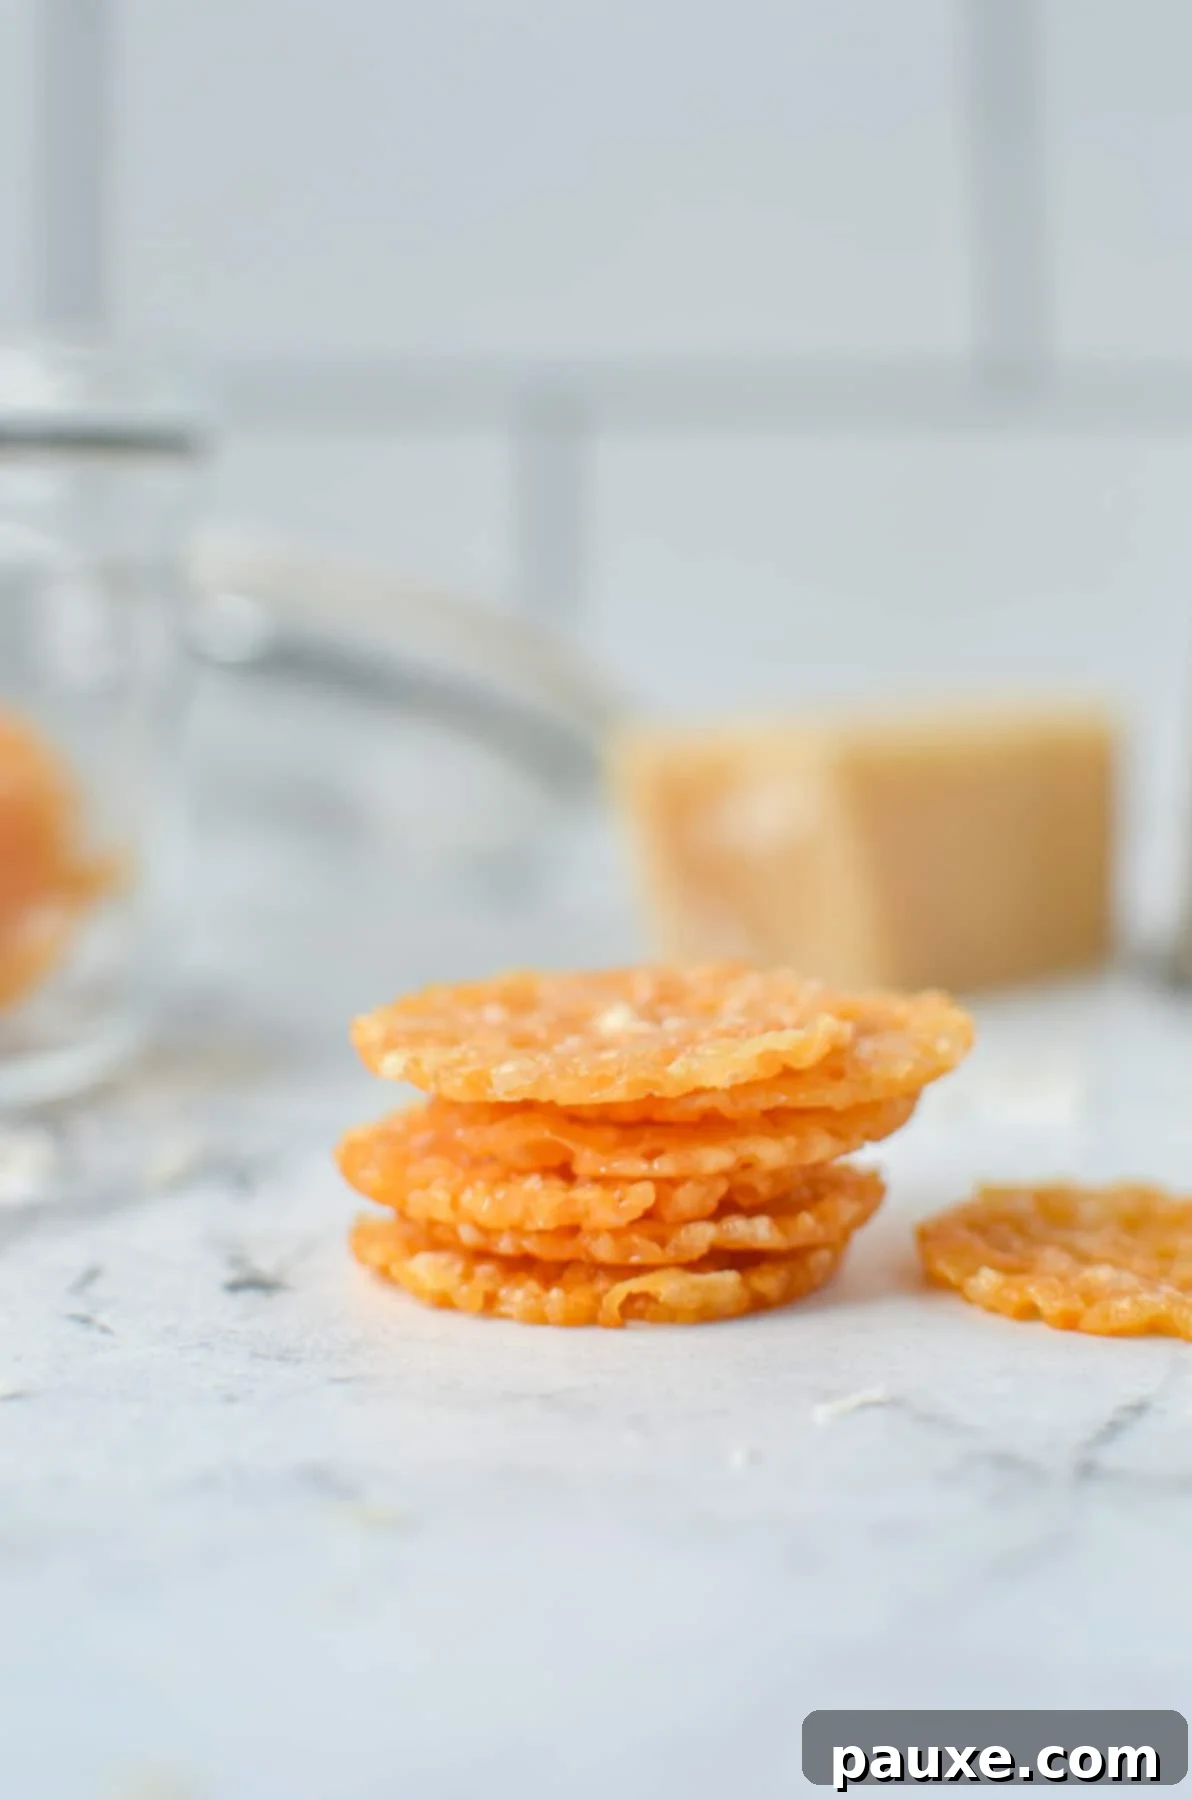
These versatile homemade Parmesan crisps can elevate almost any dish where you’d typically use crackers, croutons, or even just a sprinkle of Parmesan cheese. They’re a fantastic low-carb option for adding a delightful crunchy, savory kick. Here are some inspired suggestions:
- Elevate Your Caesar Salad: If you love a classic Caesar but miss the crunch of croutons on a low-carb diet, swap them out for these Parmesan chips. They offer a gluten-free and virtually zero-carb alternative that enhances the salad’s flavor profile.
- A Sophisticated Cracker Substitute: Use them as a base for elegant appetizers. Top them with cured meats like prosciutto, a dollop of creamy goat cheese, a slice of fresh fig, or your favorite savory spreads for a gourmet bite.
- Crunchy Casserole Topping: For a delicious, cheesy, and crunchy topping on your homemade casseroles, crush a few crisps and sprinkle them over the top instead of traditional breadcrumbs. It adds incredible flavor and texture.
- Soup’s Best Friend: These crisps are absolutely divine when added to a warm, comforting bowl of soup. As the crisps absorb some of the broth, they soften slightly while retaining delightful crunchy bits, creating a complex and utterly delicious textural experience.
- Dipping Delight: Pair your Parmesan crisps with your favorite dips. They are perfect with creamy ranch, spicy buffalo, or a rich garlic Parmesan dip. Their sturdy structure makes them ideal for scooping.
- Pure Snacking Pleasure: Let’s be honest, about 90% of the time, we simply eat them plain! They are so inherently satisfying and bursting with flavor that they make the perfect stand-alone snack anytime, anywhere.
Storage & Re-crisping Secrets
Congratulations, your batch of savory and crispy Parmesan chips is perfectly cooked, cooled, and ready! But what if you don’t devour them all immediately? The good news is, these crisps store remarkably well for later enjoyment.
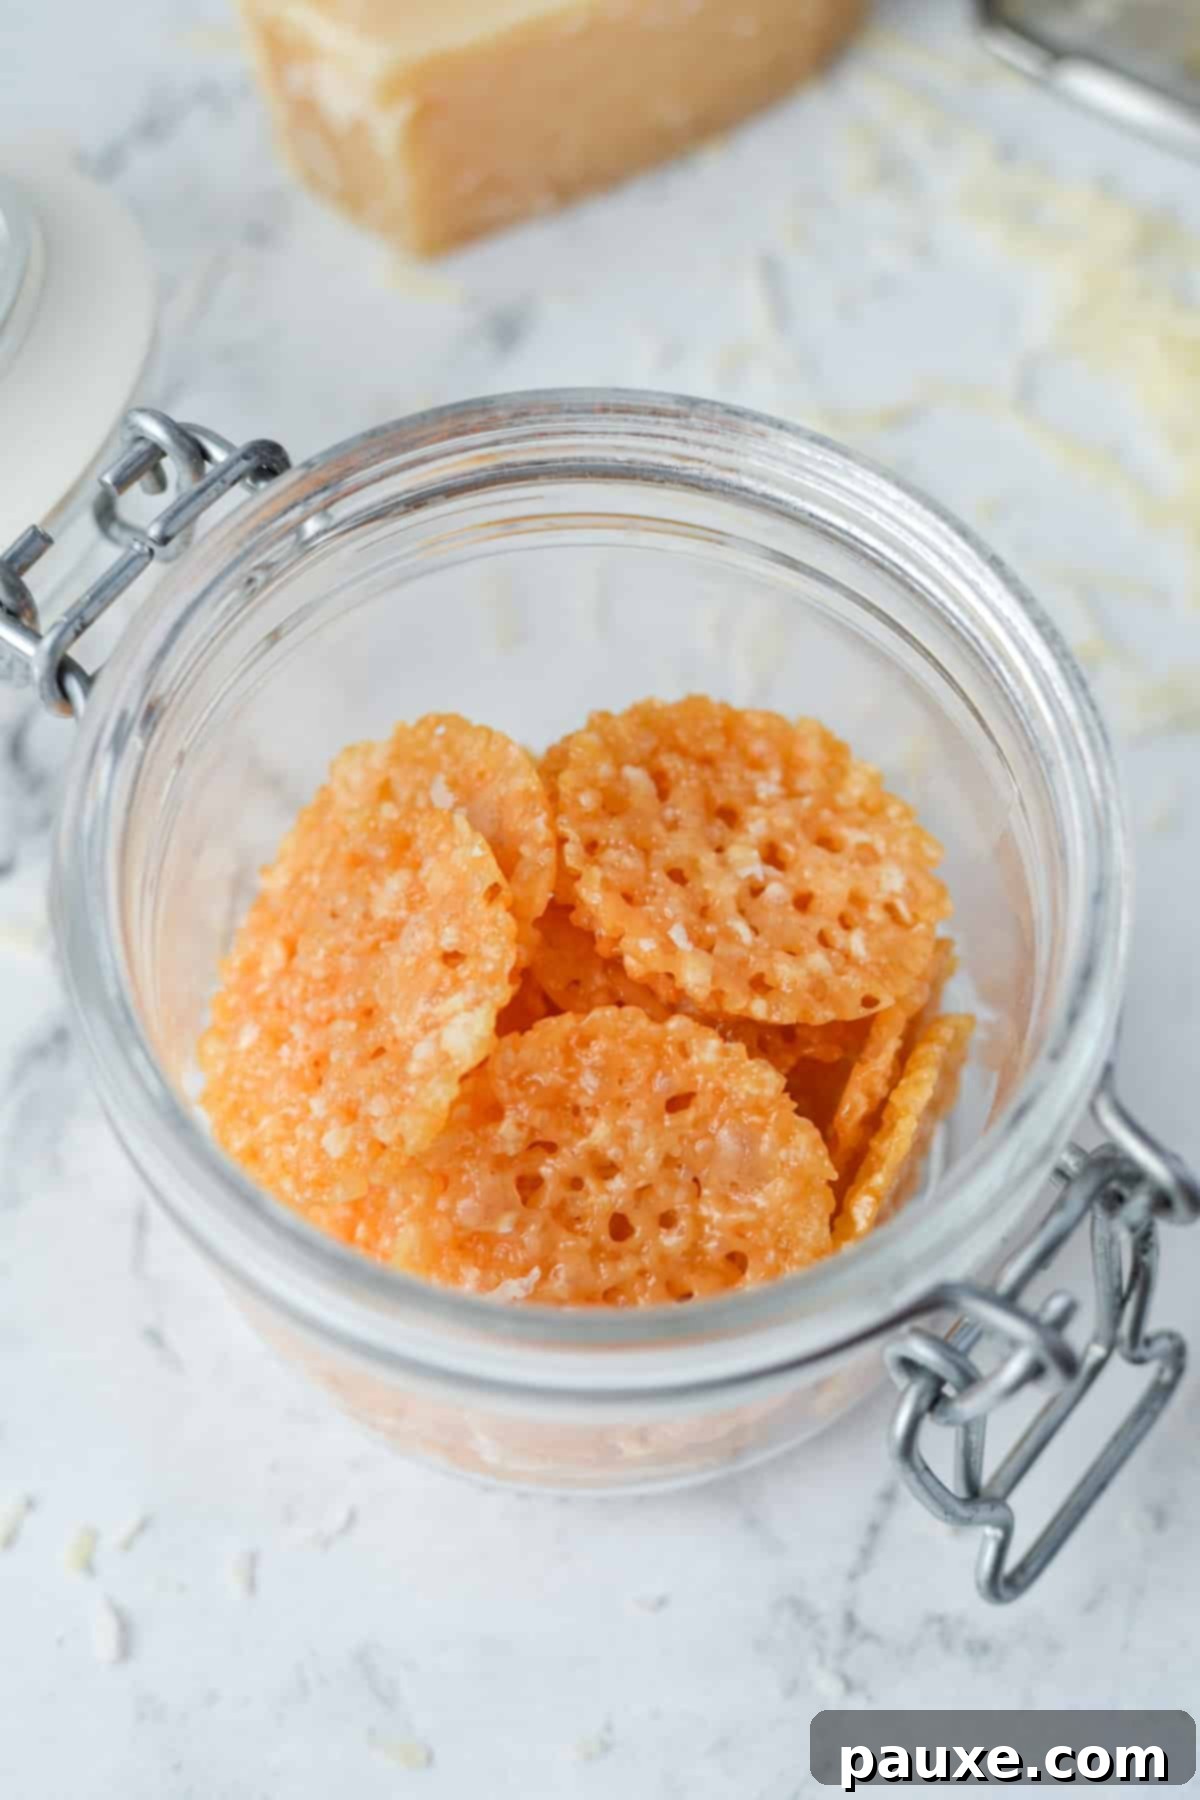
- Proper Storage: To maintain their crispness, ensure the crisps are 100% cooled to room temperature before storing. Any lingering warmth will create condensation in the container, leading to soggy crisps. Once fully cooled, transfer them to an airtight container or a plastic storage bag and seal them tightly.
- Longevity: You can safely store your Parmesan crisps on the countertop for about 1-2 days, where they will retain their crisp texture. For extended storage, they can be kept in the refrigerator for up to 1 week. However, be aware that refrigeration can cause them to become slightly chewy.
Reviving the Crisp: Re-crisping Methods
While Parmesan crisps hold their texture well for up to 12 hours, they can begin to soften over longer storage periods, especially when refrigerated. The fantastic news is that restoring their original crunch is incredibly easy!
To re-crisp:
- Oven Method: Place the crisps on a baking sheet and bake in a preheated 400ºF (204ºC) oven for just 2-3 minutes. Keep a close eye on them to prevent burning.
- Air Fryer Method: Arrange the crisps in a single layer in an air fryer basket. Preheat the air fryer to 375ºF (190ºC) and cook for 1-2 minutes.
- After re-crisping, briefly drain them on paper towels if needed, then serve and enjoy their renewed crunch!
The Science of Crispness: Finding the Perfect Thickness
Determining the ideal amount of finely shredded Parmesan cheese per crisp was a key focus during my recipe development. My initial goal was to create thicker, yet still crunchy, crisps similar to popular store-bought brands like “Whisps,” which served as a primary inspiration for this recipe.
I experimented extensively, testing various quantities: 2 teaspoons, 1 ½ teaspoons, and 1 teaspoon of cheese per mini muffin cup. I also adjusted baking times to see how thickness influenced the final texture.
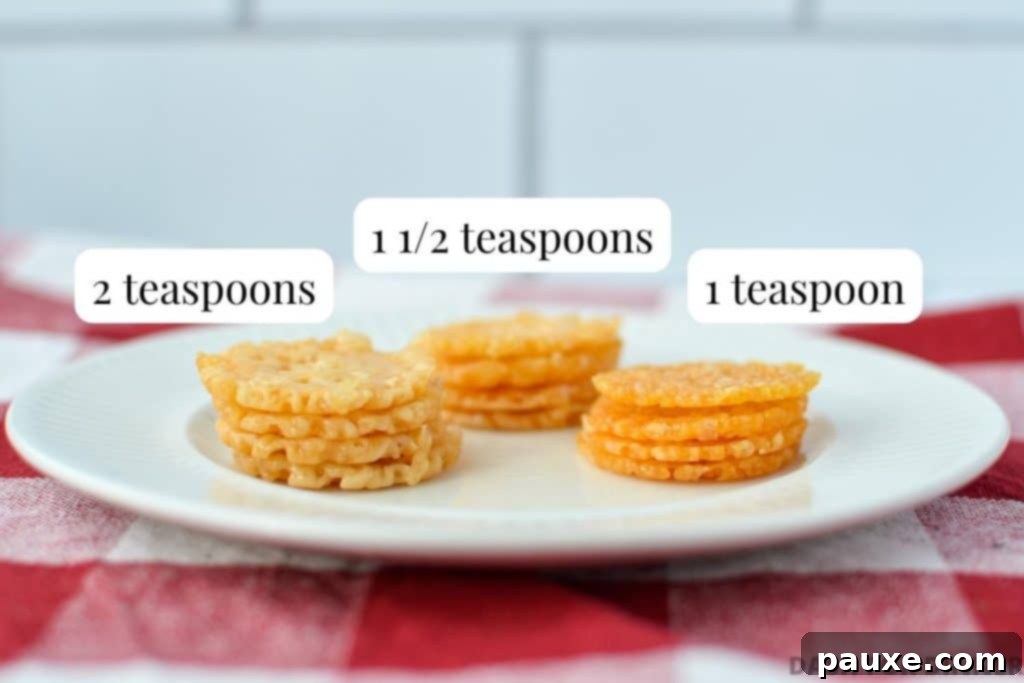
Top Tip: Less is More for Ultimate Crispness
While using larger amounts of cheese (2 teaspoons or 1 ½ teaspoons) did produce thicker Parmesan crisps, they unfortunately resulted in a chewier texture that wasn’t to our liking. We were aiming for an undeniable crunch, and these thicker versions fell short.
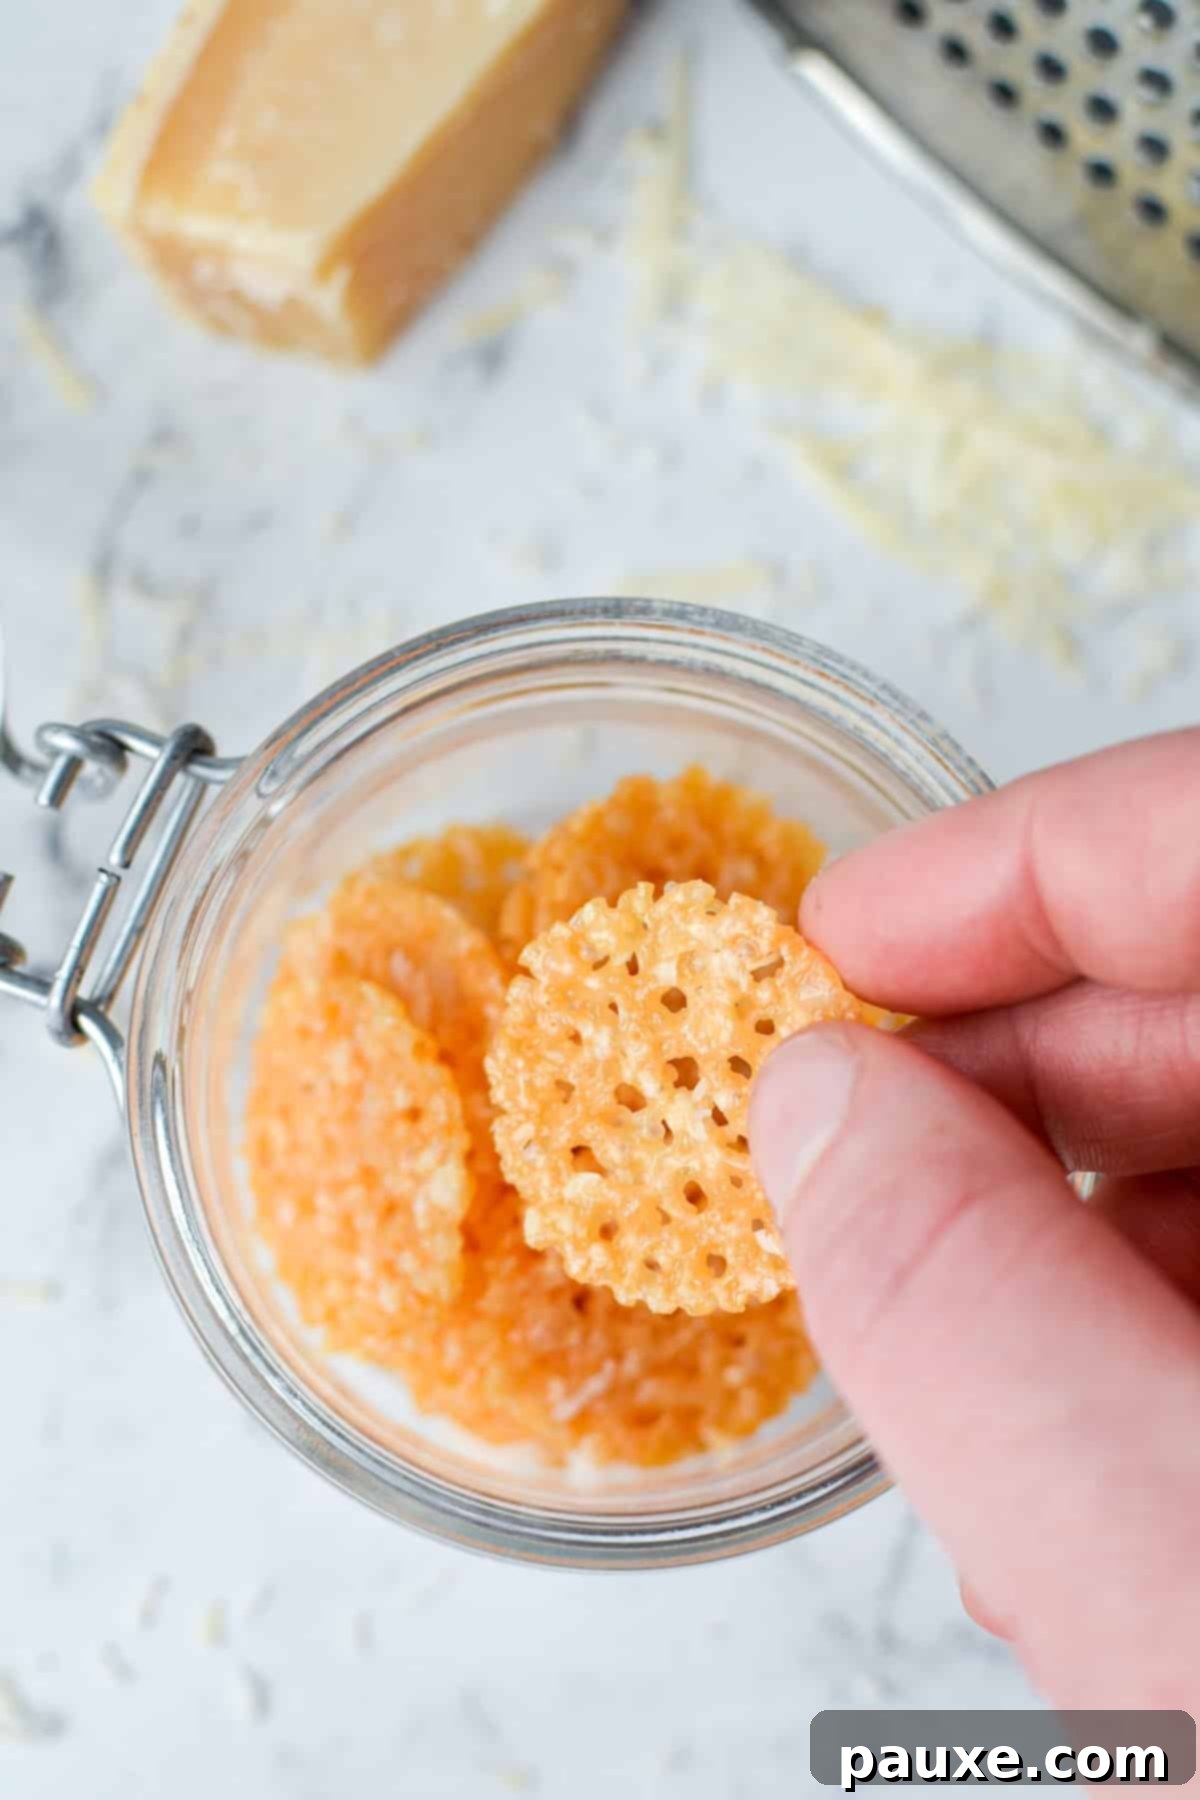
Ultimately, the best option we tested was just 1 teaspoon of shredded Parmesan in each mini muffin cup (or mounded on a baking sheet). Although this produced a thinner Parmesan chip, it was gloriously crispy and bursting with concentrated Parmesan flavor – even better than the store-bought brands I originally admired! This thinner crispness, combined with its intense taste, is why 1 teaspoon became the definitive recommendation for this perfected recipe. I truly believe you’ll appreciate its delightful crisp texture and big, savory flavor as much as we do.
Elevate Your Crisps: Exciting Flavor Variations
While the classic Parmesan crisp is a delicious standalone snack, it also serves as a fantastic canvas for additional flavors. Experiment with these simple additions to customize your crisps:
- Everything Bagel Seasoning: For a universally loved savory kick, sprinkle a generous amount of everything bagel seasoning over the cheese before baking.
- Spicy Jalapeño: If you enjoy a bit of heat, top each cheese mound with a thin slice of pickled or fresh jalapeño before baking.
- Garlic Parmesan: Enhance the savory profile by sprinkling a pinch of garlic powder over the cheese to your taste before it goes into the oven.
- Earthy Poppy Seeds: Add a delicate nutty flavor and visual appeal by adding a small pinch of poppy seeds to each mini muffin well before baking.
- Black Pepper & Flaky Salt: A simple grind of fresh black pepper adds a pleasant warmth, and a tiny dash of flaky sea salt can further intensify the cheese’s natural savoriness.
Exploring Other Cheeses: A World of Possibilities
While Parmesan cheese is the star of this recipe, the technique itself is wonderfully adaptable. Feel free to unleash your inner cheese connoisseur and experiment with substituting Parmesan for other aged or hard cheeses you love.
Through various tests, cheeses like Romano, Gruyere, and aged Cheddar have all produced excellent, crispy results. The key is to select a firm, hard cheese with a relatively low moisture content, as this allows it to melt and crisp up beautifully. Always remember to grate your chosen cheese finely using the small holes on your box grater for the best texture.
You can also create your own unique blends! Many gourmet store-bought cheese crisps feature combinations of cheeses. You can easily replicate this at home by substituting a portion of the Parmesan cheese for another type of your choosing. Imagine a blend of Parmesan and Pecorino Romano for an extra sharp kick, or Parmesan and Gruyere for a richer, more complex flavor. The possibilities are truly endless!
Frequently Asked Questions (FAQ)
For optimal crispness, Parmesan crisps are best stored at room temperature for about 1-2 days in an airtight container. If you need longer storage, they can be moved to the refrigerator for up to 1 week. However, be aware that refrigeration can make them quite chewy, so you’ll want to re-crisp them in the oven or air fryer before serving.
Absolutely! Almost any hard, aged cheese will work well for this recipe. Excellent alternatives include Romano, Gruyere, or aged Cheddar. The crucial step for best texture is to finely shred the cheese using the small holes of your box grater, regardless of the type you choose.
Craving More Low-Carb Delights?
If you loved these easy and delicious Parmesan Crisps, be sure to explore more of our fantastic low-carb recipes designed to keep your meals flavorful and healthy:
- Air Fryer Pepperoni Chips
- Inside Out Egg Roll in a Bowl
- Air Fryer Salmon Bites
- John Wayne Casserole
If you tried and loved this recipe for Parmesan Crisps, we’d be thrilled to hear about it! Please consider leaving a 5-star review in the recipe card below or sharing your experience in the comments. You can also tag us on Instagram @dashfordinner with your delicious creations!
Parmesan Crisps (Parmesan Chips)
This easy Parmesan Crisps recipe is the perfect snack to satisfy your cravings for all things crunchy and savory. Just 1 ingredient needed!
Course: Snacks
Cuisine: American
Prep Time: 5 minutes
Cook Time: 6 minutes
Cooling Time: 5 minutes
Total Time: 16 minutes
Servings: 24 crisps
Calories: 9 kcal
Author: Dorothy Bigelow
Equipment
- Mini muffin pan
Ingredients
- ½ cup finely shredded parmesan cheese
Instructions
- Preheat the oven to 400ºF and set out either a 24-hole non-stick mini muffin tin or a large-rimmed baking sheet lined with parchment.
- Measure 1 teaspoon of finely shredded parmesan cheese per hole in a mini muffin tin, or mound 1 teaspoon of cheese (evenly spaced) on a lined baking sheet.
- Once the oven has preheated, add the mini muffin tin or baking sheet to the oven.
- Cook for 4-6 minutes, or until the cheese is bubbly, melted, and brown. In tests, 5 minutes was the sweet spot.
- Remove the baking sheet from the oven and allow the parmesan crisps to cool in the pan for 5-10 minutes, or until they are no longer pliable.
- Line a plate or tray with 2-3 layers of paper towel, and gently transfer the parmesan crisps to the lined plate to drain.
- Once the parmesan crisps are completely cooled and drained they are ready to serve and enjoy.
Notes
Storage: To store your crisps, allow them to cool to room temperature completely before transferring them to a plastic storage bag or airtight container. They will maintain their crispness for up to 12 hours, but you can re-crisp them in the oven at 400ºF for 2-3 minutes or in the air fryer at 375ºF for 1-2 minutes. Leftover crisps will store on the counter for 1-2 days, or in the fridge for up to 1 week, although they become quite chewy once stored in the fridge.
Other cheeses: Feel free to experiment by substituting the parmesan cheese for your favorite aged cheeses. Just be sure to shred them using the small holes on your box grater.
Nutrition
Please note that some of our blog posts here at Dash for Dinner may contain affiliate links. If you make a purchase through these links, we will get a small commission at no additional cost to you. Please see our Disclaimer for more information.
