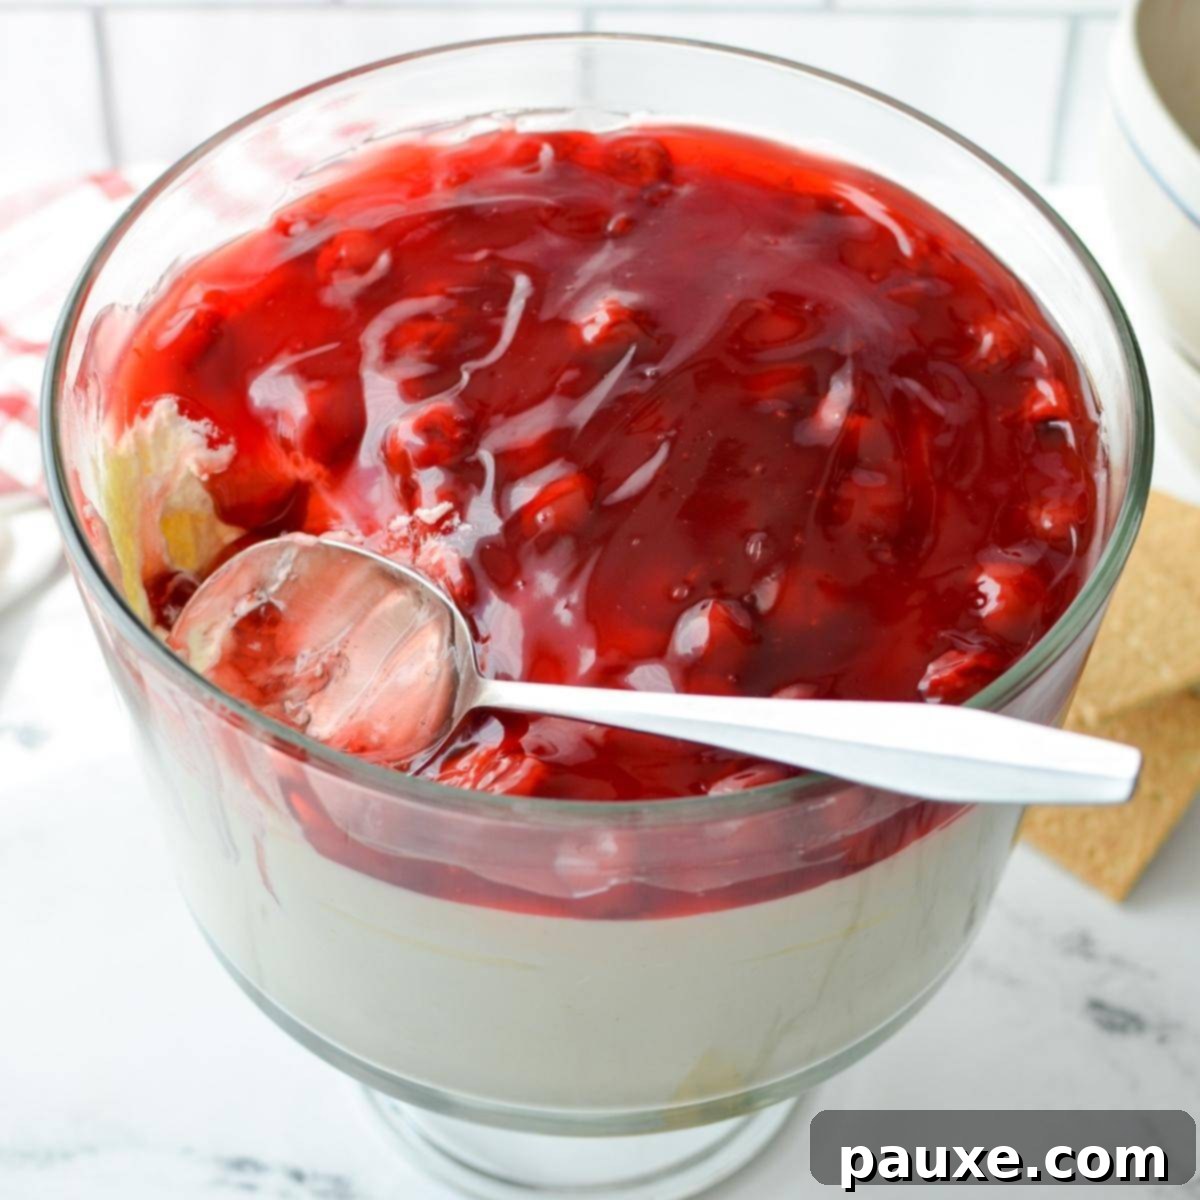
Welcome to the ultimate solution for your last-minute dessert dilemmas: the incredibly easy and utterly delicious Lazy Cheesecake Salad! This dessert isn’t just a recipe; it’s a lifesaver, designed for those moments when you need a show-stopping treat without spending hours in the kitchen. Whether you’re rushing to a potluck, hosting an impromptu gathering, or simply craving something sweet and satisfying, this no-bake cheesecake delight comes together in just 15 minutes with only 6 simple ingredients. Prepare to impress everyone with minimal effort!
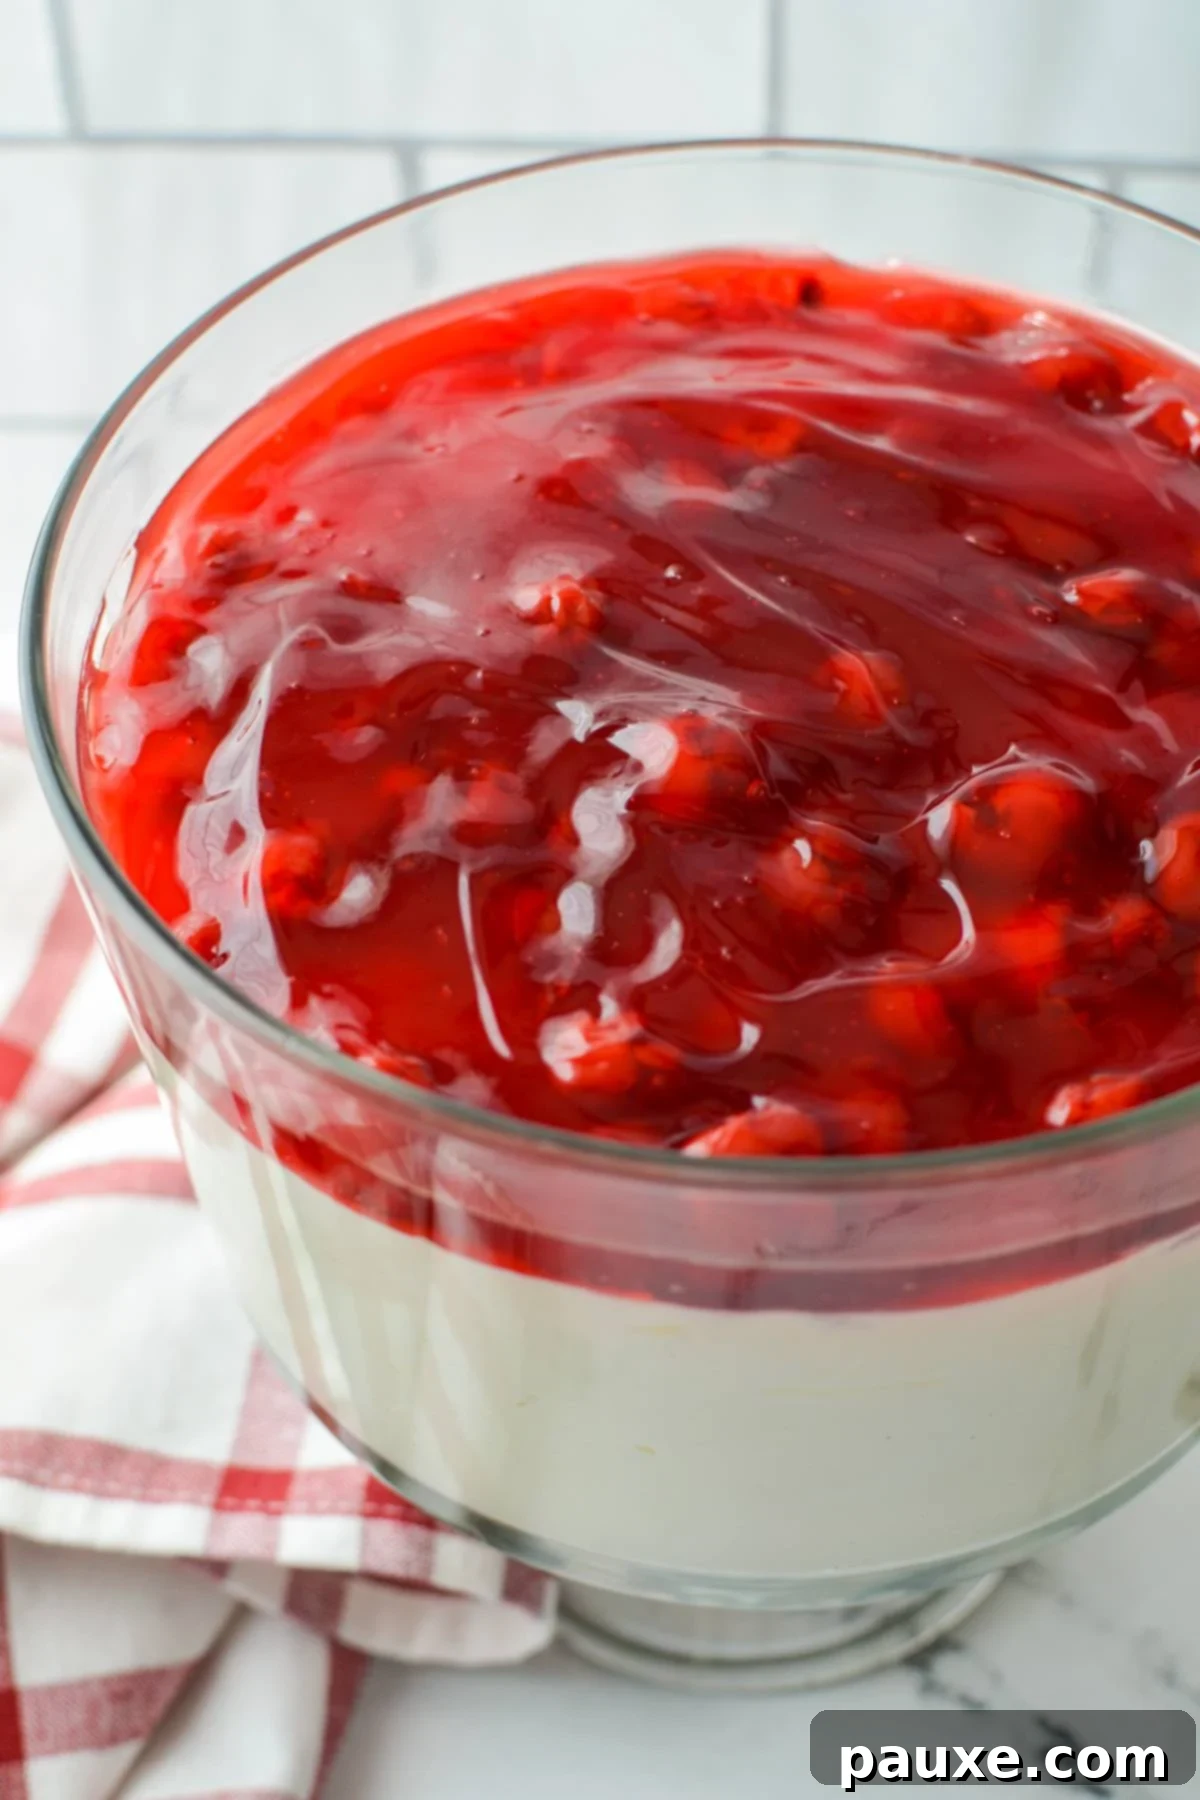
This recipe has become a true staple in my household, earning rave reviews from both adults and children who adore its creamy texture and fruity layers. As for me? I cherish it for its unparalleled simplicity. Most desserts, even many no-bake options, often require significant preparation time or a lengthy chilling period. While the results are almost always worth the effort, sometimes you just don’t have that luxury. That’s where this easy cheesecake salad recipe truly shines. It comes together in a flash and can be served immediately, making it the perfect choice for those spontaneous sweet cravings or unexpected events.
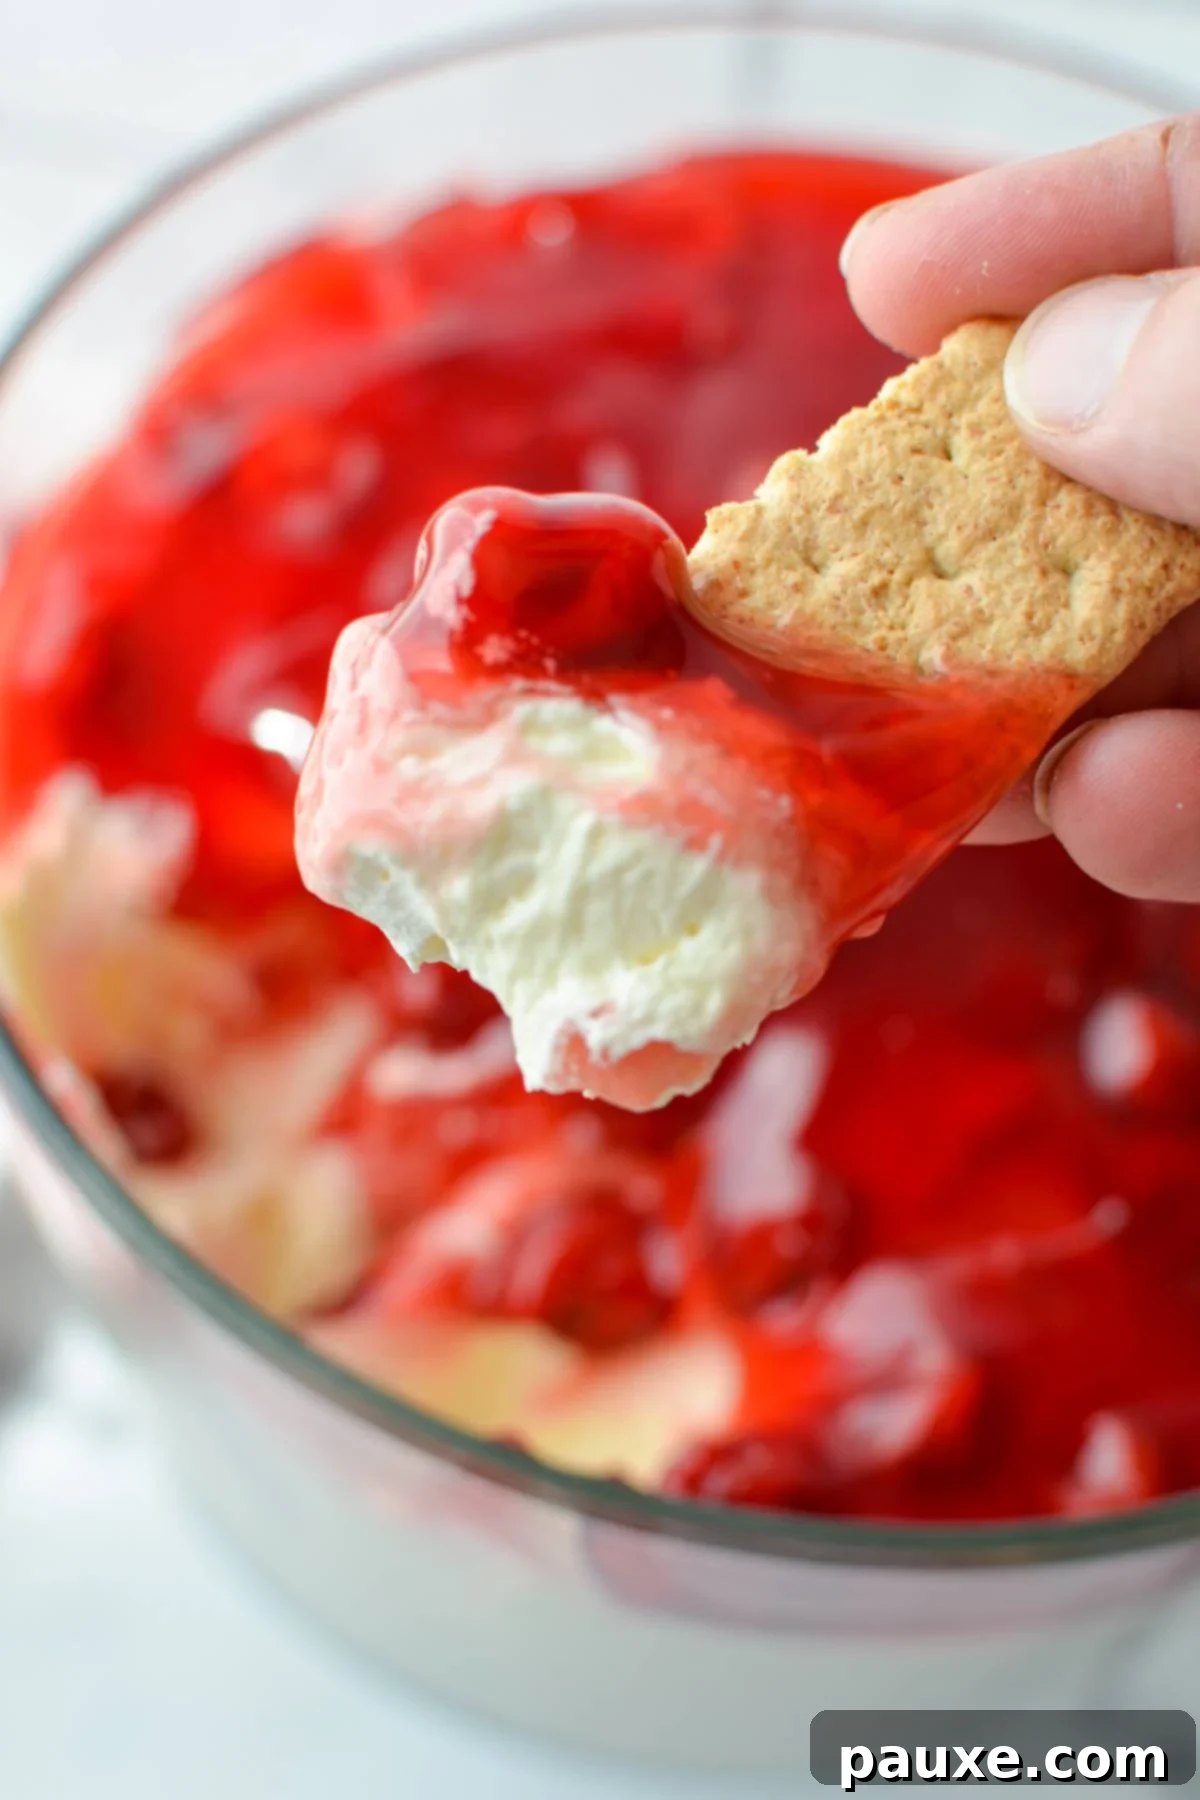
Imagine this: you receive an invitation to a party or realize you need a dessert for the church potluck just hours before. Instead of panicking, you can confidently turn to this super easy recipe. It’s versatile enough to be served elegantly in individual bowls with a spoon, or presented as a decadent dessert dip alongside your favorite graham crackers or vanilla wafers. This delightful dessert offers both convenience and incredible flavor, ensuring you’re always prepared for any occasion.
Why This Lazy Cheesecake Salad Will Become Your Go-To Dessert
Discover the myriad reasons why this no-bake cheesecake salad will quickly earn a permanent spot in your recipe collection:
- Effortless Preparation: Say goodbye to complicated baking steps and lengthy cooling times. This incredible dessert is genuinely ready in just 15 minutes, requiring absolutely no oven time. It’s the ideal solution for busy days or when you need a quick dessert fix.
- Perfect for Any Occasion: Whether it’s a last-minute potluck, a backyard barbecue, a casual family dinner, or a simple craving for something sweet, this cheesecake salad fits every bill. Its adaptability makes it a crowd-pleaser for all gatherings.
- Budget-Friendly Ingredients: With a mere 6 simple ingredients, this recipe is not only easy to prepare but also kind to your wallet. You likely have most of these pantry staples already on hand, making it a cost-effective choice for a delicious treat.
- Infinitely Customizable: This recipe serves as a fantastic base for creativity. Easily adapt it to your specific tastes by swapping out pie fillings or adding extra mix-ins. It’s also incredibly simple to make it gluten-free with just a couple of smart ingredient substitutions, ensuring everyone can enjoy a slice (or a spoonful!).
Simple Ingredients for a Heavenly Dessert
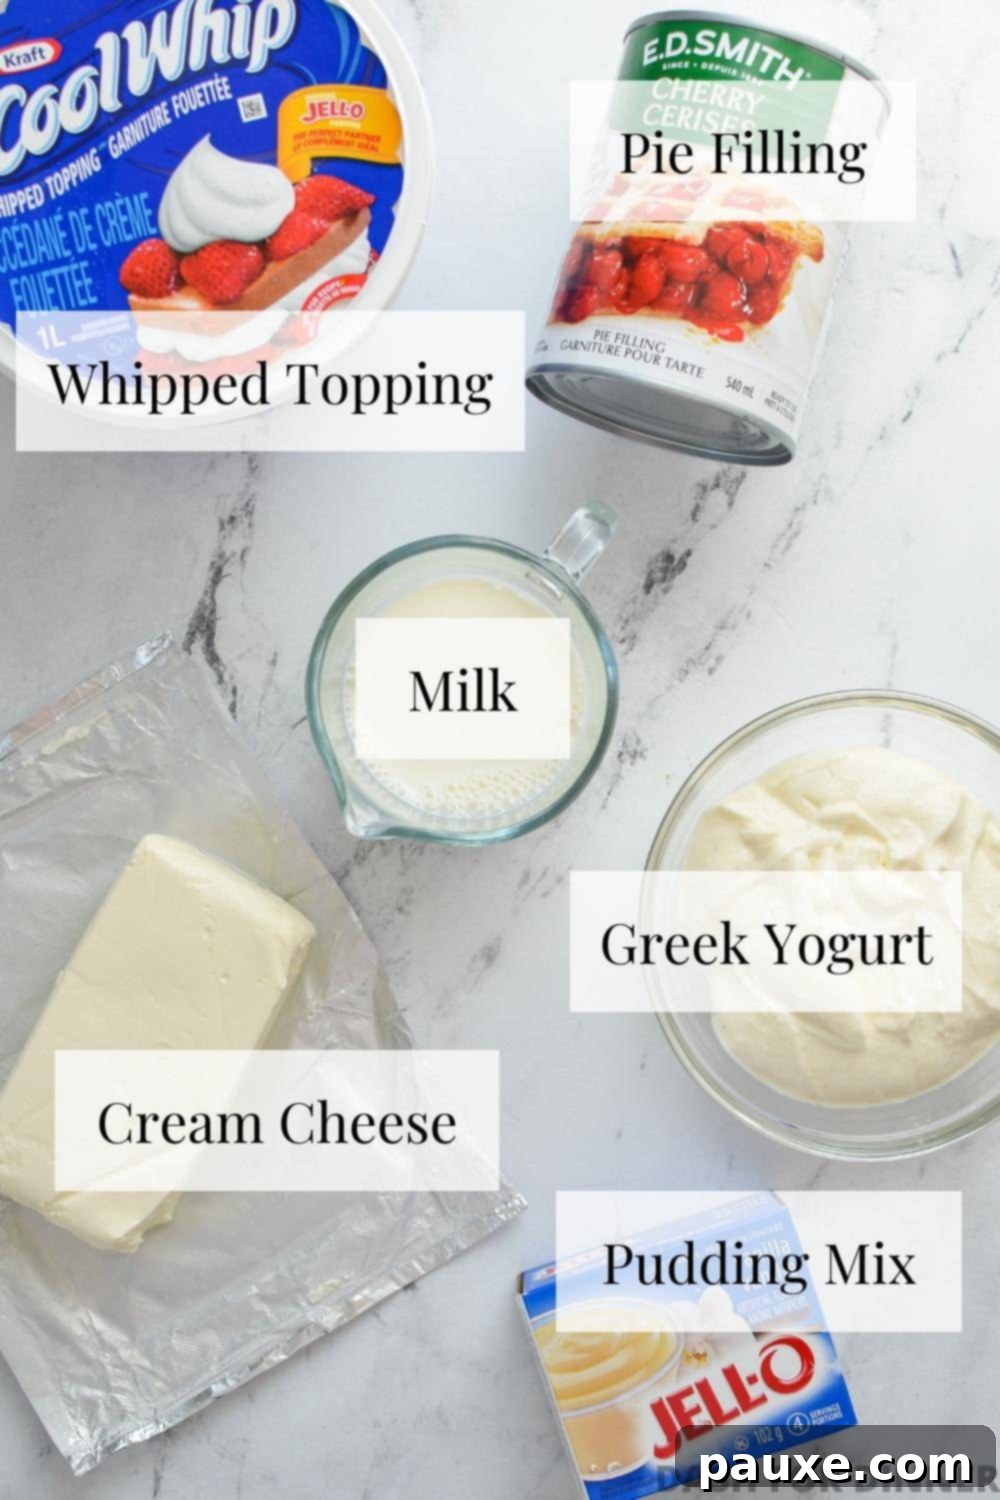
The beauty of this Lazy Cheesecake Salad lies in its minimal, accessible ingredients. Here’s what you’ll need and some tips for each:
- Cream Cheese: For that rich, authentic no-bake cheesecake base, brick-style cream cheese is essential. Ensure it’s softened to room temperature before you begin. This can take a few hours on the counter, or you can speed up the process by placing the wrapped brick in a plastic freezer bag and submerging it in a bowl of hot tap water for about 5 minutes until pliable. Softened cream cheese blends smoothly, preventing lumps.
- Whipped Topping: Often found in the freezer section under popular brand names like “Cool Whip,” this ingredient adds lightness and sweetness. Remember to thaw it thoroughly in the refrigerator before use; attempting to use it frozen will result in a clumpy, uneven mixture.
- Greek Yogurt OR Sour Cream: I highly recommend using a good quality vanilla Greek yogurt. It not only contributes a lovely sweetness and subtle vanilla flavor but also adds a desirable tang and creamy consistency. If vanilla Greek yogurt isn’t available, plain Greek yogurt with a splash of vanilla extract can work, or sour cream can be used as a direct substitute for a more traditional cheesecake tang.
- Pudding Mix: A standard 3.4 oz box of instant vanilla pudding mix is key for thickening and flavor. While regular vanilla is my go-to, French vanilla offers a slightly richer, more nuanced flavor if you prefer. Other pudding flavors like banana or coconut can also be experimented with for unique variations.
- Milk: I typically use regular whole milk for its richness, which contributes to a creamier texture. However, any style of milk you have on hand will work. For an extra decadent dessert, you could even consider using heavy cream, which will make the base even richer and more stable.
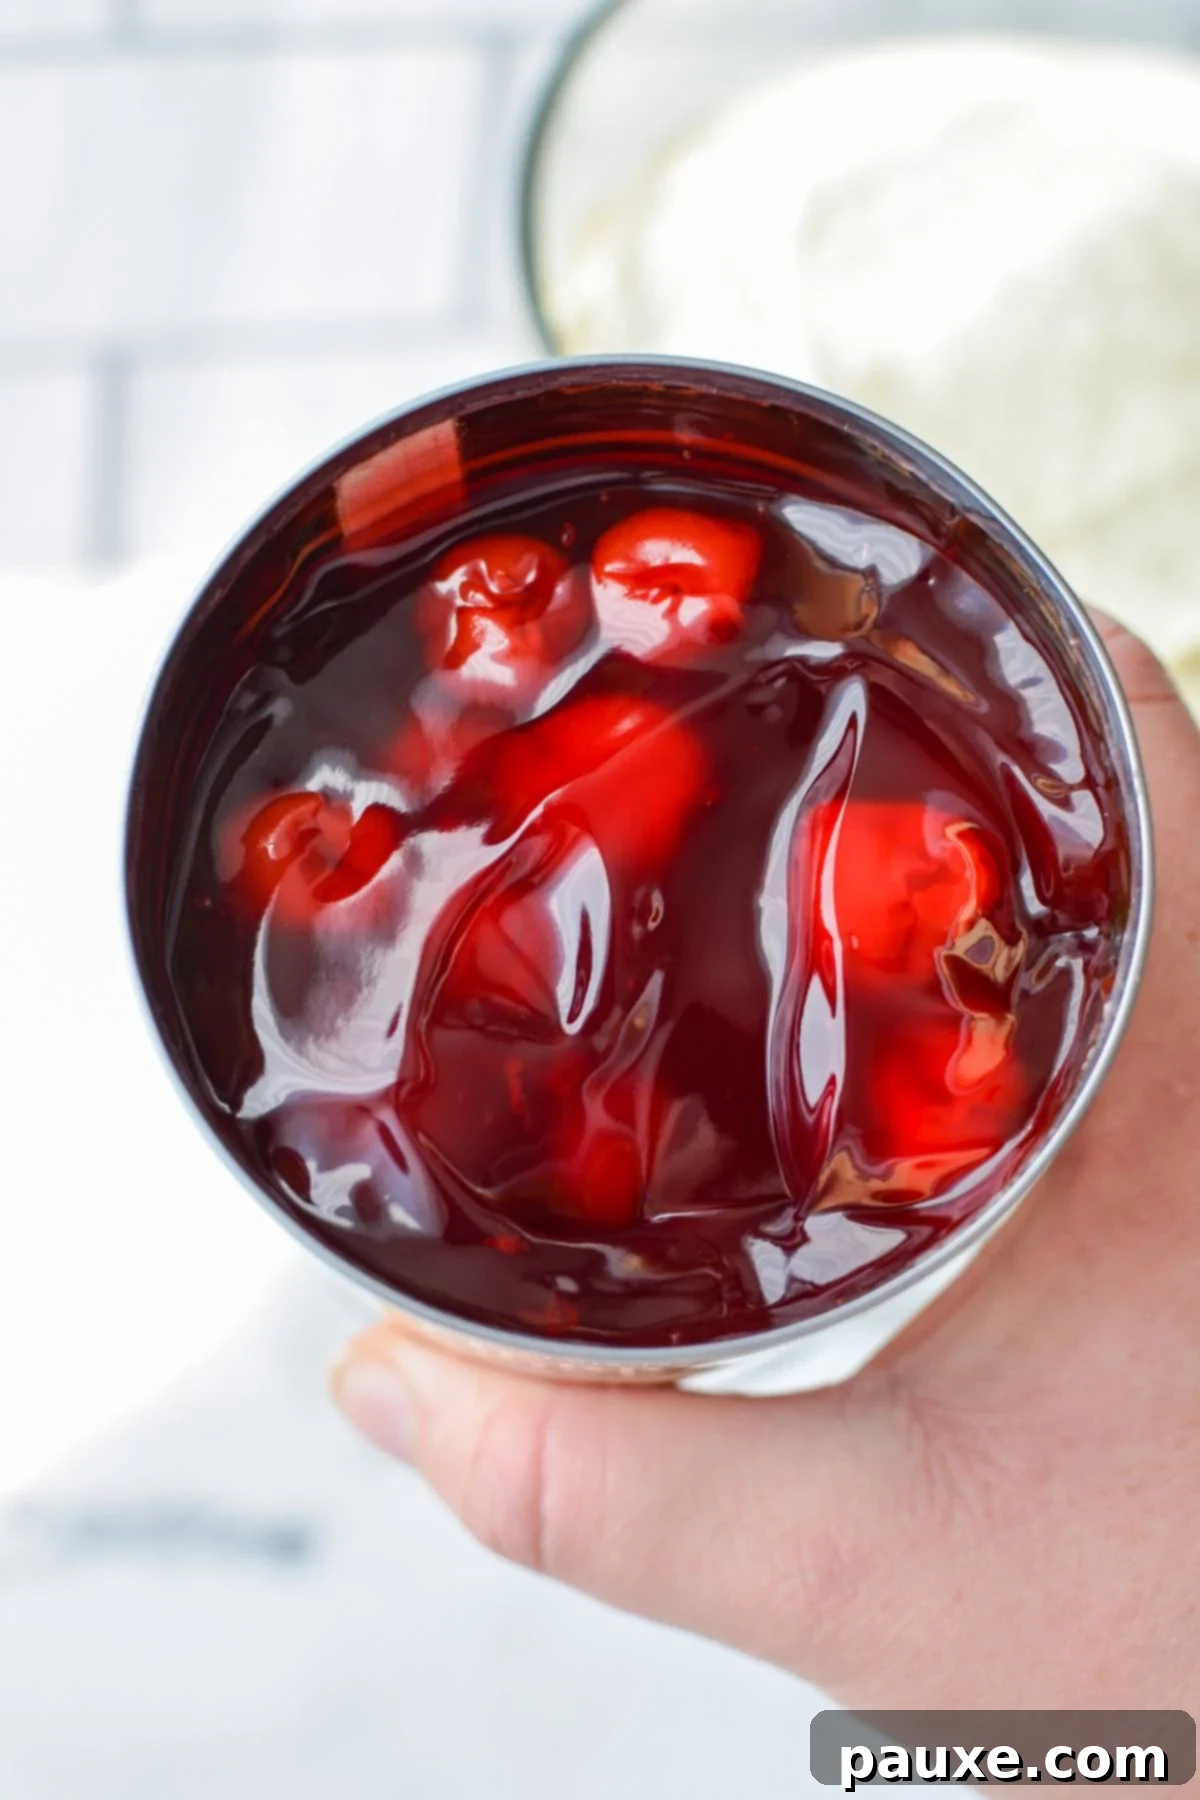
- Pie Filling: This is where the “salad” aspect comes in, offering a burst of fruity flavor. Using canned pie filling makes this recipe incredibly easy, saving you time and effort. My husband’s favorite is cherry, but the possibilities are endless! Apple, raspberry, blueberry, peach, or even a mixed berry filling are all fantastic choices. Feel free to use homemade pie filling if you have it, but for ultimate convenience, canned is perfect.
Recipe Size Considerations:
The quantities listed in the main recipe are perfect for a smaller batch, serving approximately 4-6 people, and will fit beautifully into an 8-9 inch round or square baking dish. If you’re planning to serve a larger crowd, wish to fill a grand trifle dish, or use a standard 9×13 inch baking dish, simply double all the ingredient quantities listed in the recipe. This ensures you have plenty of this delightful dessert for everyone to enjoy!
Crafting Your Dreamy Lazy Cheesecake Salad: A Step-by-Step Guide
Creating this effortless dessert is as simple as it gets. Follow these steps for a perfectly creamy and fruity masterpiece:
To begin, take your softened brick of cream cheese and place it into a large mixing bowl. Using an electric hand mixer, or a stand mixer fitted with the paddle attachment if you prefer, whip the cream cheese until it’s light, smooth, and fluffy. This aeration is key to a silky-smooth base.
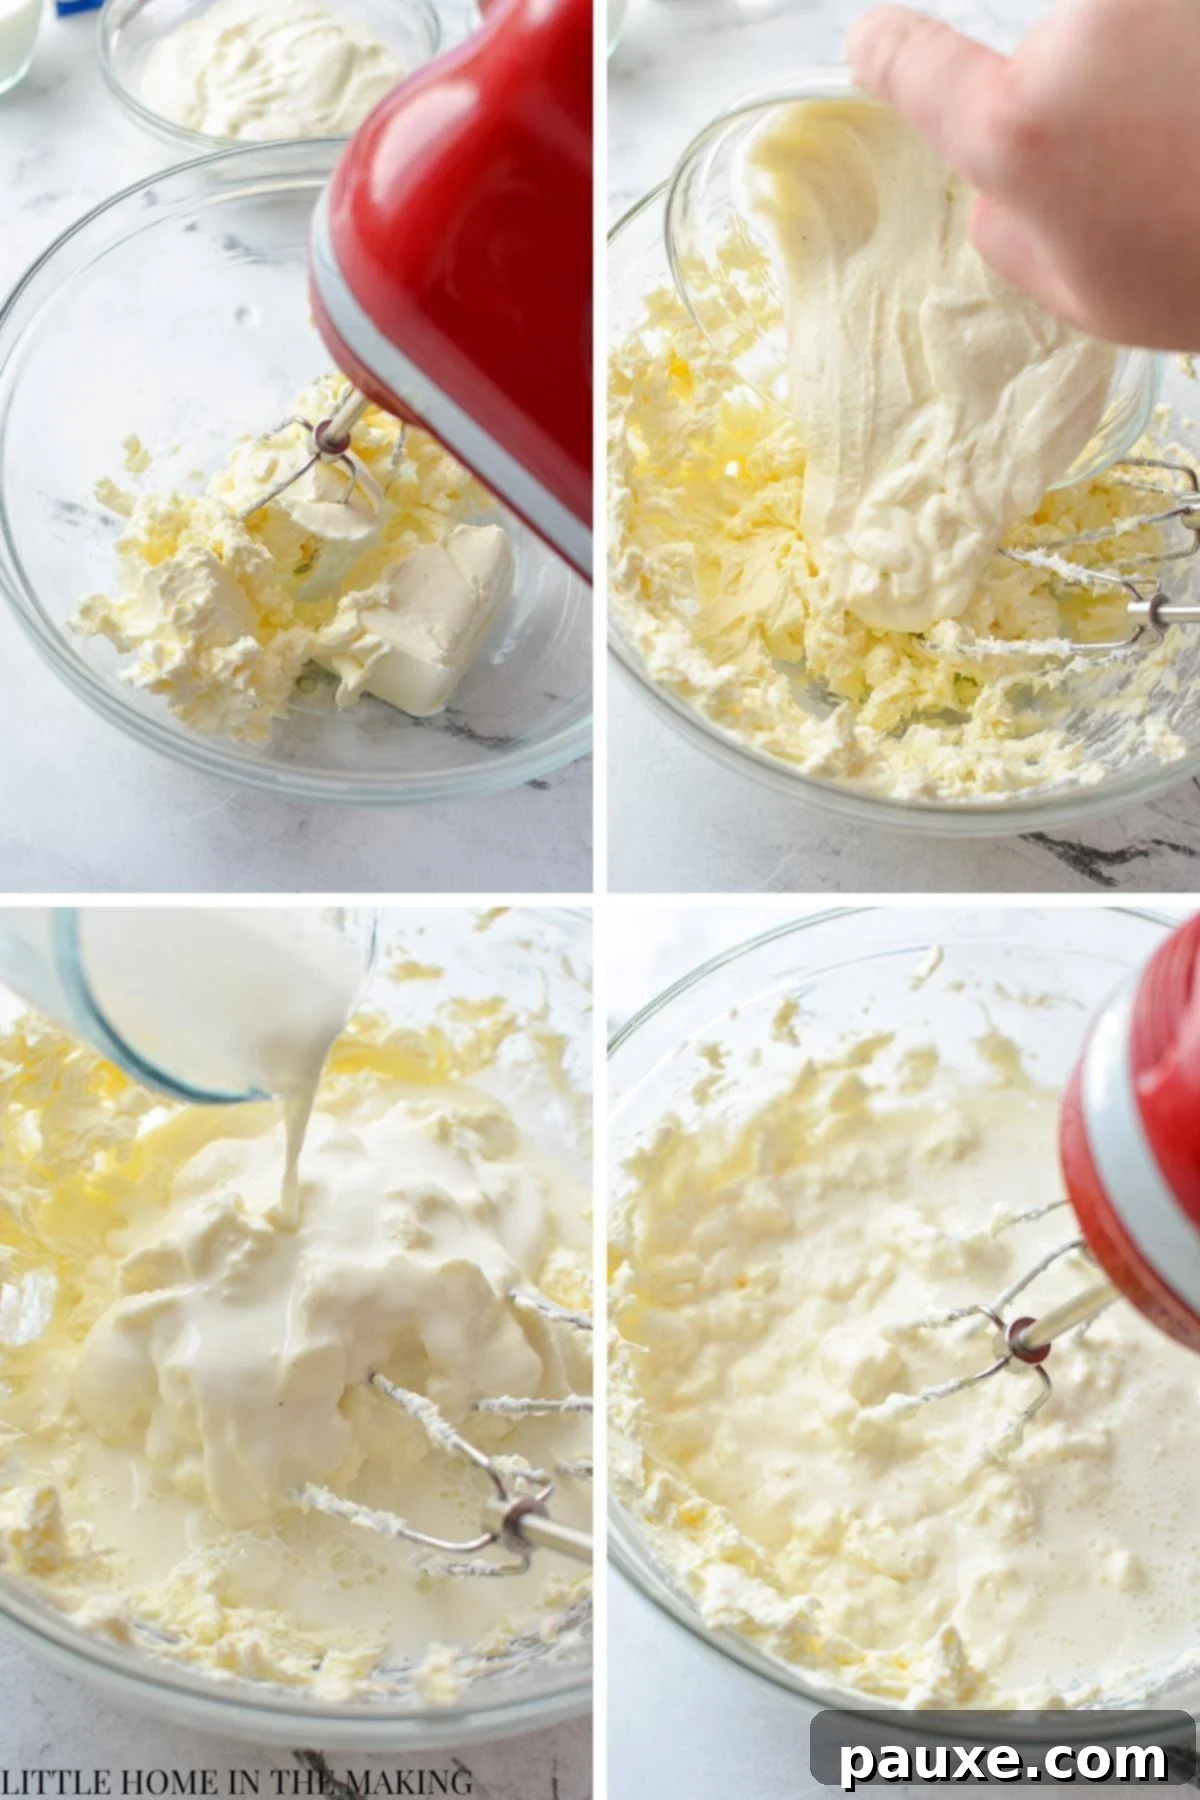
Next, add the vanilla Greek yogurt (or sour cream) and the milk to the bowl with the whipped cream cheese. Continue beating the mixture on low-medium speed. Ensure everything is thoroughly combined until the mixture is completely smooth and uniform. Don’t forget to scrape down the sides of the bowl with a spatula occasionally to ensure all ingredients are incorporated evenly.
Once you have a well-blended, creamy base, pour in the entire package of vanilla pudding mix. Beat again until the mixture thickens beautifully and becomes silky smooth. The pudding mix acts as a stabilizer and flavor enhancer, contributing to the cheesecake-like consistency.
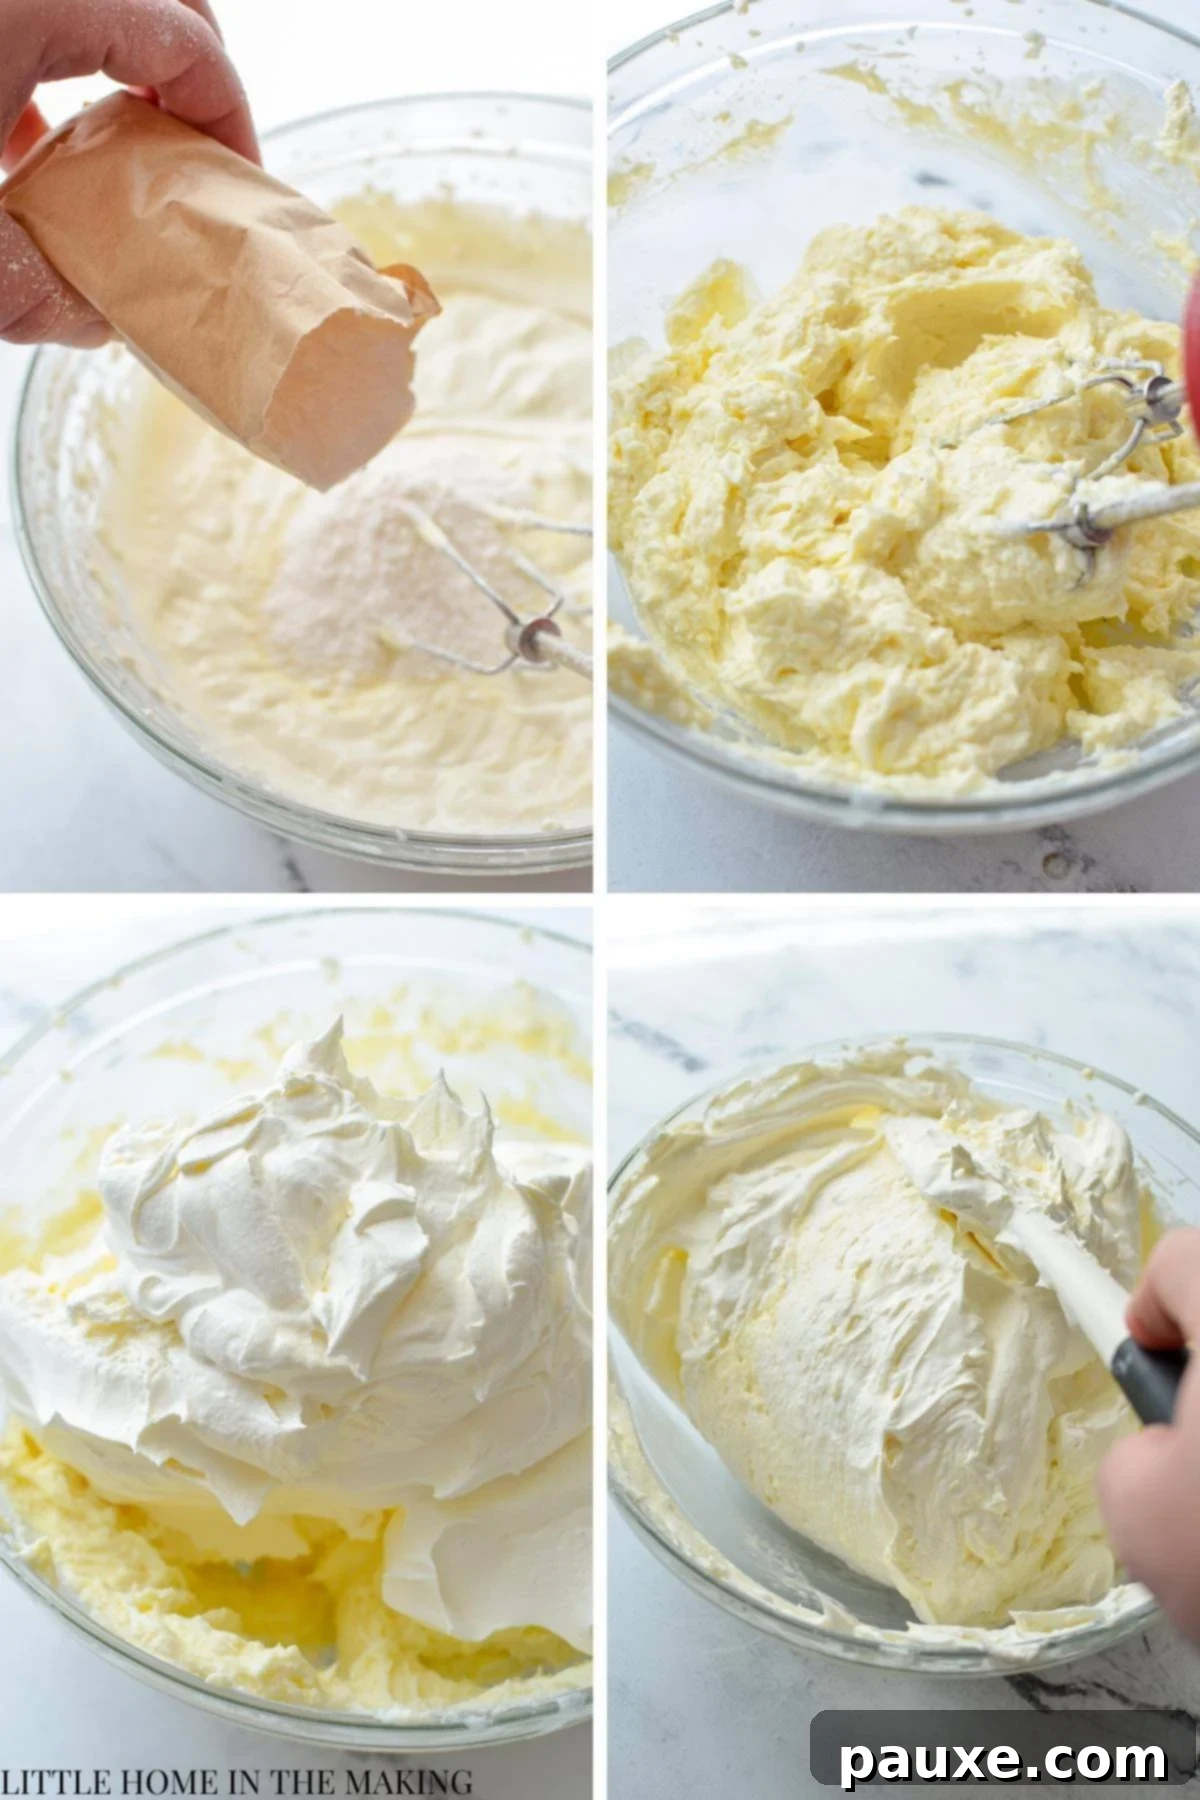
After the base mixture is perfectly blended and thickened, it’s time to incorporate the thawed whipped topping. Gently fold it into the cheesecake mixture using a silicone spatula. The goal here is to maintain the airy texture of the whipped topping, so be delicate and fold until just thoroughly incorporated, avoiding overmixing.
Now, transfer this wonderfully creamy cheesecake mixture into your chosen serving dish. For the standard recipe size, an 8-9 inch round or square deep dish works well. If you doubled the recipe, a larger trifle dish would be ideal to showcase the layers.
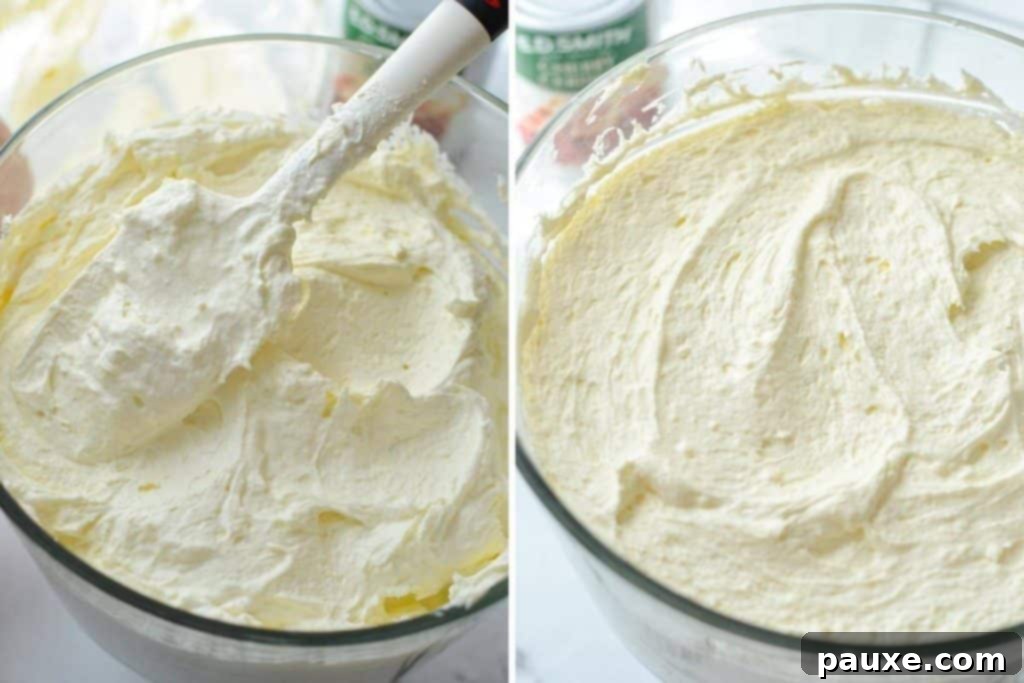
Using your spatula, smooth the cheesecake salad base into an even layer across the bottom of the dish. Take a moment to clean up the edges for a neat and appealing presentation. This provides a perfect foundation for the vibrant fruit topping.
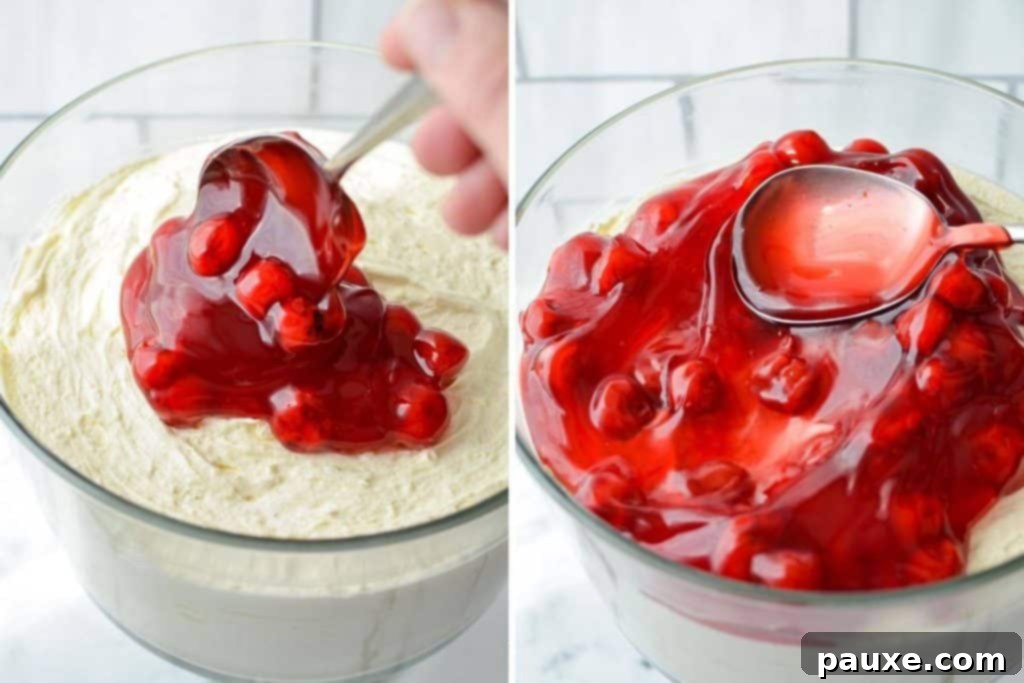
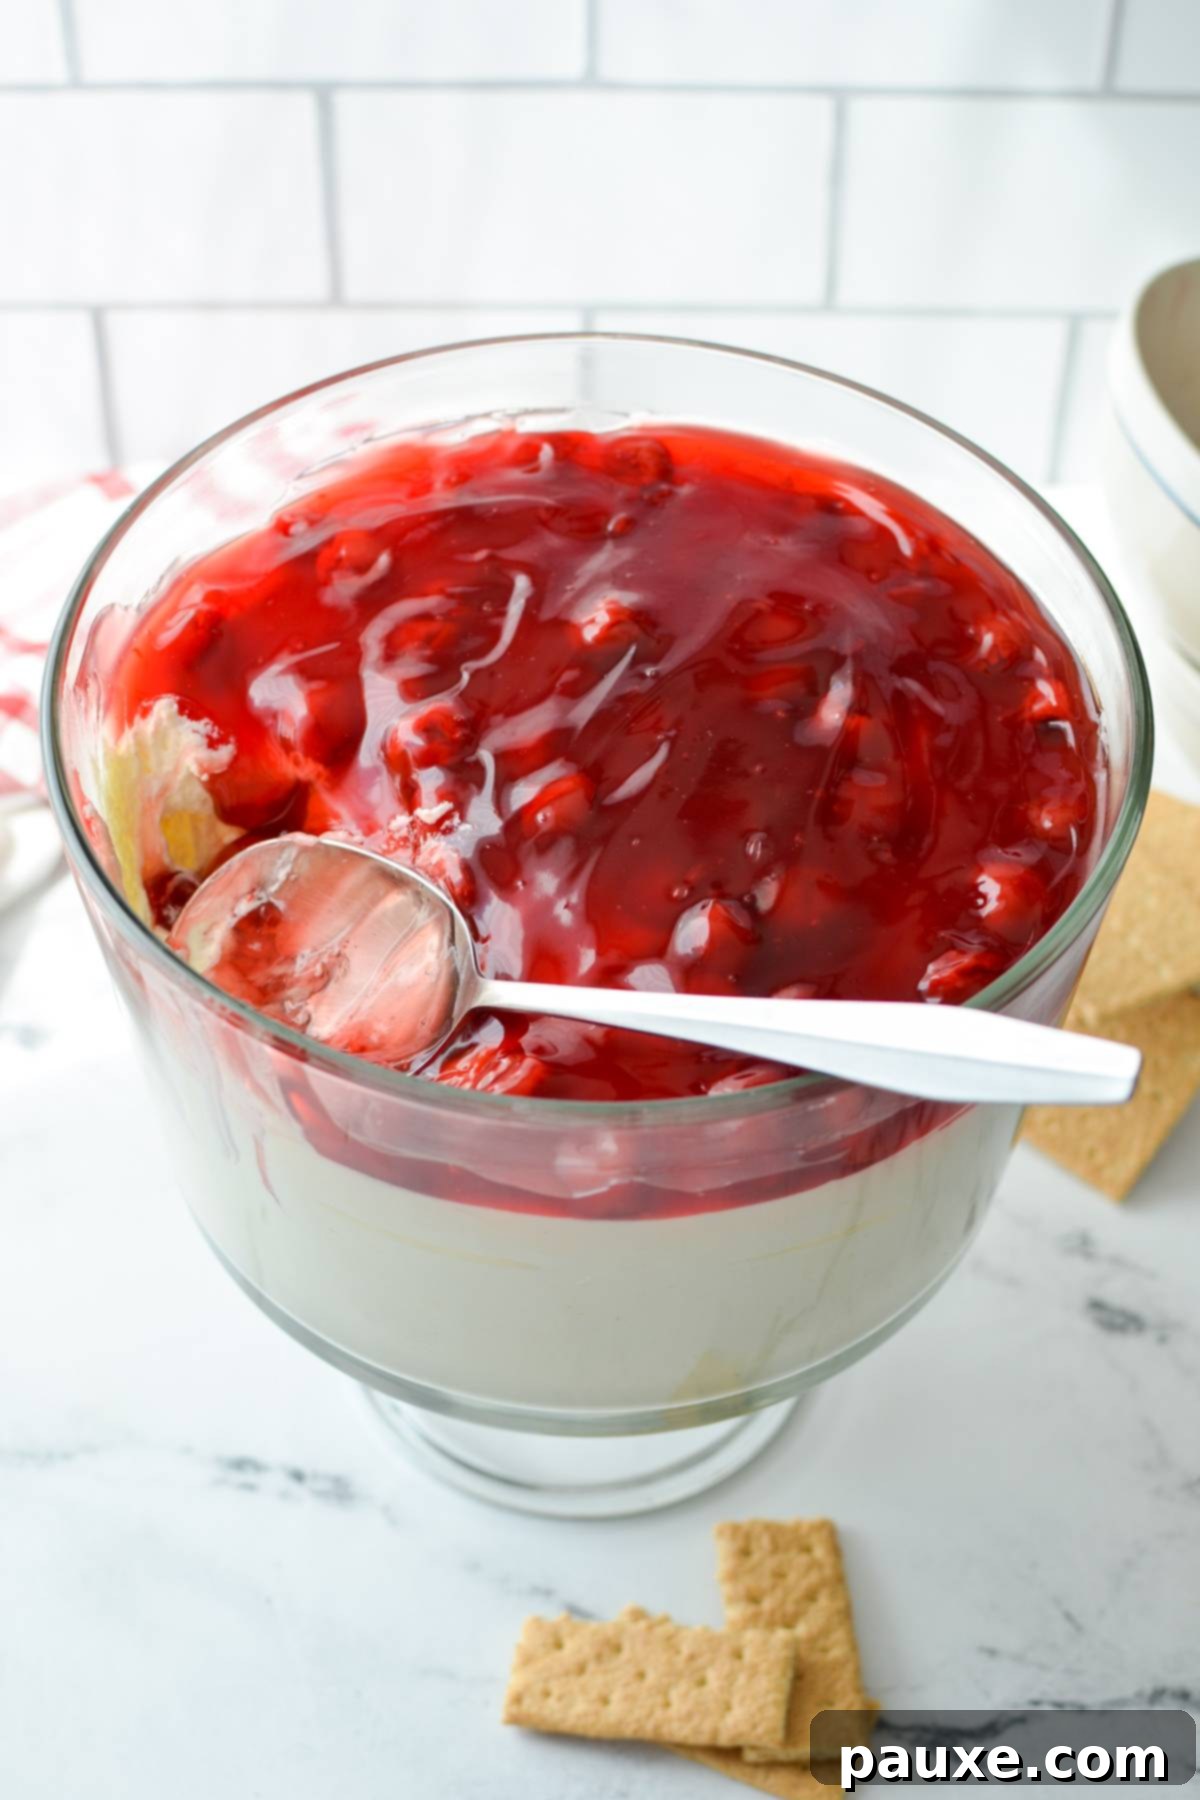
Finally, open a full can of your favorite pie filling (I often opt for cherry pie filling for its classic appeal) and carefully spread it out over the entire surface of the cheesecake layer. Ensure the filling reaches all the way to the edges, creating a beautiful, colorful top layer.
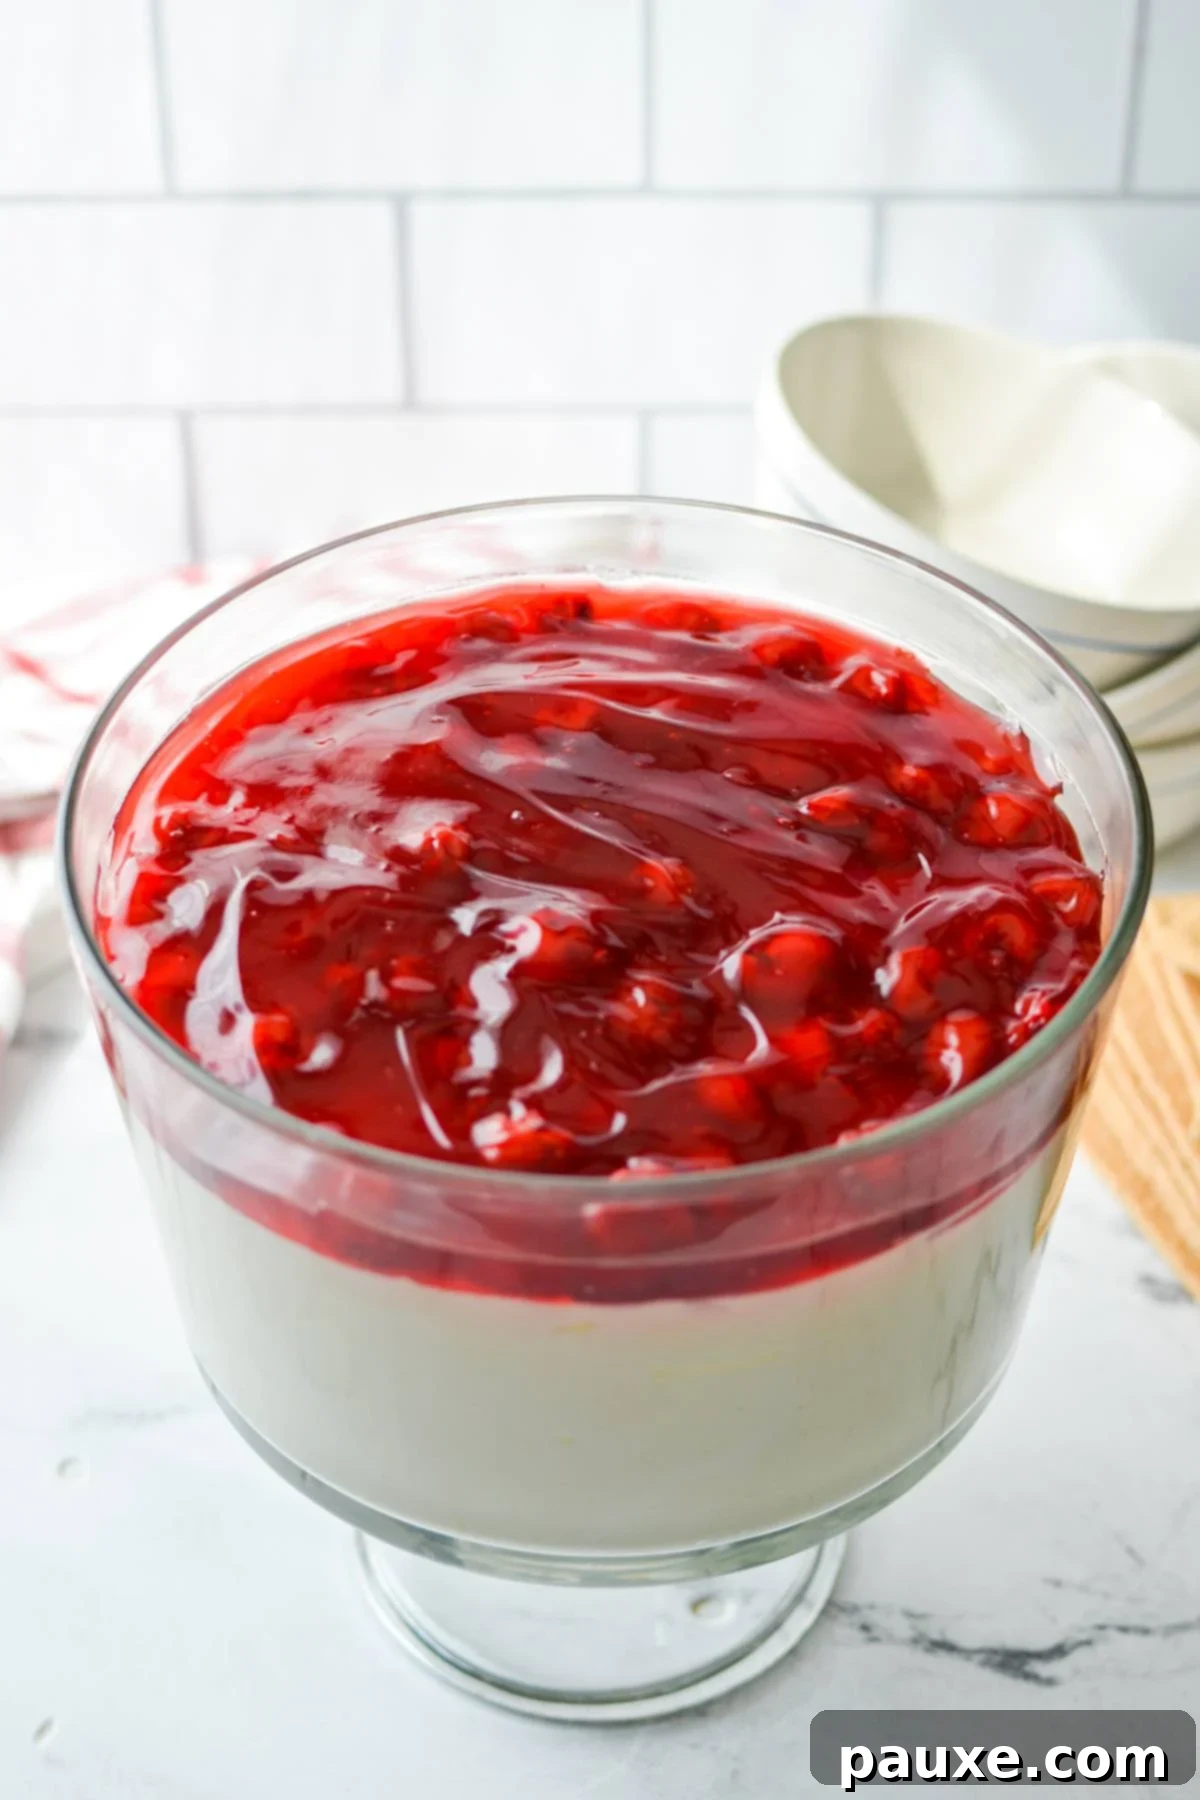
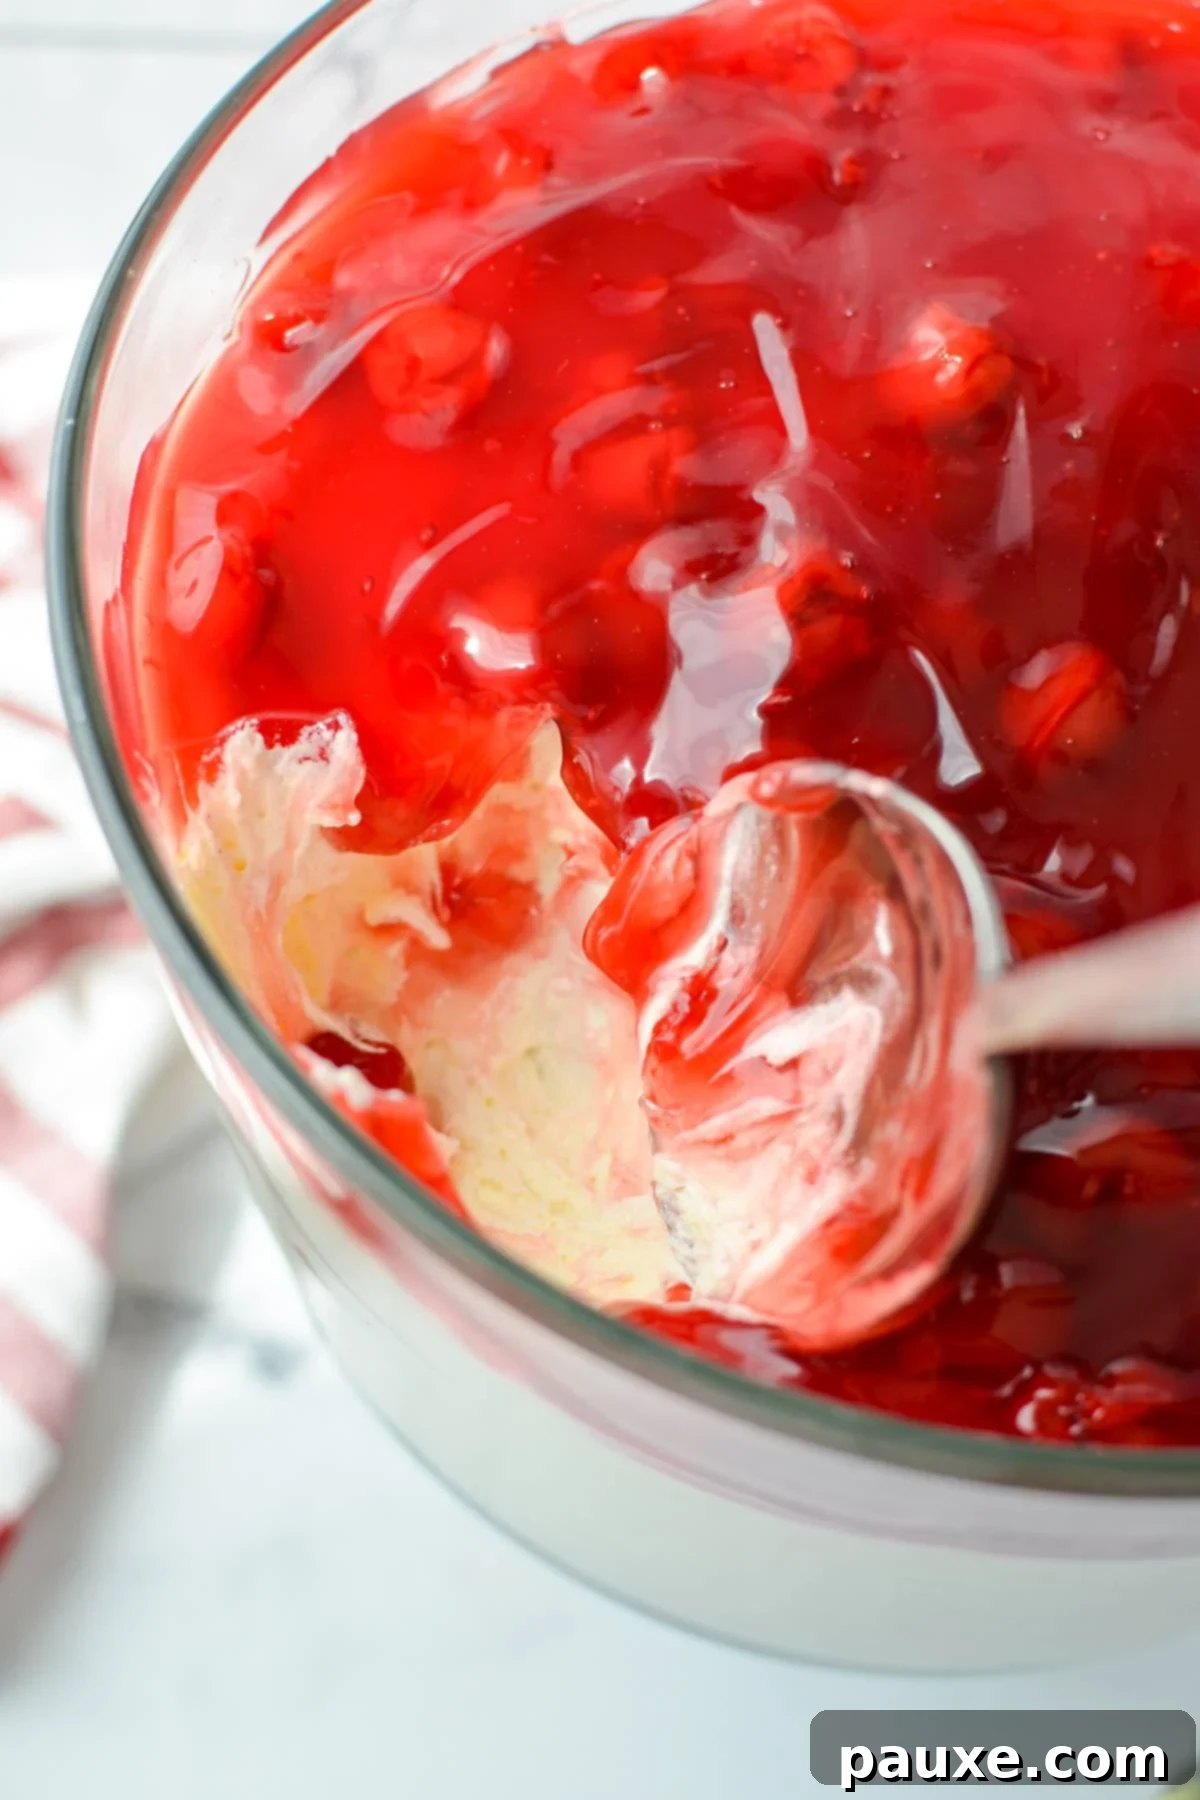
And there you have it! Your easy no-bake cheesecake salad is complete. You can either serve this delightful dessert right away for instant gratification, or allow it to chill in the refrigerator for a bit. While not absolutely necessary, a short chilling period of 30 minutes to 2 hours gives the layers a chance to firm up slightly and allows the flavors to meld beautifully, enhancing the overall experience. Enjoy!
Perfect Pairings: What to Serve with Your Cheesecake Salad
While your cheesecake salad is utterly delicious on its own, especially when scooped into small bowls with a spoon, offering an array of accompaniments elevates the experience. Think of it as a decadent dessert dip! Here are some fantastic options to serve on the side for dipping, scooping, or spreading:
- Classic Graham Crackers: Their honeyed crunch provides a wonderful contrast to the creamy cheesecake.
- Vanilla Wafer Cookies: Light, crisp, and with a delicate vanilla flavor, they are a perfect match.
- Animal Crackers: A fun and nostalgic option, particularly popular with younger guests.
- Teddy Grahams: These bear-shaped delights are another kid-friendly favorite that adds a playful touch.
- Cinnamon Pita Chips: For a unique twist, the spiced crunch of cinnamon pita chips pairs surprisingly well with the sweet and creamy dessert.
- Toasted Baguette Chips: A more sophisticated option, offering a subtle savory note that balances the sweetness.
- Fresh Berries: Strawberries, blueberries, raspberries, or blackberries add a burst of fresh flavor and a lighter texture.
- Pretzel Crisps: For a delightful sweet and salty combination, pretzel crisps offer a satisfying crunch.
Exploring the Best Pie Filling Choices
The beauty of this Lazy Cheesecake Salad lies in its versatility, especially when it comes to the pie filling. You truly can use whatever flavor you love most! While cherry and strawberry are often considered the “classic” cheesecake salad selections, don’t feel limited. Experiment with different fruits to discover new favorites. Here are just a few of the many delightful options to inspire your next creation:
- Cherry: A timeless favorite, offering a rich, tart-sweet contrast that beautifully complements the creamy cheesecake.
- Strawberry: Bright, sweet, and bursting with summery flavor, strawberry pie filling is always a crowd-pleaser.
- Raspberry: Offers a slightly tarter, more intense berry flavor, adding a sophisticated touch.
- Blueberry: Sweet and slightly tangy, blueberries provide a comforting and familiar taste.
- Apple: A wonderful choice for a more autumnal feel, especially with a hint of cinnamon.
- Peach: Sweet, juicy, and incredibly aromatic, peach pie filling brings a taste of sunshine.
- Strawberry Rhubarb: For those who appreciate a balance of sweet and tart, this combination is a fantastic choice.
- Mixed Berry: A medley of berries offers a complex flavor profile and vibrant color.
Each pie filling brings its own unique character to the cheesecake salad, allowing you to tailor this easy dessert to any season or preference. Don’t hesitate to get creative and explore beyond the usual!
Creative Variations and Smart Substitutions
This Lazy Cheesecake Salad is wonderfully adaptable, making it easy to customize for different tastes, dietary needs, or occasions. Here are some popular variations and simple substitutions:
Large Batch for a Crowd: The base recipe yields enough for an 8-9 inch round or square deep dish pan, which serves about 6 people. If you’re hosting a larger party, filling a grand trifle bowl, or serving more guests, simply double all the ingredient quantities in the recipe. This ensures you have plenty to go around and makes for an impressive centerpiece!
Making it Gluten-Free: Many of the core ingredients for this cheesecake salad are naturally gluten-free, including whipped topping, cream cheese, milk, and Greek yogurt. To make the entire dessert gluten-free, you’ll only need to make two simple swaps: select a gluten-free instant pudding mix (read labels carefully, as most are naturally GF, but some may contain wheat starch) and ensure your chosen pie filling is also certified gluten-free. For serving, pair it with gluten-free graham crackers or simply enjoy it in bowls with a spoon.
Apple Cheesecake Salad: To create a delicious apple-flavored cheesecake salad, substitute the cherry pie filling with a can of apple pie filling. For an even more indulgent treat, consider adding a thin layer of caramel sauce between the cheesecake base and the apple layer. This creates an “Apple Caramel Cheesecake Salad” that’s reminiscent of a classic apple pie with a cheesecake twist.
Strawberry Cheesecake Salad: For a vibrant and refreshing strawberry version, swap the cherry pie filling for a can of strawberry pie filling. If fresh strawberries are in season and you prefer a lighter, less sweet option, you can also use finely chopped fresh strawberries, perhaps macerated with a touch of sugar for extra juice and flavor.
Other Fruit Variations: Don’t stop at apple or strawberry! Experiment with blueberry, peach, raspberry, or even tropical fruit fillings like pineapple for a taste adventure. Each fruit brings its own unique flavor profile, allowing for endless customization.
Storage and Make-Ahead Tips
Ensuring your Lazy Cheesecake Salad stays fresh and delicious is simple with these storage and make-ahead recommendations:
Storage:
To keep your cheesecake salad at its best, store any leftovers in an airtight container or tightly wrapped with plastic film in the refrigerator. It will maintain its delightful creamy texture and fresh flavor for up to 3 days. While it’s best enjoyed fresh, it makes for a fantastic treat over the next couple of days.
Making Ahead:
If you’re preparing this dessert for an event or party and want to get a head start, I recommend making the cheesecake base a day in advance. Store the base covered in the refrigerator. Then, add the pie filling the morning of your event. This strategic approach prevents the fruit filling from potentially bleeding into the creamy white cheesecake layer, ensuring distinct, beautiful layers. It also gives the cheesecake base ample opportunity to firm up further, resulting in an even more stable and satisfying dessert.
Explore More Easy No-Bake Desserts
If you’ve fallen in love with the simplicity and deliciousness of this Lazy Cheesecake Salad, you’re in for a treat! There’s a whole world of effortless no-bake desserts waiting to be discovered. These recipes are perfect for satisfying your sweet tooth without ever turning on the oven. Here are some more fantastic ideas to keep your kitchen cool and your dessert game strong:
- Berry Cheesecake Salad: A vibrant, patriotic twist on the classic, loaded with fresh berries.
- No Bake Chocolate Chip Cheesecake: All the rich flavor of cheesecake with delightful chocolate chips, no oven needed.
- No Bake Nutella Pie: Indulge in the creamy, hazelnut-chocolate goodness of this incredibly easy pie.
- No Bake Peanut Butter Bars: A classic combination of peanut butter and chocolate, these bars are a quick and satisfying snack or dessert.
- Butterscotch Haystacks: A simple, crunchy, and sweet treat that comes together in minutes.
- No Bake Black Forest Cheesecake: A rich and elegant dessert featuring the timeless flavors of chocolate and cherries.
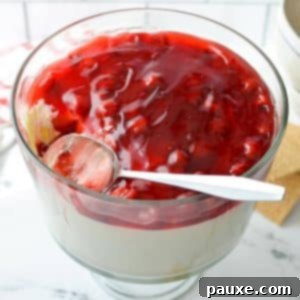
Lazy Cheesecake Salad
This lazy cheesecake salad recipe is the ultimate easy dessert recipe! Made with just 6 ingredients, this no bake recipe is ready in just 15 minutes. Top with your favorite canned pie filling for an easy and satisfying Midwest dessert that is perfect for potlucks and cookouts.
Rated 5 out of 5 stars from 2 votes.
Print Recipe | Pin Recipe
Ingredients
- 8 oz brick cream cheese, softened to room temperature
- 1 cup vanilla Greek yogurt or sour cream
- ½ cup whole milk
- 3.4 ounce package vanilla pudding mix
- 8 ounce container of frozen whipped topping, thawed
- 21 ounce can cherry pie filling
- Graham crackers for serving (optional)
Instructions
- Add the softened brick of cream cheese to a large bowl with a hand mixer, or the bowl of a stand mixer fitted with the paddle attachment.
- Beat the cream cheese until soft and fluffy, then turn off the mixer.
- Add in the Greek yogurt (or sour cream) and milk. Beat the mixture until smooth and uniform, scraping down the sides of the bowl as needed.
- Once everything is well combined, add in the full package of vanilla pudding mix. Mix well to combine.
- Turn off the mixer and remove the beaters. Add the full container of thawed whipped topping, and gently fold it in using a silicone spatula.
- Once the topping is folded in, spread it into a deep 9” square or round dish, or a medium-sized trifle dish.
- Spread the mixture into an even, smooth layer.
- Add the can of pie filling and spread it out evenly, all the way to the edges.
- Serve immediately OR allow to chill for 30 minutes – 2 hours to firm up slightly.
- Serve with fruit, graham crackers, or in small bowls.
Notes
Adapted from: Jamie’s Kitchen Blessings (no longer online)
If you’re serving a crowd or would like to completely fill a trifle dish (the recipe as is would fill it halfway), double the recipe.
Pie filling: Cherry pie filling is used in the recipe, but you can use whatever pie filling you like best!
Storing: Store your cheesecake salad in an airtight container OR tightly wrapped in the refrigerator. Store for up to 3 days.
Nutrition
Serving: 1 serving | Calories: 439kcal | Carbohydrates: 59g | Protein: 8g | Fat: 19g | Saturated Fat: 13g | Polyunsaturated Fat: 1g | Monounsaturated Fat: 4g | Cholesterol: 44mg | Sodium: 285mg | Potassium: 226mg | Fiber: 1g | Sugar: 27g | Vitamin A: 797IU | Vitamin C: 4mg | Calcium: 138mg | Iron: 0.3mg
Please note that some of my blog posts here at Dash for Dinner may contain affiliate links. If you make a purchase through these links, I will get a small commission at no additional cost to you. Please see my Disclaimer for more information.
