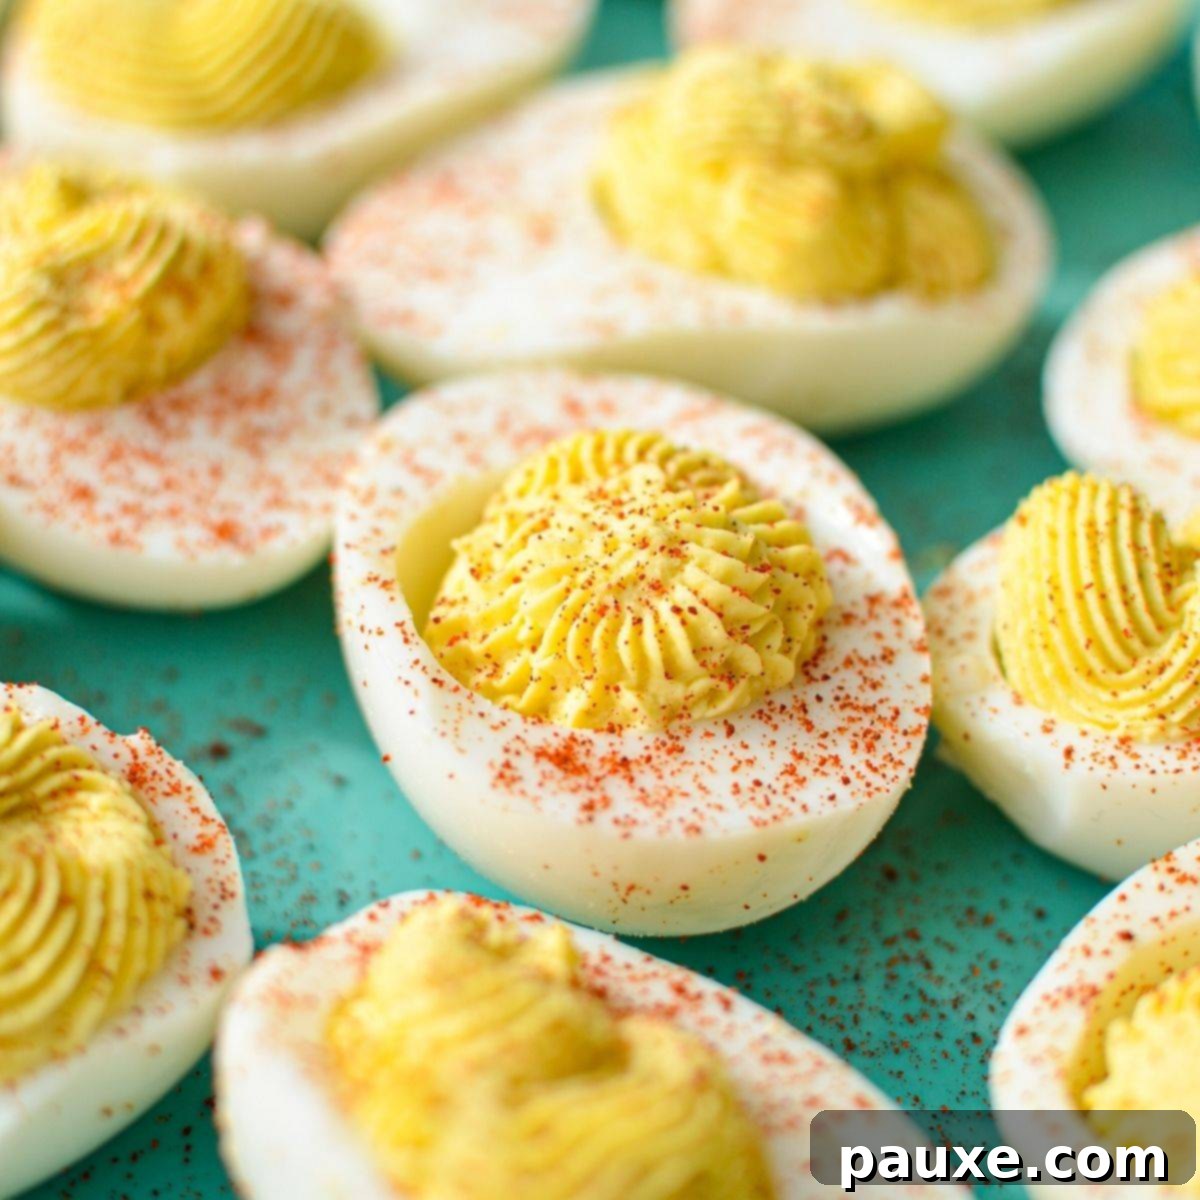
Unlock the secret to incredibly easy, perfectly peeled, and lusciously creamy deviled eggs with your Instant Pot! These Instant Pot Deviled Eggs are not just a delectable appetizer; they’re a game-changer for holiday dinners, potlucks, and everyday low-carb snacking. Made with simple, wholesome ingredients, this recipe ensures smooth, vibrant yolks every time, making it a guaranteed crowd-pleaser that’s also gluten-free, dairy-free, and keto-friendly.

Deviled eggs are a timeless classic, beloved for their rich flavor and elegant presentation. However, anyone who has attempted to make them the traditional way knows the frustration of peeling stubbornly fresh eggs. The Instant Pot revolutionizes this process, transforming it from a chore into a breeze. Say goodbye to pockmarked, cratered egg whites that look like they’ve gone a few rounds with Rocky Balboa! With the Instant Pot, you’ll achieve flawlessly smooth, easy-to-peel hard-boiled eggs, setting the stage for truly stunning deviled eggs.
Whether you’re preparing for Easter brunch, a Thanksgiving feast, a summer BBQ, or just craving a satisfying, healthy snack, these creamy delights fit every occasion. Their naturally gluten-free, dairy-free, and low-carb nature also makes them a fantastic option for guests with dietary restrictions, ensuring everyone can enjoy a bite of this irresistible appetizer.
Why Your Instant Pot is a Deviled Egg Game-Changer
The Instant Pot is more than just a pressure cooker; it’s a magician when it comes to hard-boiling eggs. The magic lies in the high-pressure steaming environment, which creates a slight gap between the egg white and the shell. This tiny separation makes peeling an absolute dream, even with the freshest eggs that are notoriously difficult to peel using traditional stovetop methods.
Beyond the ease of peeling, using the Instant Pot offers unparalleled consistency. You get perfectly cooked yolks every single time – bright yellow, creamy, and never rubbery or marred by that undesirable green ring. This consistency is crucial for deviled eggs, where the yolk’s texture and color are paramount to the final dish’s appeal and taste. The controlled environment of the Instant Pot eliminates guesswork, ensuring predictable and delicious results.
Furthermore, it’s a significant time-saver. While the Instant Pot takes a few minutes to come to pressure, the actual cook time is short, and the hands-off approach frees you to focus on other tasks in the kitchen. For busy hosts or anyone looking for efficiency, this method is simply unbeatable.
Essential Ingredients for Irresistible Deviled Eggs
Crafting the perfect deviled egg filling requires a balance of rich and tangy flavors. Here’s what you’ll need to create a batch that everyone will rave about:
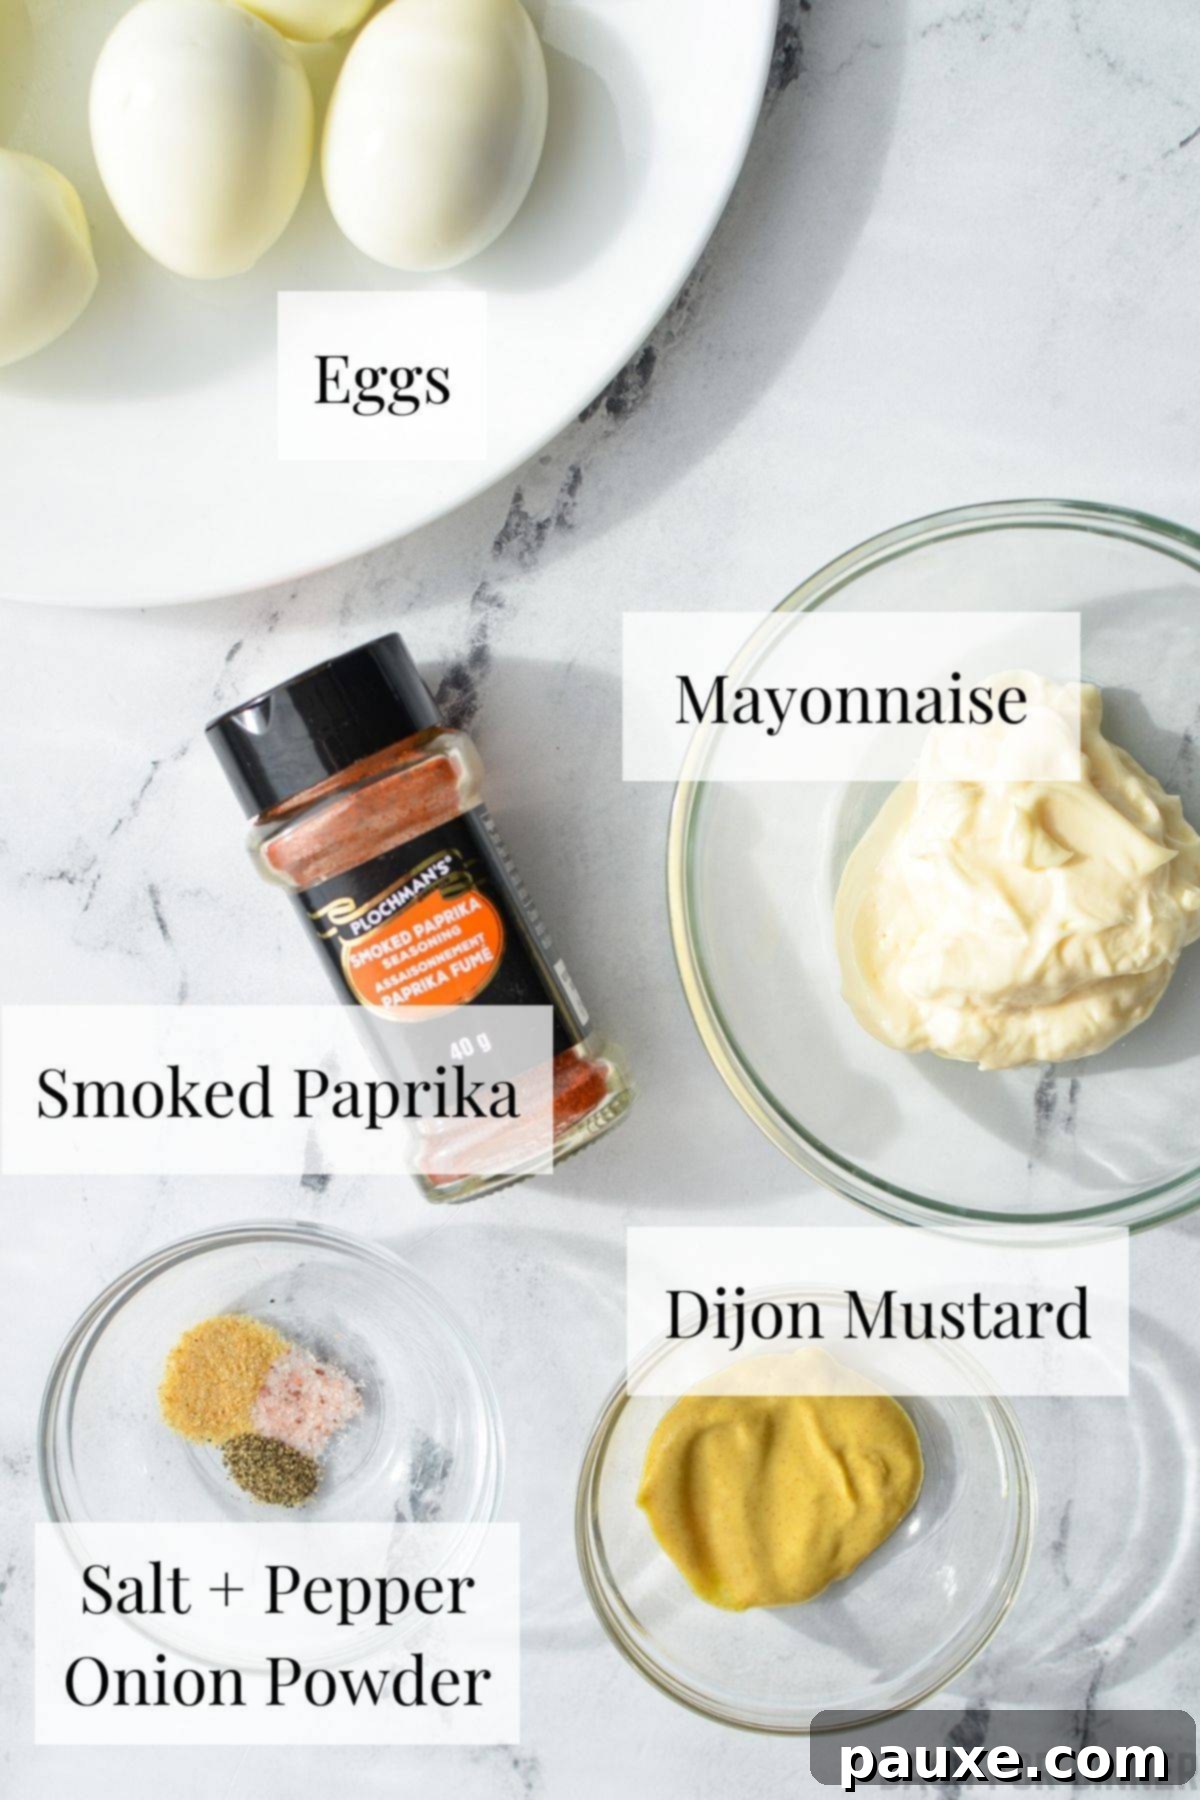
- Hard-Boiled Eggs: The foundation of our recipe! We’ll show you exactly how to make them perfectly in the Instant Pot, ensuring they’re easy to peel and have vibrant, creamy yolks.
- Mayonnaise: This is what gives deviled eggs their signature creamy texture and rich flavor. Use your favorite brand, or consider a high-quality, real mayonnaise for the best results. For a lighter touch, you can even substitute half of the mayonnaise with plain Greek yogurt (adjusting salt as needed).
- Dijon Mustard: Just a touch of Dijon mustard adds a subtle tang and depth of flavor that complements the richness of the egg yolks and mayonnaise. It also enhances the beautiful yellow color of the filling.
- Seasonings: A simple blend of salt, black pepper, and onion powder creates a savory base. For the classic garnish and an extra layer of flavor, a sprinkle of paprika is essential. While sweet paprika is common, we highly recommend trying smoked paprika for a deeper, more unique flavor profile that elevates the dish.
Equipment You’ll Need:
Making deviled eggs in the Instant Pot simplifies the process, but a few key pieces of equipment will make it even smoother:
- Instant Pot: The star of the show! We use an 8-quart Instant Pot Duo for most recipes, but a 6-quart model works perfectly too (just adjust water amount).
- Trivet: Essential for keeping your eggs elevated above the water, allowing them to steam evenly. A tiered trivet is ideal if you’re cooking a larger batch, as it prevents crowding and ensures uniform cooking.
- Large Bowl for Ice Bath: Crucial for stopping the cooking process and facilitating easy peeling.
- Mixing Bowl & Fork/Masher: For combining and mashing the egg yolks into a smooth, creamy filling. A mini masher can be especially helpful.
- Piping Bag (Optional): For a professional, elegant presentation, a piping bag with a wide tip works wonders. A sturdy freezer bag with the corner snipped off is a great hack if you don’t have a piping bag.
Mastering Instant Pot Hard-Boiled Eggs: The 4-5-5 Method
The foundation of outstanding deviled eggs lies in perfectly cooked, easy-to-peel hard-boiled eggs. While many Instant Pot egg recipes recommend the “5-5-5 method,” we’ve found that this often leads to slightly overcooked, drier yolks. Our preferred “4-5-5 method” guarantees bright yellow, creamy yolks with minimal effort.
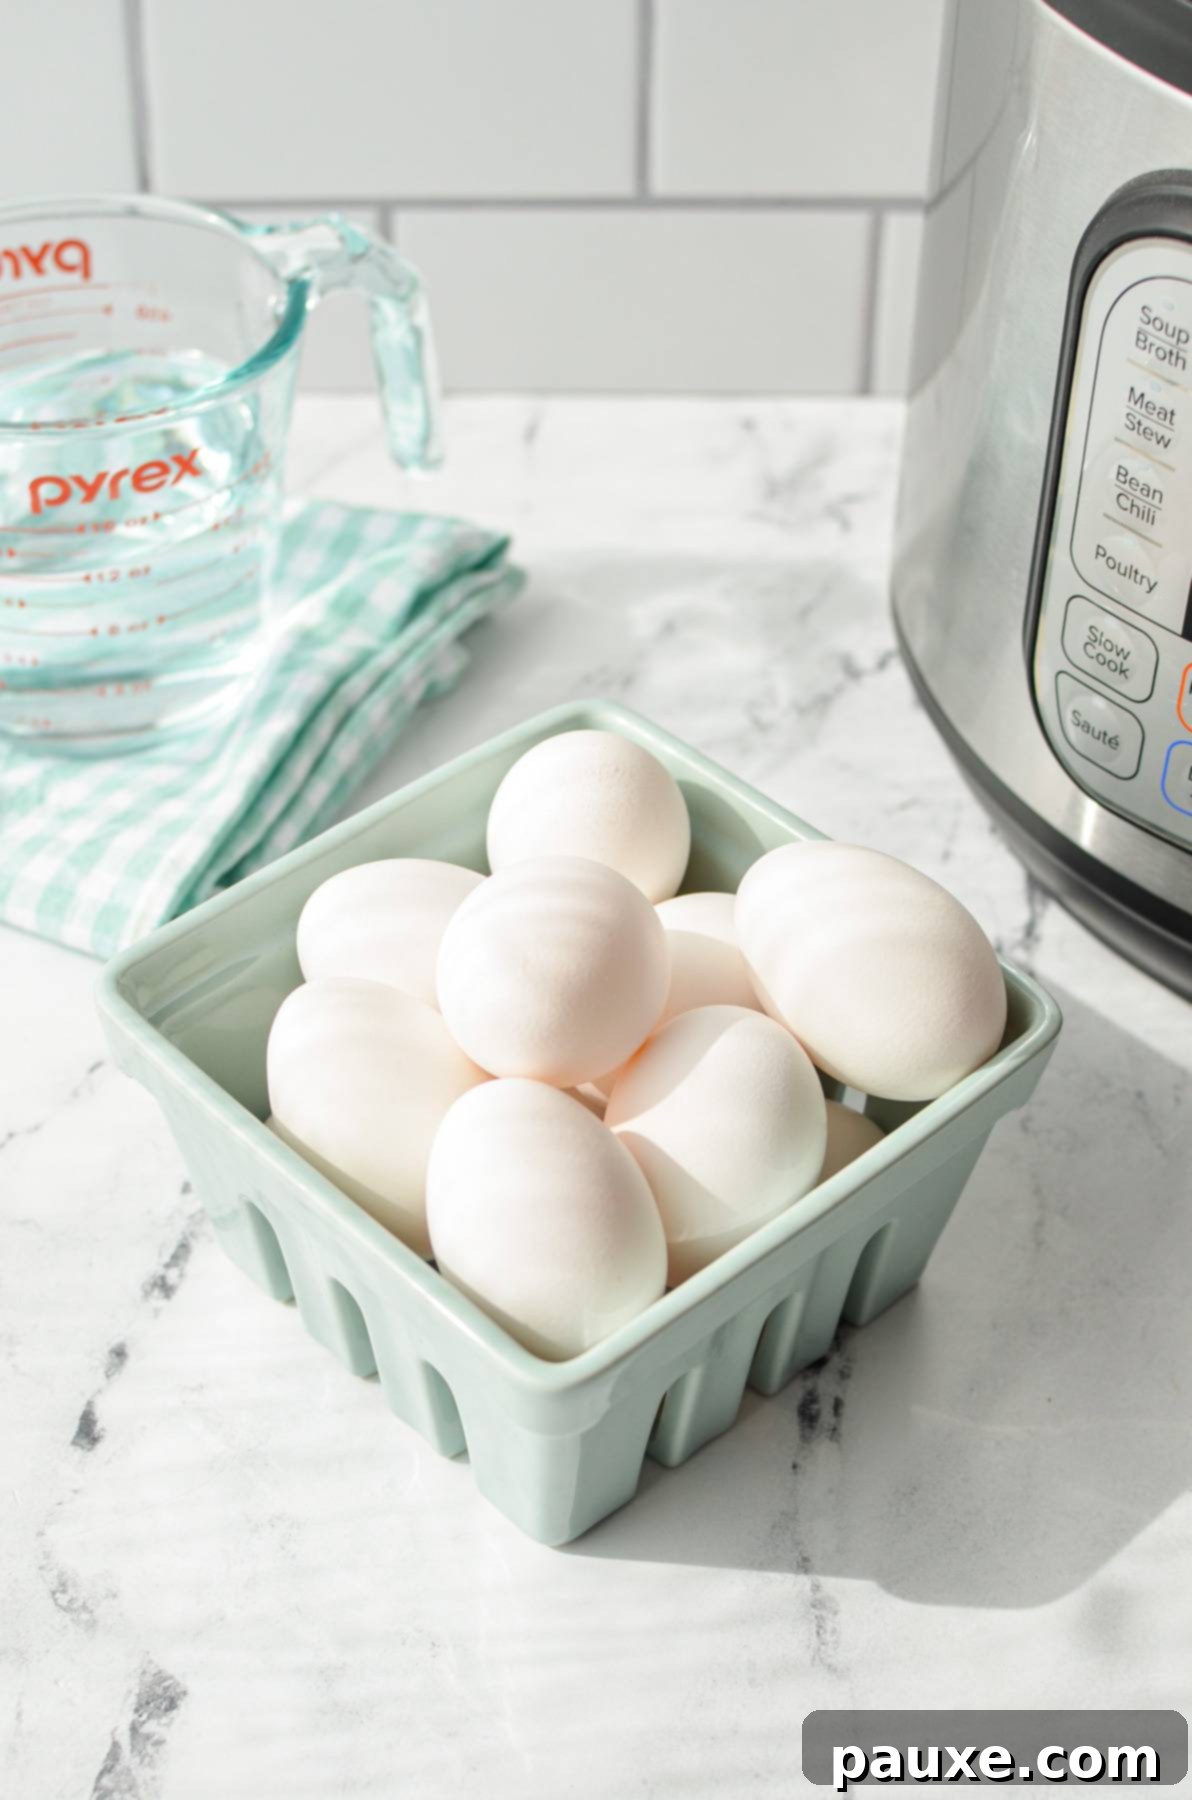
What exactly is the 4-5-5 method? It refers to three key timings:
- 4 Minutes of Pressure Cooking: This is the active cooking time under high pressure. We reduce it from the traditional 5 minutes to prevent overcooking the yolks.
- 5 Minutes of Natural Pressure Release (NPR): After the cooking cycle, allow the Instant Pot to naturally release pressure for 5 minutes. This gentle release helps the eggs finish cooking without becoming rubbery and further aids in the easy peeling process.
- 5 Minutes in an Ice Bath: Immediately transferring the eggs to an ice bath for 5 minutes stops the cooking process dead in its tracks. This is critical for achieving perfectly creamy yolks and ensuring the shell easily separates from the egg white, preventing that annoying green ring around the yolk.
This precise combination of cooking under pressure, a controlled natural release, and a swift chill results in eggs that are consistently firm yet tender, with yolks that are a beautiful, rich yellow. It’s the secret to deviled egg perfection, eliminating the struggles of peeling and the disappointment of dry, crumbly yolks.
Step-by-Step: Flawless Instant Pot Hard-Boiled Eggs
Follow these instructions carefully for the easiest-to-peel, perfectly cooked eggs you’ve ever made:
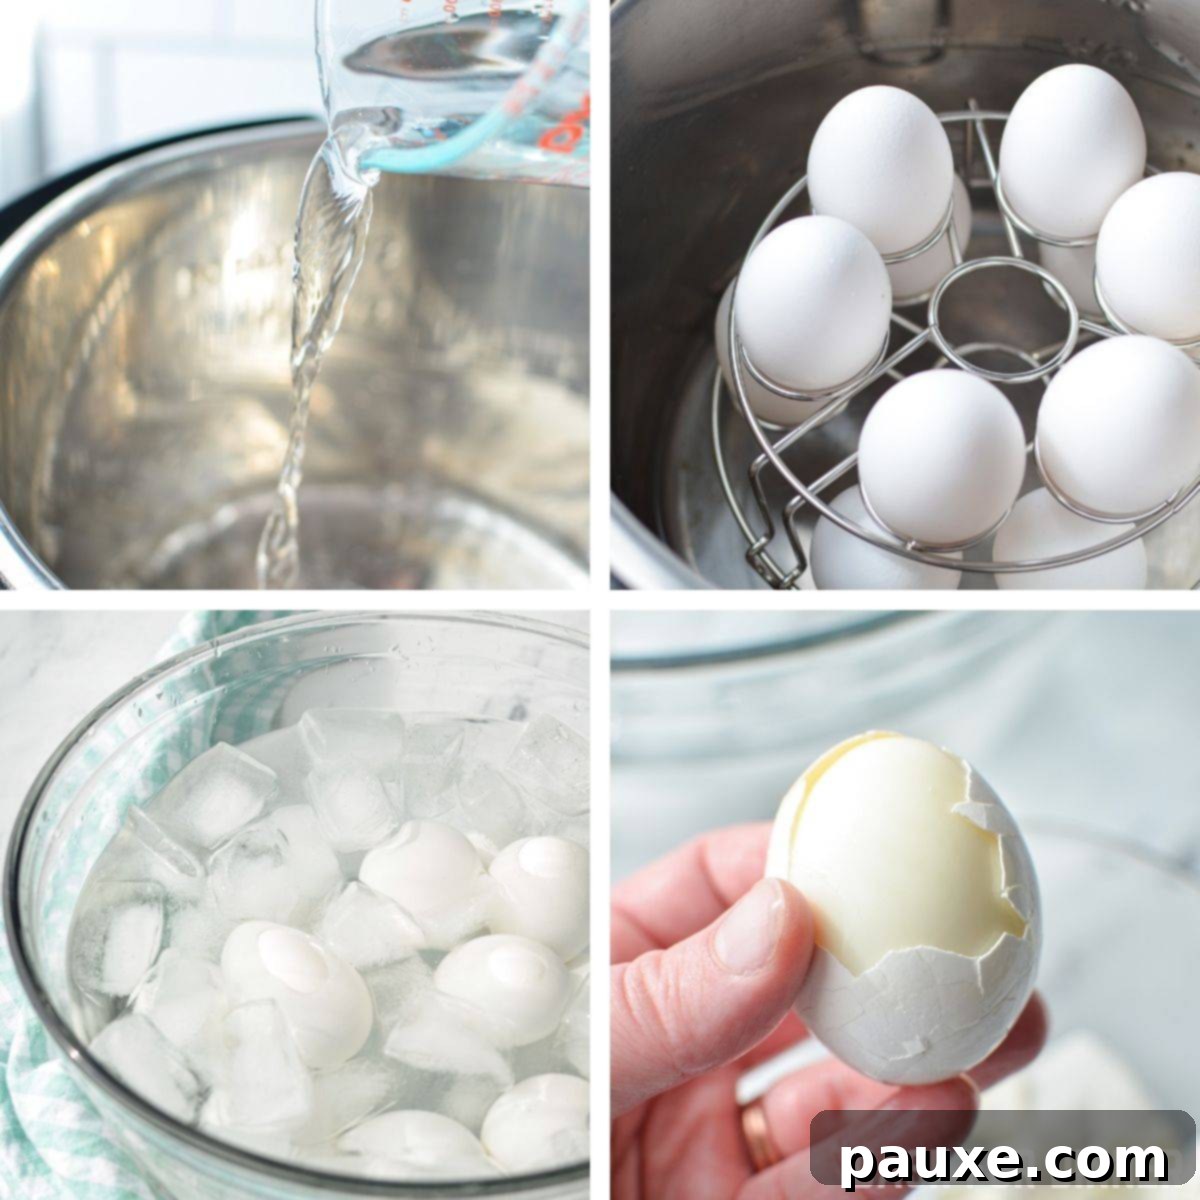
- Add Water: Pour the correct amount of cool water into the inner pot of your Instant Pot. Use 1 cup for a 6-quart model or 1 ½ cups for an 8-quart model.
- Arrange Eggs: Carefully place your eggs on a tiered trivet or layer them evenly on the trivet that came with your Instant Pot. If using a tiered trivet, lower it into the pot. If using the standard trivet, ensure it’s in place before adding the eggs. Avoid crowding; for optimal results, cook no more than 12-18 eggs at a time, depending on your trivet’s capacity.
- Pressure Cook: Secure the lid and set the valve to “sealing.” Cook on manual pressure (or high pressure, depending on your model) for 4 minutes.
- Natural Pressure Release: Once the cooking cycle completes, allow the pot to perform a natural pressure release for 5 minutes. This means you do nothing and let the pressure come down gradually.
- Quick Pressure Release: After 5 minutes of NPR, switch the valve to “venting” to perform a quick pressure release. Stand back and allow all the remaining steam to escape. Once the silver pin drops, indicating that the pressure has been fully released, carefully open the lid, tilting it away from your face to avoid residual steam.
- Prepare Ice Bath: While the eggs are releasing pressure, fill a large bowl with approximately 24 ice cubes and add 2-3 cups of cold water to create an effective ice bath.
- Chill Eggs: Using tongs, immediately transfer the cooked eggs from the Instant Pot directly into the prepared ice bath. Let them rest in the ice bath for 5 minutes. This crucial step stops the cooking process and aids in easy peeling.
- Peel with Ease: After 5 minutes, remove the eggs from the ice bath. Gently tap the entire surface of each egg with the back of a spoon to create small cracks. Then, peel off a small section of the shell. Wedge the spoon underneath the membrane and gently slide it around the egg to effortlessly separate the shell. You’ll be amazed at how easily the shell comes off!
- Rinse and Dry: Place discarded shells in one bowl and peeled eggs in another. Rinse the peeled eggs under cool water to remove any tiny shell fragments, then gently pat them dry with a paper towel. They are now ready for deviled egg assembly!
Crafting the Perfect Deviled Egg Filling
With your perfectly peeled hard-boiled eggs ready, it’s time to transform them into the creamy, flavorful filling that makes deviled eggs so irresistible.
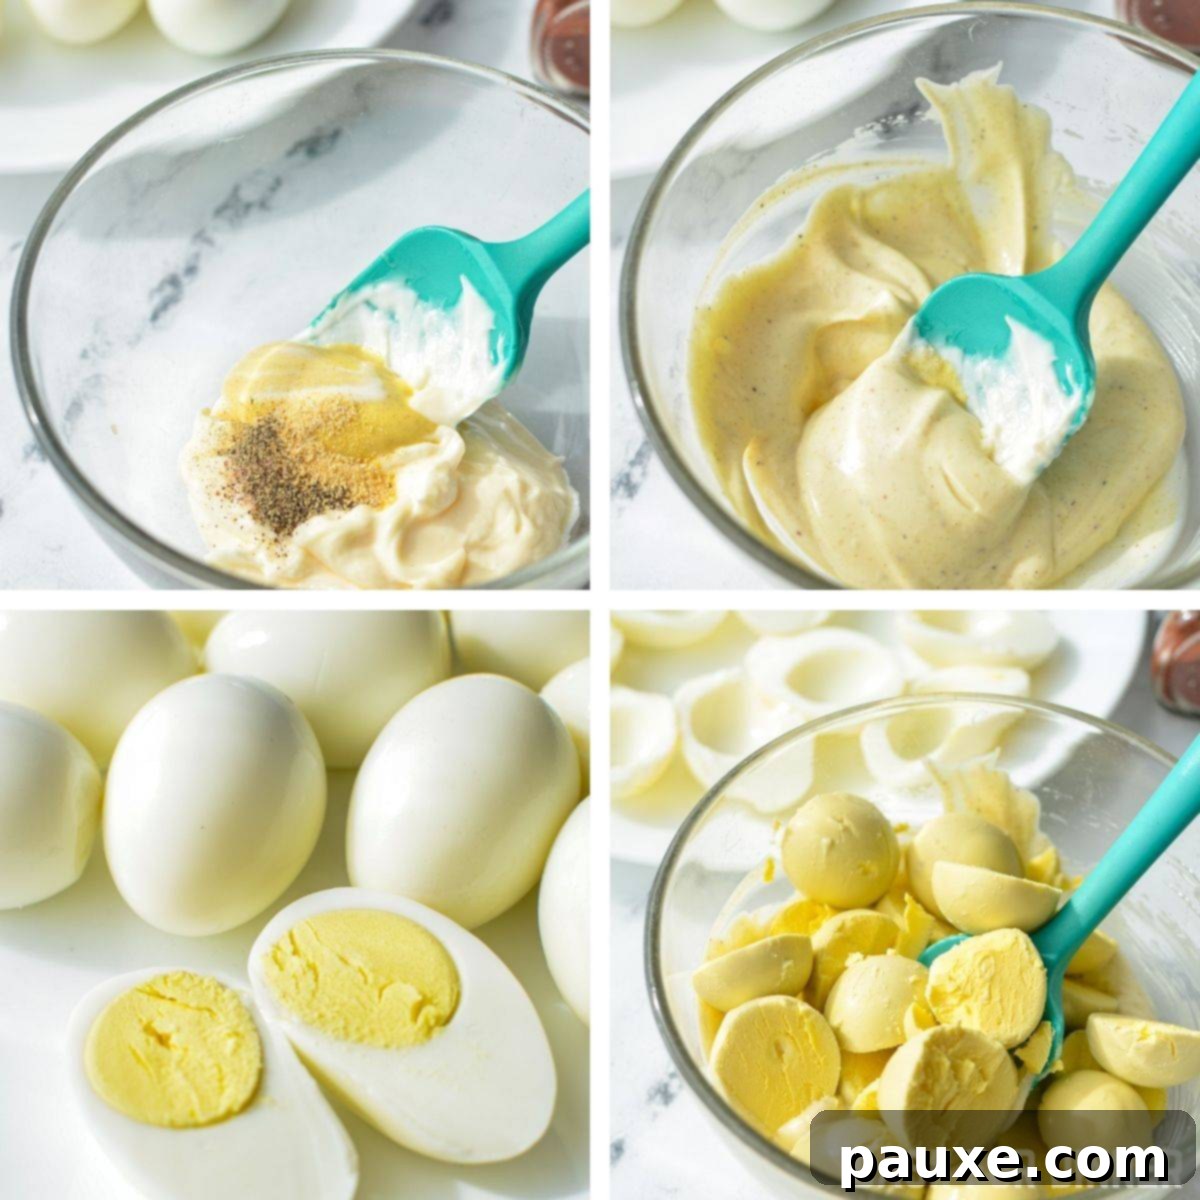
- Prepare the Yolks: Carefully cut each hard-boiled egg in half lengthwise. Gently scoop out the bright yellow yolks and transfer them to a medium-sized mixing bowl. Arrange the hollowed-out egg white halves on your serving platter.
- Mash the Yolks: Using a fork or a mini masher, mash the egg yolks until they are finely crumbled and smooth. Aim for a texture without large lumps, as this will contribute to a silky-smooth filling.
- Create the Base Mixture: To the mashed yolks, add the mayonnaise, Dijon mustard, onion powder, salt, and black pepper. The mayonnaise provides the creamy base, while the mustard and onion powder add crucial depth and tang.
- Combine and Mix: Using your fork or a rubber spatula, thoroughly mix all the ingredients until they are completely combined and the filling is smooth and uniform in color and consistency. Taste and adjust seasonings as needed; you might want a little more salt or a pinch more mustard for your preferred flavor profile.
Assembling and Garnishing Your Deviled Eggs
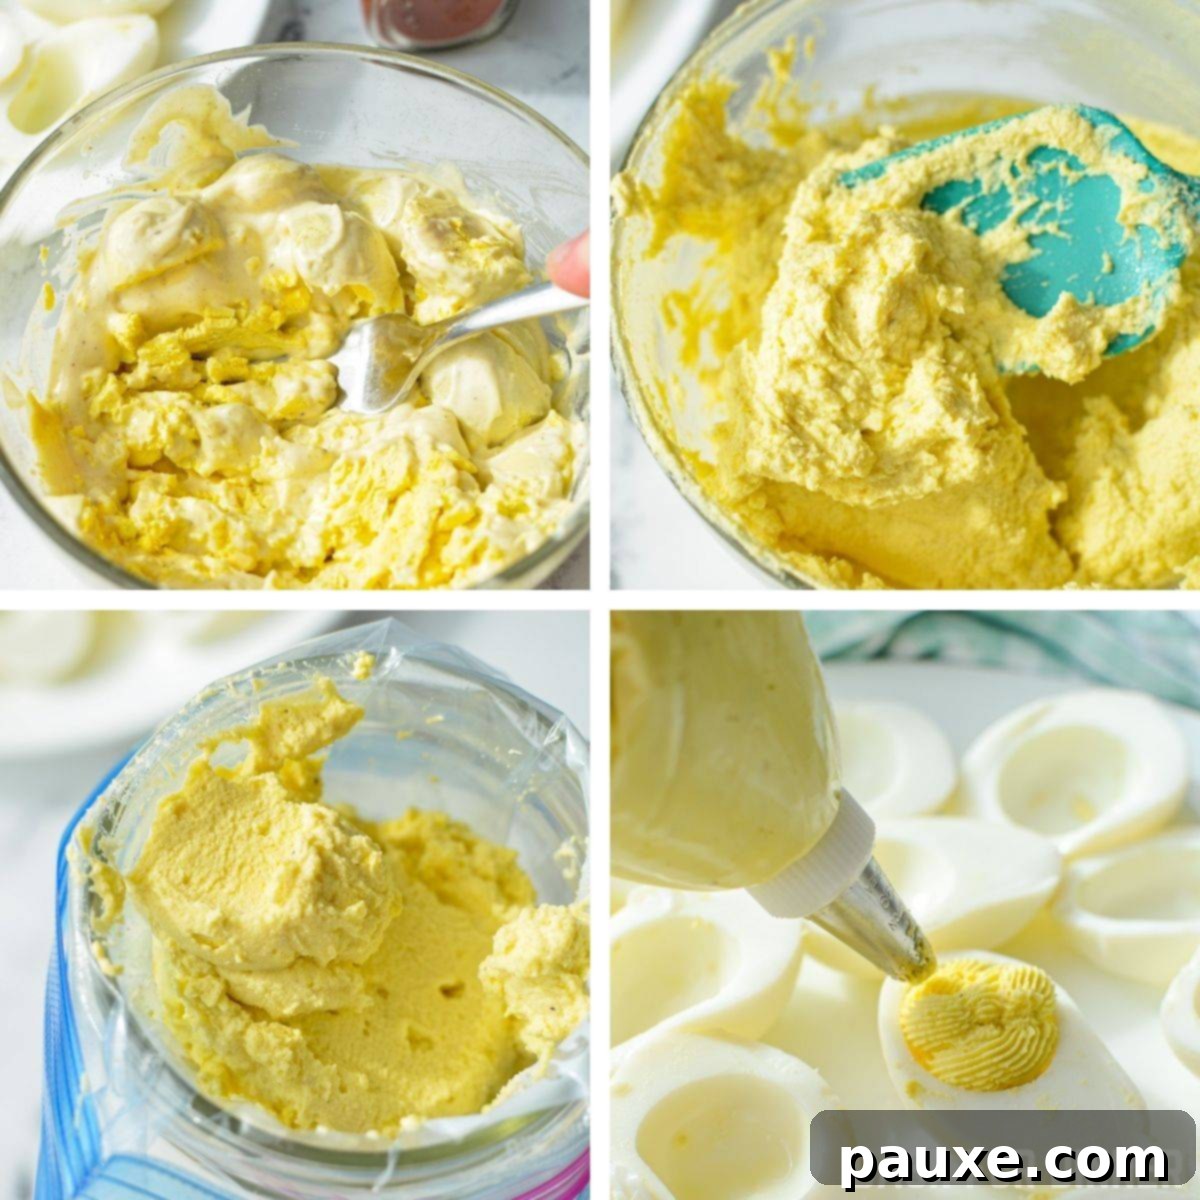
The final steps bring your deviled eggs to life, making them as appealing to the eye as they are to the palate.
- Fill the Egg Whites: You have two options for filling:
- Spoon Method: For a rustic and charming look, simply use a small spoon to dollop the creamy yolk mixture into each egg white half.
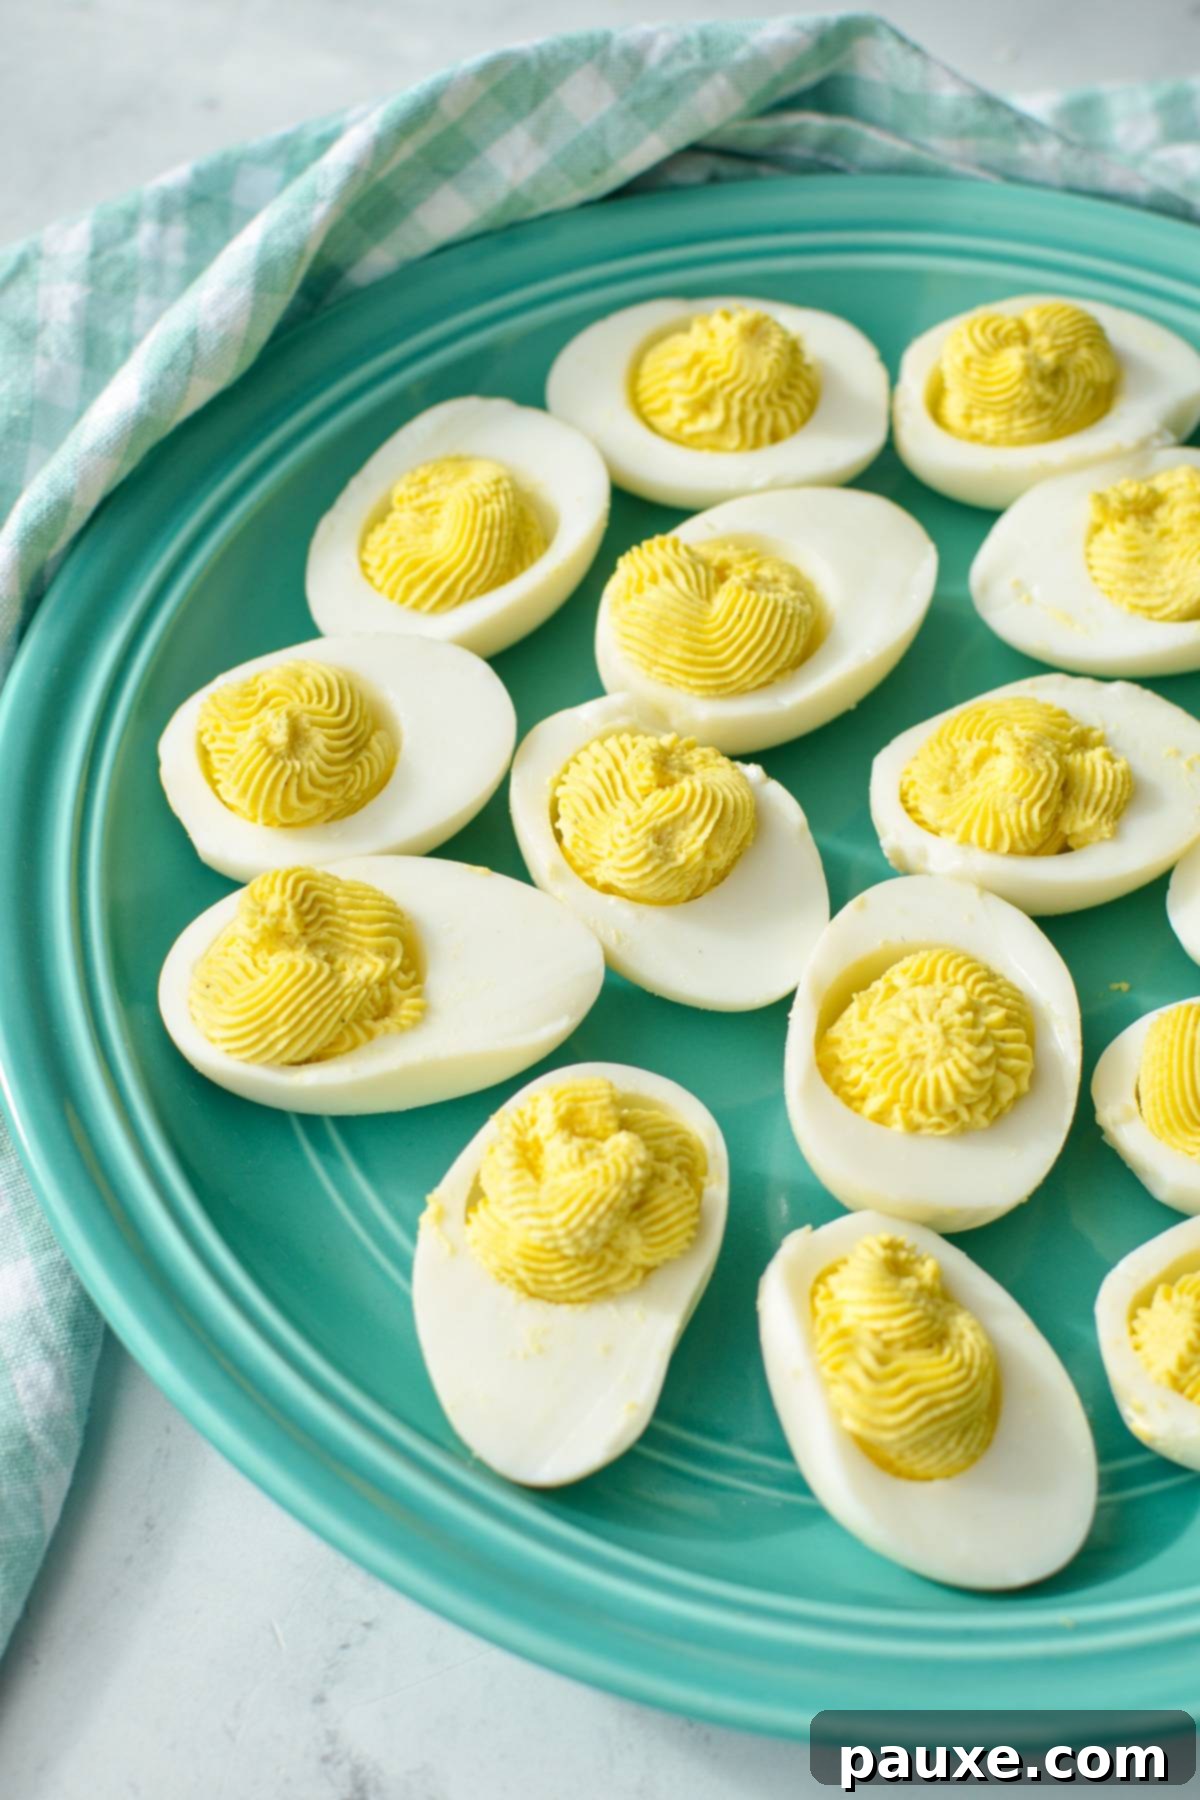
- Piping Method: For a more elegant and professional appearance, transfer the filling to a piping bag fitted with a wide star or round tip (the filling is thick, so avoid narrow tips). Pipe a beautiful swirl or mound of filling into each egg white boat. If you don’t have a piping bag, a sturdy freezer bag with a corner snipped off works just as well!
Repeat until all egg whites are filled and all the delicious yolk mixture is used.
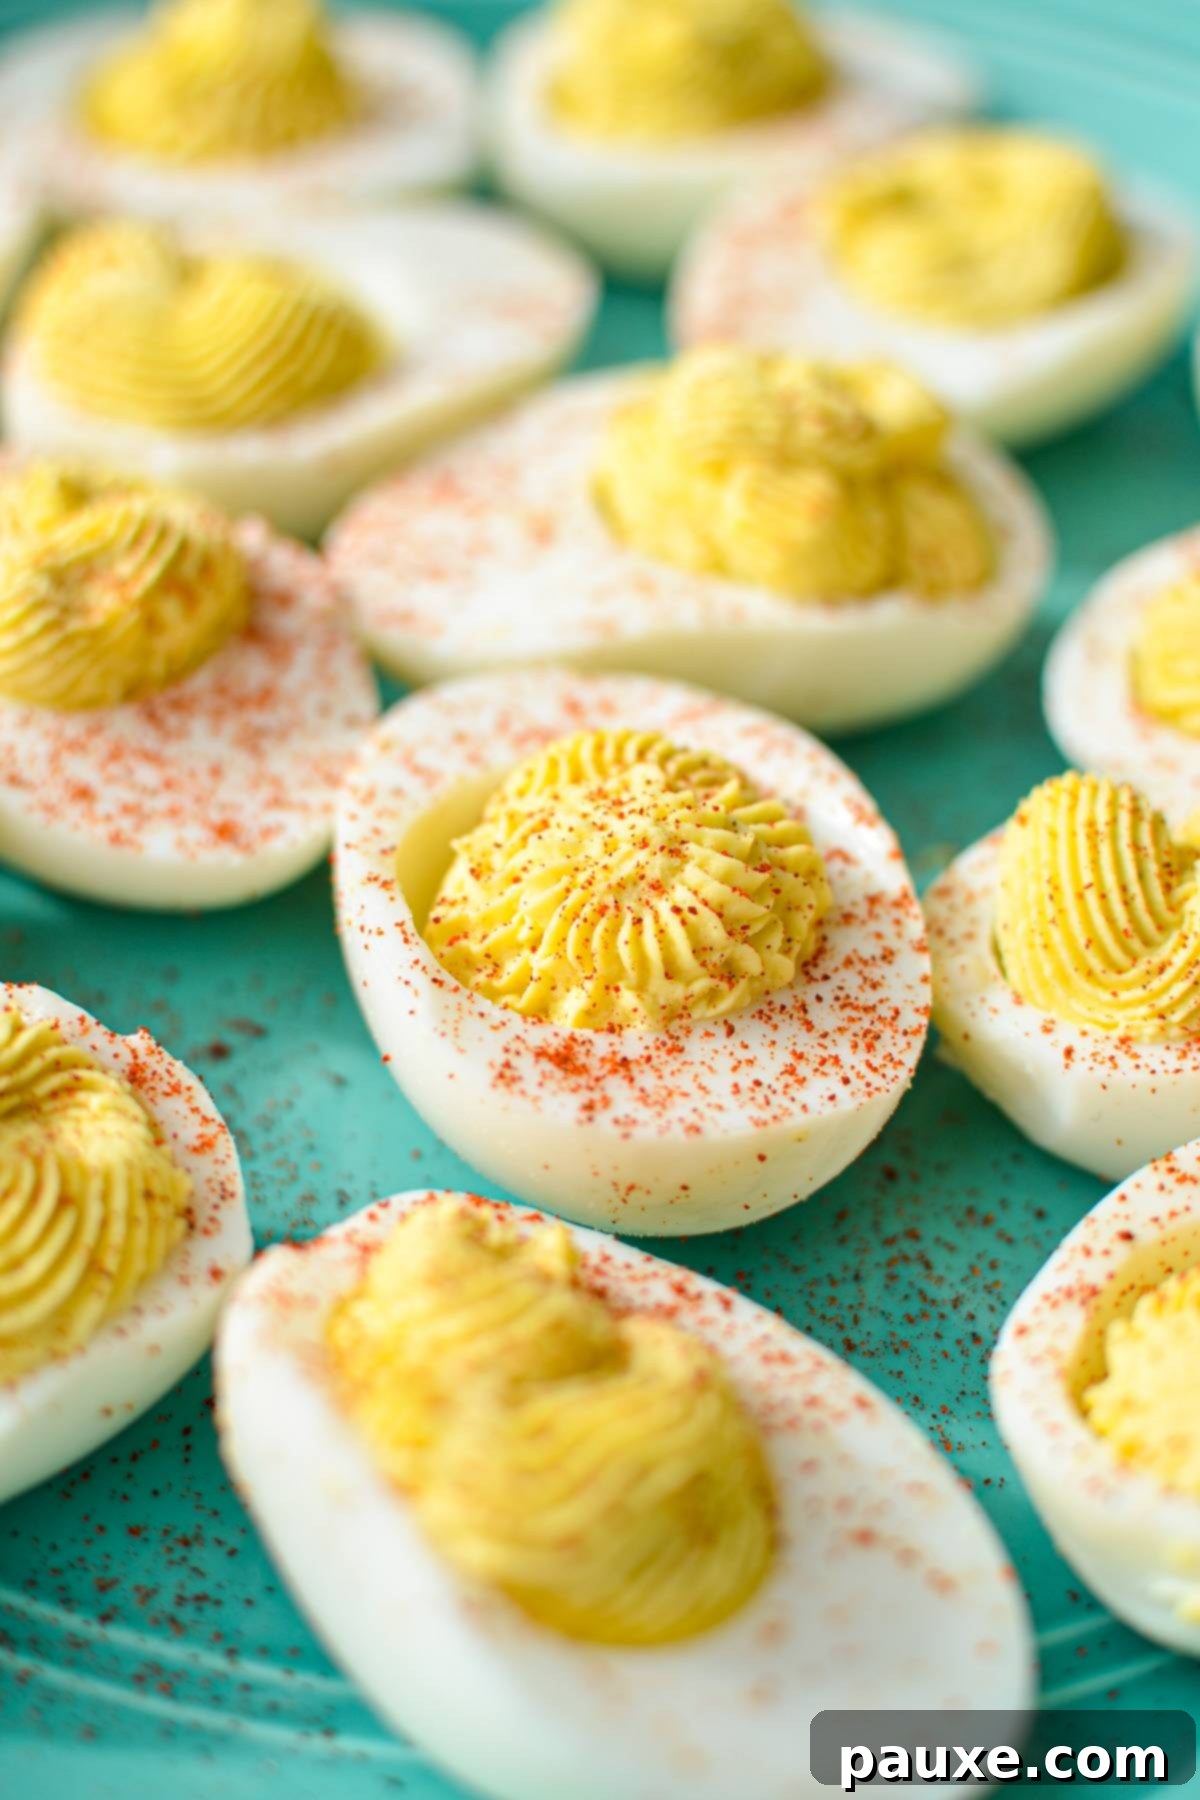
- Garnish with Paprika: Now for the classic finishing touch! Lightly sprinkle a small amount of paprika over the top of each filled deviled egg. This not only adds a beautiful pop of color but also a subtle, complementary flavor. While traditional sweet paprika is always a good choice, we highly recommend trying smoked paprika for a unique, savory depth that truly elevates the dish.
Creative Variations and Dietary Adaptations
While the classic Instant Pot Deviled Eggs are perfection on their own, don’t hesitate to get creative with flavor additions or adapt them to specific dietary needs. Here are some ideas:
- Pickle Power: For a tangy kick, add 2 tablespoons of finely minced dill pickles or pickle relish to your yolk mixture. It provides a delightful crunch and a burst of briny flavor.
- Spicy Sensation: A dash of hot sauce (like Tabasco or sriracha) or a pinch of cayenne pepper can add a pleasant warmth.
- Herbaceous Touch: Fresh chopped herbs such as chives, parsley, or dill can brighten the flavor profile and add a beautiful visual element. Mix them into the filling or use them as a garnish alongside paprika.
- Savory Enhancements: Crispy crumbled bacon bits, finely chopped smoked salmon, or a hint of curry powder can transform your deviled eggs into gourmet bites.
- Lightened Up / Lower Calorie: As mentioned, you can substitute up to half of the mayonnaise with plain Greek yogurt. This reduces calories and fat while adding a slight tang and extra protein. Remember to taste and adjust salt, as Greek yogurt is unsalted while mayonnaise typically contains added salt.
- Using an 8-Quart Instant Pot: When making hard-boiled eggs in an 8-quart model, use 1 ½ cups of cool water instead of 1 cup for 6-quart models. The cook time (4 minutes pressure, 5 minutes NPR) remains the same, but larger pots might take a little longer to come to pressure and release pressure.
- Instant Pot Hard-Boiled Eggs Without a Trivet (Emergency Method): While not recommended for optimal results, you can cook eggs without a trivet in a pinch. Place the eggs directly into the Instant Pot insert and fully cover them with water. Cook on manual pressure for 4-5 minutes, followed by a 5-minute natural pressure release, and then a 5-minute ice bath. Be aware that this method might increase the risk of overcooking or scorching the eggs compared to using a trivet.

Serving and Storage Tips
To ensure your Instant Pot Deviled Eggs are at their best, consider these serving and storage recommendations:
- Chilling is Key: For the best flavor and texture, it’s ideal to chill your deviled eggs for at least 1-2 hours before serving. This allows the flavors to meld beautifully and the filling to firm up slightly.
- Presentation Matters: Arrange your deviled eggs artfully on a platter. Garnish with a fresh sprig of parsley or dill, or an extra sprinkle of paprika for visual appeal. A dedicated deviled egg platter can also keep them from sliding around.
- Make Ahead: Deviled eggs can be prepared up to 12 hours in advance. For longer storage, keep the egg white halves and the yolk filling separate in airtight containers in the refrigerator. Assemble them no more than a few hours before serving to maintain freshness and prevent the whites from becoming watery.
- Storage: Store assembled deviled eggs in an airtight container in the refrigerator for up to 2-3 days. While they are safe to eat after this, the quality and freshness will diminish. Always keep them chilled, especially if serving at a gathering.
- Food Safety: Due to their mayonnaise content, deviled eggs should not be left at room temperature for more than 2 hours. If serving outdoors or at a buffet, place the platter on a bed of ice to keep them cool.
Troubleshooting Common Deviled Egg Issues
Even with the Instant Pot, a few minor issues can arise. Here’s how to tackle them:
- Green Ring Around the Yolk: This is a sign of overcooked eggs, usually caused by too long a cook time or not chilling them quickly enough. Ensure you stick to the 4-minute pressure cook time and immediately transfer to an ice bath.
- Watery Filling: This can happen if the egg whites or yolks aren’t fully dry before mixing, or if too much moisture is added. Always pat your peeled eggs dry. If using Greek yogurt, ensure it’s plain and thick.
- Filling is Too Thick/Dry: If your filling feels too dense, add a tiny bit more mayonnaise or a splash of milk (dairy or non-dairy) until you reach your desired creamy consistency.
- Filling Not Smooth: If your yolks aren’t mashed finely enough, the filling can be lumpy. Take extra time to mash them thoroughly before adding other ingredients.
Frequently Asked Questions
How many deviled eggs per person?
A typical serving size for deviled eggs is approximately 4-6 prepared egg halves (which means 2-3 whole eggs) per person. If you’re serving a large crowd with a variety of other appetizers, you can adjust this down to 2-4 egg halves per person.
Can I cook 2 dozen eggs in an Instant Pot?
It can be challenging to fit 2 dozen eggs into a standard Instant Pot, even with a tiered trivet, without crowding them. For best results and even cooking, it’s recommended not to exceed the amount of eggs your specific trivet naturally holds, which is typically 14-18 eggs for most models. If you need more, cook them in batches.
How many hard-boiled eggs can you cook in an Instant Pot?
For optimal results, we recommend cooking 12 eggs at a time. However, if your trivet allows for more without overcrowding, you can cook up to 18 eggs. The key is to ensure the eggs are not stacked too tightly, as this can lead to uneven cooking.
Can you overcook hard-boiled eggs in the Instant Pot?
Yes, it is definitely possible to overcook eggs in the Instant Pot. To prevent this, strictly follow the 4-minute pressure cooking time and the 5-minute natural pressure release. Immediately transferring the eggs to an ice bath is also crucial. If you allow a full natural pressure release, the eggs will continue to cook, potentially resulting in dry yolks and that undesirable greenish-gray ring.
More Instant Pot Recipes for Entertaining:
- Instant Pot Creamed Corn
- Instant Pot Buttered Potatoes – Little Sunny Kitchen
- 5 Ingredient Instant Pot Mac and Cheese
- Instant Pot Little Smokies – Spaceships and Laser Beams
- Instant Pot Honey Baked Ham – Mama Needs Cake

Instant Pot Deviled Eggs
These Instant Pot Deviled Eggs are the perfect appetizer for Easter, Thanksgiving, or any of your favorite celebrations throughout the year! They are also gluten free, dairy free, keto, and low carb.
Rating: 5 out of 5 stars from 2 votes
Course: Instant Pot Recipes
Cuisine: American
Prep Time: 2 minutes
Cook Time: 10 minutes
Additional Time: 13 minutes
Total Time: 25 minutes
Servings: 6 Servings
Calories: 239 kcal
Author: Dorothy Bigelow
Ingredients
- 12 eggs
- 1 ½ cups cold water
- 6 tablespoons real mayonnaise
- 1 ½ teaspoons Dijon mustard
- ⅛ teaspoon onion powder
- ⅛ teaspoon salt or more to taste
- Pinch of ground black pepper
- Paprika for sprinkling
Instructions
- Place 1 cup of cold water into the insert of your 6 quart Instant Pot, or 1 ½ cups to your 8 quart Instant Pot.
- Place your eggs on tiered trivet, or layer them evenly on top of the trivet that came with your Instant Pot. If you are using a tiered trivet, lower the trivet into the Instant Pot. If you are using the one that came with the pot, be sure to add the trivet to the Instant Pot before adding the eggs.
- Set the valve to “sealing” and cook on manual pressure for 4 minutes.
- Allow the pot to do a natural pressure release for 5 minutes, then switch the valve to “venting” to do a quick pressure release. Once the pin drops, indicating the pressure has been fully released, open the lid, tilting it away from your face.
- Prepare an ice bath by adding 24 ice cubes to a large bowl, and pour in 2-3 cups of cold water.
- Remove the eggs from the Instant Pot using tongs, and place them directly into the ice bath. Allow the eggs to rest in the ice bath for 5 minutes.
- Once the 5 minutes are up, prepare two bowls: one for the discarded shells, and one for the peeled eggs. Use the back of a spoon to crack the entire surface of the egg, and then peel a small portion of shell from the egg. Wedge in the spoon, and use it to separate the shell from the egg, effectively “peeling” it.
- Place your shells in one bowl and transfer to the compost or discard. Place the peeled eggs in another bowl. Make sure to rinse and pat dry your eggs before proceeding to make your Instant Pot deviled eggs.
- Add the mayonnaise, Dijon mustard, onion powder, salt and black pepper to a medium sized bowl. Mix everything together until smooth.
- Cut all of the eggs in half, and remove the yolks. Add the yolks to the bowl with the mayonnaise and Dijon mixture.
- Mash the yolks with a fork or a mini masher, until they are broken down and smooth. Mix them together with the mayonnaise and mustard mixture, folding until completely combined.
- Either spoon the filling back into the egg halves, OR use a piping bag to pipe the filling into the egg whites. Just make sure to use a wide enough tip, since the egg mixture is very thick.
- Once your eggs are filled, sprinkle with paprika and cover. Chill for 1-2 hours before serving, if possible.
Video
Notes
Make Ahead: You can make deviled eggs up to 12 hours ahead of time. Any longer than that, and they can get a bit wet.
Paprika: I like to sprinkle mine with smoked paprika for a smoky flavor, but you can use standard sweet paprika if that’s what you have on hand.
3 Quart Instant Pot: Cut the recipe in half if you plan on making this in a 3 quart Instant Pot.
Nutrition
Please note that some of my blog posts here at Dash for Dinner may contain affiliate links. If you make a purchase through these links, I will get a small commission at no additional cost to you. Please see my Disclaimer for more information.
