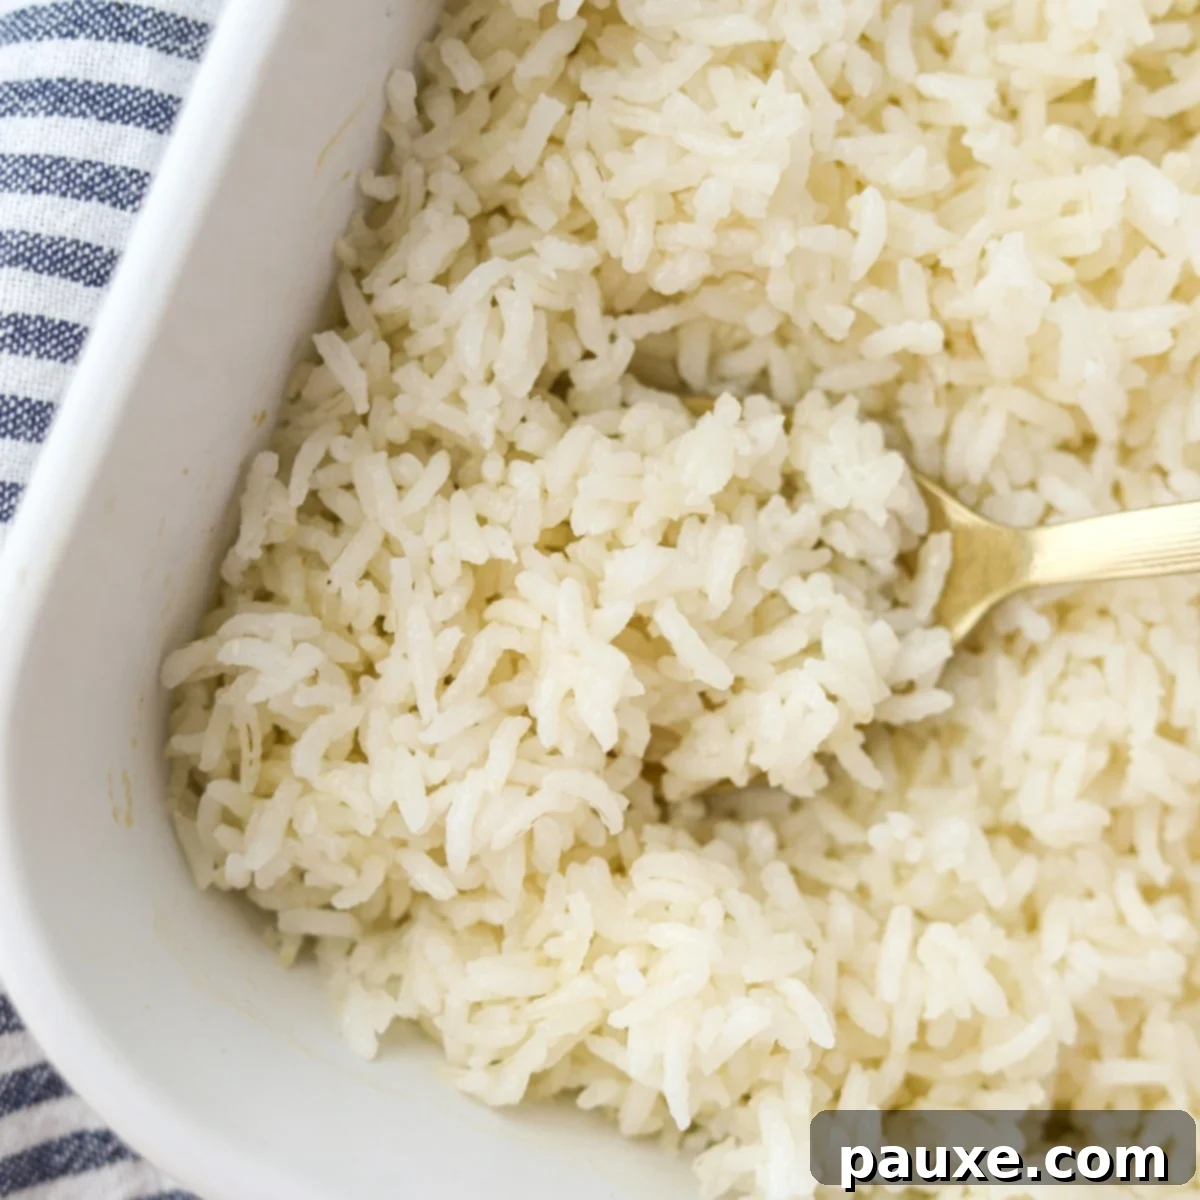
The Ultimate Guide to Perfectly Fluffy Oven Baked Rice
Discover the secret to effortlessly perfect rice every single time with this simple **Oven Baked Rice** recipe. Forget about hovering over the stovetop, constantly checking for absorption, or worrying about burnt bottoms. This hands-off method delivers consistently fluffy, tender grains that are ideal as a versatile side dish or a comforting meal on their own.
If you’ve ever struggled with cooking rice on the stove, or simply desire a less demanding approach to this culinary staple, this baked rice technique is a game-changer. Assemble your ingredients, pop it in the oven, and let the magic happen. The result? Fluffy, delicious rice, requiring minimal effort and no special appliances.
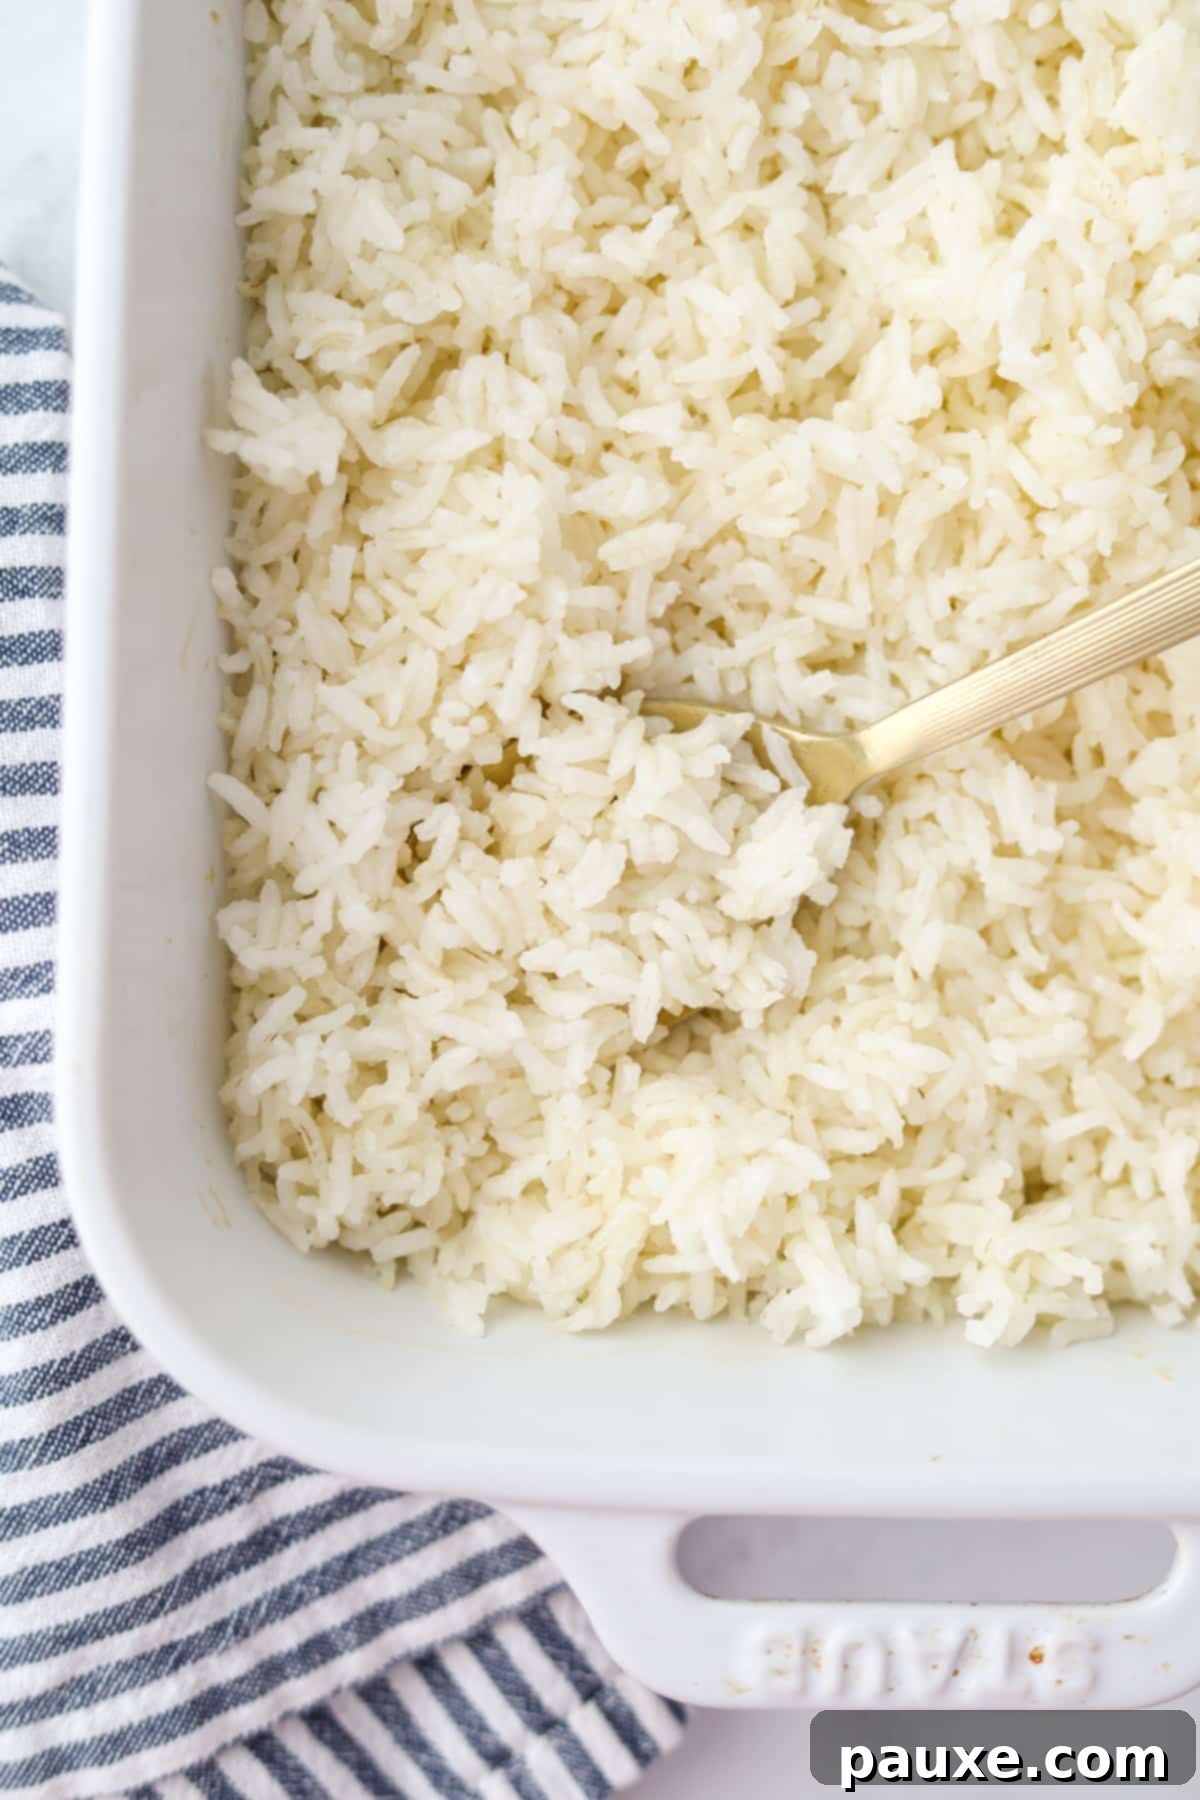
Hot, fluffy rice serves as **the quintessential side dish** for countless meals. Its neutral flavor and comforting texture make it an excellent accompaniment to a vast array of cuisines and main courses. Whether you’re serving up a savory stir-fry, tender meatballs in a rich sauce, a hearty homemade chili, or flavorful curries, a bed of perfectly cooked white rice elevates the entire dining experience.
This **Oven Baked Rice method stands out as the easiest and most reliable way to achieve flawless rice** without the need for specialized gadgets like a rice cooker or an Instant Pot. It boasts a surprisingly efficient cooking time and offers incredible versatility for customization. Easily enhance its flavor by incorporating chicken or vegetable stock, a dash of soy sauce, a hint of fresh lemon zest, or your favorite aromatic seasonings.
For those who, like me, appreciate the simple pleasure of a warm, buttery bowl of rice, this recipe delivers pure comfort. It’s so delicious on its own, you might just find yourself eating it straight from the baking dish – no additional embellishments required!
Why You’ll Fall in Love with Oven Baked Rice
Preparing rice in the oven isn’t just a convenience; it’s a revelation. Here’s why this method will quickly become your go-to:
- Unbelievably Easy & Hands-Off: Say goodbye to constant stirring and watchful eyes. If you find traditional stovetop rice daunting or prone to burning, this oven-baked technique is a dream. You simply combine the ingredients, cover, bake, and return to perfectly cooked rice.
- Fluffy, Consistent Results Every Time: The controlled environment of the oven ensures even heat distribution, leading to uniformly cooked grains. Through extensive testing, I’ve found that using boiling water consistently yields rice that is light, separated, and wonderfully fluffy.
- A Versatile Culinary Foundation: A reliable rice recipe is an indispensable tool for any home cook. So many beloved family meals revolve around rice, and this foolproof oven method makes it effortless to always have a perfectly prepared batch ready.
- No Special Equipment Needed: Don’t own a rice cooker? No problem! This recipe requires only a standard baking dish and aluminum foil (or a casserole dish with a tight-fitting lid), items readily available in most kitchens. It’s accessible to everyone, ensuring perfect rice without extra investment.
- Free Up Stovetop Space: When preparing larger meals, stovetop space can be precious. Baking your rice in the oven frees up burners, allowing you to simultaneously cook other components of your dinner with ease.
- Perfect for Meal Prepping: The hands-off nature makes it ideal for preparing larger batches of rice to use throughout the week in various dishes, saving you time and effort later.
Essential Ingredients & Equipment
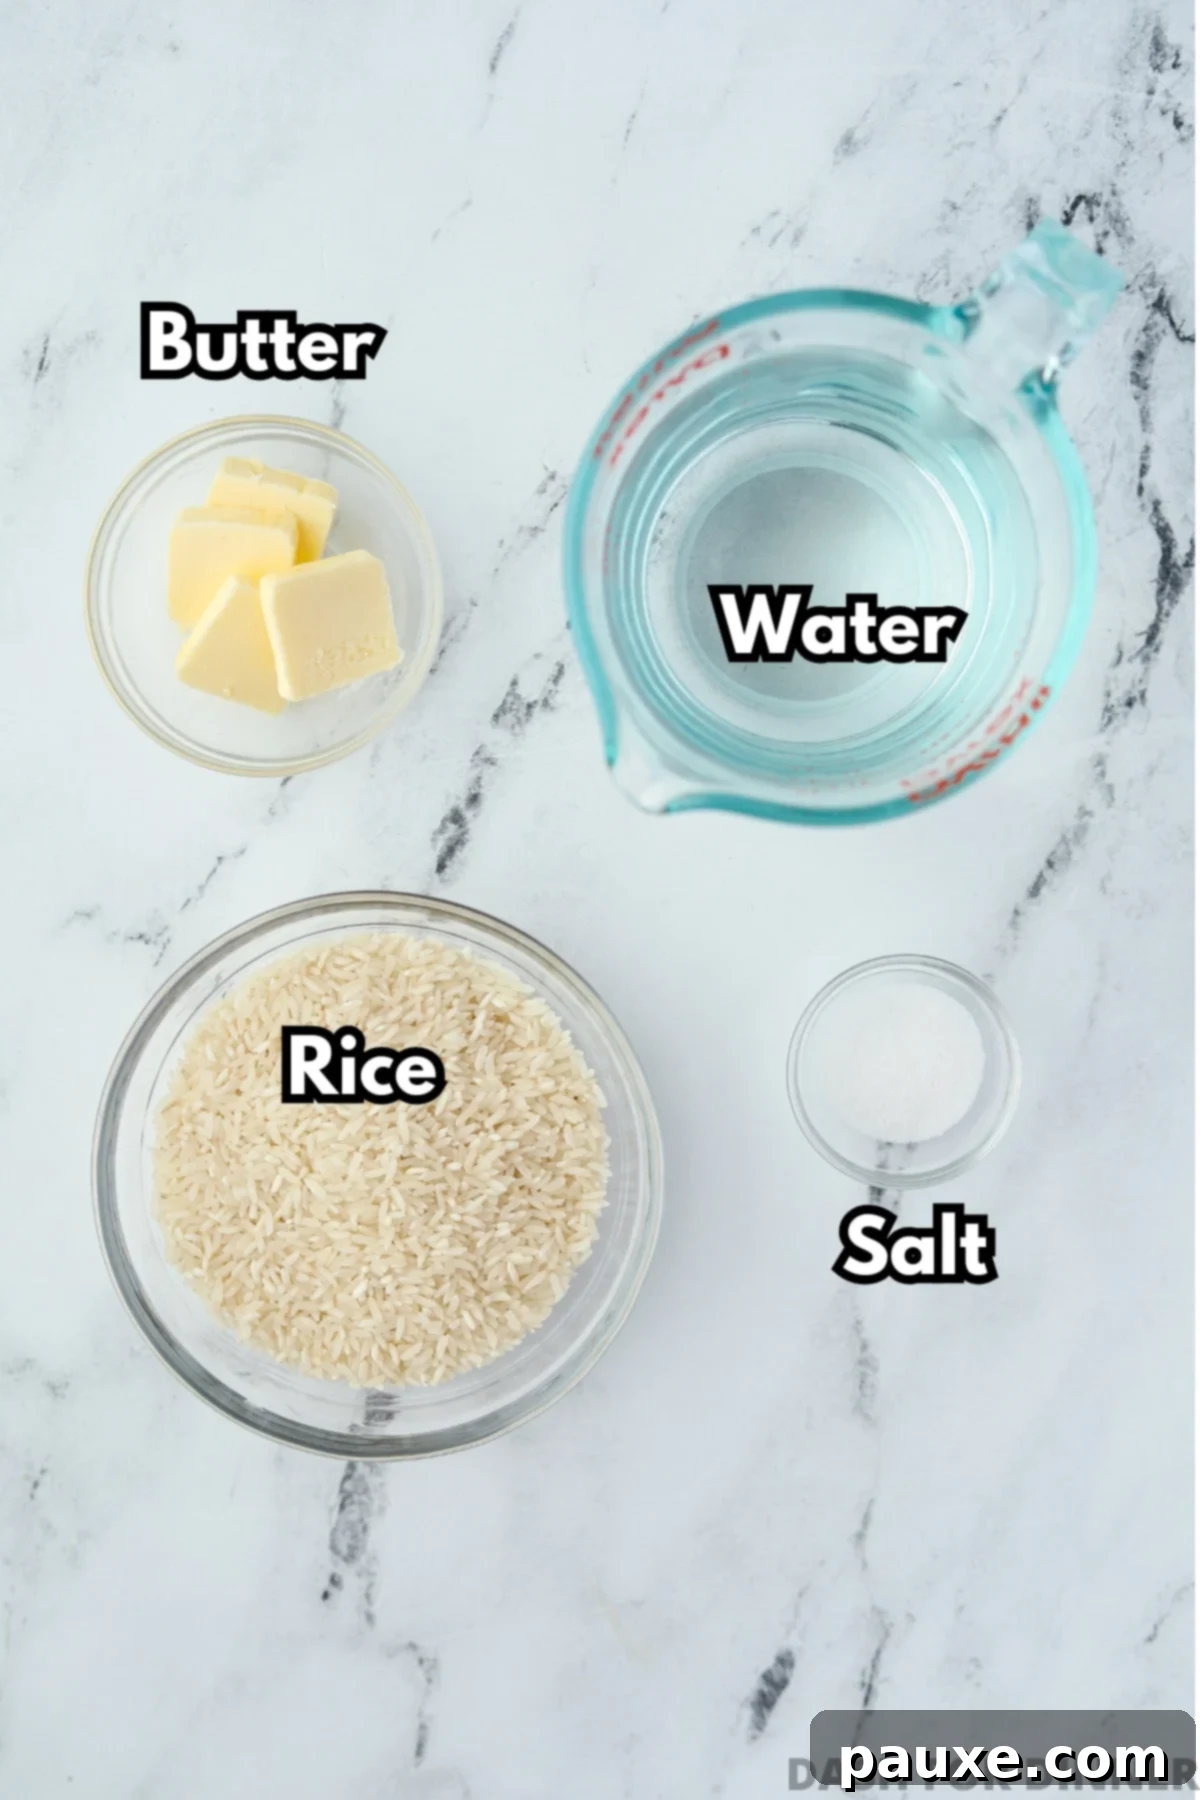
Achieving perfect baked rice relies on just a few high-quality ingredients and basic kitchen tools:
Ingredients:
- Long-Grain White Rice: The foundation of this recipe! Opt for a good quality, uncooked long-grain white rice. Varieties like Basmati and Jasmine rice work exceptionally well due to their aroma and ability to cook up light and fluffy. Avoid parboiled rice, instant rice, or minute rice as they have different cooking requirements and liquid ratios, which will not yield the same results with this method.
- Boiling Water: This is a crucial element. You will need 2 cups of rapidly boiling water for every 1 cup of uncooked rice. While I experimented with cold and warm water, pre-boiling the water consistently delivered the best, most evenly cooked, and fluffiest rice. This extra step ensures the rice starts cooking immediately and absorbs the liquid uniformly. An electric kettle is incredibly convenient for this!
- Butter: For enhanced flavor and a superior texture, I highly recommend adding 2 tablespoons of butter. It adds a rich, subtle taste and helps to create perfectly separated grains. If you prefer, olive oil or avocado oil can be used as a 1-to-1 substitute for a dairy-free option.
- Salt: A simple yet essential ingredient to bring out the natural flavors of the rice. Use approximately 1 teaspoon of fine salt for every 1 cup of rice. This seasoning is key, especially if you plan to enjoy the rice plain or as a simple buttered side.
Recommended Equipment:
- Medium Baking Dish: A 10.5 x 7.5-inch or 9 x 9-inch baking dish is perfect for a single batch (1 cup of rice). For a double batch, a 9 x 13-inch dish is ideal. The size allows the rice to cook in a shallow, even layer.
- Aluminum Foil: Essential for covering the baking dish tightly. This traps the steam, allowing the rice to cook perfectly in its own moisture. Alternatively, a casserole dish or Dutch oven with a tight-fitting lid can be used.
- Electric Kettle (Optional, but Recommended): Speeds up the process of boiling water, making this recipe even more convenient.
- Measuring Cups and Spoons: For accurate ingredient proportions.
- Fork: For fluffing the rice after baking.
Choosing the Right Rice for Baking
The type of rice you select is critical for the success of this oven-baked method. Here’s a breakdown of what works best and what to avoid:
- Long-Grain White Rice: This is the ideal choice. It cooks up light, fluffy, and with distinct grains, which is exactly what we aim for with this baking method.
- Basmati Rice: A fragrant, long-grain rice known for its delicate aroma and light texture. It performs beautifully in the oven.
- Jasmine Rice: Another aromatic long-grain variety, slightly stickier than Basmati, but still yields excellent results when baked.
Types of Rice to Avoid with This Recipe:
While many types of rice can be cooked in the oven, their cooking times and liquid requirements vary significantly. For this specific recipe, using the following types of rice is not recommended as the ratios and times provided will not be accurate:
- Brown Rice: Requires more liquid and a longer cooking time due to its bran layer.
- Minute Rice / Instant Rice: These are pre-cooked and dehydrated, designed for very quick preparation, and will turn mushy with this method.
- Parboiled Rice: Partially boiled in its husk, it also has different liquid absorption properties.
- Wild Rice: Botanically a grass, not a true rice, it has a very different texture and requires a much longer cook time.
- Short-Grain Rice (e.g., Sushi Rice, Arborio Rice): These varieties are naturally sticky and meant to clump together, which is not the desired outcome for this fluffy baked rice.
- Medium-Grain Rice: Falls between short and long grain, typically producing a softer, more moist result than long-grain varieties.
Step-by-Step: How to Cook Rice in the Oven
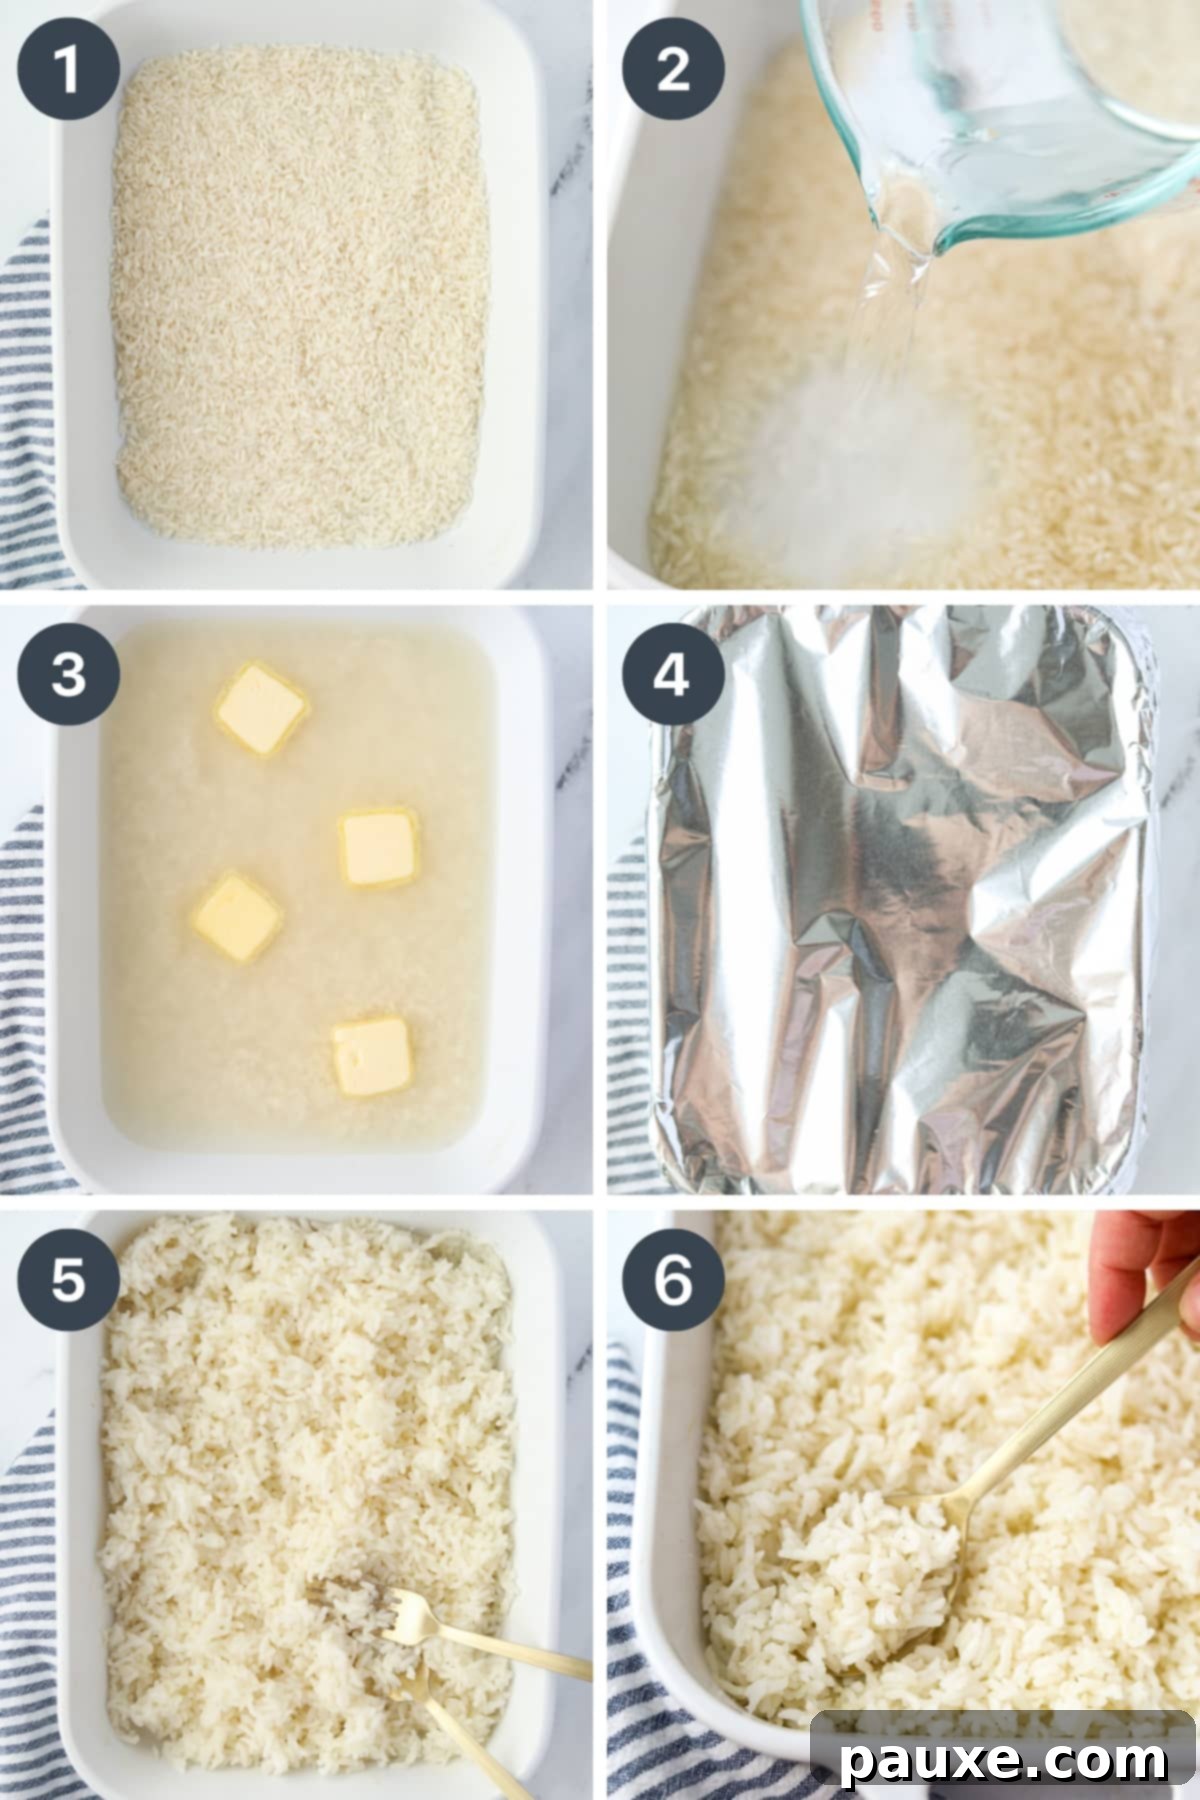
Follow these straightforward steps for perfectly cooked, fluffy rice every time:
- Preheat Oven and Prepare Dish: Begin by preheating your oven to 400ºF (204ºC). Lightly grease a medium baking dish (such as a 9×9-inch or 7.5×10-inch dish) to prevent sticking and ensure easy cleanup.
- Combine Rice and Salt: Add 1 cup of uncooked long-grain rice to the prepared baking dish. Sprinkle 1 teaspoon of fine salt over the rice. Stir well to ensure the salt is evenly distributed among the grains.
- Add Boiling Water: Bring 2 cups of water to a rolling boil using a pot on the stove or an electric kettle. Carefully pour the boiling water directly into the baking dish with the rice and salt. Stir gently to combine everything.
- Distribute Butter: Cut 2 tablespoons of butter into 4 small pieces. Evenly distribute these butter pieces over the surface of the rice and water mixture in the baking dish. The butter will melt and infuse flavor as it bakes.
- Cover Tightly: This is a critical step for perfect steam cooking. Cover the casserole dish *very tightly* with aluminum foil. For extra security, you can use two layers of foil. If using a Dutch oven or a casserole dish with its own tight-fitting lid, ensure the lid is sealed securely.
- Bake to Perfection: Place the tightly covered dish into the preheated 400ºF (204ºC) oven. Bake for approximately 26-28 minutes. The exact time may vary slightly depending on your oven, but the key is that all the liquid should be absorbed.
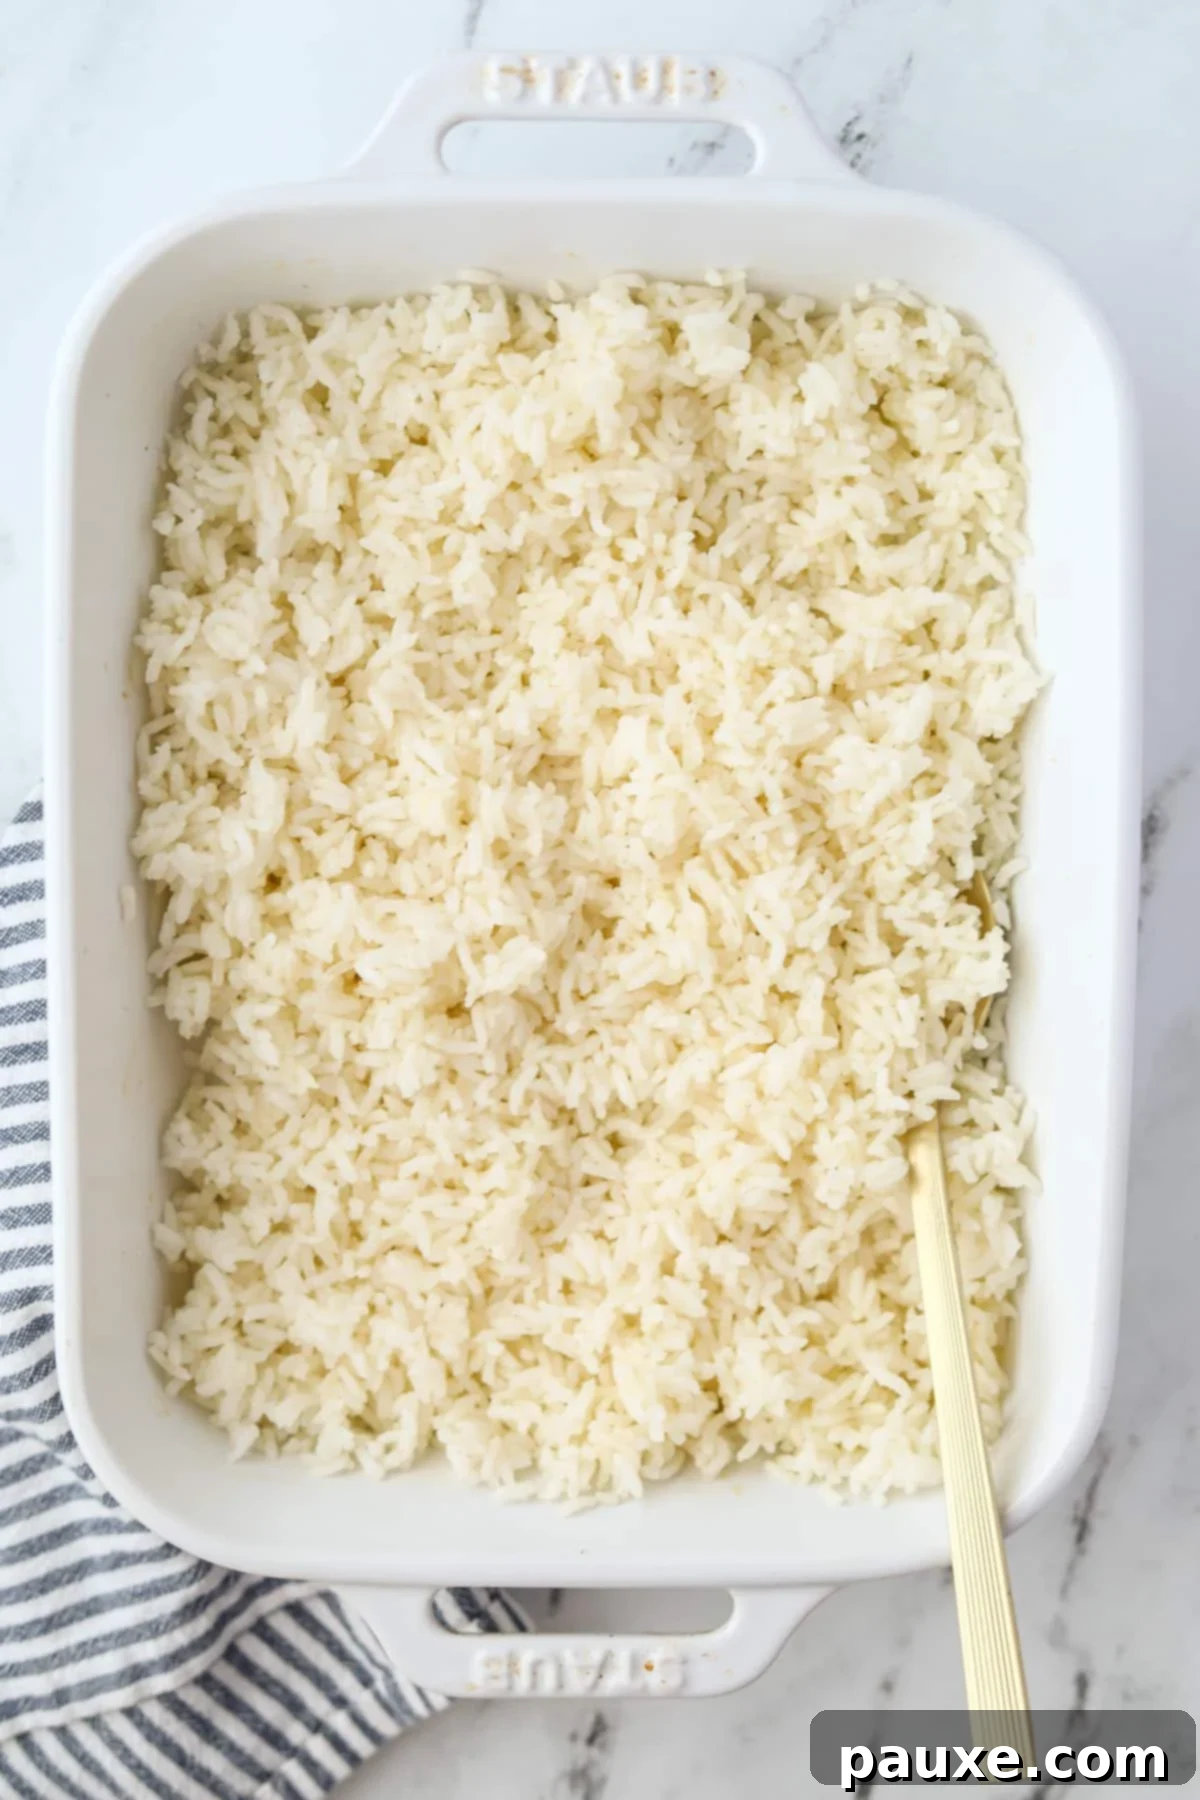
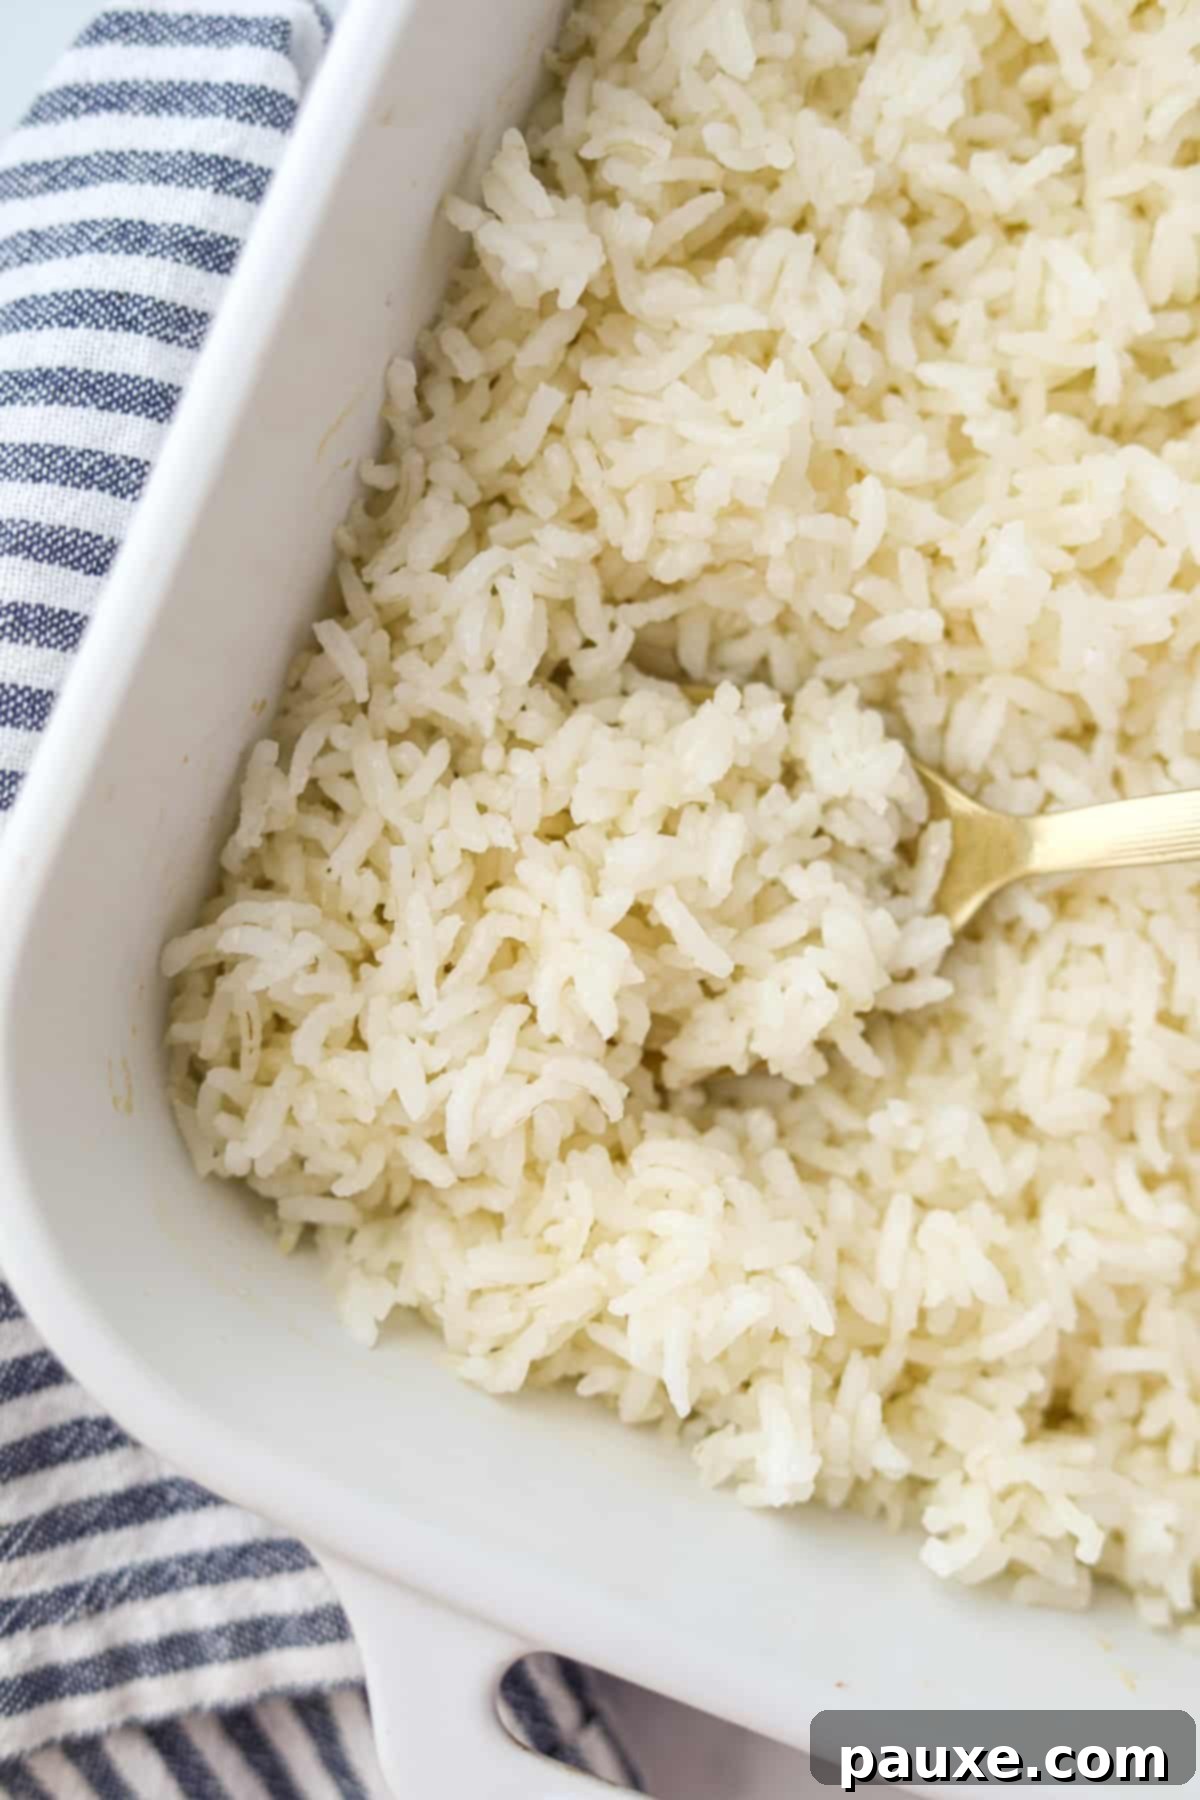
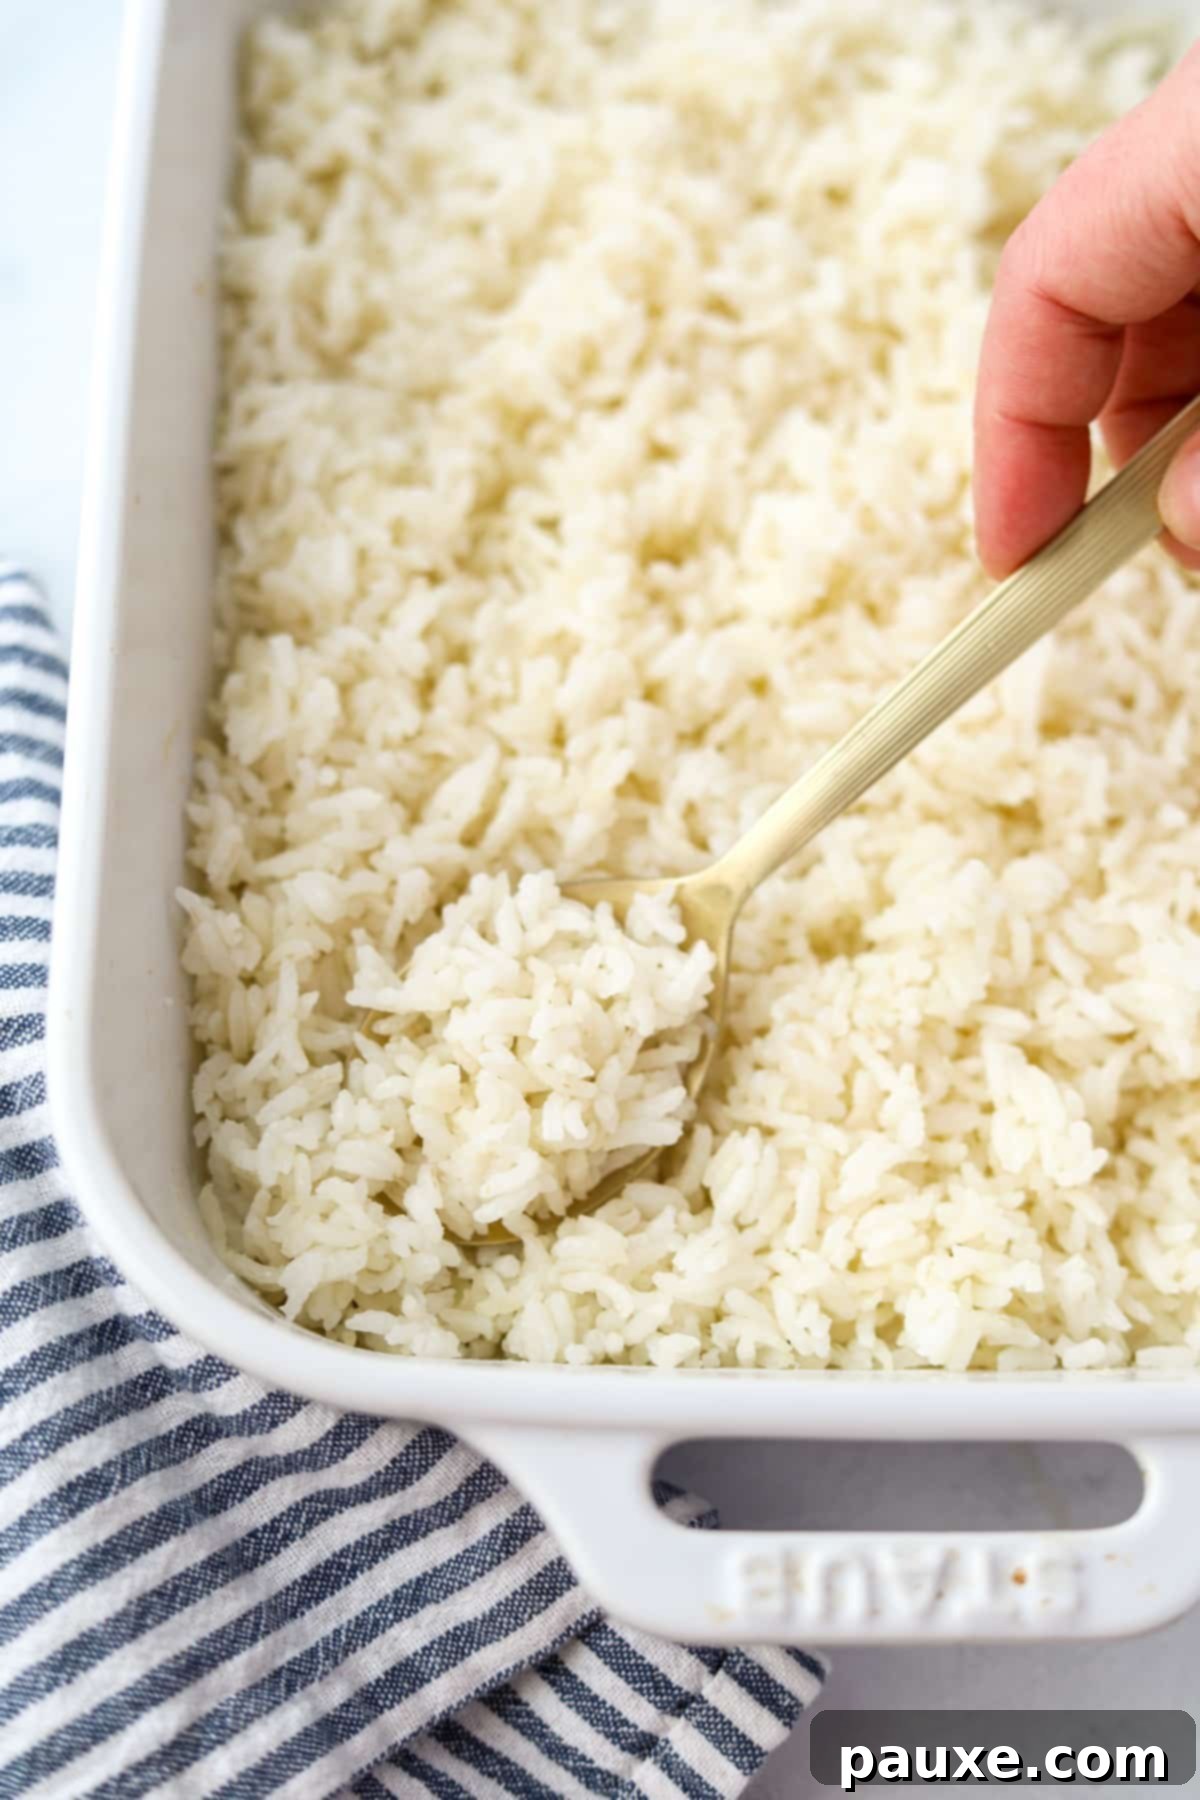
- Rest and Fluff: Once the baking time is complete, remove the dish from the oven. **Without peeking**, allow the rice to rest, still covered, for a full 10 minutes. This resting period is essential; it allows the steam to redistribute, finishing the cooking process and preventing the rice from becoming mushy or sticky. After resting, remove the foil or lid. Gently fluff the rice with a fork, then taste and adjust salt if needed. Serve immediately and enjoy your perfectly fluffy baked rice!
Storing & Reheating Leftover Baked Rice
Proper storage of cooked rice is crucial for both quality and food safety. Follow these guidelines to enjoy your baked rice for days to come:
Storing Leftovers:
As soon as possible after serving (within one hour is ideal), transfer any leftover baked rice to an airtight container. Alternatively, if you cooked a large batch in your baking dish, you can tightly wrap the entire dish with plastic wrap or aluminum foil. Refrigerate promptly for up to 3 days. Always discard any rice showing signs of spoilage, such as an unusual odor or slimy texture.
Reheating Leftover Rice:
To reheat, spoon out only the desired portion of rice into a microwave-safe bowl. Add a tablespoon or two of water or broth to help reintroduce moisture and prevent drying. Cover the bowl loosely (with a plate or microwave-safe lid) and microwave until steamy and thoroughly hot. Aim for a minimum internal temperature of 165ºF (74ºC) for food safety. Many food safety experts advise reheating leftover rice only once to minimize bacterial growth, so reheat only the amount you plan to eat in a single sitting.
For more detailed information on rice safety, consult resources from trusted agricultural and natural resources institutions. For example, refer to: Storing Cooked Rice – UofC Agriculture and Natural Resources.
Can Cooked Rice Be Frozen?
Absolutely! Cooked rice freezes remarkably well, making it excellent for meal prep. First, allow the cooked rice to cool completely in the refrigerator. Once chilled, transfer it to freezer-safe bags or containers, pressing out as much air as possible to prevent freezer burn. Label with the date and freeze for up to 2 months. You can reheat frozen rice directly in the microwave with a splash of water or thaw it in the refrigerator overnight before reheating.
Top Tip: One of the absolute best ways to utilize leftover rice is in homemade chicken fried rice. Cold, day-old rice is actually the secret ingredient for the best texture in fried rice, as it prevents mushiness and allows for crispier grains!
Expert Tips for the Best Baked Rice
Elevate your oven-baked rice from good to truly exceptional with these professional insights:
- Always Cover Tightly: This cannot be stressed enough. Whether you’re using aluminum foil or a Dutch oven lid, ensuring a tight seal is paramount. The trapped steam within the baking dish is what cooks the rice evenly and prevents it from drying out. Any escape of steam will result in dry, undercooked grains.
- Boiling Water is Non-Negotiable: While it might seem like an extra step, using boiling water from the start is absolutely essential for this recipe’s success. I’ve tested this method extensively with cold, room temperature, and hot tap water, and boiling water consistently produces the fluffiest, most uniformly cooked rice. It kick-starts the cooking process immediately, mimicking the rapid heat of stovetop cooking and leading to consistent absorption. An electric kettle makes this step incredibly quick and easy!
- Infuse Extra Flavor with Broth: For a more flavorful side dish, consider swapping the 2 cups of boiling water with an equal amount of boiling chicken broth, vegetable broth, or even a dry white wine (bring to a boil first). This simple substitution adds depth and complexity to your rice, making it an even richer accompaniment to your main course.
- Don’t Skip the Rest: The 10-minute resting period after baking is crucial. It allows the rice to continue steaming gently and the moisture to redistribute evenly throughout the grains. This results in distinct, fluffy grains rather than a clumpy or mushy texture.
- Resist the Urge to Peek: Opening the oven or lifting the foil during baking releases precious steam, which can disrupt the cooking process and lead to unevenly cooked or dry rice. Trust the timing and let the oven do its work!
Recipe FAQs (Frequently Asked Questions)
Absolutely! If you prefer a dairy-free option or simply enjoy the flavor of olive oil, you can substitute butter with olive oil (or avocado oil) using a 1-to-1 ratio. The fat still helps to lubricate the grains and enhance texture, providing a subtle savory note.
Yes, a Dutch oven is an excellent choice for this recipe! Its heavy construction and tight-fitting lid create an ideal environment for steaming rice. Simply follow the instructions, but instead of covering with aluminum foil, use the Dutch oven’s own lid before baking. The same cooking time and temperature apply.
Yes, it absolutely matters! This recipe has been rigorously tested with various water temperatures, and the most consistently perfect results are achieved by starting with boiling water. Using boiling water immediately brings the rice to cooking temperature, allowing for swift and even absorption of liquid. This closely mimics the efficiency of traditional stovetop methods, significantly reducing overall cooking time and preserving the desired fluffy, distinct grain texture. Skipping this step can lead to longer cooking times and less predictable results.
Mushy rice is usually a sign of too much liquid, insufficient resting time, or perhaps lifting the lid too often during cooking. Ensure you’re using the exact 2:1 water-to-rice ratio. Also, make sure your cover is truly airtight to prevent steam from escaping, and crucially, do not skip the 10-minute rest period after baking. This allows the rice to firm up and prevents it from becoming overly soft.
Crunchy rice typically means it hasn’t fully cooked or absorbed enough liquid. This could be due to not covering the dish tightly enough (allowing steam to escape), an oven that runs cooler than indicated, or a very slight variation in rice type. If you find your rice is still crunchy after the initial baking and resting period, add another tablespoon or two of boiling water, re-cover tightly, and return it to the oven for an additional 5-10 minutes, checking for doneness afterward.
Yes, this recipe is easily scalable! Simply maintain the 2:1 boiling water-to-rice ratio. For a double batch (2 cups of rice, 4 cups of boiling water), use a larger baking dish, such as a 9×13-inch. In testing, doubling the recipe did not significantly increase the baking time. For larger quantities, ensure your baking dish is wide enough to allow the rice to spread out somewhat, as a very deep layer might require a slightly longer cook time.
More Delicious Rice Recipes to Explore
If you love rice as much as we do, you’ll enjoy these other fantastic recipes:
- Stick-of-Butter Rice: A decadently rich and comforting rice dish.
- Consomme Rice: Flavorful rice cooked with beef consommé for a savory twist.
- Church Lady Rice (AKA Baked Mushroom Rice): A beloved, creamy mushroom-infused baked rice.
- Instant Pot White Rice: For those who prefer pressure cooking, a quick and easy method.
- Instant Pot Wild Rice: A hearty and nutty grain blend made simple in the Instant Pot.
- Benihana Chicken Fried Rice: Recreate your favorite hibachi fried rice at home.
- Cilantro Lime Rice: A zesty and refreshing rice perfect for Mexican-inspired dishes (from Love and Lemons).
Pair Your Baked Rice with These Easy Side Dishes:
- Roasted Ranch Potatoes
- Broccoli Salad
- Swedish Pizza Salad
- Roasted Broccoli and Potatoes
If you loved this game-changing recipe for Oven Baked Rice, please consider leaving a 5-star review in the recipe card below or a comment! Your feedback is invaluable. You can also share your beautiful creations by tagging me on Instagram @dashfordinner.
Baked Rice
This incredibly easy recipe for Baked Rice offers a foolproof method to achieve perfect, fluffy rice every time! With no special appliances needed and no pot-watching, it’s the ultimate hands-off solution for a consistently delicious side dish.
Course: Side Dish
Cuisine: American
Prep Time: 5 minutes
Cook Time: 28 minutes
Resting Time: 10 minutes
Total Time: 43 minutes
Servings: 4 servings
Calories: 219 kcal
Author: Dorothy Bigelow
Ingredients
- 1 cup long-grain rice (not Instant or Minute rice)
- 2 cups boiling water
- 1 teaspoon salt
- 2 tablespoons butter
Instructions
- Preheat the oven to 400ºF (204ºC) and lightly grease a medium-sized baking dish (such as 9×9-inch or 7.5×10-inch).
- Add the uncooked rice to the baking dish, then sprinkle with salt and pour in the boiling water. Stir well to combine all ingredients.
- Cut the butter into 4 small pieces and distribute them evenly throughout the baking dish over the rice mixture.
- Cover the dish tightly with aluminum foil (using two layers for a secure seal is recommended).
- Bake for 26-28 minutes. After baking, remove from the oven and carefully check to see if all of the liquid has been absorbed. If not, return to the oven (still covered) for an additional 2-5 minutes, or until the rice has fully absorbed all the liquid.
- Once the rice is done and all liquid is absorbed, remove it from the oven and allow it to rest, still covered, for a full 10 minutes. This essential step prevents the rice from becoming mushy and ensures perfect texture.
- After the 10-minute rest, remove the foil. Gently fluff the rice with a fork, then taste and adjust the salt to your preference. Serve hot and enjoy your perfectly baked rice!
Notes
- Storage: Immediately transfer any leftovers to an airtight container and store in the refrigerator for up to 3 days. Reheat only the portions needed for serving, as cooked rice should ideally not be reheated more than once for food safety.
- Doubled or in a 9×13 Baking Dish: If you need a larger quantity, you can easily double this recipe. Use 2 cups of rice and 4 cups of boiling water in a 9×13-inch baking dish. In testing, doubling the recipe did not require additional baking time in the oven.
- What type of rice should I use? This recipe is designed for long-grain white rice, Basmati, or Jasmine rice. Please avoid using parboiled rice, minute rice, or brown rice, as their cooking requirements are different.
- Does the water NEED to be boiled first? Yes! This is a crucial step for consistent results. Extensive testing confirms that starting with boiling water (and keeping the dish tightly covered) is the best way to bake perfectly fluffy rice. Do not skip this!
Nutrition Information
Calories: 219kcal
Carbohydrates: 37g
Protein: 3g
Fat: 6g
Saturated Fat: 4g
Polyunsaturated Fat: 0.3g
Monounsaturated Fat: 2g
Trans Fat: 0.2g
Cholesterol: 15mg
Sodium: 635mg
Potassium: 55mg
Fiber: 1g
Sugar: 0.1g
Vitamin A: 175IU
Calcium: 19mg
Iron: 0.4mg
Please note that some of my blog posts here at Dash for Dinner may contain affiliate links. If you make a purchase through these links, I will get a small commission at no additional cost to you. Please see my Disclaimer for more information.
