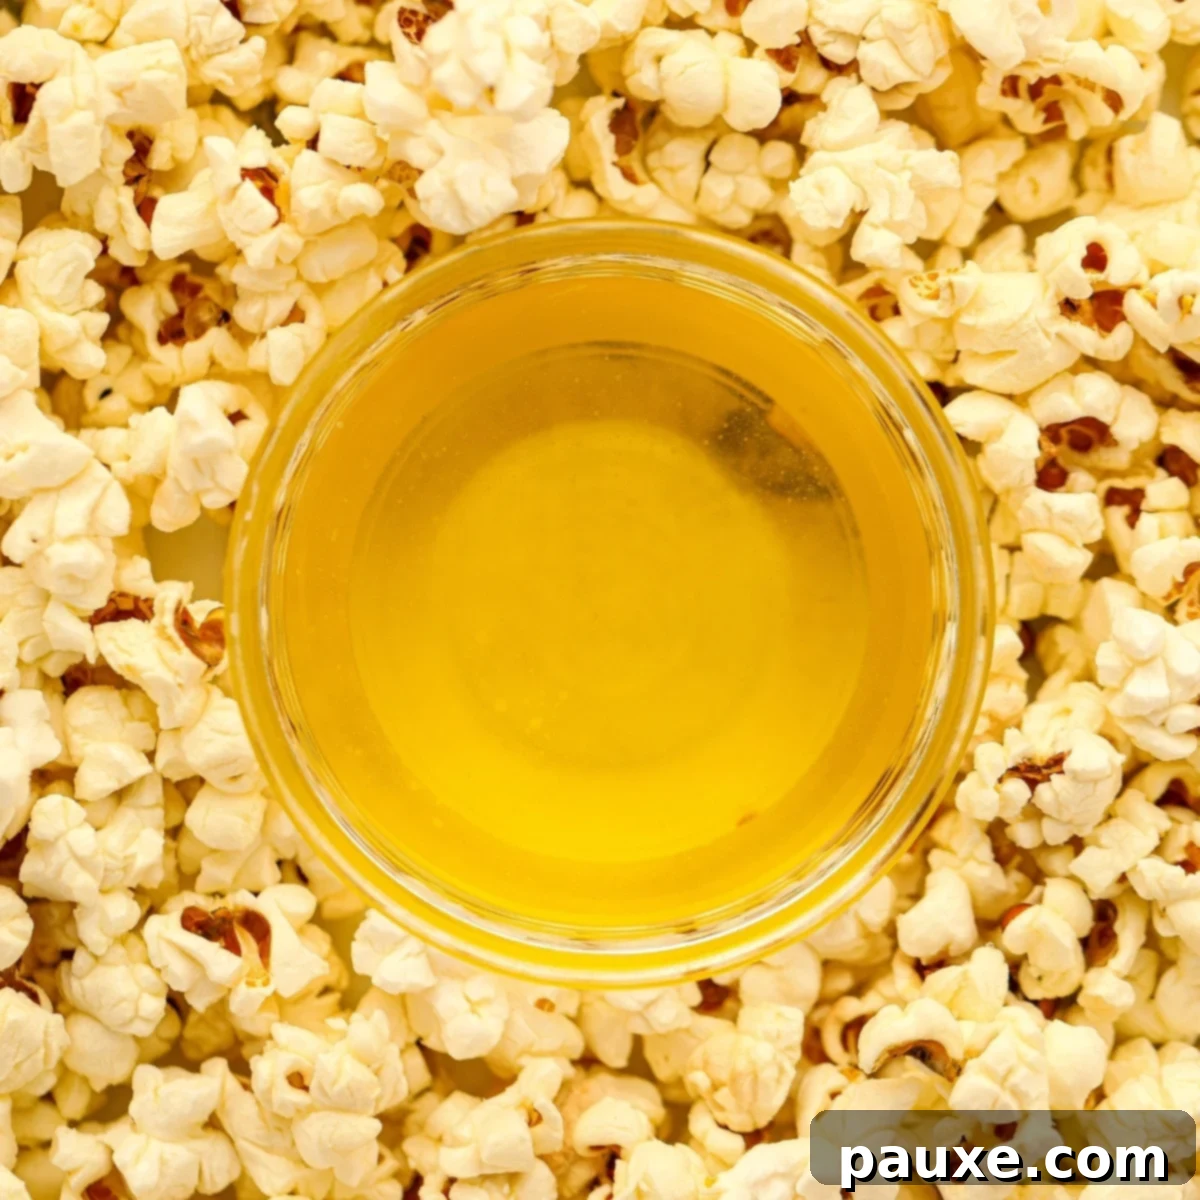
Homemade Popcorn Butter: The Secret to Perfect Movie Theater Popcorn at Home
Are you yearning for that irresistible, perfectly buttery, and delightfully crisp popcorn experience usually reserved for movie theaters? Look no further! This easy recipe for homemade popcorn butter is your ticket to achieving cinematic snack perfection right in your own kitchen. It transforms ordinary kernels into an extraordinary treat, maintaining their satisfying crunch while delivering that signature, mouth-watering movie theater taste you crave.
Forget store-bought artificial toppings; this recipe uses real butter to create a superior product. Best of all, once made, this versatile butter can be stored in the refrigerator, ensuring you’re always ready to whip up a batch of delicious, crunchy popcorn whenever the craving for a savory snack hits.
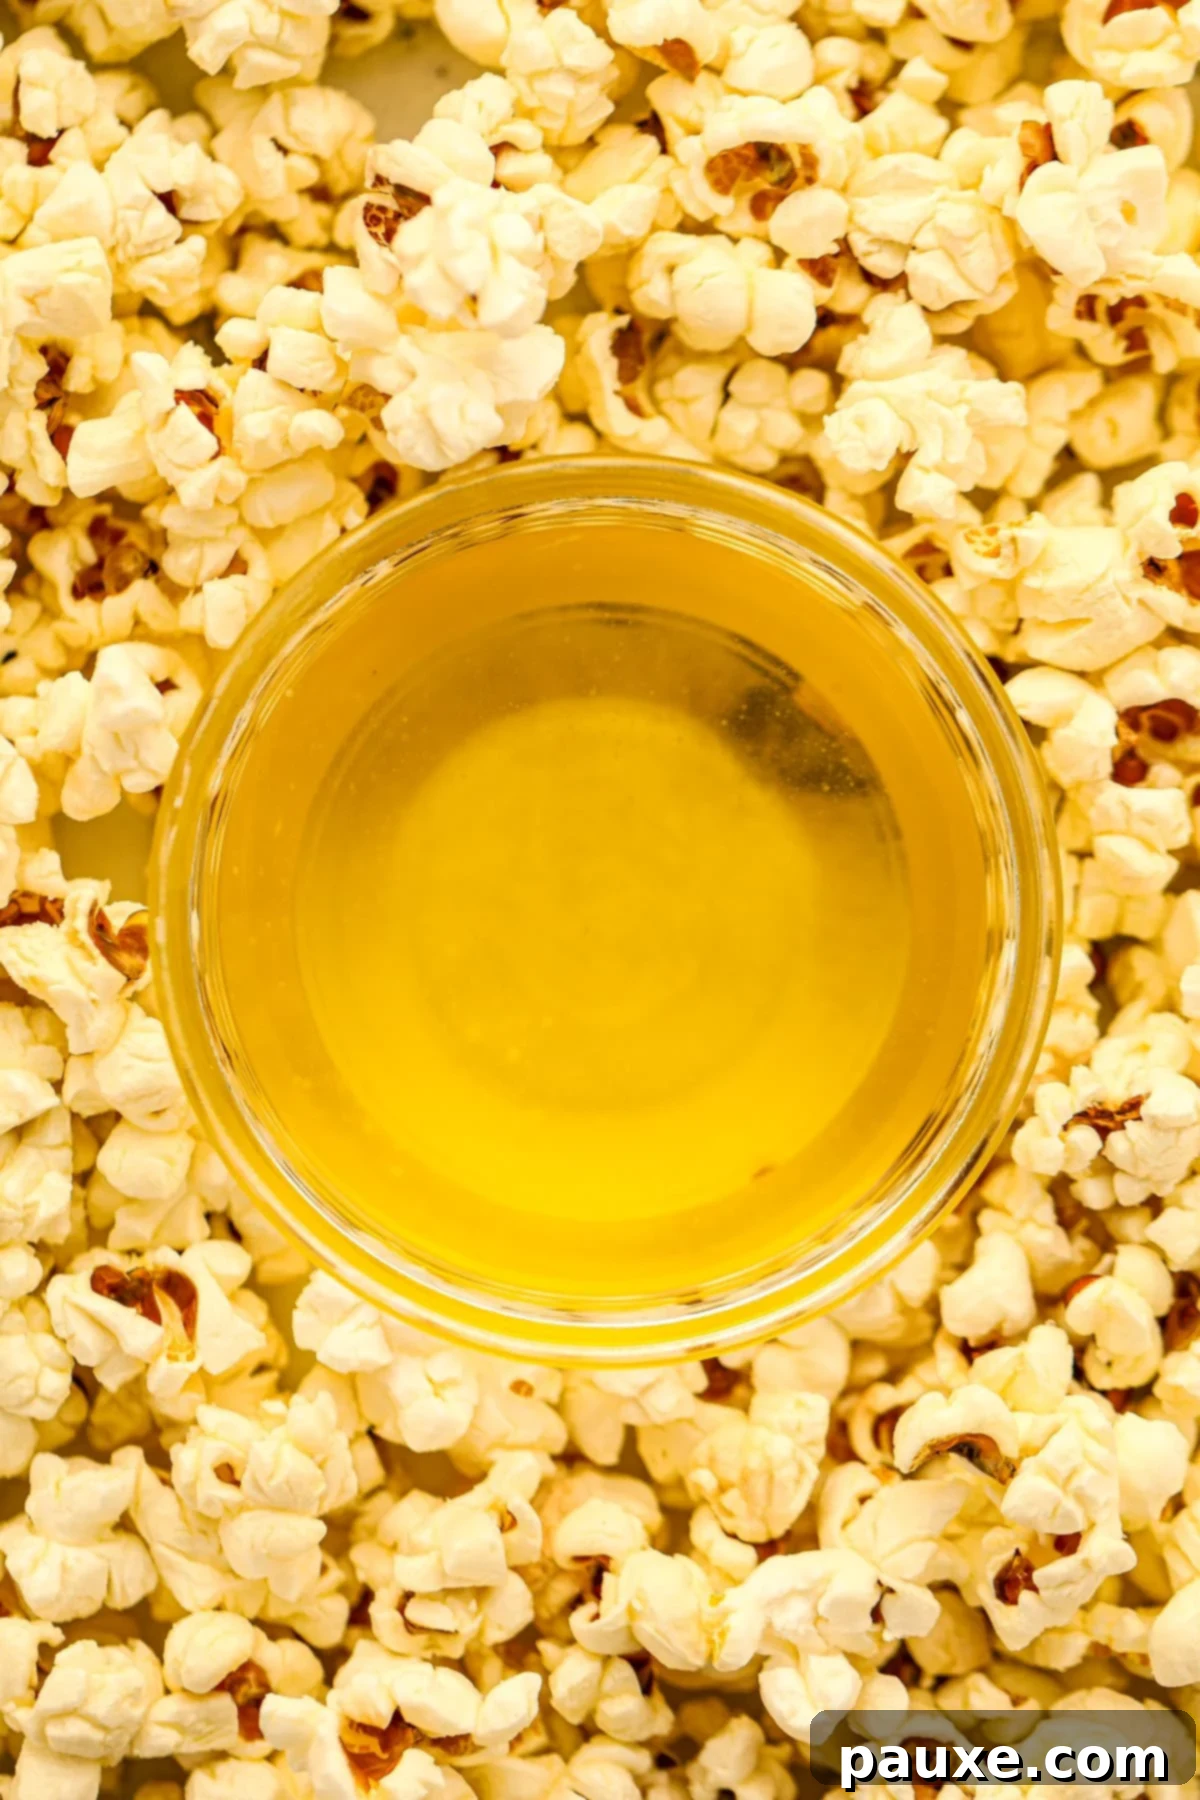
For many, buttery popcorn holds a special place as the ultimate snack – salty, savory, and richly coated in golden goodness. However, recreating that authentic movie theater flavor and texture at home can often feel like a challenge. Traditional melted butter tends to make popcorn soggy, quickly diminishing its crispness and leaving a less-than-ideal texture. What if we told you there was a simple, magical way to achieve that exact flavor and delicate crispness in your very own home? The secret, as many home cooks and professional chefs know, is clarified butter.
Understanding Clarified Butter: Your Popcorn’s New Best Friend
Clarified butter is pure butterfat, distinguished from regular butter by the removal of its milk solids and water content. This process leaves behind a shimmering, golden, butter-flavored oil that, while tasting like real butter, behaves very differently. It boasts a higher smoke point and a significantly longer shelf life, making it an excellent culinary staple. More importantly for popcorn enthusiasts, its pure fat composition ensures it coats each kernel beautifully without making it “wet” or soggy, preserving that desirable crisp texture synonymous with movie theater popcorn.
Making clarified butter at home is surprisingly simple, requiring just one core ingredient: high-quality butter. You can also customize its appearance by adding natural spices like annatto, turmeric, or paprika to achieve that iconic golden-orange hue, if that’s part of your ideal popcorn aesthetic. This simple homemade popcorn butter is guaranteed to be a hit in your home, forever changing the way you enjoy your favorite snack!
Why You’ll Fall in Love with Homemade Popcorn Butter
Beyond replicating the authentic movie theater taste, there are numerous benefits to making your own clarified butter for popcorn:
- Unmatched Crispness: The most significant advantage is the elimination of soggy popcorn. Regular butter contains water and milk solids that can quickly turn crunchy kernels into a limp snack. Clarified butter, being pure fat, coats each popped kernel evenly and thinly, enhancing flavor without sacrificing that satisfying crispness.
- Extended Shelf Life: With the water and milk solids removed, clarified butter has a remarkably long shelf life. Similar to ghee (a traditional Indian clarified butter), it can be stored in the refrigerator for several weeks, if not months, maintaining its quality and flavor, making it a convenient pantry staple.
- The Best of Both Worlds: Many popcorn lovers use coconut oil because it adheres well to kernels, but it lacks the rich, savory taste of butter. Homemade popcorn butter delivers the superior coating ability of an oil combined with the authentic, rich flavor of real butter, offering an unparalleled taste experience.
- Effortless Storage & Reusability: Any leftover clarified butter can be easily stored in an airtight container in the refrigerator. When it’s time for another popcorn batch, simply scoop out the desired amount, gently melt it, and drizzle it over your fresh popcorn for an instant flavor upgrade. It’s ready whenever you are!
- Versatile Culinary Application: This golden butter isn’t just for popcorn! Clarified butter is an excellent cooking fat for various dishes. Use it to fry eggs, sauté vegetables, make delicious sauces, or even grease baking pans. Its high smoke point makes it ideal for many cooking methods where regular butter might burn.
Gather Your Essentials: Ingredients & Equipment
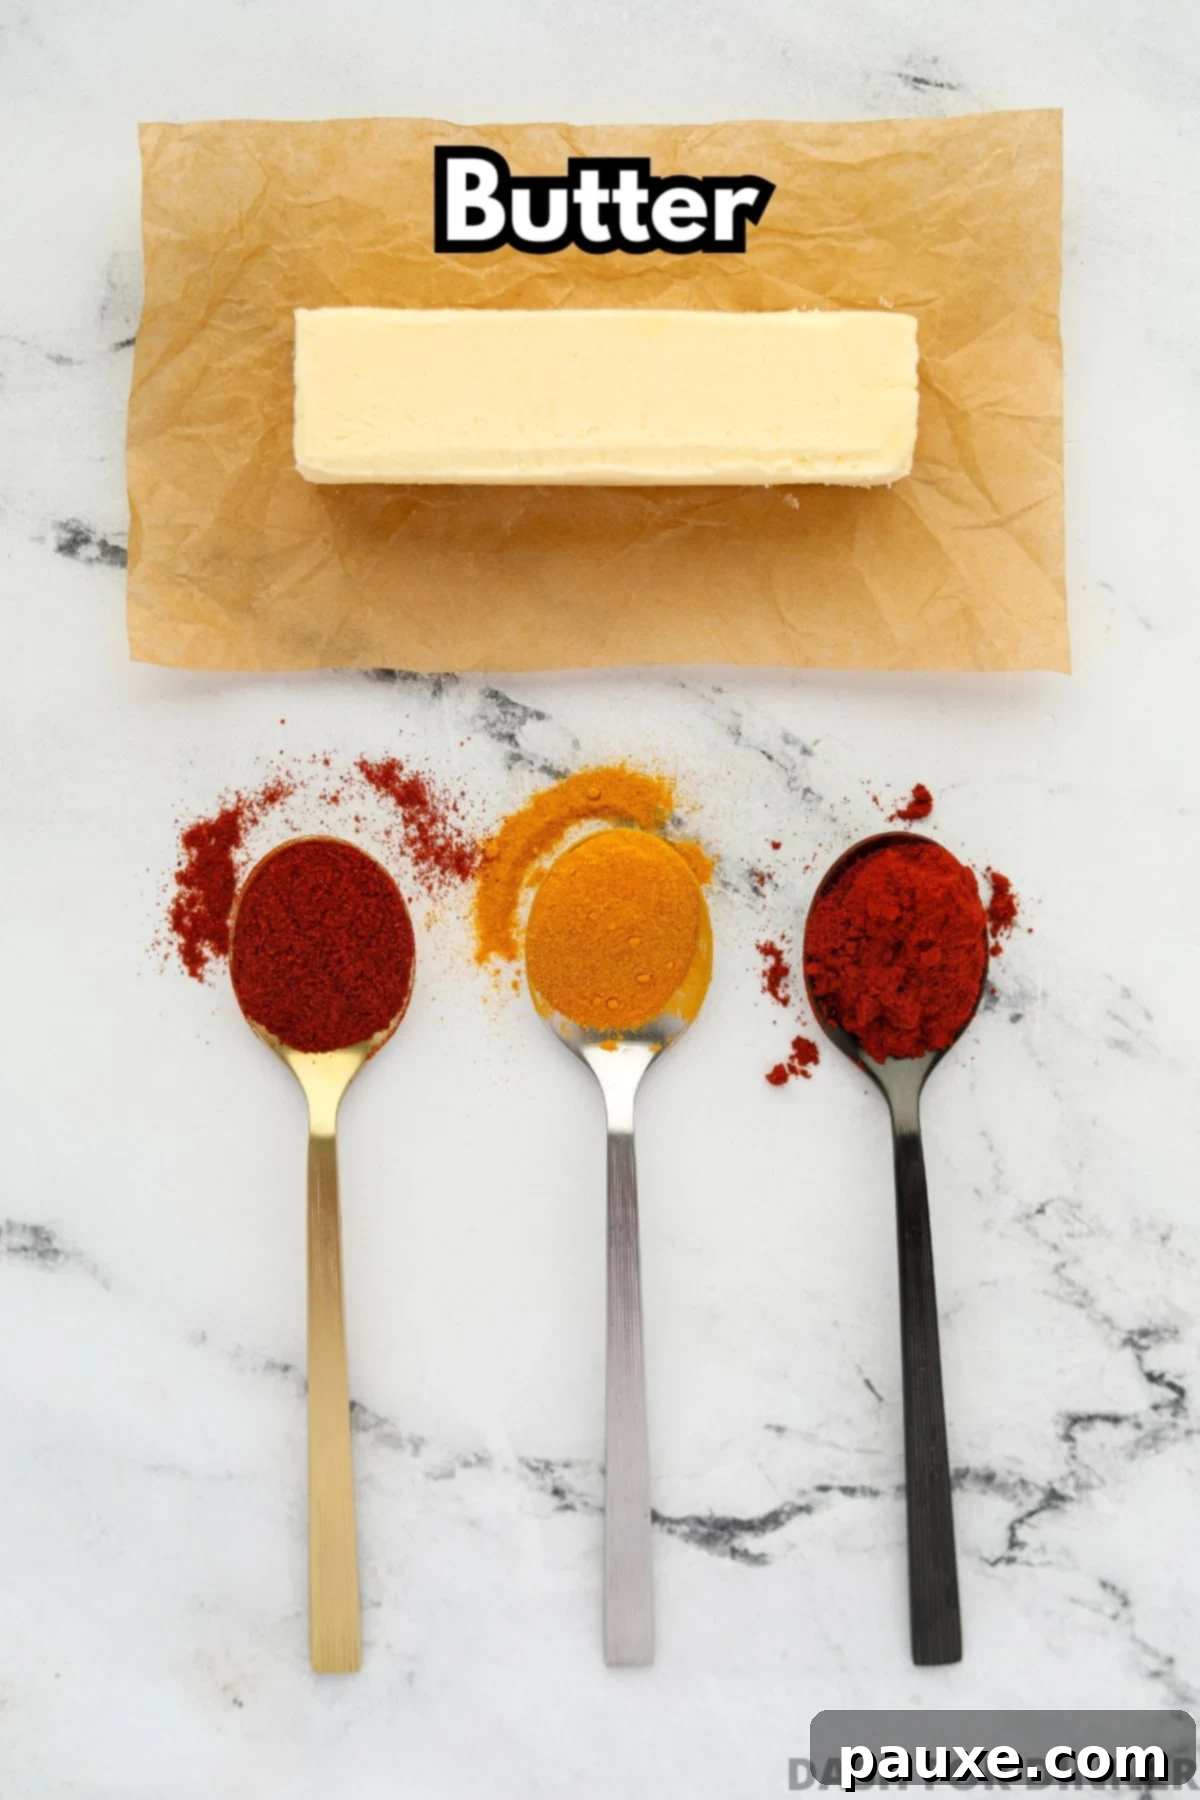
Key Ingredients:
- Unsalted Butter: This is the singular essential ingredient. We highly recommend using unsalted butter because the salt will be removed along with the milk solids during the clarification process anyway. Opting for unsalted butter also provides complete control over the final seasoning of your popcorn, allowing you to add fine salt or popcorn salt precisely to your liking after the butter has been applied.
- Optional Spices (for Color): If you want your popcorn butter to emulate the vibrant orange or yellowish hue often associated with movie theater popcorn, you can incorporate a small amount of annatto powder, turmeric, or paprika. This addition is purely for aesthetic appeal and does not significantly alter the inherent buttery flavor.
Necessary Tools & Equipment:
- Stainless Steel Saucepan: A light-colored saucepan is absolutely crucial. It allows you to clearly see and monitor the color of the milk solids as they brown at the bottom of the pan, which is vital for preventing them from burning and ensuring your clarified butter achieves the perfect golden hue and flavor. Dark-colored or non-stick cookware is not recommended as it hinders this visual assessment.
- Fine Mesh Strainer: This tool is indispensable for cleanly separating the pure clarified butterfat from the browned milk solids.
- Coffee Filter (or Cheesecloth): To ensure the highest level of purity, line your fine mesh strainer with a disposable coffee filter or 1-2 layers of cheesecloth. This provides an extra fine filter to catch even the smallest particles of milk solids, resulting in crystal-clear butter oil.
- Heat-Proof Glass Bowl or Measuring Cup: You’ll need a clean, stable container to place your strainer over and collect the hot, strained clarified butter.
- Airtight Jar with a Lid: For storing your finished popcorn butter, a glass mason jar or any other airtight container with a secure lid works perfectly, helping to preserve its freshness and extend its shelf life.
A Splash of Color: Annatto, Turmeric, Paprika, or Au Naturel?
It’s a common misconception that the “butter” added to commercial popcorn is always pure butter. In reality, many popcorn machines use soybean or canola oil with artificial butter flavors and colors. This is largely because oil adheres to popcorn kernels far more effectively than melted whole butter. When you make your own clarified butter (or ghee), you get the ultimate culinary advantage: the genuine, rich, and unmistakable flavor of real butter combined with all the desirable benefits of an oil, including superior coating and a higher smoke point.
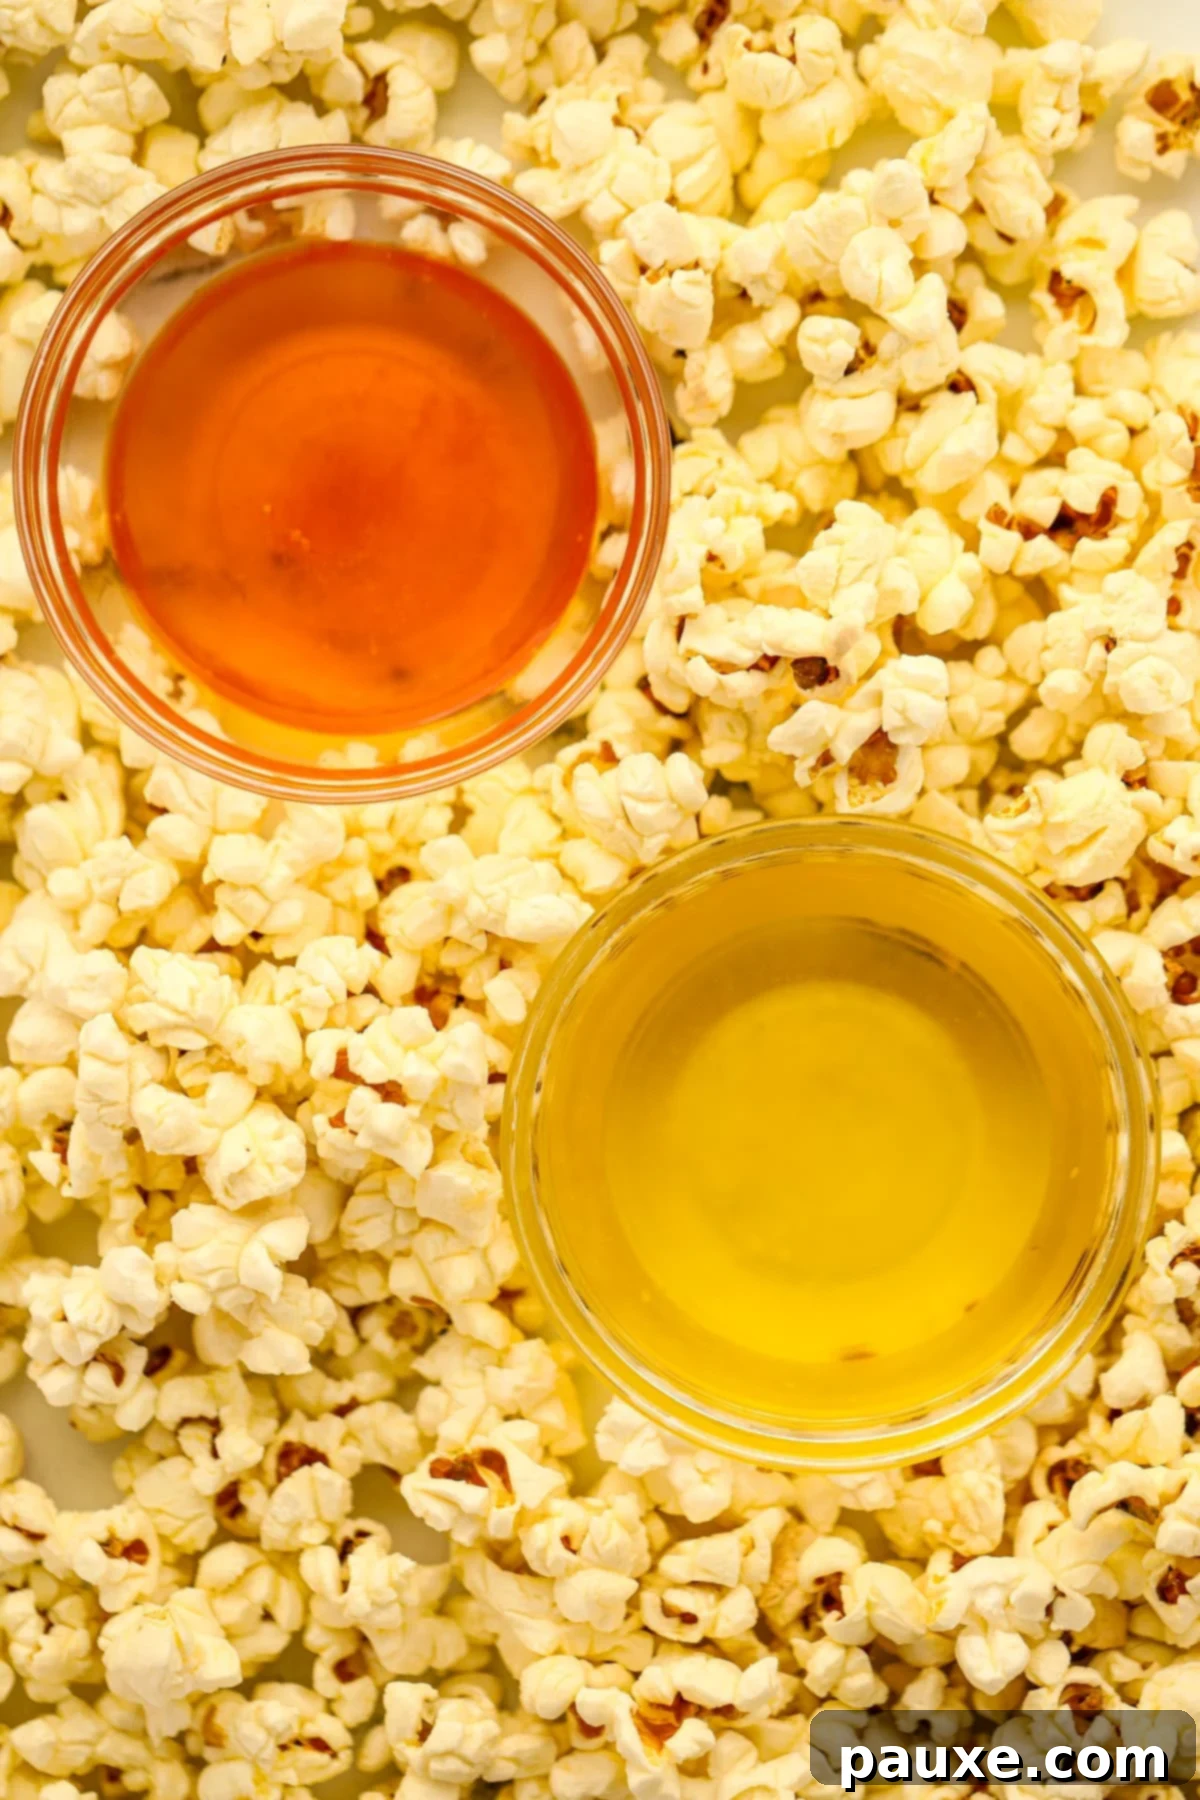
While the taste is paramount, the visual appeal of brightly colored popcorn can enhance the snacking experience. You have the option to add natural color to your clarified butter by stirring in annatto, turmeric, or paprika. But which one should you choose? Let’s break down the characteristics of each:
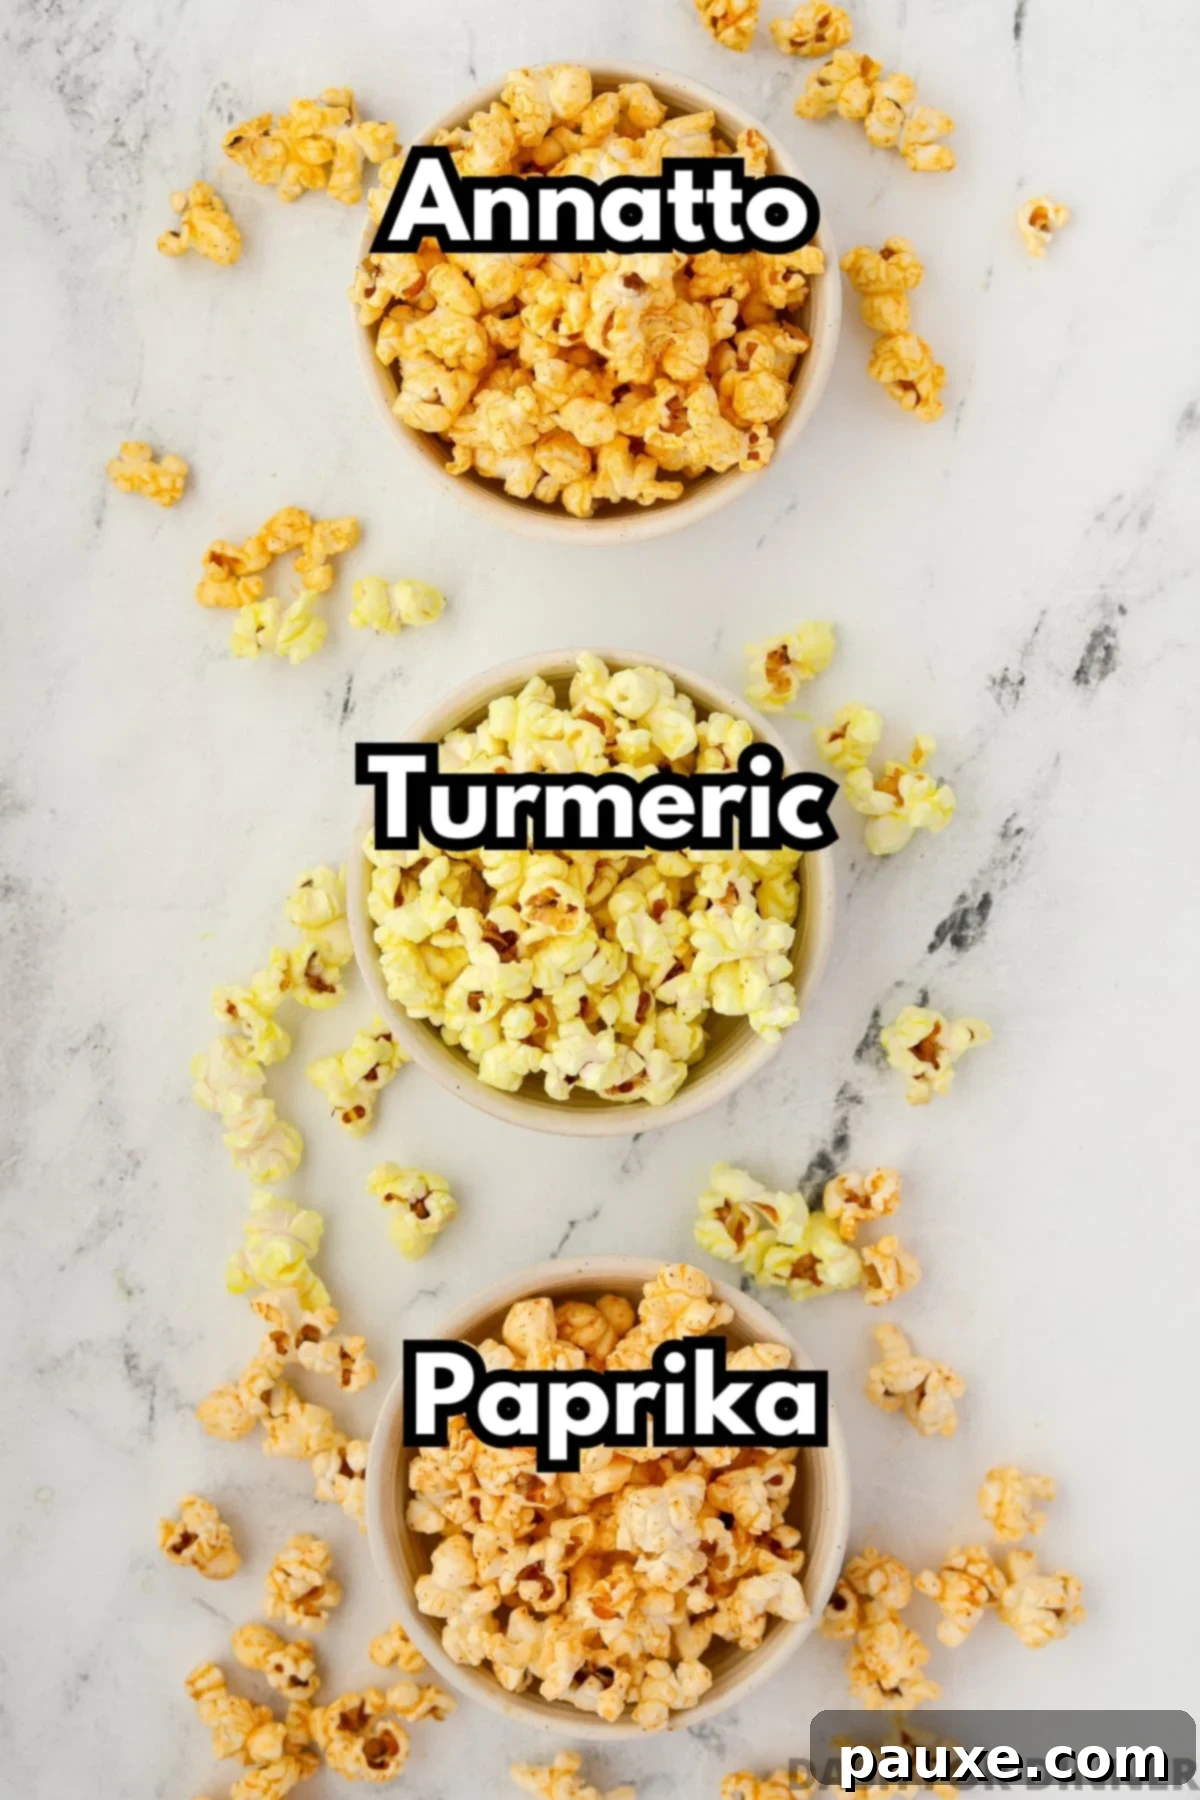
- Annatto Powder: This is a popular additive in commercial popcorn oils, valued for its ability to impart a beautiful orange-ish hue that perfectly mimics a rich, buttery appearance. Critically, annatto adds no detectable flavor, making it ideal for those who want color without altering the pure butter taste. It blends seamlessly into the clarified butter for a consistent shade.
- Turmeric Powder: Turmeric will give your popcorn butter a vibrant yellow hue. Unlike annatto, turmeric does introduce a subtle flavor, which many describe as slightly “sweet” or earthy. If you enjoy a unique, mild flavor note along with a cheerful yellow color, turmeric is an excellent choice.
- Paprika: Depending on the variety, paprika can add a beautiful orange to reddish hue, similar to annatto. However, it tends not to blend into the butter as smoothly as annatto, meaning you might notice tiny, detectable “specks” in the final product. It can also impart a very mild, sometimes smoky, flavor.
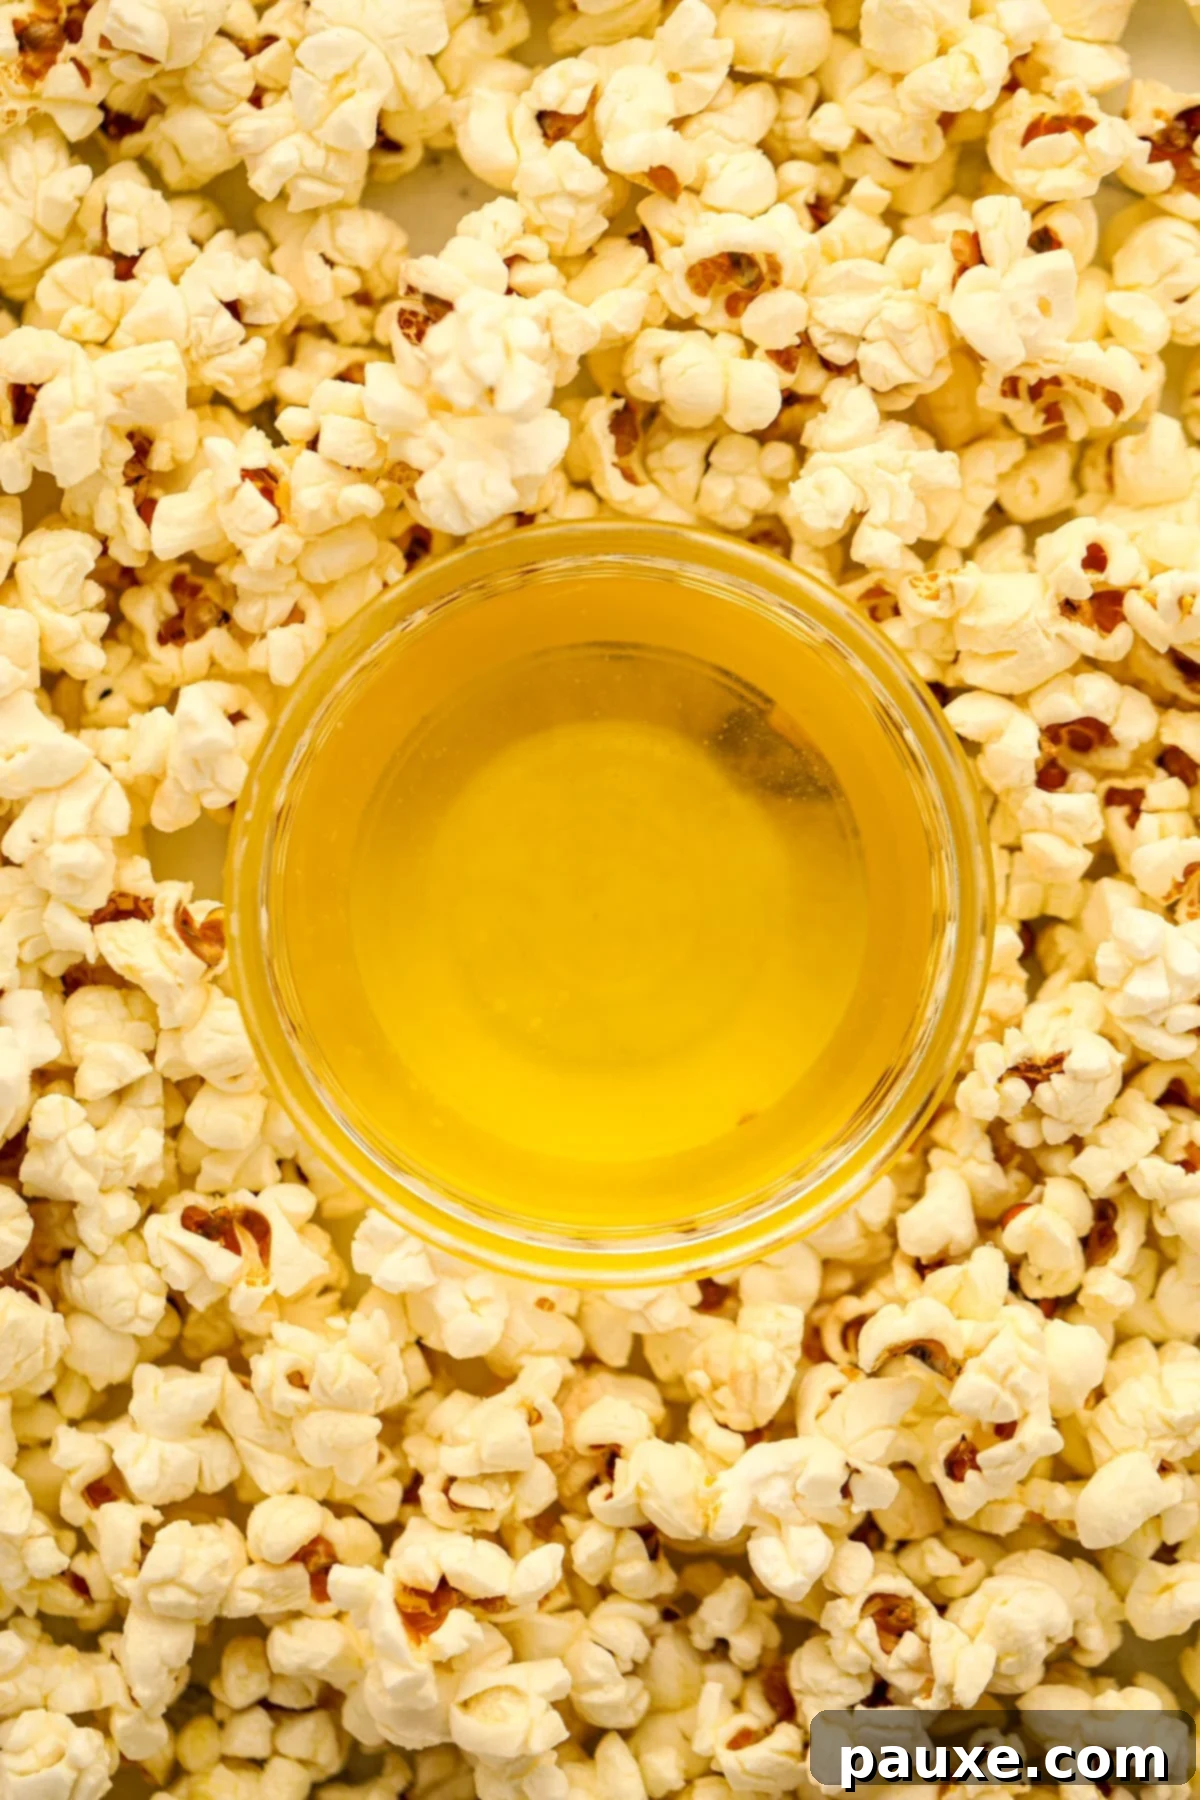
- Pure Butter (No Color Added): For purists, this is our top recommendation! If your main goal is simply to achieve the most delicious, authentic buttery popcorn and you care little about a specific yellow or orange appearance, then simply enjoy the natural golden color and rich flavor of pure clarified butter. It’s truly unbeatable.
The Simple Process: How to Make Popcorn Butter
Clarified butter boasts exceptional adherence properties compared to plain melted butter. This makes it the superior topping, as it beautifully clings to each individual kernel, ensuring an incredible burst of flavor and a perfect crisp texture with every single bite.
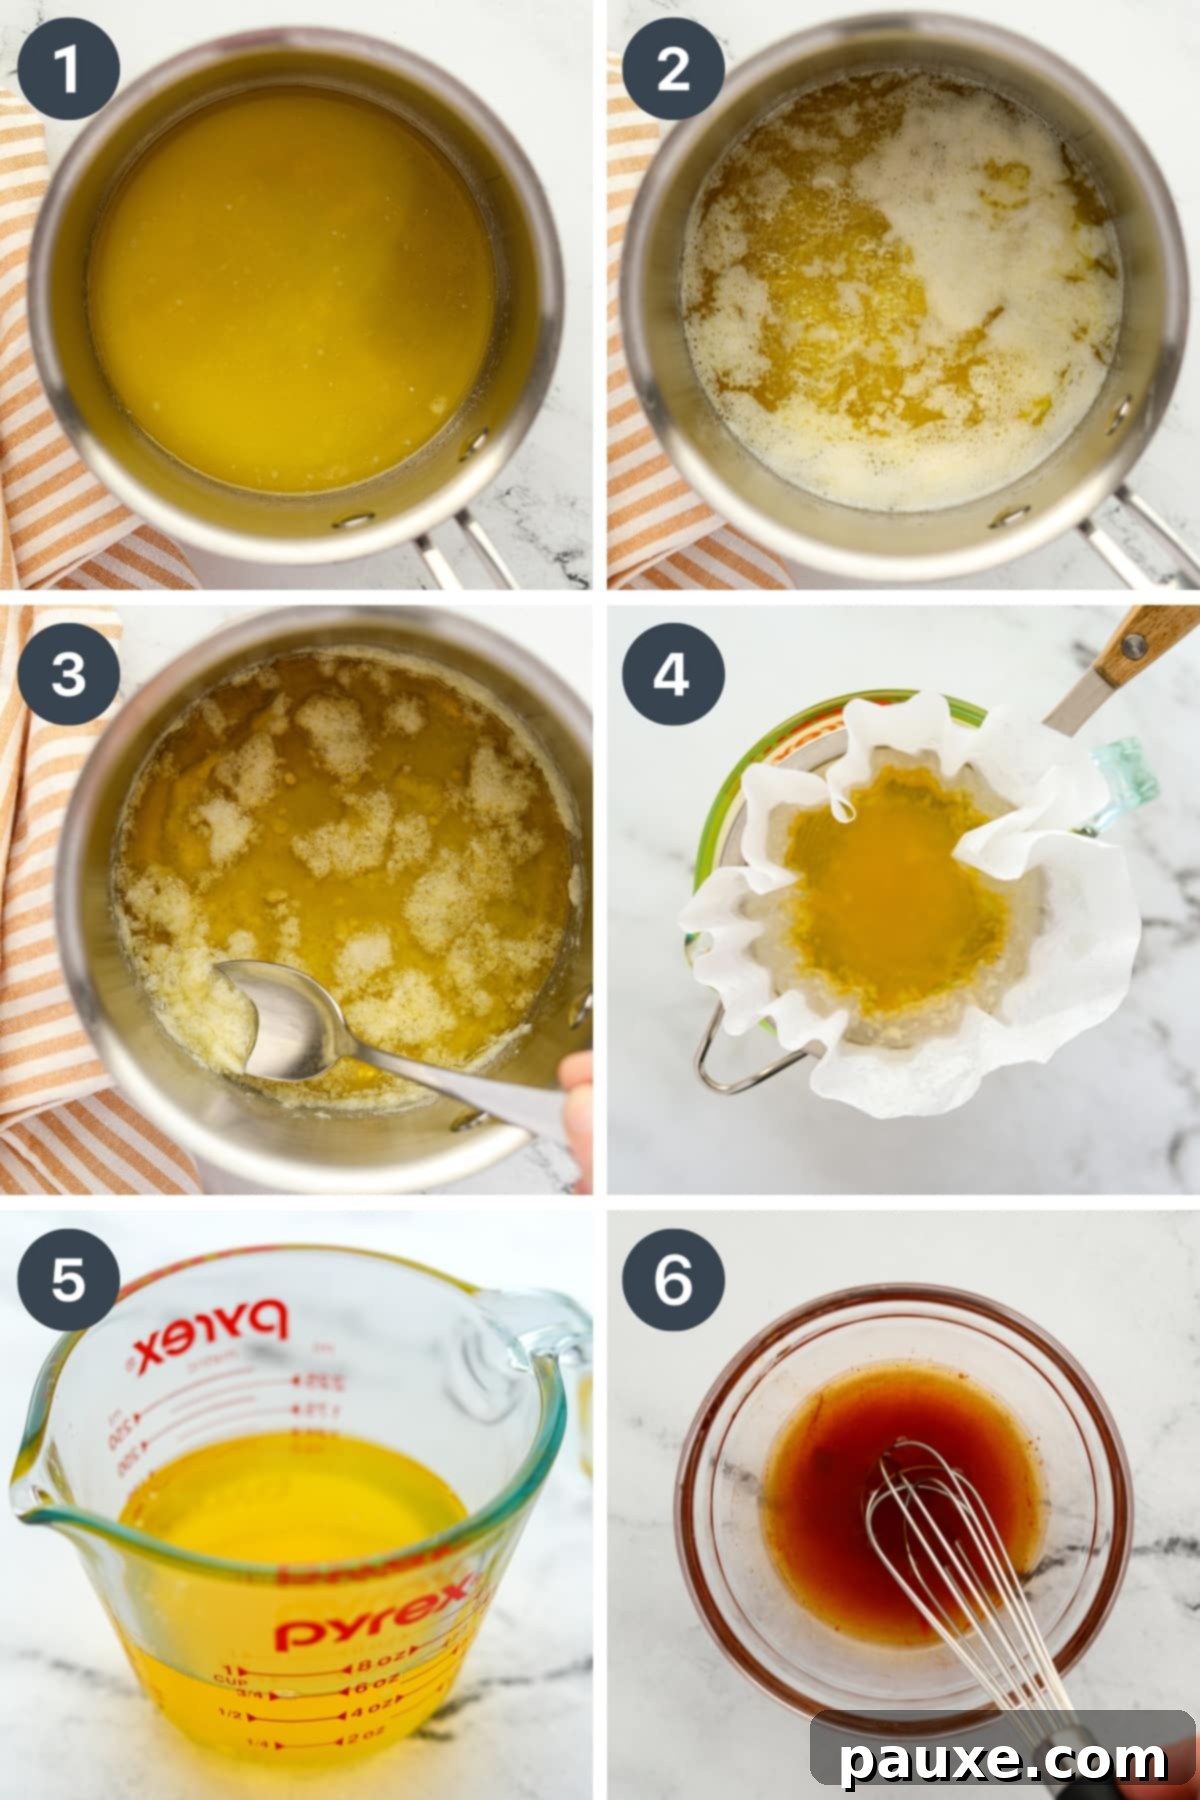
- Melt the Butter: Begin by adding 1-2 sticks (which equates to ½-1 cup) of unsalted butter into your chosen medium, light-colored stainless steel saucepan. Place the saucepan over medium to medium-high heat and allow the butter to melt completely, ensuring it’s in a liquid state.
- Gentle Simmer and Separation: As soon as you observe the butter starting to bubble gently and a layer of foam forming on the surface, immediately reduce the heat to low-medium. Let the butter simmer gently and undisturbed for approximately 15-25 minutes. During this crucial stage, the water content will gradually evaporate, and the milk solids will separate from the butterfat, sinking to the bottom of the pan and slowly turning a light golden-brown or “toasted” color. It is important not to stir the butter during this cooking process to allow for proper separation.
- Skim the Foam: As the butter continues to simmer, foam will accumulate on the surface. Use a spoon to gently skim off this foam periodically. You can either discard it, or as a handy tip, save this rich, buttery foam to add extra flavor to dishes like mashed potatoes or rice.
- Confirm Doneness: The clarified butter is ready when you notice the milk solids at the bottom of the pan have turned a distinct light brown, the vigorous bubbling has subsided significantly, and the liquid butter itself appears clear, transparent, and a vibrant golden color. Exercise caution to prevent the milk solids from burning (turning dark brown), as this can impart a slightly bitter taste to your clarified butter.
- Careful Straining: Prepare for straining by lining a fine mesh strainer with either a coffee filter or 1-2 layers of cheesecloth. Position this lined strainer securely over a clean, heat-proof glass bowl or a liquid measuring cup. Carefully and slowly pour the hot, clarified butter through the prepared strainer. The milk solids will be caught by the filter, allowing the pure, golden butter oil to collect cleanly below.
- Facilitate Straining (if necessary): The straining process might be slow, especially with a coffee filter. If needed, you can gently gather up the edges of the coffee filter or cheesecloth and carefully press it with a spoon to encourage the remaining butterfat to pass through more quickly.
- Optional Color Enhancement: If you desire to add extra color to your clarified butter, now is the time. Whisk in ⅓ to ½ teaspoon of annatto powder, turmeric, or paprika for every ½ cup of clarified butter you have prepared. Stir thoroughly until the color is uniformly distributed throughout the butter.
Bringing Your Popcorn to Life with This Butter
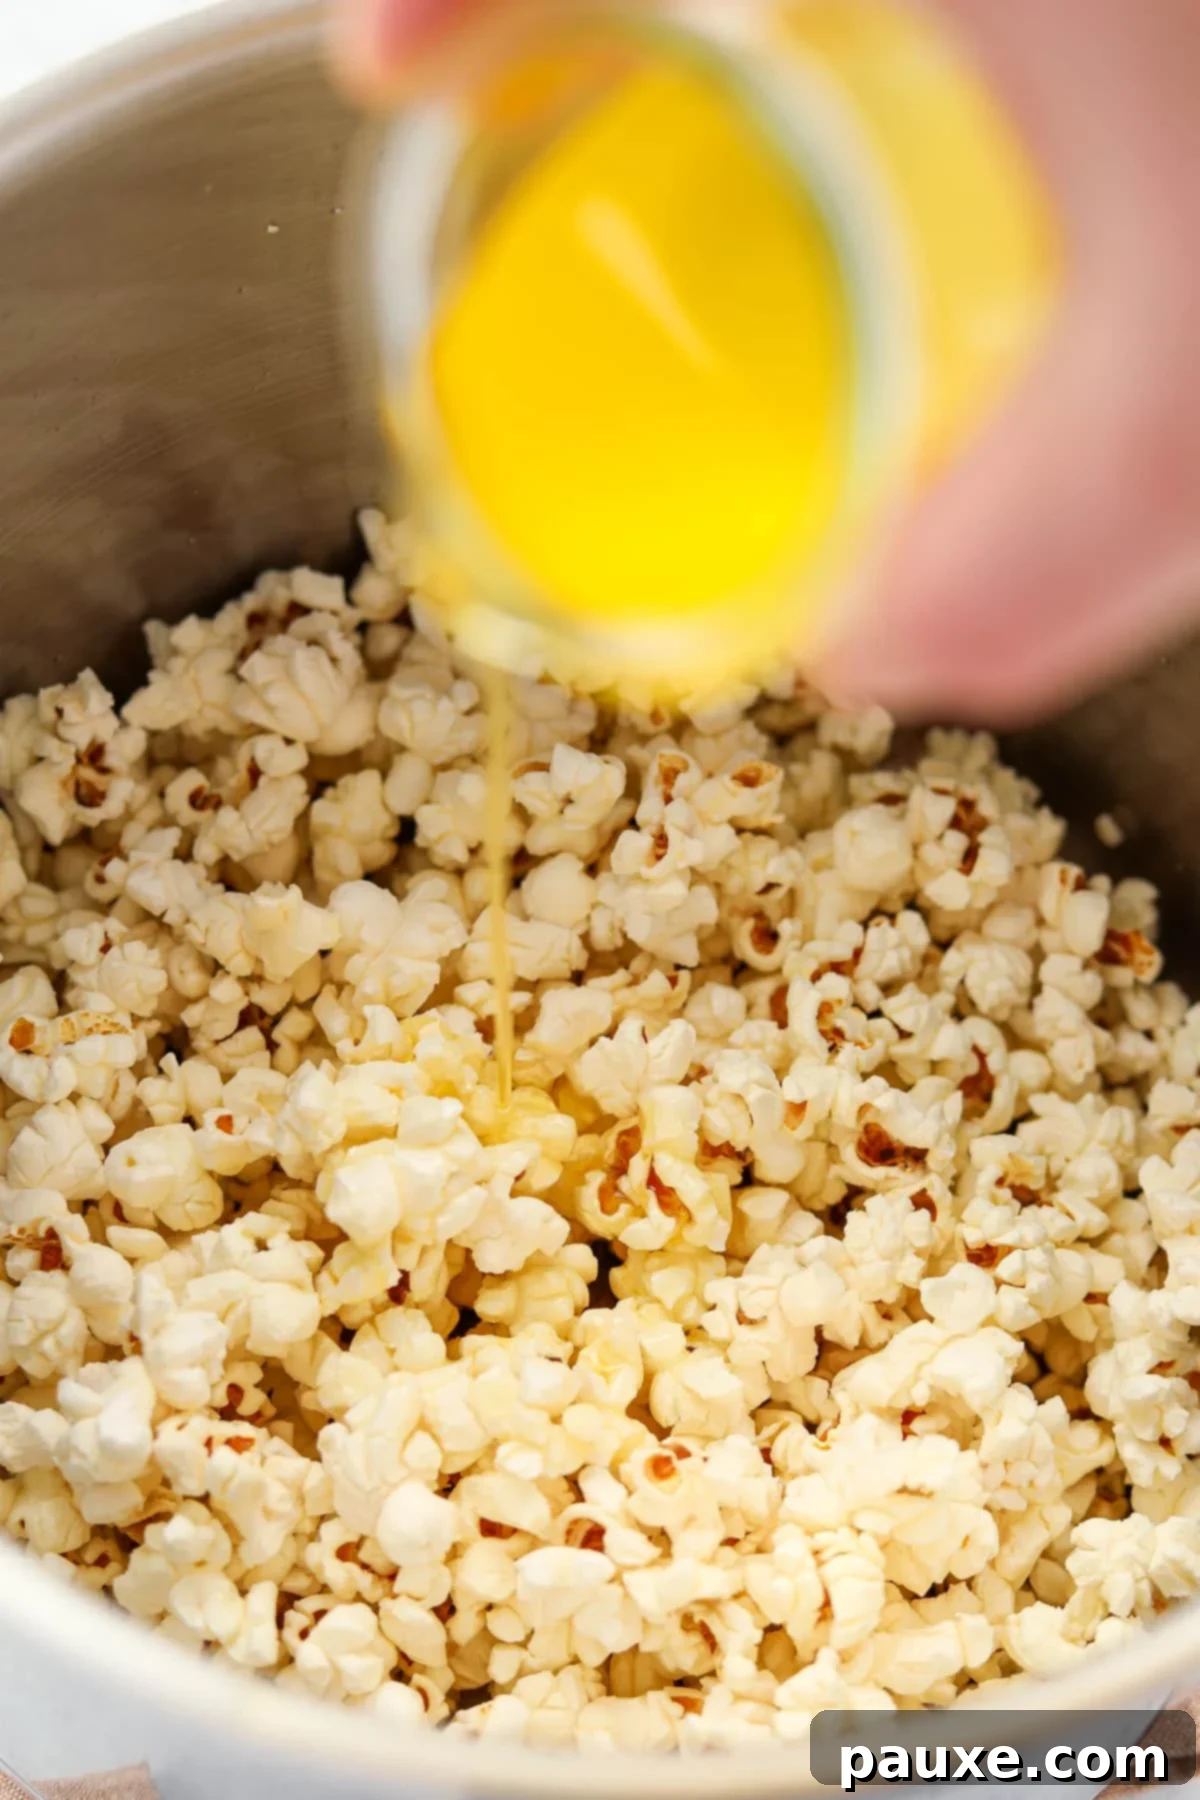
For the absolute best popcorn experience, take 2-3 tablespoons of your freshly melted popcorn butter and generously drizzle it over your warm, freshly popped kernels. Gently toss or stir the popcorn until every single kernel is beautifully and evenly coated in that irresistible golden goodness. Finish by sprinkling generously with fine salt (or a specialized popcorn salt, which adheres better) to taste, adjusting the amount as needed for your perfect flavor balance.
Alternatively, if you’re not using it immediately, allow the popcorn butter to cool completely and solidify. Then, store it for future use. It keeps exceptionally well in the refrigerator, making it the perfect secret weapon for spontaneous movie nights or when those urgent snack cravings strike.
Storage Solutions & Shelf Life: Keeping Your Popcorn Butter Optimal
Proper storage is fundamental to maximizing the freshness and longevity of your homemade popcorn butter. Follow these practical tips to ensure it remains delicious and ready for your next snack session:
- Choose an Airtight Container: Once you have strained the pure butter oil, transfer it into a clean, airtight glass container. A glass mason jar with a tightly sealing lid is an excellent choice for this purpose.
- Crucial Cooling Step: This step cannot be overstated. It is absolutely essential to allow the clarified butter to cool down completely to room temperature before you seal the lid onto the container. Sealing warm butter creates condensation inside the jar as it cools, introducing moisture. This moist environment is a prime breeding ground for mold and can lead to premature spoilage of your butter.
- Refrigeration is Key: Store the sealed container of clarified butter in your refrigerator. Upon chilling, the butter will solidify and become firm and opaque, a normal and expected change in its consistency.
- Easy Retrieval for Use: When you’re ready to use your stored popcorn butter, simply scoop out the desired amount—typically a few tablespoons are sufficient for one batch of popcorn. Gently melt this portion in the microwave using short bursts, or warm it in a small saucepan over very low heat until it returns to its liquid, drizzly state.
- Beyond Popcorn: Don’t forget that this amazing clarified butter can be used for so much more than just popcorn! Its rich flavor makes it perfect for enhancing scrambled eggs, pan-fried vegetables, or as a flavorful base for various sauces and dishes.
How Long Can Homemade Popcorn Butter Be Stored?
Given that the milk solids and water—the components primarily responsible for spoilage in regular butter—are removed during the clarification process, homemade popcorn butter boasts a significantly extended shelf life. Its stability is comparable to that of Indian ghee. When stored correctly in an airtight container within the refrigerator, you can expect your clarified butter to keep well for approximately 1-2 months, and sometimes even longer under ideal conditions.
Despite its excellent keeping qualities, it’s always prudent to use caution. Before each use, always perform a quick check for any signs of spoilage, such as an unusual or “off” odor, any discoloration that isn’t its natural golden hue, or the presence of mold. When in doubt, it’s best to err on the side of caution and discard it.
The Grand Finale: Making Popcorn with Your Golden Butter
Now that you’ve mastered the art of making exquisite homemade popcorn butter, it’s time to create the perfect batch of popcorn to go with it! Whether you prefer the health-conscious simplicity of an air popper or the comforting, traditional experience of stovetop preparation, this clarified butter will undeniably elevate your snack game.
Simply pop your popcorn kernels using your favorite method – an air popper for a virtually fat-free base, or follow our recommended stovetop homemade popcorn recipe for a more classic approach. Once the kernels have fully popped and are still wonderfully warm, generously drizzle them with your melted, golden popcorn butter. The final touch is a sprinkle of fine salt to taste (or use a dedicated popcorn salt for superior adherence to the kernels). Voila! Your ultimate, movie theater-quality snack is now ready to enjoy. Grab a blanket, dim the lights, and prepare for an unforgettable movie night!
Expert Tips for Flawless Popcorn Butter Every Time
Achieving perfectly clarified butter is simple, but a few expert tips can ensure outstanding results consistently:
- Utilize a Light-Colored Saucepan: The choice of cookware is more important than you might think. A light-colored saucepan, such as one made of stainless steel or enameled cast iron, is essential. This allows you to clearly monitor the subtle browning of the milk solids at the bottom of the pan, which is your primary visual cue for doneness. Dark-colored pans or non-stick cookware make it difficult to observe this crucial stage and can lead to accidental burning.
- Prioritize Freshness: The quality of your starting ingredient directly impacts the flavor of your clarified butter. Always opt for the freshest butter available, well before its expiration date. This is particularly important for unsalted butter, which generally has a shorter shelf life than salted varieties. Fresh butter guarantees the best taste and clarity.
- Cool Completely Before Sealing: As reiterated in our storage section, this step is paramount. Allow the clarified butter to cool down completely to room temperature before placing a lid on its storage container. Prematurely sealing warm butter traps condensation, which introduces moisture and creates an ideal environment for mold growth and premature spoilage. If you are concerned about dust or pests during the cooling period, you can loosely cover the jar with a clean tea towel or a secured piece of cheesecloth.
- Avoid Stirring During Clarification: Resist the urge to stir the butter once it begins to simmer. The process of clarification relies on the undisturbed separation of butterfat from milk solids and water. Stirring can hinder this natural process, potentially leading to a less clear final product.
- Maintain Gentle Heat: Start with medium heat to melt the butter, but as soon as it begins to bubble, reduce the heat to low-medium or even low. A slow, gentle simmer is key to even clarification and prevents the milk solids from browning too quickly or burning. Patience is a virtue in this process!
We truly hope you enjoyed this recipe for homemade Popcorn Butter! If you loved making and using it, please consider leaving a 5-star review below. We’d also love to see your delicious creations! Tag us on Instagram @dashfordinner and share your photos.
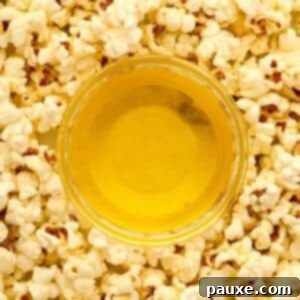
How to Make Popcorn Butter (Movie Theatre Style)
The secret to authentic movie theater popcorn at home is this easy homemade popcorn butter recipe! All you need is butter to get started, creating a perfectly crisp and flavorful topping.
Rating: 5 out of 5 stars (based on 1 vote)
Print Recipe
Pin Recipe
Course: Condiments
Cuisine: American
Prep Time: 5 minutes
Cook Time: 25 minutes
Total Time: 30 minutes
Servings: 5 servings
Author: Dorothy Bigelow
Ingredients
- ½ cup unsalted butter
- ⅓-½ teaspoon annatto powder, paprika, or turmeric* (optional; for color only)
For serving (optional):
- Popped popcorn
- Salt (or popcorn salt)
Instructions
Add the butter to a medium stainless steel saucepan* and heat over medium heat until melted.
½ cup unsalted butter
Once the butter starts to bubble, reduce the heat to low-medium. Cook for 15-25 minutes, or until the milk solids start to cling to the bottom of the pan, foam rises to the surface, and very few bubbles remain. Do not stir during the cooking process; if you feel it’s progressing too quickly, reduce the heat to low instead.
Once it’s done, remove from the heat and use a spoon to skim the foam off the top. You can discard the foam, or use it for something like mashed potatoes. You will know it’s done when the milk solids are browned and stuck to the bottom of the pan, and the bubbling in the pan has stopped and become nearly still.
To strain, add a small metal strainer to the rim of a bowl or measuring cup and line it with a coffee filter (or cheesecloth). Pour the butter into the strainer, where the golden butter oil will collect below, and the solids will collect in the filter. You may need to gather up the edges of the filter and gently press it to strain the butter through more quickly.
Optional: Whisk in ⅓ – ½ teaspoon of annatto seed powder, turmeric, or paprika to add color to the butter.
⅓-½ teaspoon annatto powder, paprika, or turmeric*
Drizzle a small amount of the popcorn butter over your homemade popcorn (start with 2 tablespoons, then add more as needed) and add salt to taste.
Leftovers can be stored in the refrigerator in an airtight container (I use a small glass Weck jar) for 1-2 months. Just melt a small portion in the microwave every time you need butter for popcorn! It also makes fabulous fried eggs and fried potatoes!
Did you try this recipe?Tag me at @dashfordinner and share your photos!
Notes
Check out my recipe for the Stovetop Homemade Popcorn. It uses this popcorn butter to make the most amazing homemade popcorn that tastes even better than the movie theatre!
*If you don’t have a stainless steel saucepan, a light-colored enameled cast iron skillet/dutch oven can do the trick. You’ll need to monitor the color of the milk solids; a non-stick or dark-colored saucepan will not work as well.
Storage: Transfer leftovers to an airtight glass jar and keep in the refrigerator for up to 1-2 months. Discard if there are any signs of spoilage such as mold, an off-color, or off-flavor.
Double batch: If you make a lot of popcorn, you may want to make a double batch using 1 cup of butter at a time. It doesn’t add much time onto the total clarifying time (anywhere from 0-5 minutes) and keeps for several months when refrigerated.
*Annatto, paprika, or turmeric? I’ve tested all three of these options, and they all add a nice color to the popcorn, while turmeric adds a bit of flavor (it’s my picky eater’s favorite!). Paprika doesn’t incorporate as well into the butter, while annatto makes for a more consistent color throughout. It’s also perfectly good plain! It’s really all about if you want your popcorn to be yellow or orange in hue (basically … aesthetics only).
What can I do with the leftover milk solids? These can be discarded or incorporated into something like mashed potatoes (along with regular butter).
Should I use unsalted butter or salted butter? This recipe calls for unsalted butter as the salt is removed during clarification. You may use salted butter, but I find that unsalted butter does not bubble as vigorously and is easier to control the temperature of. You will still need to salt your popcorn after, whichever you choose.
Tip: When straining the butter, you may need to gather up the edges of the coffee filter and squeeze gently to work the melted butter through.
Please note that some of my blog posts here at Dash for Dinner may contain affiliate links. If you make a purchase through these links, I will get a small commission at no additional cost to you. Please see my Disclaimer for more information.
