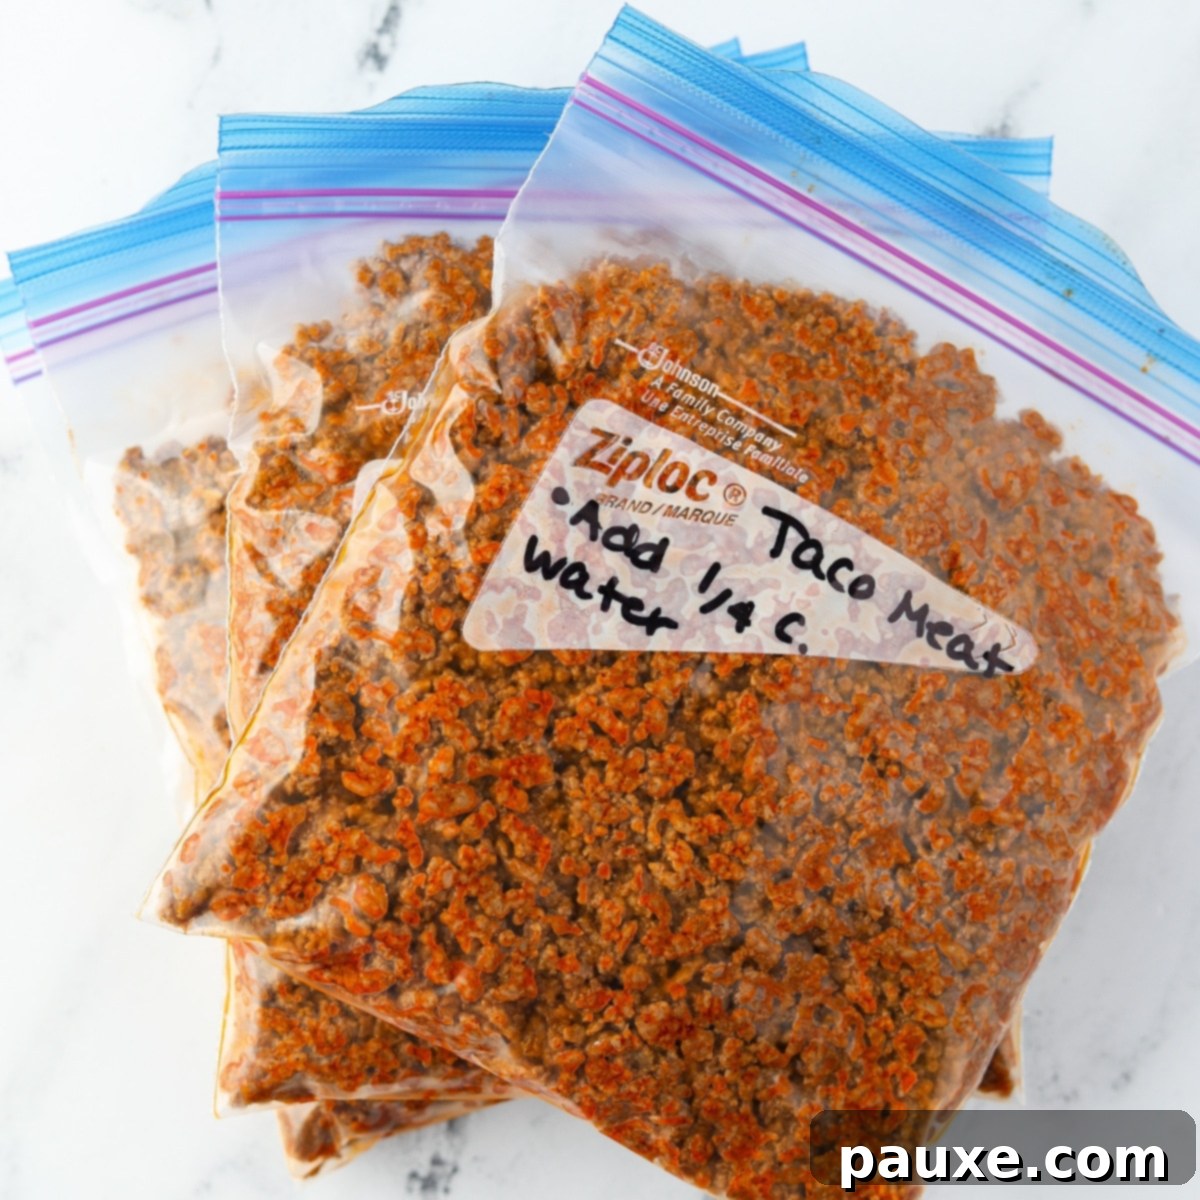
If the thought of a delicious, family-favorite taco night brings a smile to your face but the hectic rush of weeknight cooking makes you groan, then you’re in the right place. Imagine effortless dinners where the main component is already prepared, seasoned, and waiting in your freezer. This is the ultimate guide to mastering how to prep and freeze taco meat, turning your weeknight meals into a breeze. This smart meal prep strategy isn’t just about convenience; it’s about having readily available, healthy, and versatile freezer meals that are ready to reheat and eat!
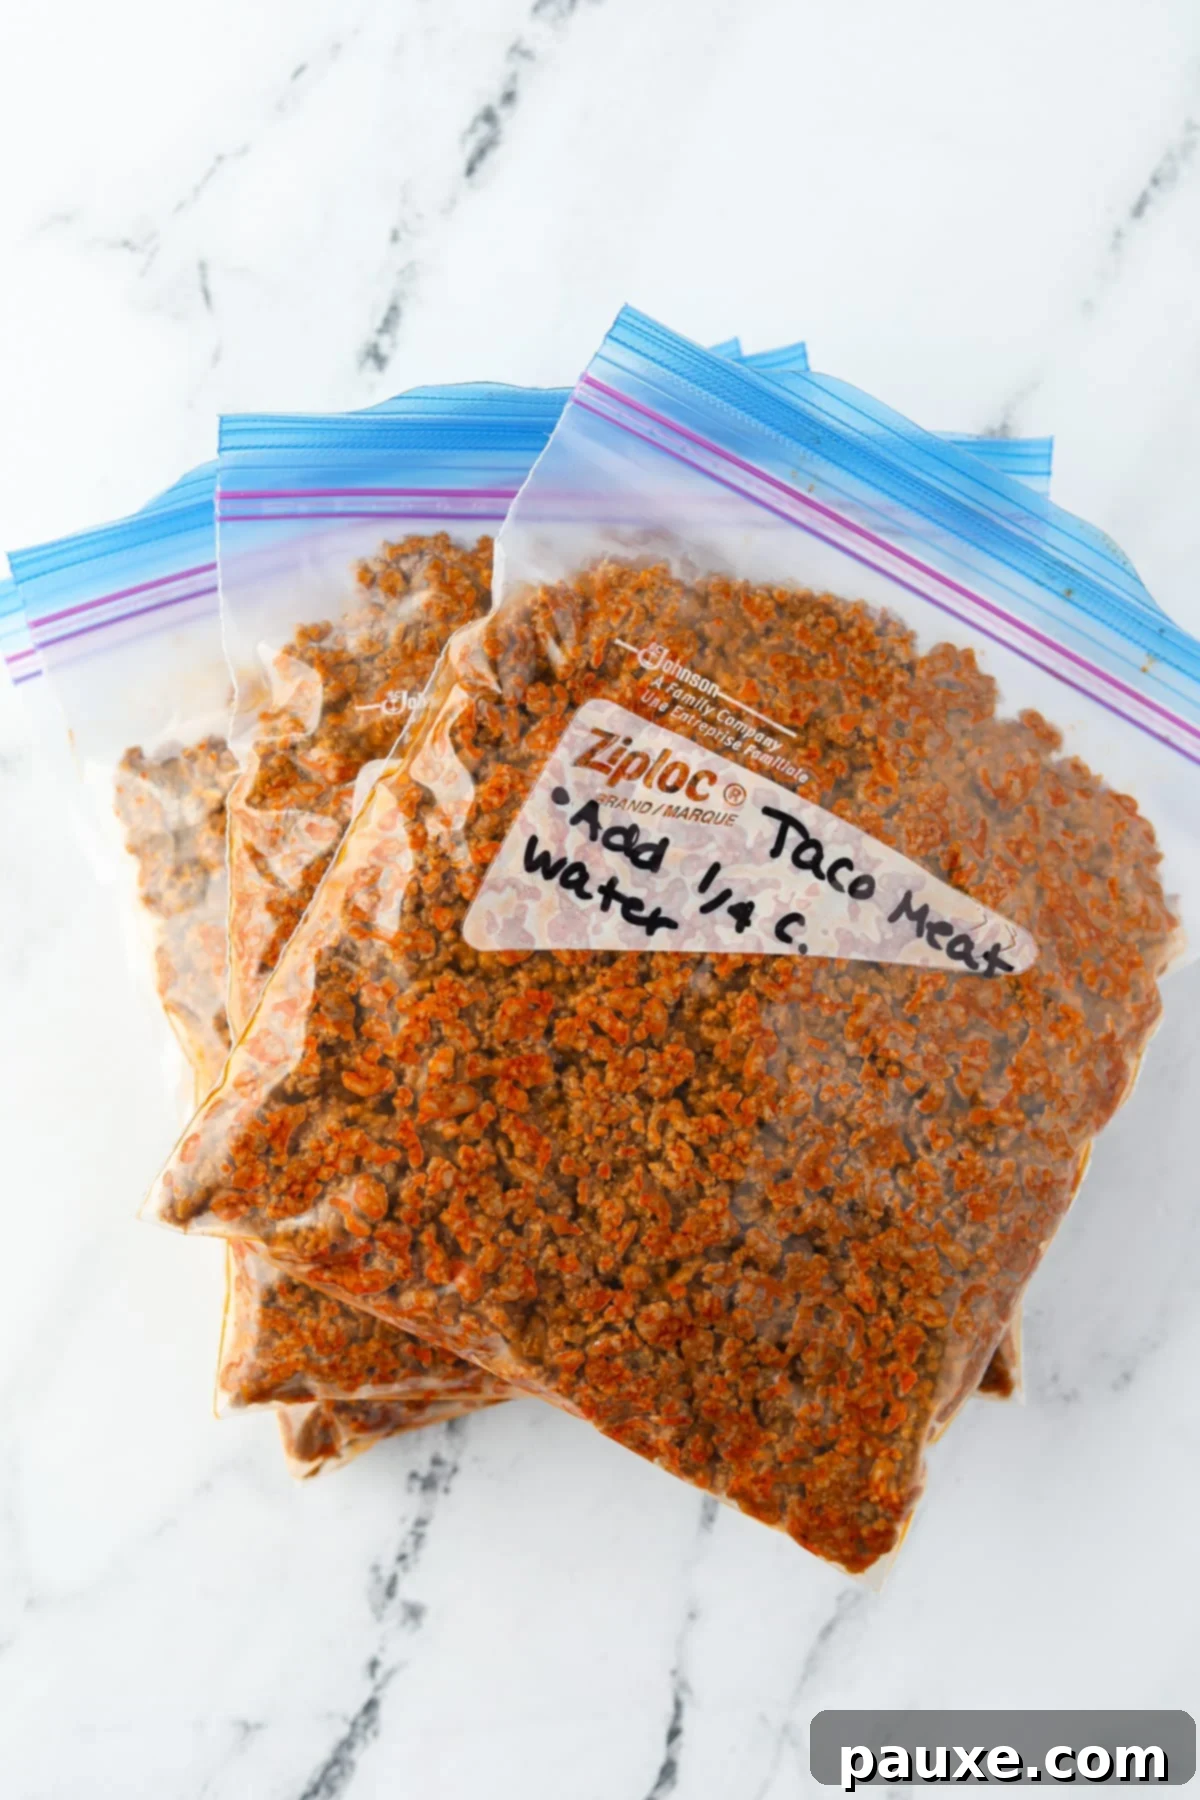
Even for those who genuinely enjoy cooking, a break from the daily dinner-time hustle is always a welcome relief. While takeout can be a tempting treat, the costs quickly add up, and so do the calories and hidden ingredients. That’s where a homemade, freezer-friendly taco meat recipe steps in to save the day!
Taco meat isn’t just incredibly simple to prepare in advance; it’s also bursting with flavor and consistently a winner, even with the pickiest eaters. In my household, a meal that everyone enjoys without complaint is an absolute win. But what if I told you there was a way to make taco meat meal prep even *easier* and more efficient? The secret lies in batch cooking and smart freezing techniques. This method ensures you always have a delicious, homemade option at your fingertips, ready to transform into a variety of dishes from classic tacos and burritos to vibrant taco salads or loaded nachos.
Can You Freeze Cooked Taco Meat? Absolutely!
Yes, it’s absolutely true! Cooked taco meat can be effortlessly prepared in larger batches and frozen for future use. This is one of the most effective strategies for easy freezer meals. Not only does it freeze exceptionally well, but one of its greatest advantages is that it often doesn’t even require thawing before you’re ready to use it.
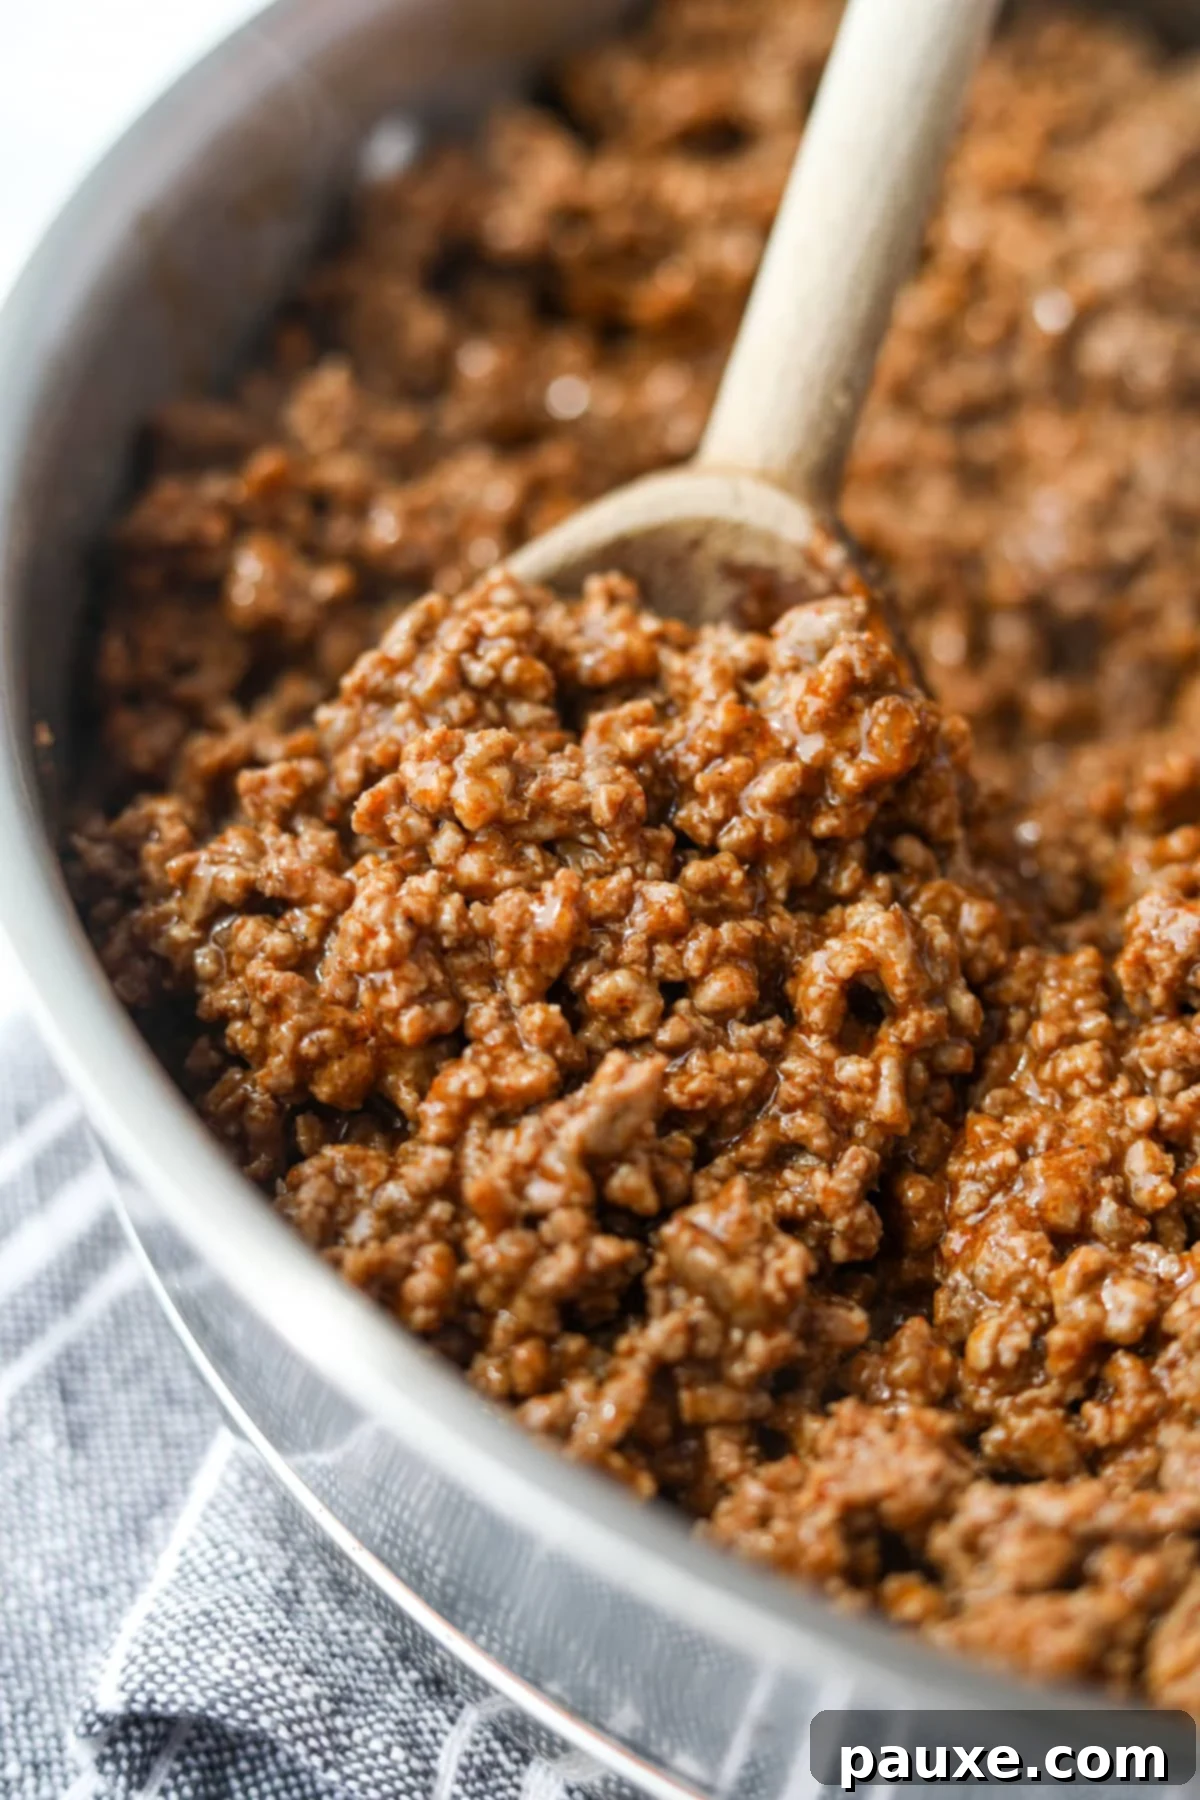
The beauty of freezing cooked ground meat, especially taco meat, is its loose, crumbly texture. Unlike some dishes that freeze into solid, unyielding blocks, seasoned ground beef retains its individual crumbles, allowing it to warm up quickly and evenly directly from the freezer. This means you can bypass the thawing step entirely on busy weeknights, saving you precious time. Just add a splash of water to the pan while reheating to prevent sticking and ensure a moist, flavorful result, and you’ll have a ready-to-serve meal component in minutes.
Why You’ll Love This Freezer-Friendly Taco Meat Recipe:
- Ultimate Weeknight Convenience: This is arguably the best way to ensure you always have quick, easy meals for busy weeknights. Forget about long thawing times; simply reheat your frozen taco meat and serve it with your favorite toppings. It dramatically cuts down on cooking time when you need it most.
- A Healthy Meal Starter: Batch-prepared ground beef taco meat serves as an excellent foundation for a variety of easy and nutritious meals. Pair it with an abundance of chopped tomatoes, crisp shredded lettuce, colorful bell peppers, black olives, red onions, and a sprinkle of cheese for a satisfying and healthy taco salad. It’s a fantastic way to boost your vegetable intake!
- Easily Customizable Portions: The recipe is incredibly flexible. You can effortlessly scale it up or down depending on the amount of raw meat you have on hand or how many servings you wish to prepare for future meals. Whether you’re cooking for one or feeding a crowd, this method adapts to your needs.
- Versatile Meat Options: This recipe is not limited to just ground beef. You can use virtually any type of ground meat you prefer. Ground chicken, turkey, or even pork can be seasoned in the same delicious way, allowing you to cater to dietary preferences or simply switch up the flavors.
- Economical & Waste-Reducing: Buying ground meat in bulk when it’s on sale and preparing it in one go is a smart financial move. Freezing ensures that no meat goes to waste, saving you money in the long run compared to purchasing smaller, more expensive packages or relying on costly takeout.
- Perfect for Any Taco-Inspired Dish: Beyond traditional tacos, this versatile meat can be used in so many applications. Think cheesy quesadillas, hearty burritos, loaded nachos, inventive casseroles, or even as a flavorful topping for baked potatoes or rice bowls. The possibilities are endless!
Essential Ingredients for Your Batch Taco Meat
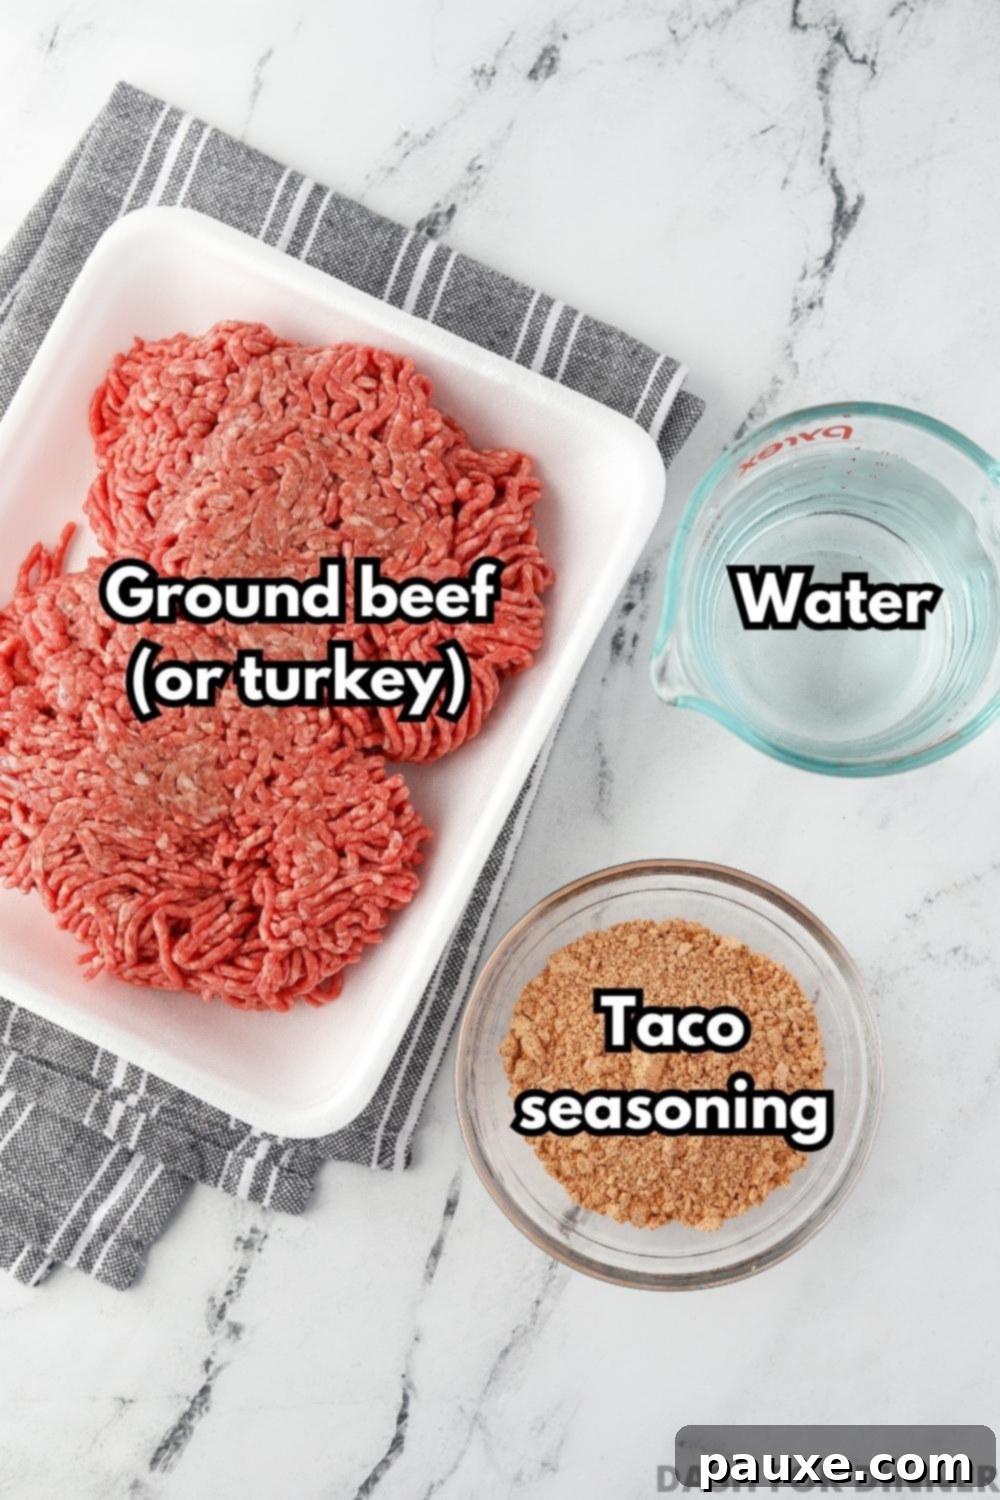
- Ground Beef: The foundation of our delicious taco meat! You can choose your preferred type of ground beef. I highly recommend using lean ground beef (85/15 or 90/10) or grass-fed beef, which is naturally leaner and often more flavorful. If you opt for ground turkey or chicken, which are significantly leaner, remember to add 1-2 tablespoons of cooking oil (such as olive oil or avocado oil) to the pan before browning to prevent sticking and ensure a moist texture.
- Taco Seasoning: This is where the magic happens! Use your absolute favorite brand of taco seasoning for consistent flavor. Alternatively, you can easily make your own homemade taco seasoning blend, allowing you to control the spice level and ingredients. As a general rule, you’ll need approximately 2-3 tablespoons of seasoning per pound of meat. If you’re preparing this for children or those sensitive to spice, choose a “mild” taco seasoning blend to keep it family-friendly.
- Water: More than just a liquid, water plays a crucial role in creating that signature “sauce” that perfectly coats the meat and infuses it with flavor. It combines with the taco seasoning to form a thick, savory glaze as it simmers, preventing the meat from drying out and ensuring every bite is rich and juicy.
Necessary Equipment:
Having the right tools can make your batch cooking taco meat experience even smoother and more efficient.
- Freezer Bags or Containers: You’ll need reliable, freezer-safe storage for your cooked taco meat. Standard quart-sized freezer bags are excellent for individual portions and stack flat to save freezer space. Alternatively, consider reusable silicone freezer bags, Souper Cubes (which create perfectly portioned frozen blocks), or freezer-safe soup containers. Choose what best suits your storage preferences and available space.
- Deep Skillet or Dutch Oven: Since the goal is to batch-prepare a larger quantity of taco meat, a deep skillet or a spacious Dutch oven is essential. It needs to be large enough to comfortably hold at least 4 pounds of ground meat without overcrowding, which can lead to steaming instead of browning. If you don’t have a very large skillet, a sturdy Dutch oven or a stock pot will work just as effectively, providing ample room for even cooking.
- Sturdy Wooden Spoon or Meat Chopper: For breaking up the ground meat as it browns and stirring in the seasonings.
For a comprehensive list of all ingredients and their exact quantities, please refer to the detailed recipe card at the bottom of this article.
How to Batch Prep and Season Taco Meat for Freezing
The beauty of this method is its scalability. You can prepare as much taco meat as your largest skillet, Dutch oven, or stock pot can accommodate. For instance, a standard extra-large skillet can typically handle around 4 pounds of meat, while a large stockpot might easily manage up to 8 pounds. Always adjust the seasoning and water ratios proportionally.
Feel free to scale the recipe up or down precisely according to your family’s needs and your storage capacity!
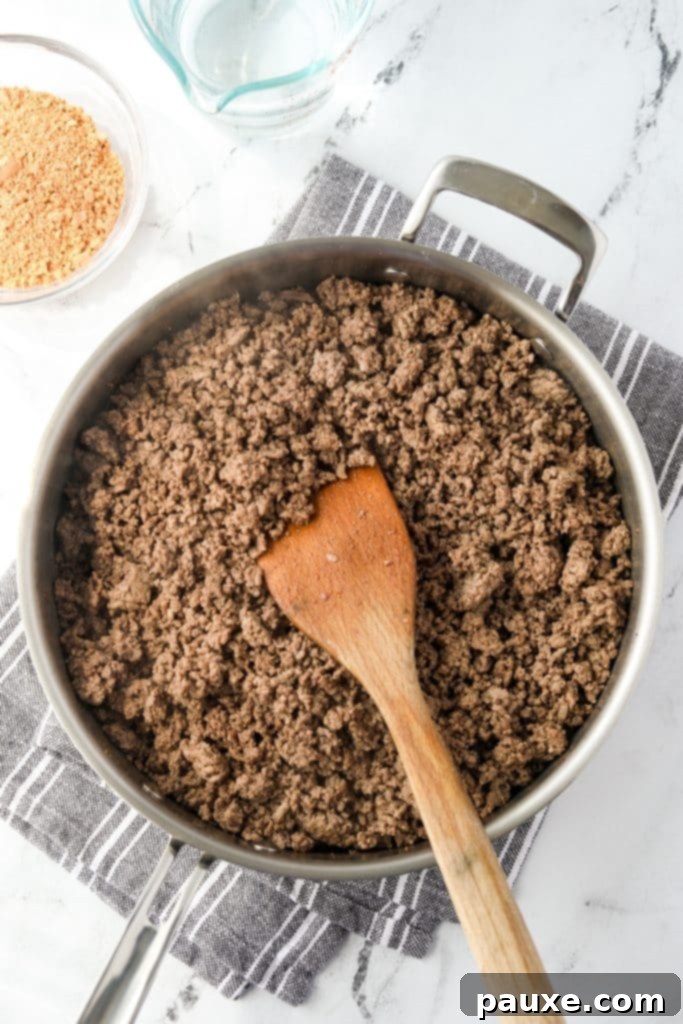

Step One: Brown the Ground Meat. Begin by heating your large skillet or Dutch oven over medium heat. Once hot, add the ground beef (or your chosen meat). Using a wooden spoon or a meat chopper, break the meat into smaller, uniform pieces as it cooks. Continue to brown the meat thoroughly until it’s fully cooked and no pink remains. This typically takes about 8-10 minutes, depending on the quantity.
Step Two: Drain Excess Fat. Once the meat is browned, it’s crucial to drain off any excess fat and liquid. This prevents your taco meat from becoming greasy and ensures a better texture when reheated. You can carefully tilt the pan and spoon out the fat, or transfer the meat to a colander lined with paper towels set over a bowl to catch the drippings.
Important Notes for Different Meats & Spice Levels:
Using Ground Chicken or Turkey: If you’re opting for leaner meats like ground chicken or turkey, you’ll need to add 1-2 tablespoons of cooking oil (such as olive oil or avocado oil) to the skillet *before* adding the meat. These meats do not render out as much liquid fat as beef, so the oil is essential to prevent sticking and ensure even browning. You may also want to add a bit more water during the simmering step to keep it moist.
For Children or Mild Palates: When preparing this freezer-friendly taco meat for younger children or individuals who prefer less spice, always choose a “mild” taco seasoning. Alternatively, if using homemade seasoning, significantly reduce or omit stronger spices like cayenne pepper, chili powder, or hot paprika.
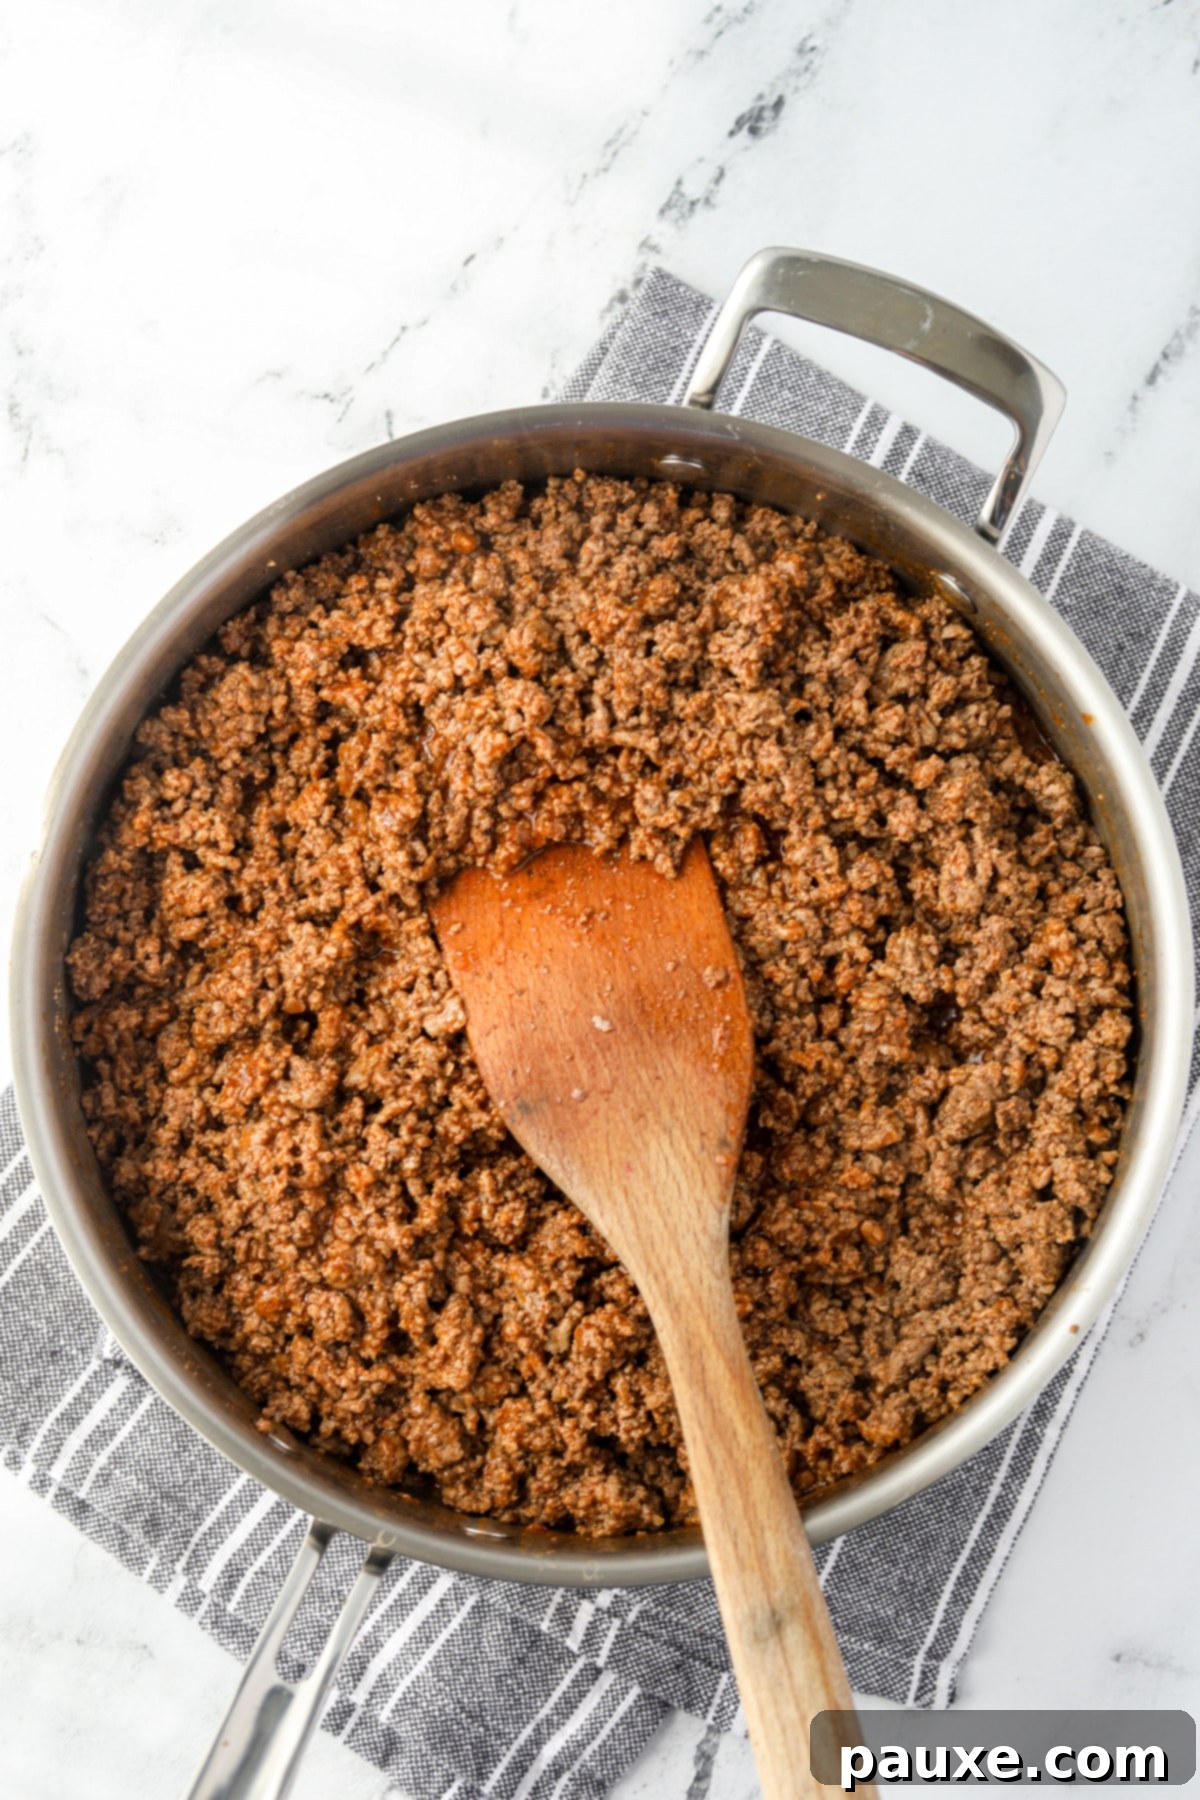
Step Three: Add Seasoning and Water. Return the drained ground beef to the skillet. Sprinkle in your chosen taco seasoning (8-12 tablespoons for 4 pounds of meat) and pour in the water (2 cups for 4 pounds). The water is key to creating a flavorful sauce that coats every crumb.
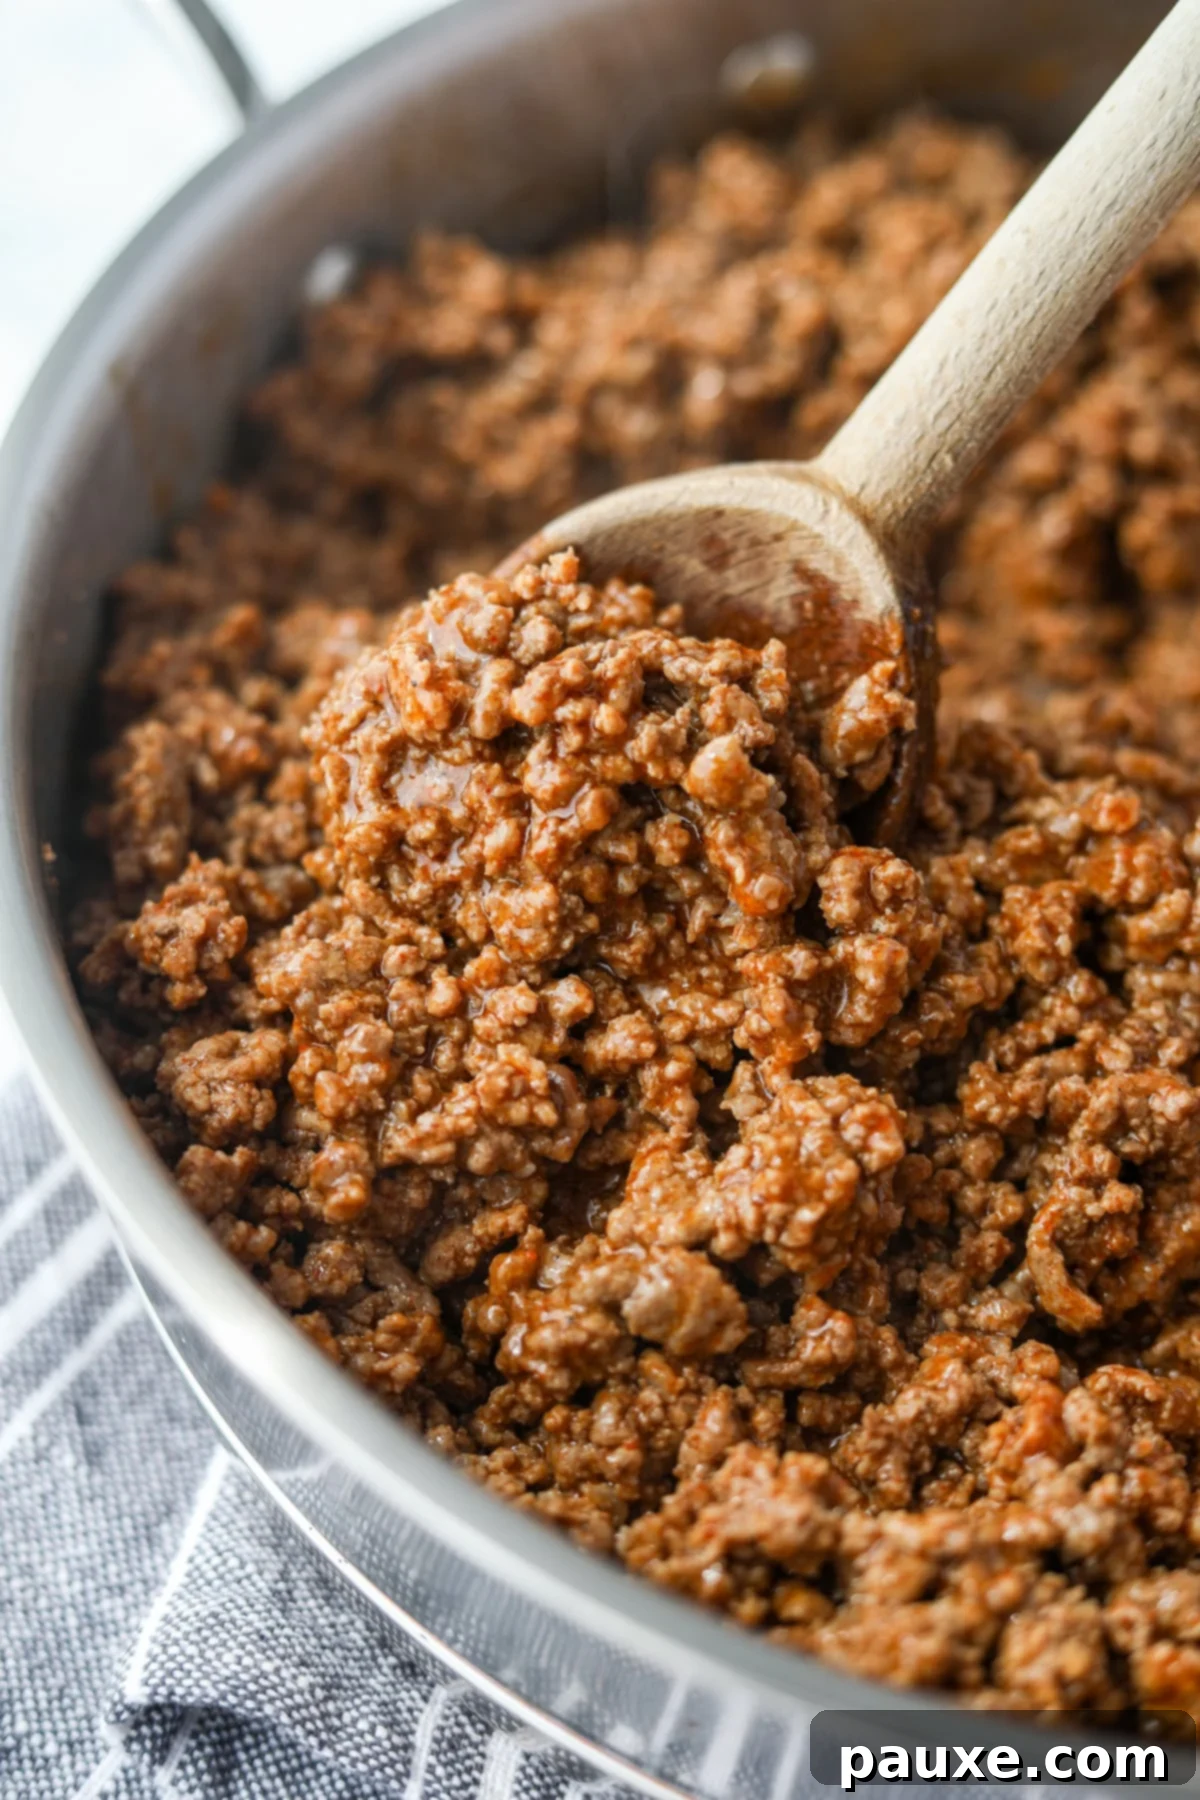
Step Four: Simmer to Perfection. Stir the taco seasoning and water thoroughly into the ground beef until all the meat is well coated and the seasoning is evenly distributed. Bring the mixture to a gentle simmer and let it cook for 2-3 minutes. This allows the flavors to meld beautifully and the water to mostly evaporate, leaving you with perfectly seasoned, slightly saucy taco meat. Remove from heat.
Slow Cooker Method for Batch Taco Meat: For an even more hands-off approach to batch cooking, you can use a slow cooker. Break your ground beef into large pieces and place it in a large slow cooker. Add 1 cup of water for every 4 pounds of meat (or ½ cup for 2 pounds). Cook on “high” for 2-4 hours, or until the meat is completely cooked through and no pink color remains. Once cooked, carefully drain the ground beef, removing all the liquid and rendered fat. Return the cooked meat to the crock pot, then add in the appropriate amount of water and taco seasoning called for in the recipe. Stir everything well to combine, ensuring the seasoning is evenly distributed. Cook on “high” for an additional 30 minutes to allow the flavors to deepen and blend. This method results in incredibly tender and flavorful taco meat with minimal active effort.
How to Properly Freeze Taco Meat for Optimal Flavor and Texture
Before you even think about portioning your freshly cooked taco meat into freezer bags or containers, the absolute first and most critical step is to allow it to cool completely to room temperature. This step cannot be skipped! Placing hot or warm meat directly into the freezer can lead to excessive condensation forming inside the bag, which contributes to freezer burn and can compromise the texture and flavor of your delicious frozen taco meat. Proper cooling ensures your meal prep efforts are rewarded with perfectly preserved, flavorful taco meat every time. Stirring occasionally while cooling can help release steam and speed up the process.
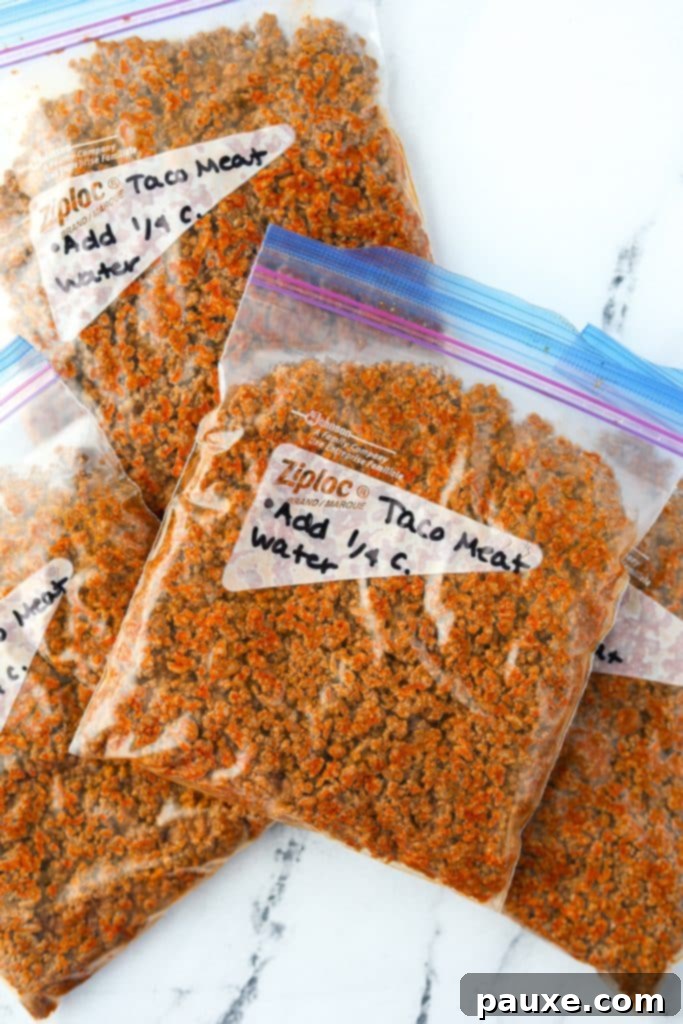
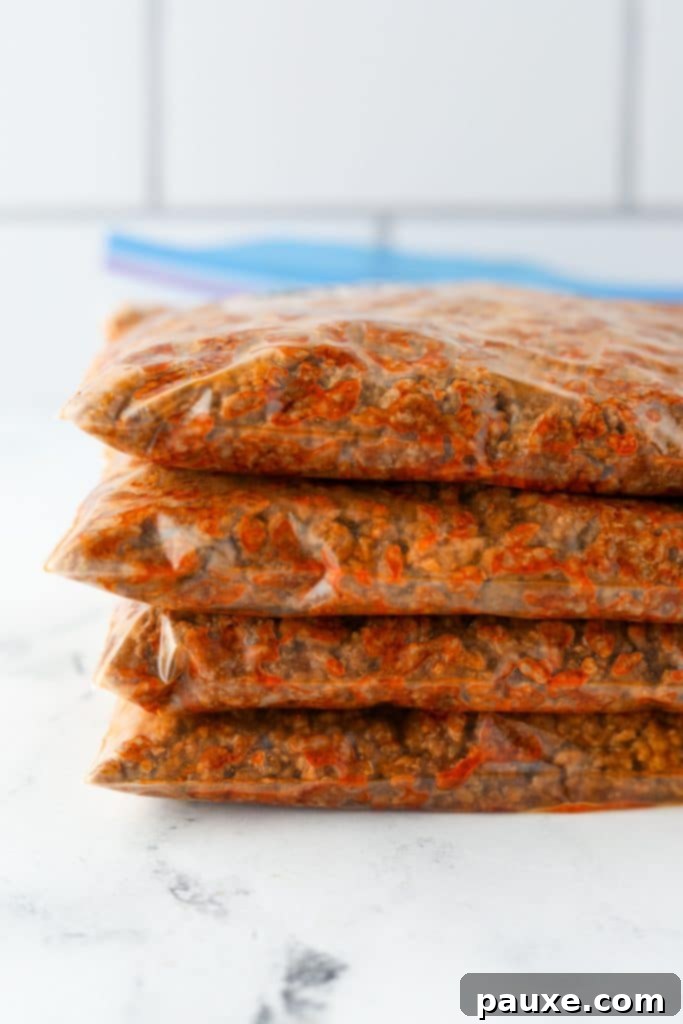
Step-by-Step Guide to Freezing Taco Meat:
- Cook and Season: Follow the “How to Batch Prep Taco Meat” instructions to brown your ground beef (or other chosen meat) and mix in the taco seasoning and water. Simmer until the flavors are well combined and the liquid has mostly evaporated.
- Cool Completely: Remove the cooked taco meat from the heat and allow it to cool down to room temperature. This is essential for preventing freezer burn and maintaining quality. Stirring occasionally can help cool it faster.
- Portion into Servings: Once cooled, divide the cooked taco meat into 1-pound (or your desired serving size) sections. A food scale can be helpful for accurate portioning.
- Bag and Seal: Place each portion (approximately 1 pound) of cooked taco meat into a quart-sized freezer bag or your chosen freezer-safe container.
- Remove Excess Air: This is a critical step for preventing freezer burn. If using freezer bags, lay the bag flat and press out as much air as possible before sealing. A straw can be used to suck out remaining air right before fully sealing. For containers, ensure they are filled adequately to minimize air pockets.
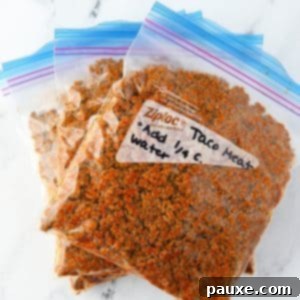
- Label Clearly: Label each bag or container with the contents (e.g., “Taco Meat”), important reheating instructions (e.g., “Reheat with ¼ cup water”), and the date it was prepared and frozen. This helps you keep track of freshness and ensures easy preparation later.
- Flatten for Storage: If using freezer bags, flatten the meat into a single, even layer within the bag. This allows for quicker freezing, more efficient thawing, and saves valuable freezer space by allowing bags to stack neatly.
- Freeze for Longevity: Place the labeled and flattened freezer bags or containers into your freezer. For best quality and flavor, freeze taco meat for up to 3 months. While it may technically be safe longer, its quality can degrade over time.
- Reheat and Enjoy: When you’re ready for a meal, simply grab a bag of frozen taco meat. Reheat it before serving with all your favorite toppings like sour cream, shredded cheese, fresh salsa, crisp lettuce, and warm tortillas or crunchy taco shells.
Storing Leftover Taco Meat in the Refrigerator
If your goal isn’t long-term freezing, but rather to simply prep your taco meat a few days in advance for upcoming meals during the week, that’s absolutely an option! Once your taco meat has cooled completely to room temperature, transfer it to an airtight container. Place the container in the refrigerator, and the meat will remain fresh and delicious for 3-4 days. This short-term meal prep allows you to quickly assemble various dishes throughout the week without daily cooking from scratch.
Frequently Asked Questions About Freezing Taco Meat
Cooked taco meat will remain fresh and safe to eat when stored in an airtight container in the refrigerator for 3-4 days. For longer storage, it can be kept in the freezer for at least 3 months without significant loss of quality or flavor. While safe to consume for longer (up to 6 months), the taste and texture might start to decline after 3 months.
The amount of taco meat you’ll need per person can vary depending on individual appetites, whether you’re serving additional side dishes, and the type of meal (e.g., tacos vs. a large taco salad). A generally good estimate is about ¼ to ⅓ pound (4 to 5 ounces) of cooked taco meat per person. This means 1 pound of cooked taco meat will typically serve 3-4 people comfortably, especially when accompanied by various toppings and sides like rice, beans, or chips. Adjust as needed for heavier eaters or if the taco meat is the primary component of the meal.
You have a few options for reheating frozen taco meat. For the best results, it’s ideal to thaw it in the refrigerator overnight, but it’s not strictly required. To reheat, simply add the meat (thawed or frozen) to a medium-sized skillet or saucepan over medium-low heat. Add about ¼ cup of water per pound of meat to help rehydrate it and prevent sticking. Break up any clumps with a spoon and stir occasionally until it’s heated through completely and simmering gently. This usually takes 5-10 minutes for thawed meat and 10-15 minutes for frozen meat. You can also microwave it in a microwave-safe bowl, adding a splash of water and stirring halfway through, until hot.
Absolutely! Using homemade taco seasoning is an excellent way to control the ingredients and flavor profile. Prepare your taco meat with your homemade blend as usual, and it will freeze and reheat just as effectively as meat seasoned with a store-bought mix. This allows for greater customization and often results in fresher, more vibrant flavors.
Expert Tips and Creative Variations for Your Taco Meat Prep
- Choosing the Best Taco Seasoning for Your Family: The market offers a vast array of taco seasonings, from mild to extra spicy. Your choice significantly impacts the final flavor. You can always opt for a pre-made store-bought blend or take control by making your own homemade taco seasoning. If you’re cooking for young children or those who prefer a gentler spice, it’s best to use a mild store-bought seasoning or drastically reduce the heat-contributing spices (like cayenne pepper, chili powder, and even ground cumin) in your homemade concoction. Experiment to find your perfect balance!
- Adding a Touch of Tomato for Extra Flavor: If you desire a richer, slightly more “saucy” and tomato-infused taco meat, don’t hesitate to add a bit of tomato sauce to the skillet during the simmering stage. Start with about ½ cup of tomato sauce per 2 pounds of meat, then taste and adjust to your liking. This can add a lovely depth of flavor and a slightly different texture, making your beef tacos even more robust.
- Exploring Different Types of Ground Meat: While lean ground beef is undeniably the most popular choice for tacos, the beauty of this recipe lies in its adaptability. You can easily create a delicious taco filling with almost any ground meat. Experiment with ground turkey, ground chicken, or even ground pork. Remember, if you opt for leaner meats like turkey or chicken, it’s essential to add 1-2 tablespoons of cooking oil to the pan before browning to prevent sticking and ensure the meat remains moist and flavorful. Each meat type will bring its own subtle nuances to the flavor profile.
- Boost the Veggies: To add more nutrients and color, finely dice onions, bell peppers, or even zucchini and sauté them with the ground meat before adding seasoning. This is an excellent way to sneak in extra vegetables, especially for picky eaters.
- Adjusting Spice Levels: If you prefer spicier taco meat, consider adding a pinch of red pepper flakes, a dash of your favorite hot sauce, or a small amount of finely minced jalapeño (seeds removed for less heat) along with the taco seasoning.
Creative Taco Meat Ideas Beyond the Shell
Having a stash of frozen taco meat opens up a world of quick and delicious meal possibilities. Here are some fantastic ways to utilize your pre-prepped taco meat:
- Classic Tacos: The obvious choice! Serve in warm corn or flour tortillas, crispy hard taco shells, or even low-carb lettuce wraps for a healthier option. Don’t forget all your favorite toppings!
- Taco Salad: A refreshing and hearty meal. Pile the warmed taco meat over a bed of crisp romaine lettuce, add chopped tomatoes, corn, black beans, avocado, a sprinkle of cheese, and a dollop of sour cream or a zesty cilantro-lime dressing.
- Casseroles: Incorporate the taco meat into a comforting baked casserole with rice, beans, corn, cheese, and a flavorful sauce. It’s a perfect make-ahead dish for feeding a crowd.
- Burritos and Burrito Bowls: Wrap the meat with rice, beans, cheese, and salsa in a large tortilla for a filling burrito, or serve it over a base of rice with all the fixings for a lighter burrito bowl.
- Quesadillas: Layer the taco meat between two tortillas with plenty of cheese, then grill until golden and gooey. Serve with salsa and guacamole.
- Tostadas: Spread a layer of refried beans onto a crispy tostada shell, top with warm taco meat, and then add your favorite fresh toppings like shredded lettuce, diced onions, and a sprinkle of cotija cheese.
- Loaded Nachos: A fantastic appetizer or party food! Spread tortilla chips on a baking sheet, top with taco meat and copious amounts of shredded cheese, then bake until melted and bubbly. Finish with jalapeños, olives, sour cream, and fresh cilantro.
- Stuffed Bell Peppers or Zucchini Boats: Mix the taco meat with some cooked rice and cheese, then stuff into halved bell peppers or hollowed-out zucchini. Bake until tender and bubbly.
- Breakfast Skillet or Burritos: Mix leftover taco meat with scrambled eggs, potatoes, and cheese for a hearty breakfast skillet or breakfast burritos.
- Quick Chili: Add a can of diced tomatoes, kidney beans, and extra chili powder to your reheated taco meat, simmer, and you’ve got a quick, flavorful chili!
More Easy Dinner Recipes You’ll Love
- Sheet Pan Sausage and Peppers: A vibrant, flavorful, and incredibly easy one-pan meal.
- Air Fryer Chicken Fajitas: Crispy, seasoned chicken and peppers made quick in the air fryer.
- Homemade Cheeseburger Macaroni: A comforting, family-friendly classic made from scratch.
- Inside Out Egg Roll in a Bowl: All the flavors of an egg roll, deconstructed into a healthy, low-carb bowl.
If you’ve enjoyed this comprehensive guide to making and freezing taco meat, please consider leaving a 5-star review in the recipe card below or sharing your feedback in the comments section! Your ratings and comments help other home cooks discover and enjoy these helpful tips and recipes. You can also tag me on Instagram @dashfordinner to share your delicious creations!
How to Make and Freeze Taco Meat
Print
Pin
Rate
Equipment
- Heavy-Bottomed Skillet
- Quart-sized freezer bags
Ingredients
- 4 pounds ground beef
- 8-12 tablespoons taco seasoning homemade or packaged
- 2 cups water
Instructions
- Heat a large, heavy-bottomed skillet or Dutch oven over medium heat.
- Once the pan is hot, add the ground beef (or other ground meat). Use the end of a wooden spoon or a meat chopper to break the meat up into small, even pieces.
- Cook the ground beef, stirring and crumbling continuously, until it is completely browned and no pink color remains. This typically takes 8-10 minutes.
- Carefully drain off any excess fat and liquid from the cooked meat. This ensures your taco meat isn’t greasy and stores better.
- Return the drained meat to the skillet. Sprinkle in 8-12 tablespoons of your favorite taco seasoning and pour in 2 cups of water.
- Stir thoroughly to ensure all the ground beef is well coated with the seasoning mixture and water.
- Bring the mixture to a gentle simmer and continue to cook for 2-3 minutes, or until most of the water has evaporated, leaving a thick, flavorful sauce.
- Remove the skillet from the heat. Allow the taco meat to cool completely to room temperature for at least 1 hour, stirring occasionally to release steam and heat evenly. This prevents freezer burn.
- Prepare 4 medium-sized freezer bags by labeling them clearly with “Taco meat. Add ¼ cup of water when reheating” and the current date.
- Divide the cooled meat into 4 equal sections (approximately 1 pound per section). Scoop each section into a labeled freezer bag. Press out any excess air from the bag before sealing it tightly.
- Using your palm, press the ground beef inside each bag into a single, flat layer. This makes thawing and reheating quicker, and helps save freezer space. Repeat with the remaining bags.
- Place the flattened bags in the freezer. Store for up to 3 months for optimal flavor and texture.
Notes
Recommended Freezer Bags and Containers:
- Standard Quart-sized Freezer Bags: Cost-effective and stack flat.
- Souper Cubes: Create perfectly portioned, easy-to-store frozen blocks.
- Freezer-Safe Reusable Containers: Durable, eco-friendly option for larger batches or non-flattened storage.
- Reusable Silicone Freezer Bags: Sustainable, durable, and excellent for pushing out air.
Slow cooker method for batch cooking: For an easy, hands-off approach, break ground beef into pieces and place it in a large slow cooker. Add 1 cup of water for 4 pounds of meat, or ½ cup for 2 pounds. Cook on “high” for 2-4 hours, or until no pink color remains. Drain the ground beef, removing all liquid and rendered fat. Return the cooked beef to the crock pot, then add in the water and seasoning specified in the recipe. Stir well to combine the flavors. Cook on “high” for an additional 30 minutes to ensure the seasonings are fully incorporated and the flavors meld perfectly.
Nutrition
Please note that some of my blog posts here at Dash for Dinner may contain affiliate links. If you make a purchase through these links, I will get a small commission at no additional cost to you. Please see my Disclaimer for more information.
